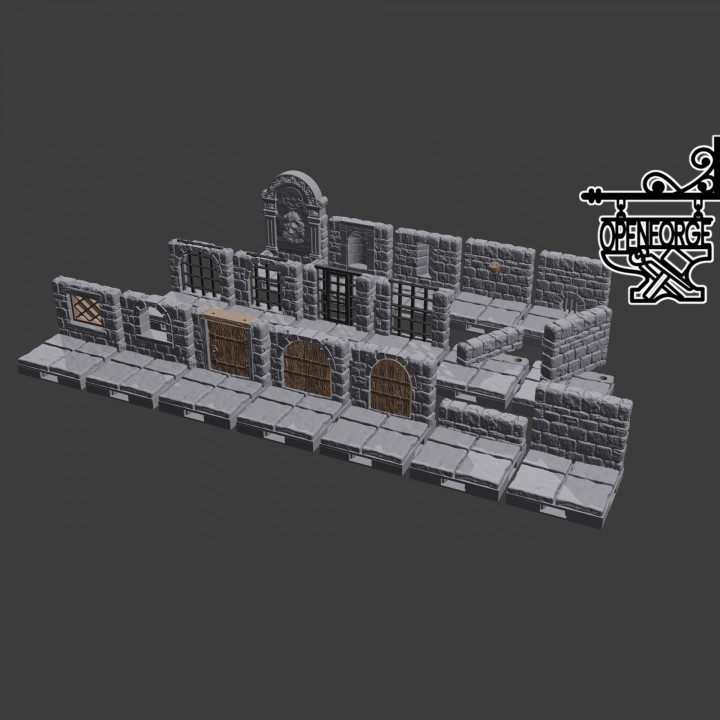
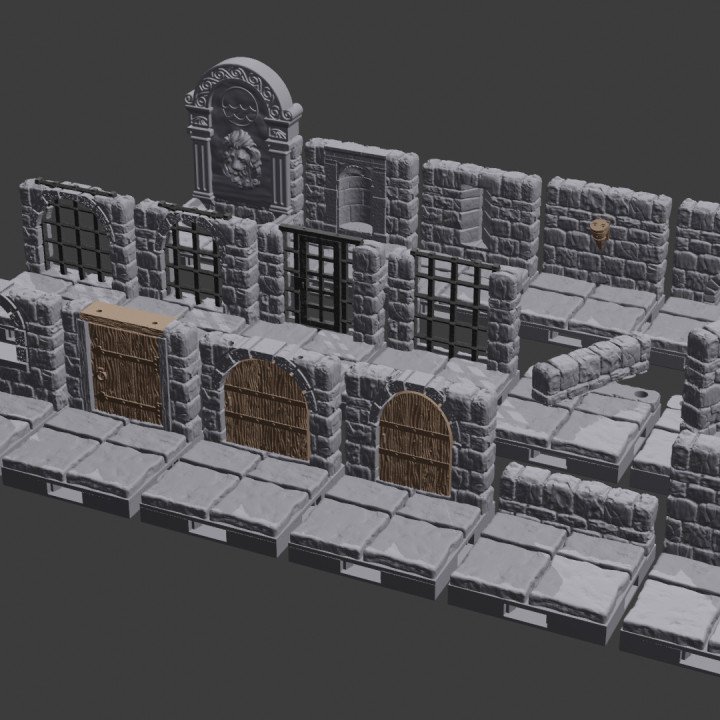
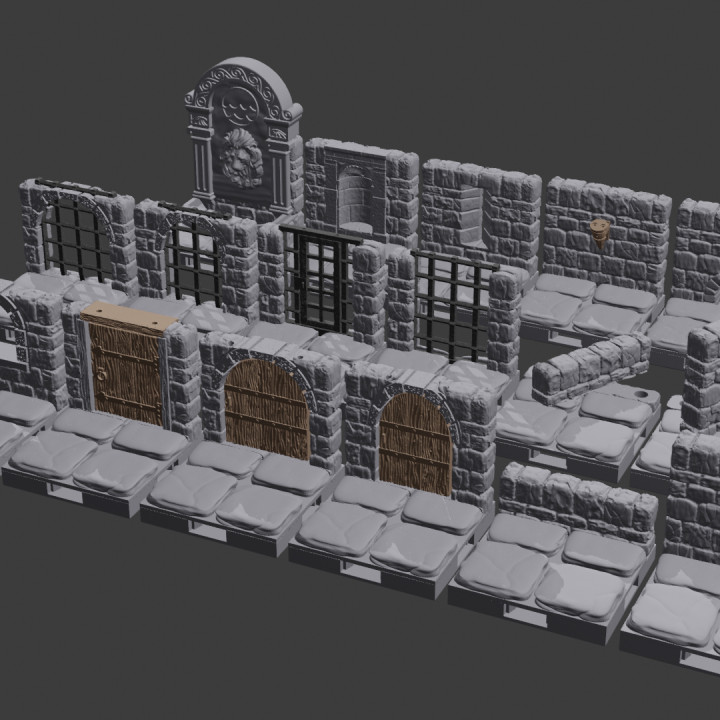
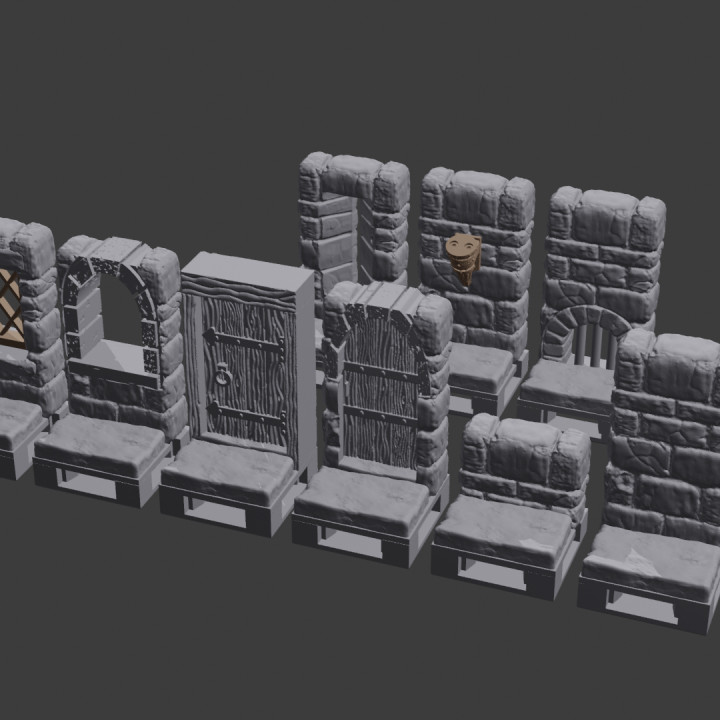
Dungeon Stone - Wall on Tile: Walls (Full Set)
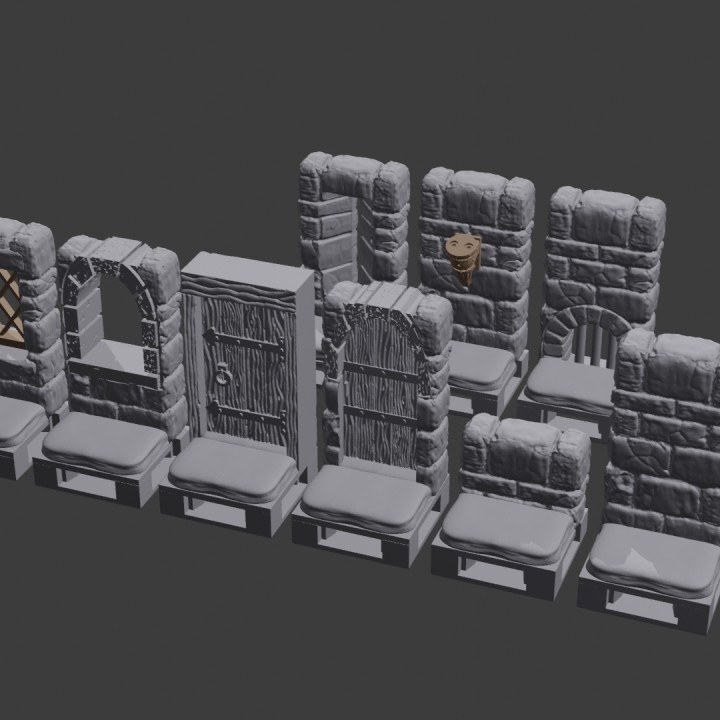
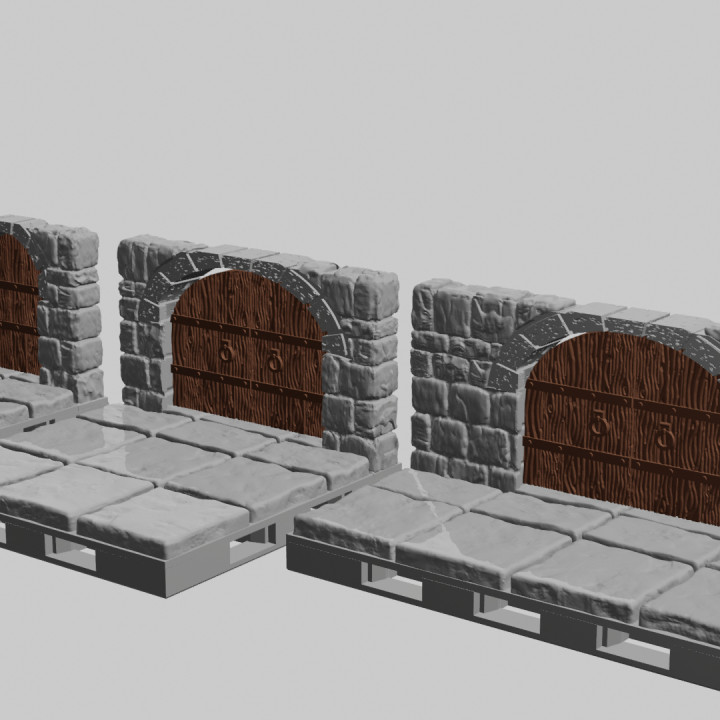
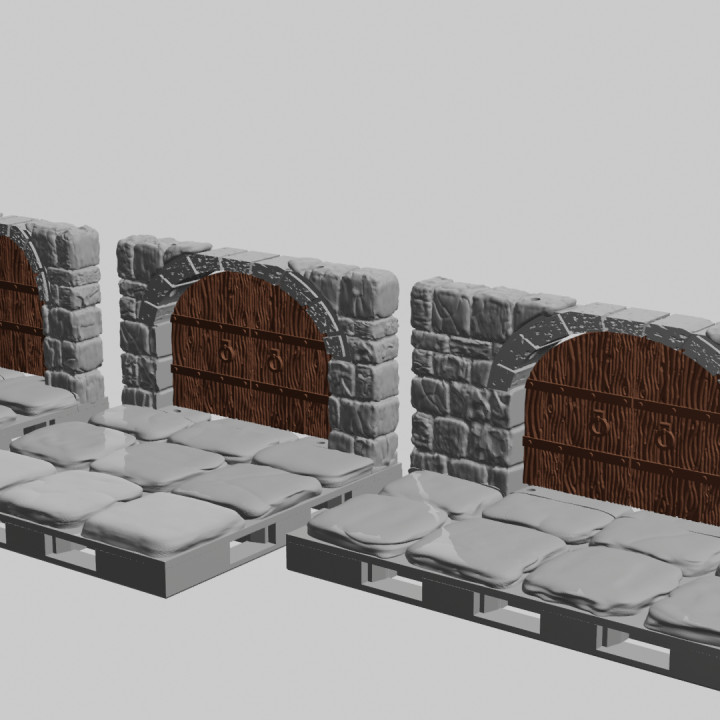

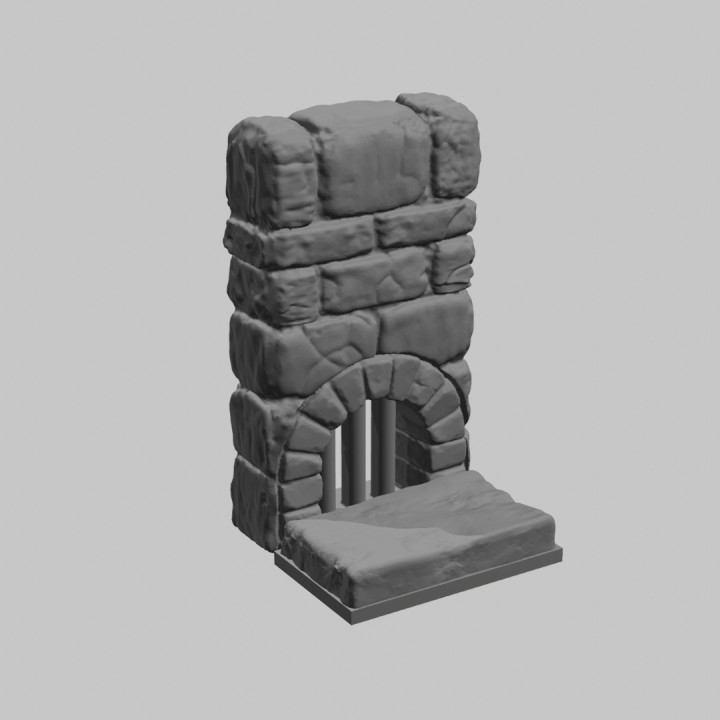
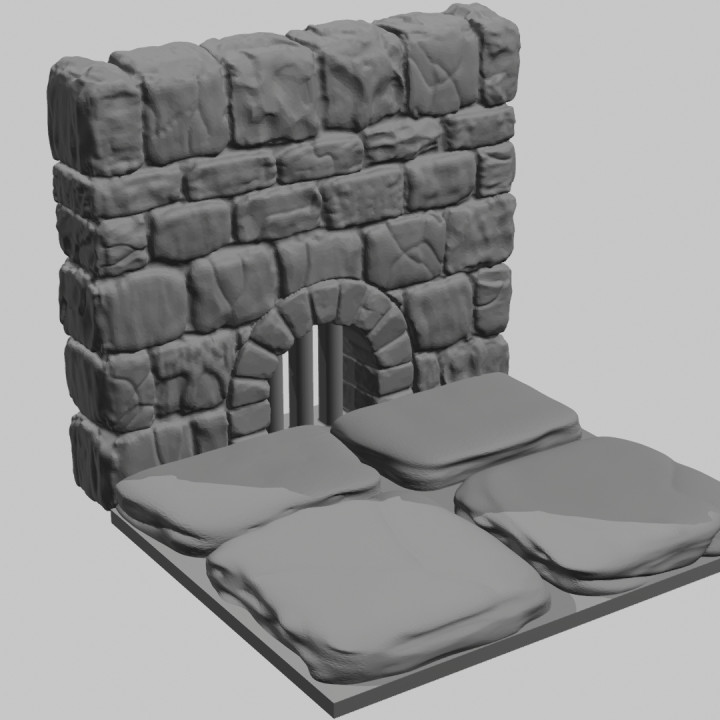
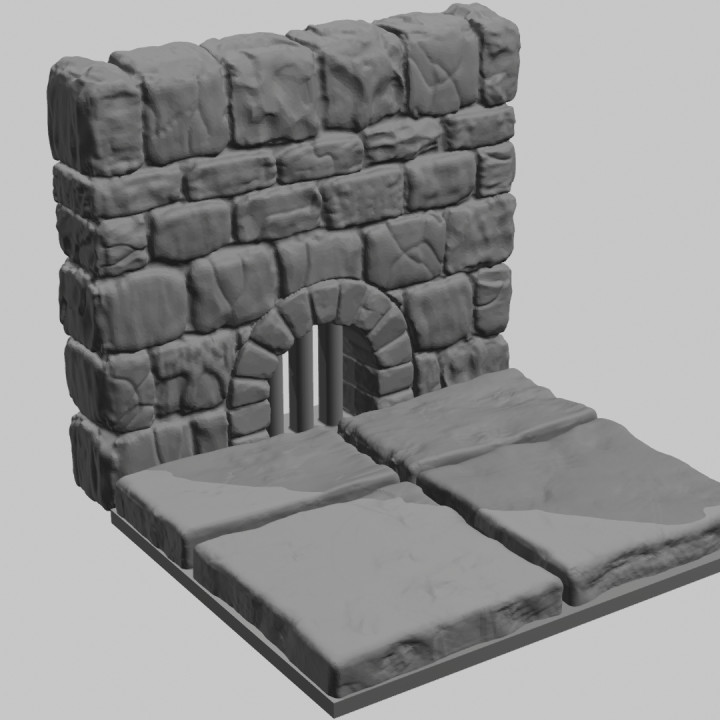
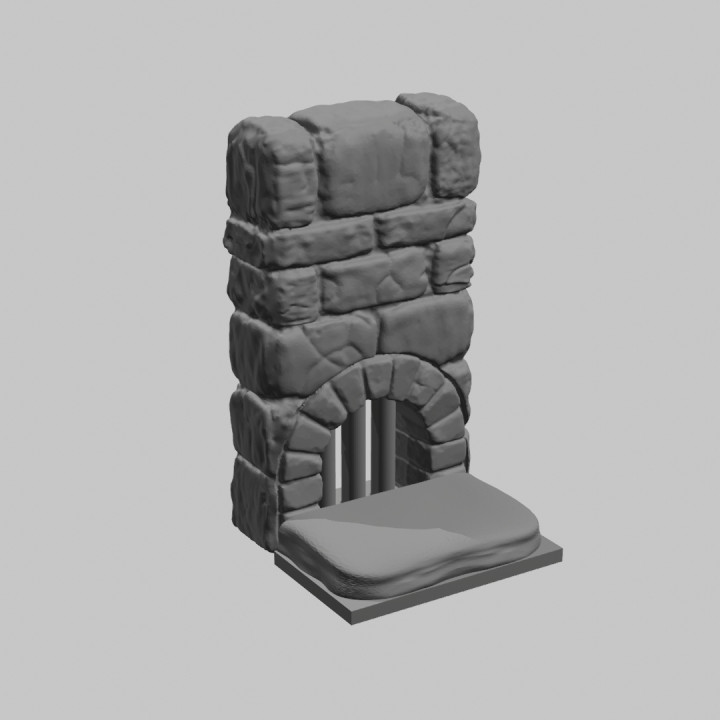
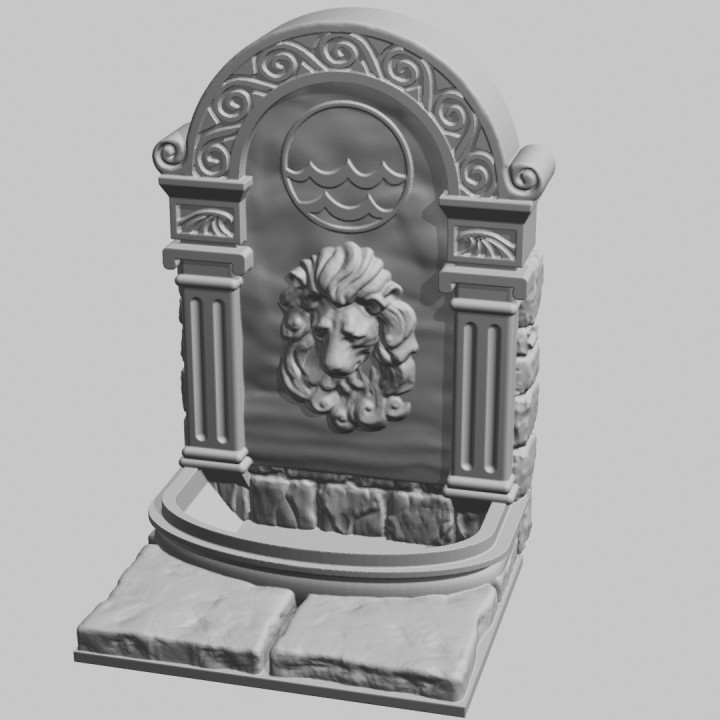

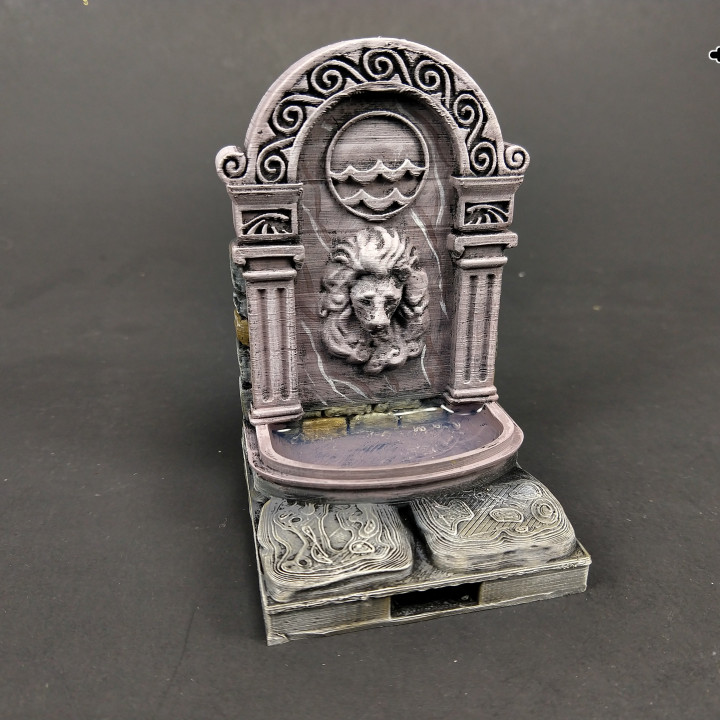
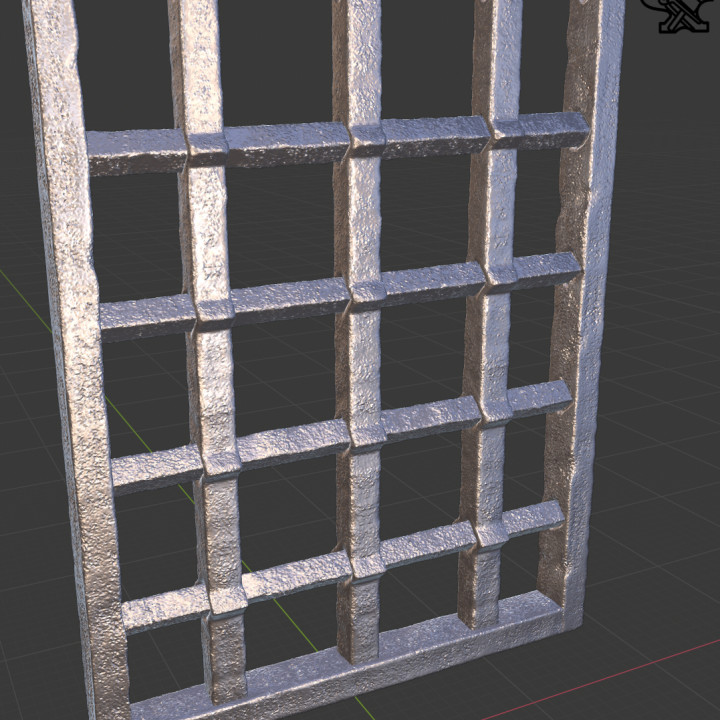
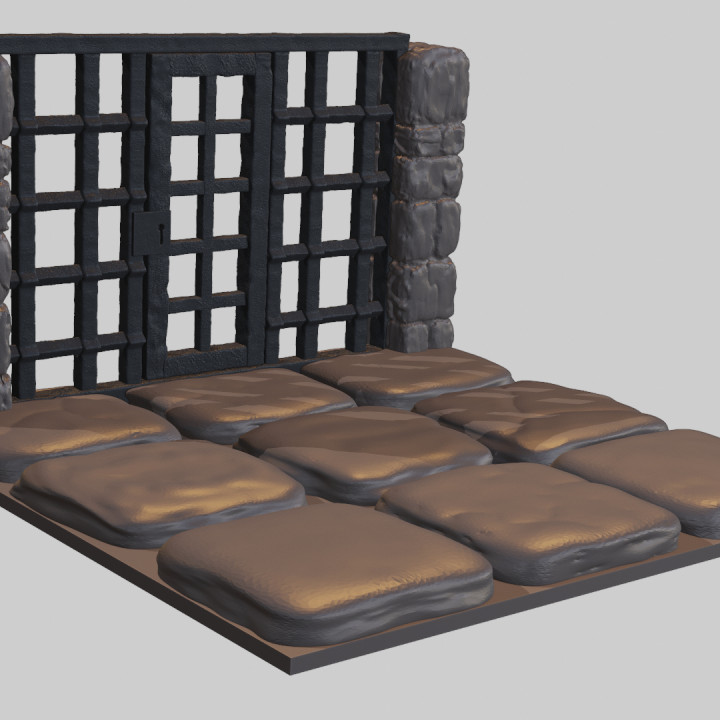
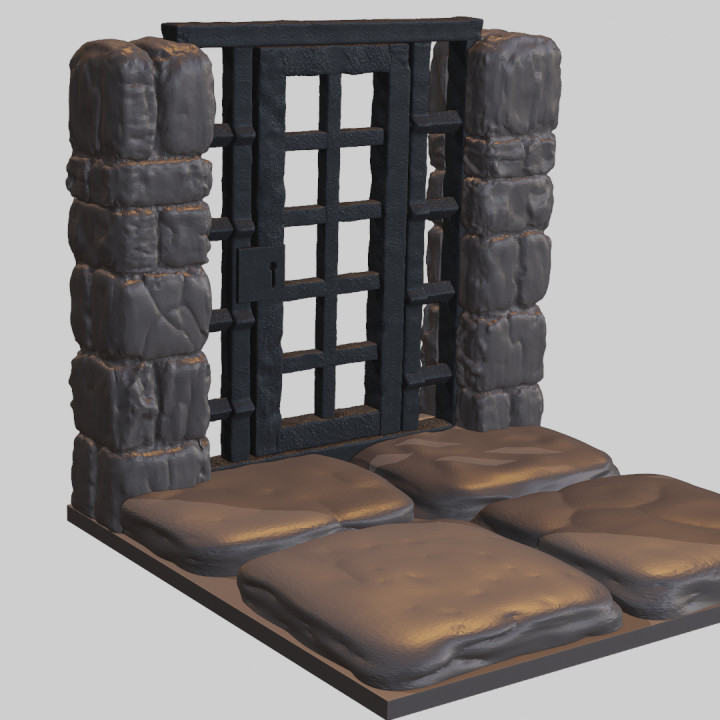
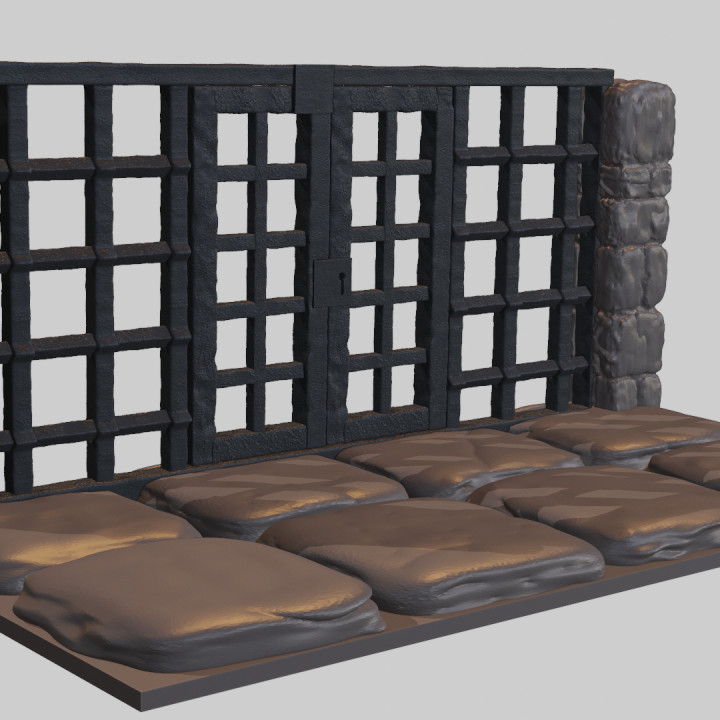
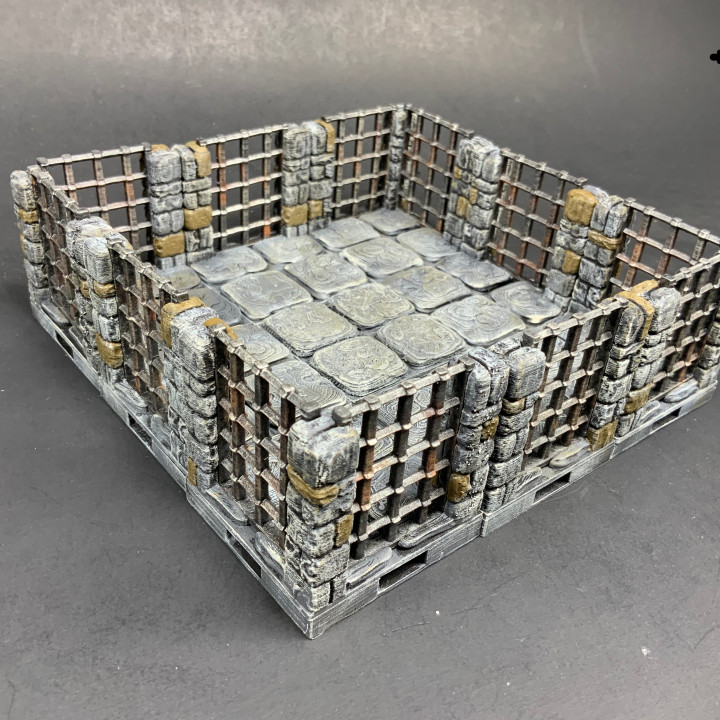
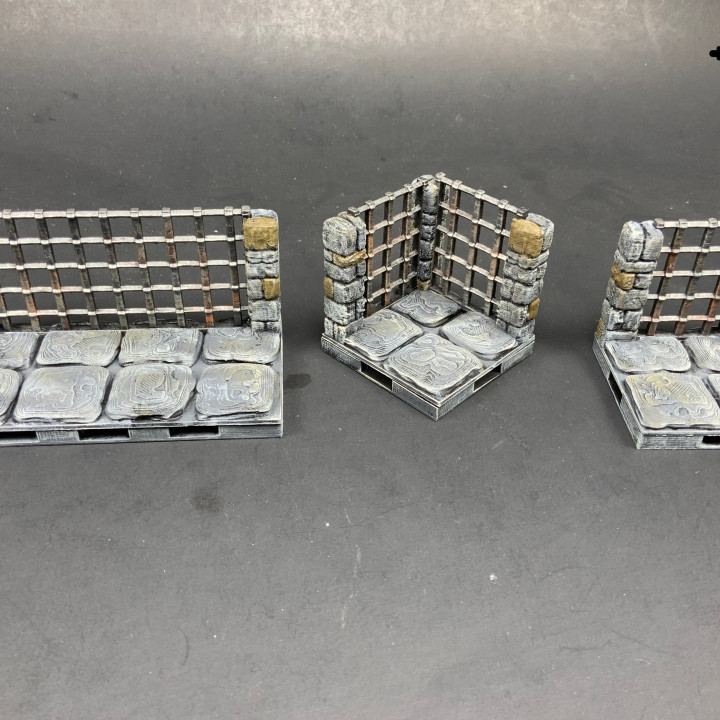


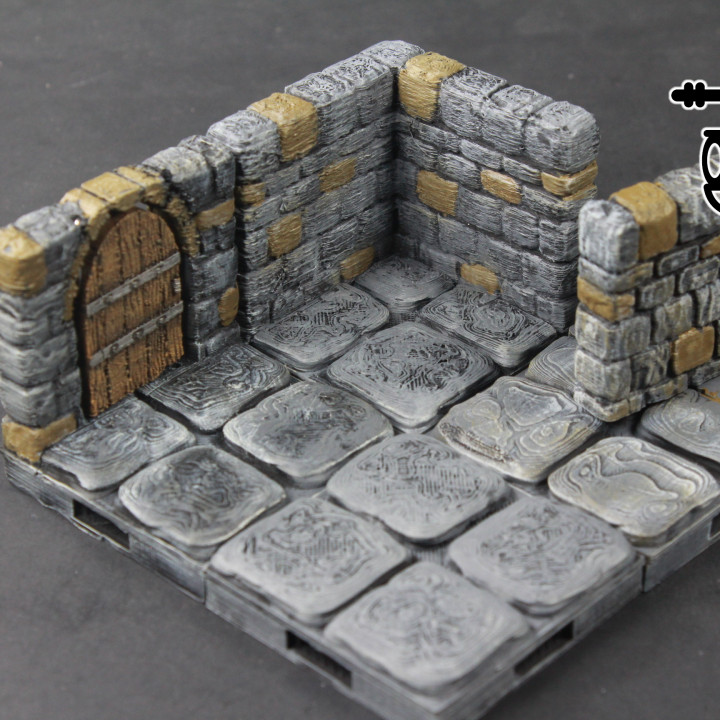


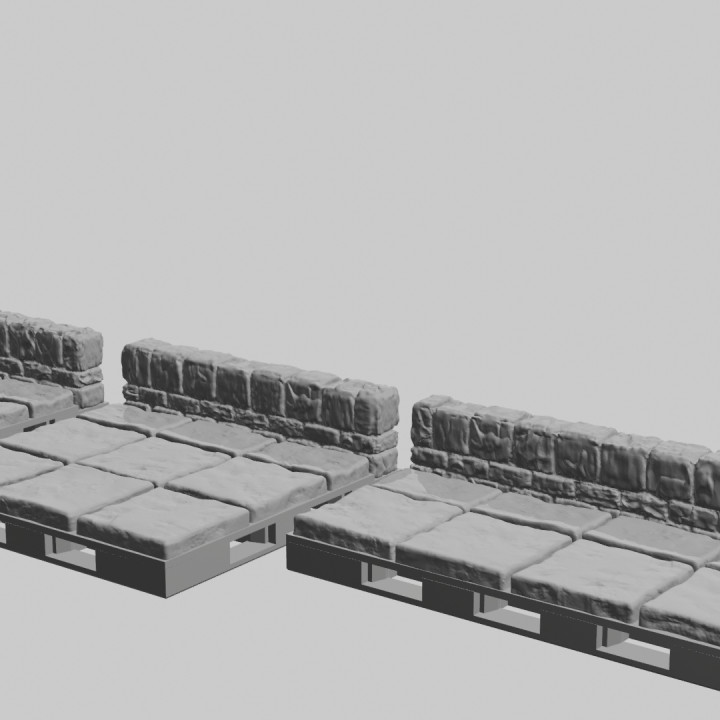
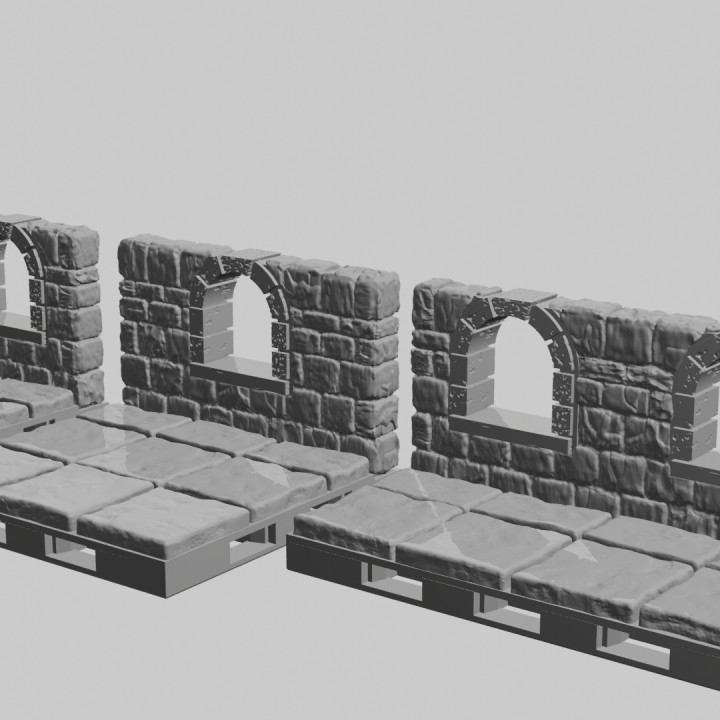


Dungeon Stone - Wall on Tile: Walls (Full Set)
Published 2022-07-01T09:01:39+00:00
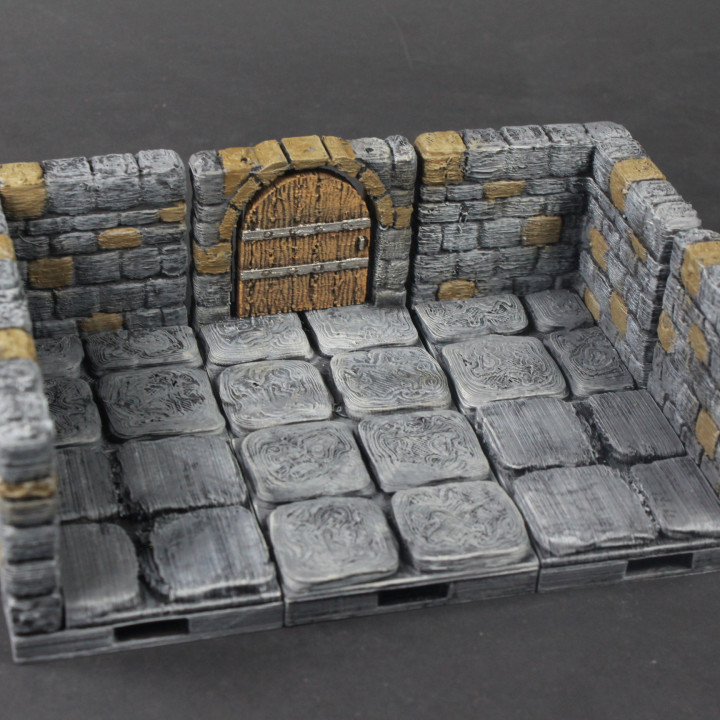
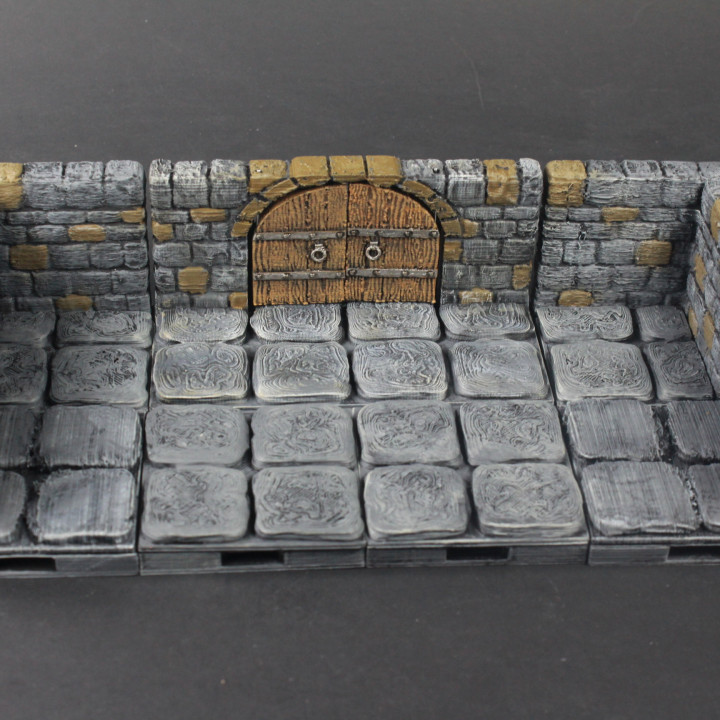
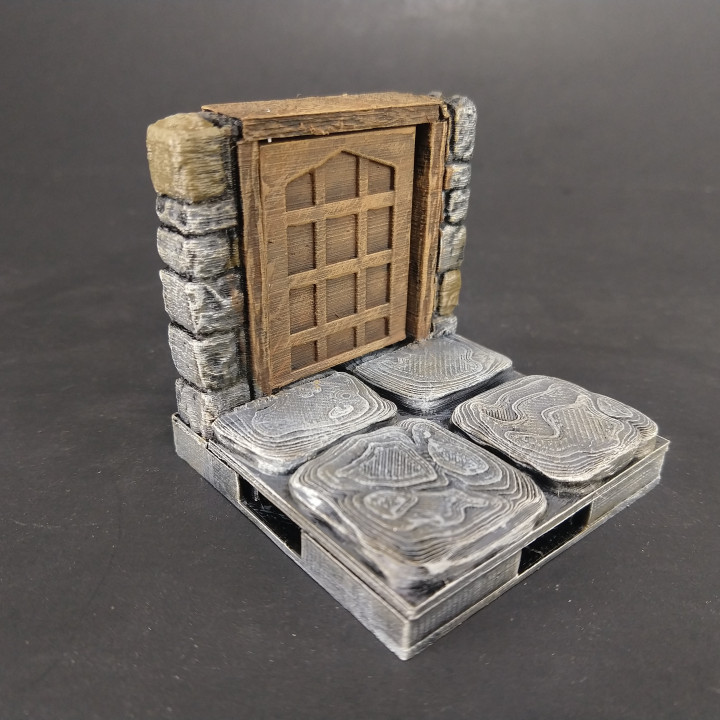
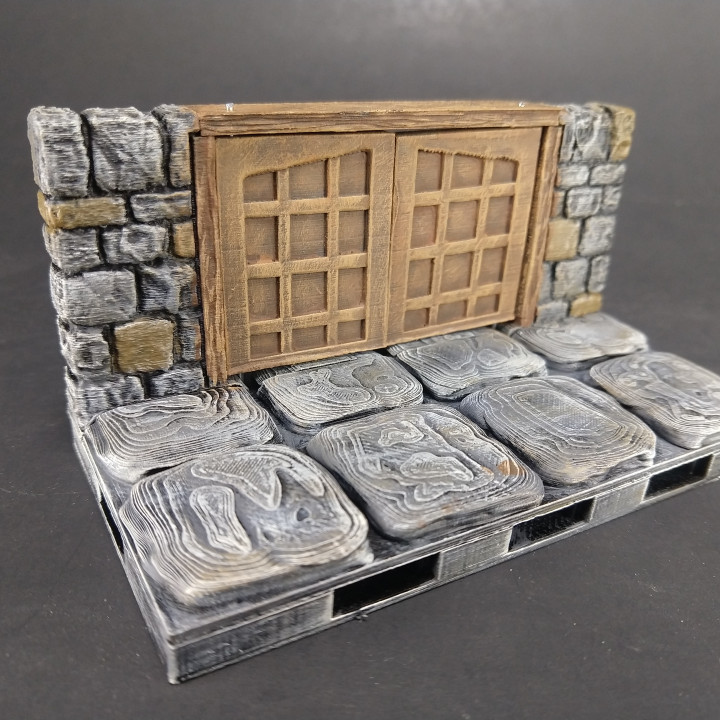
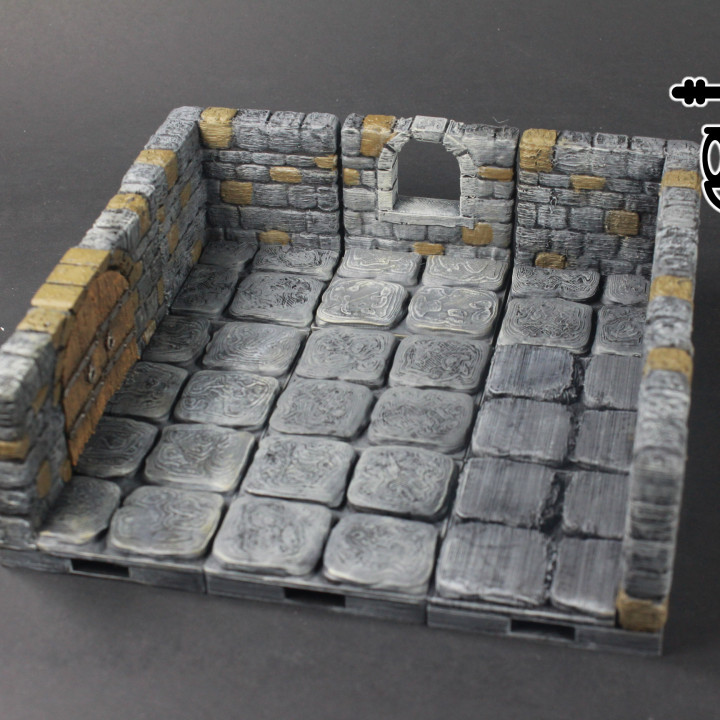
This is it, The first part of a set that OpenForge has entirely completed.
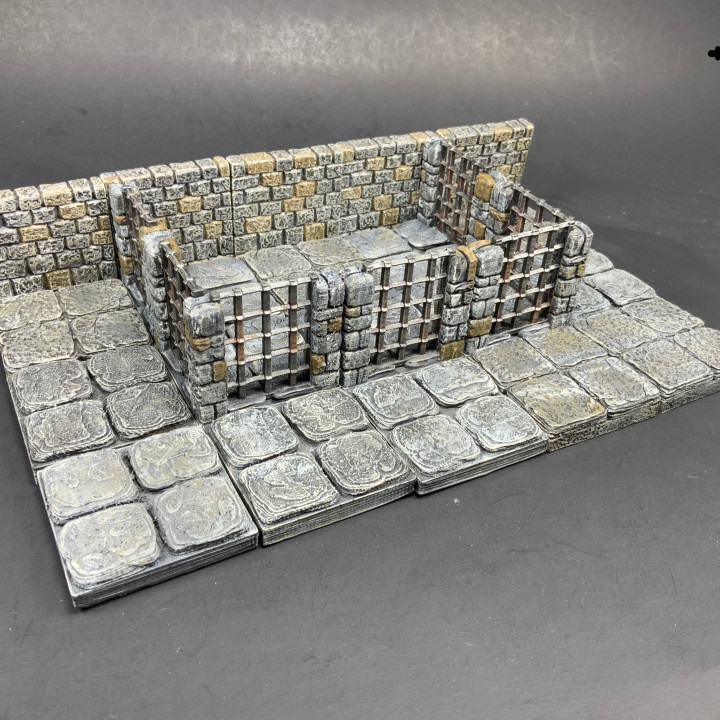
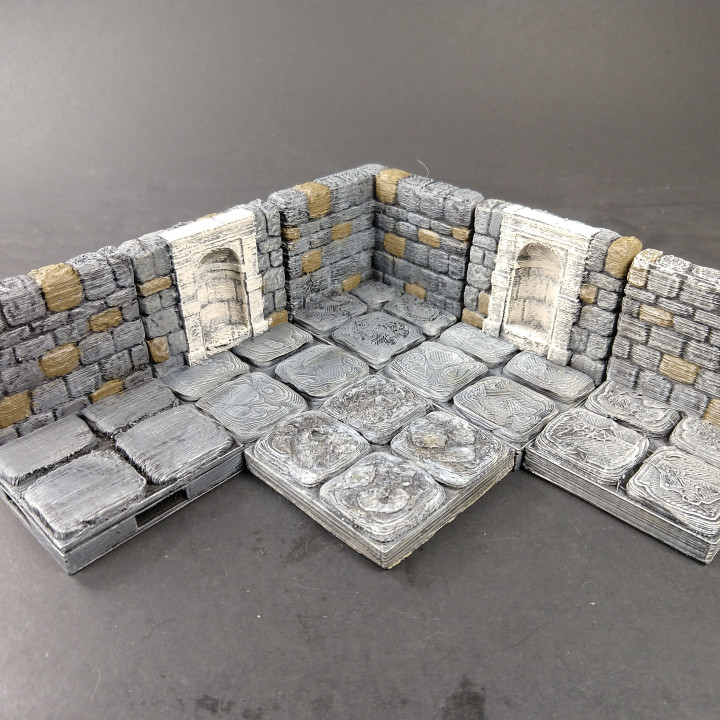
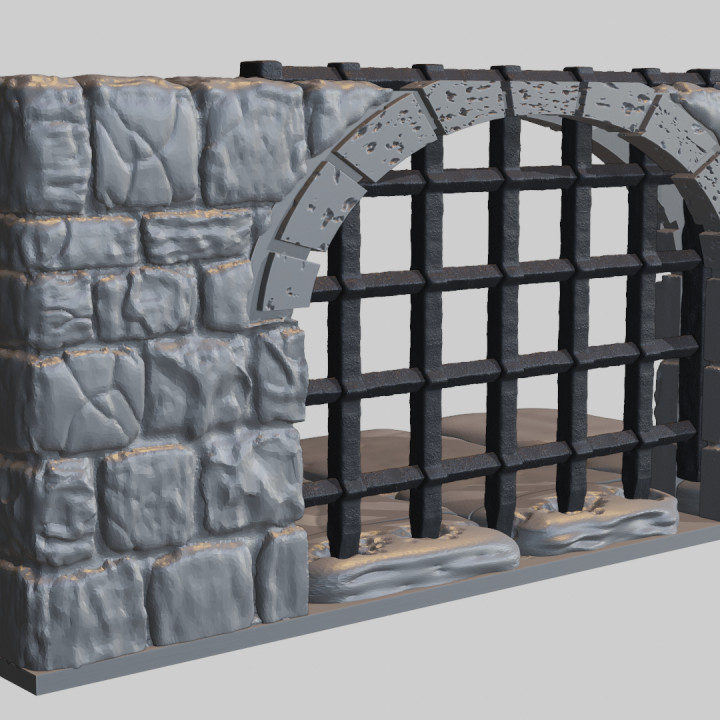
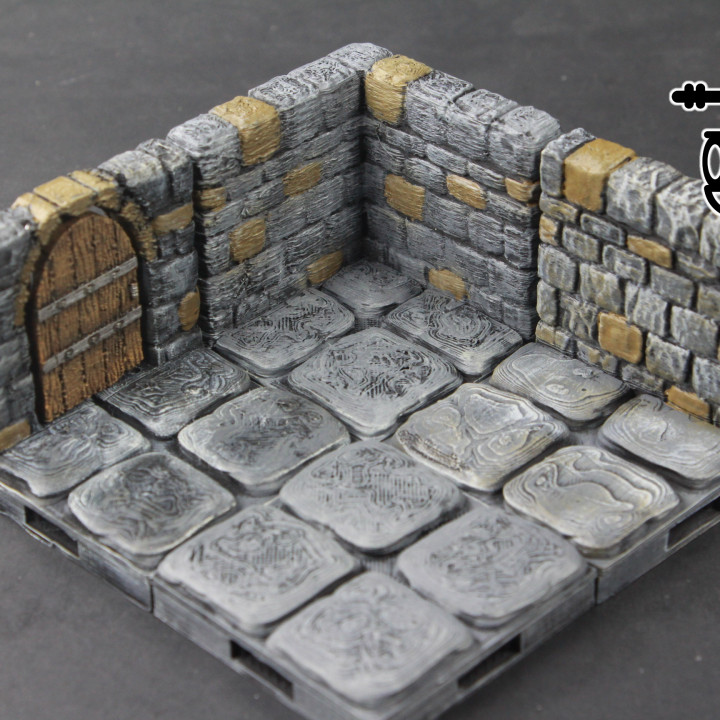
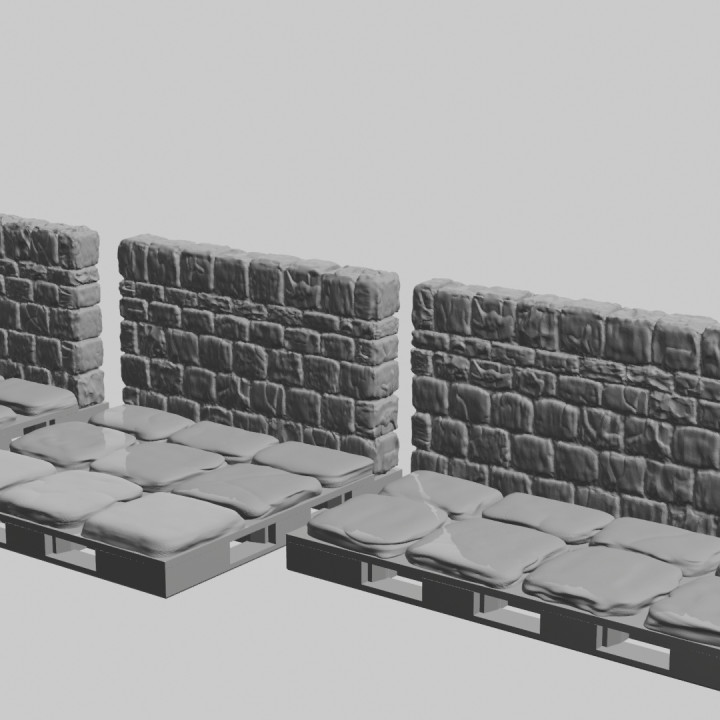
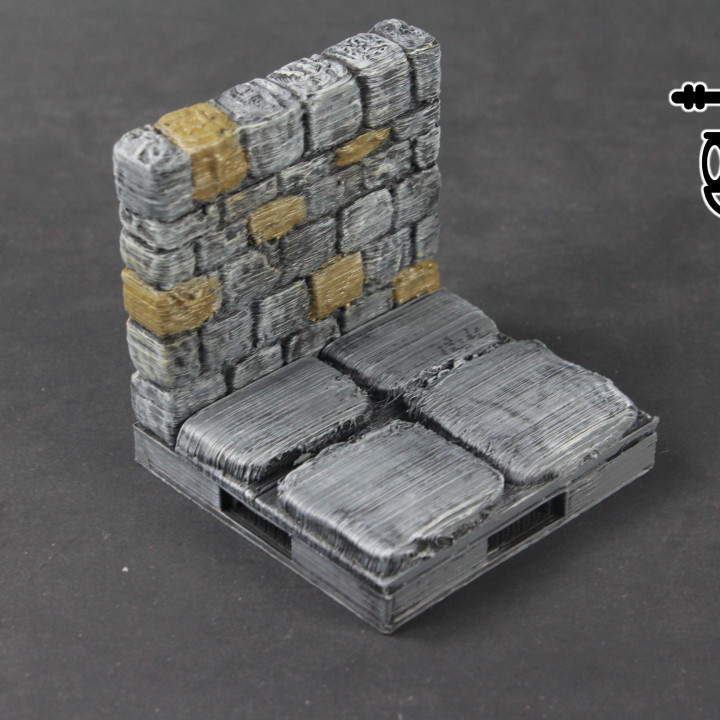
- 18 different wall types
- Two different style of floor texture
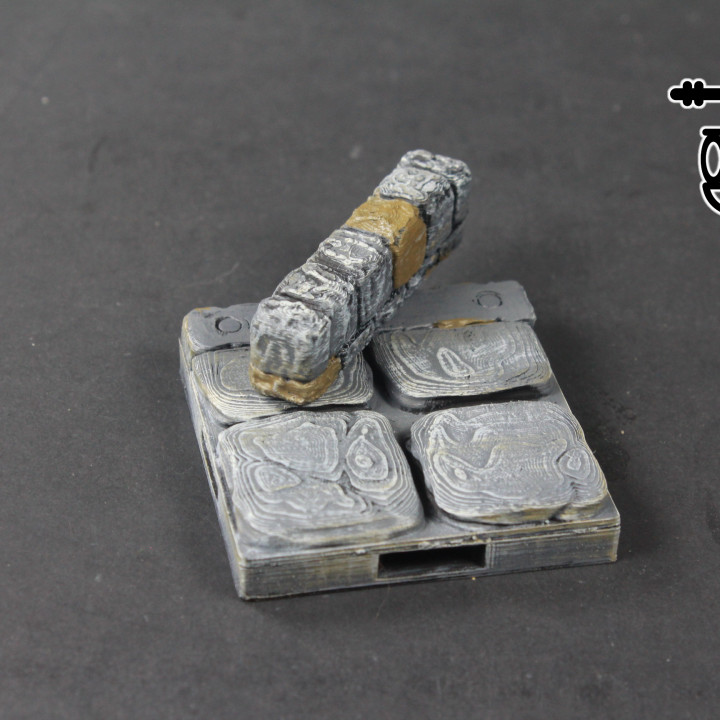
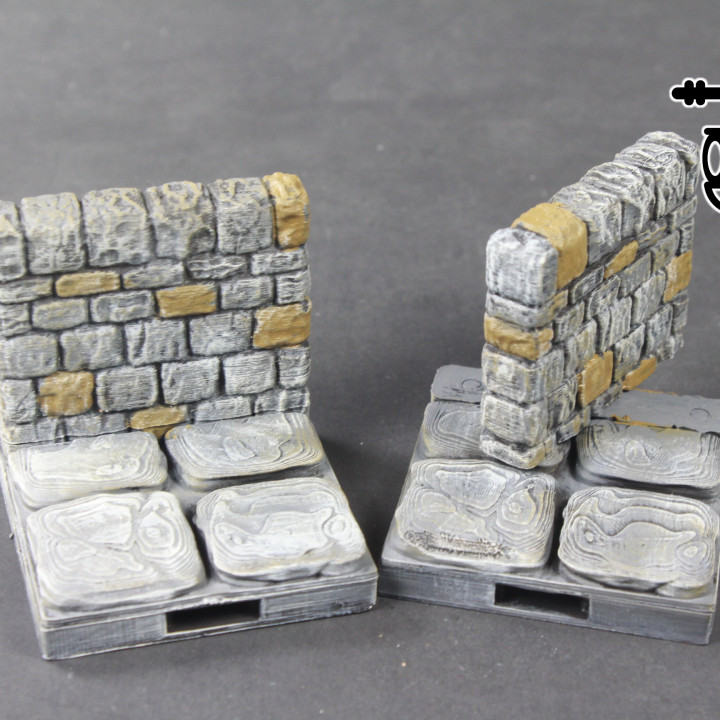
- Most walls can be of any size from 1x1 - 4x4
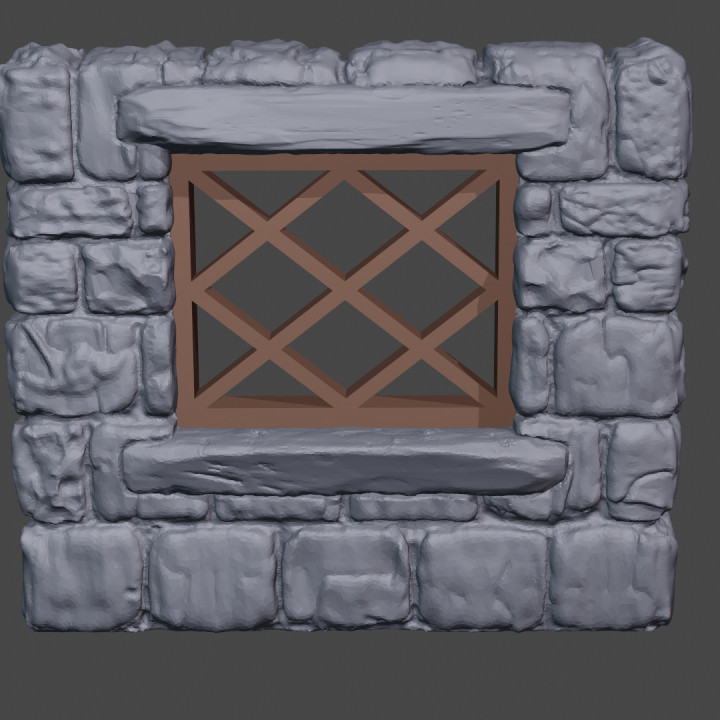
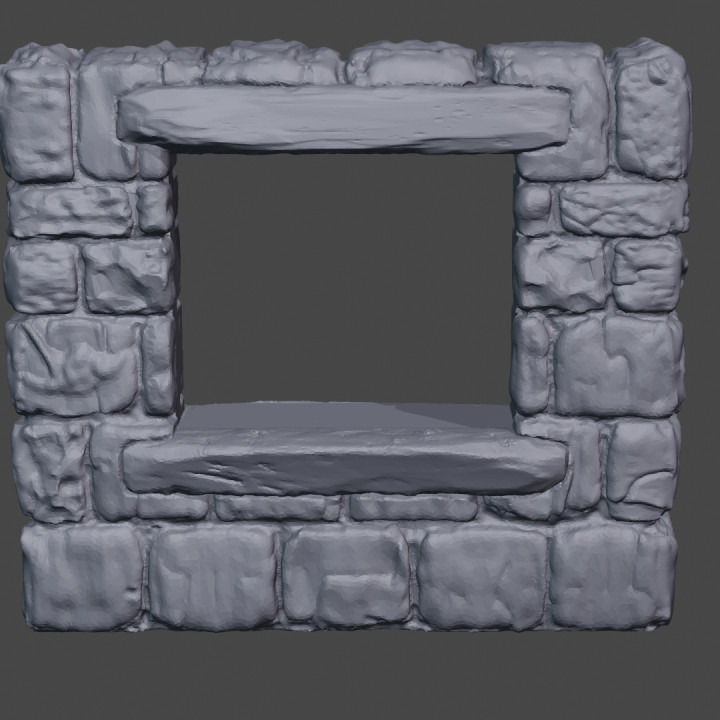
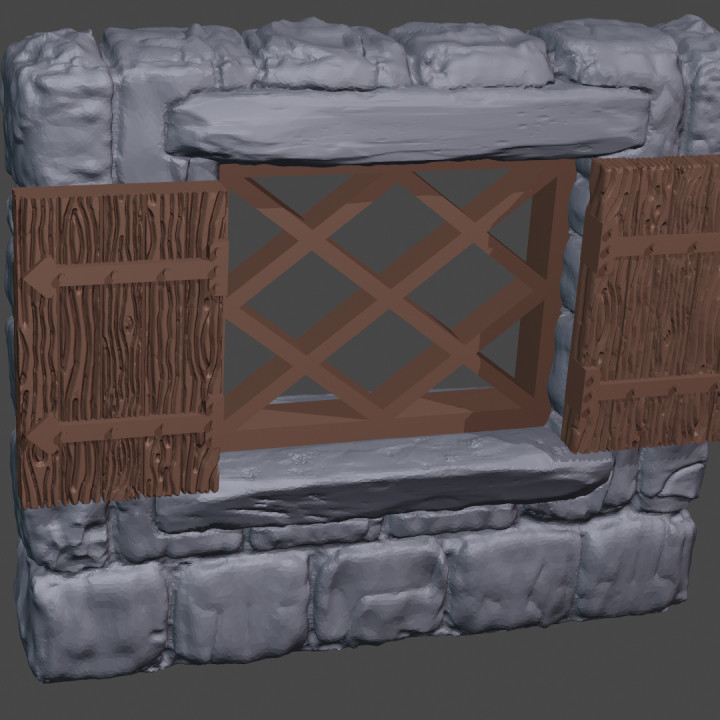
- Wall, Low Wall, Both door styles, Both window styles can to every size. Others may vary.
- 149 stls + 194 bases with 3 different locking mechanisims, and our new flex magnetic holes
- OpenLOCK, Dragonlock and Infinitylock all supported
- Flex magnetic holes can take the traditional 5mm magnetic spheres, but they can also take
- 5mm diameter, 2mm & 3mm thick - depending on how well tuned your printer is, these might be too big
- 4mm diameter, 2mm & 3mm thick
- 3/16 diameter, 1/8 thick
- The new magnetic system is designed to make it much easier to find magnet suppliers, as these are really common types
Instead of creating a separate entry for each set of tiles, this entry is a collection for all the objects that get released for Dungeon Stone Wall-on-Tile Walls. It will be updated with the photos and zip files of any future release. For instructions on how to get started with OpenForge, we have a set of tutorials. OpenForge is a patron supported project. Want to sell OpenForge prints? Want to use OpenForge designs in your product, check out the license FAQ.
I use the resources that my patrons give me in order to get the resources to let me create more sophisticated tiles with a greater level of detail. Please, support me, and I’ll deliver an ongoing stream of awesome gaming terrain. You can find more about OpenForge and Masterwork Tools at our:
- Website and Blog
- Tile Tree
- Reddit Forums
- We also have a discord for Patrons.
Changelog
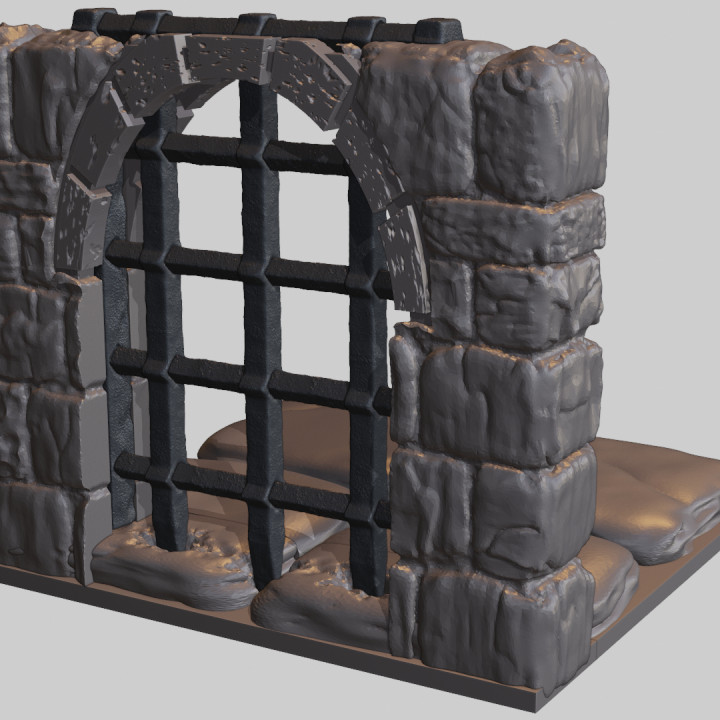
- 2020-09-16 - portcullis files updated to add split grates for FDM printing.
Instructions
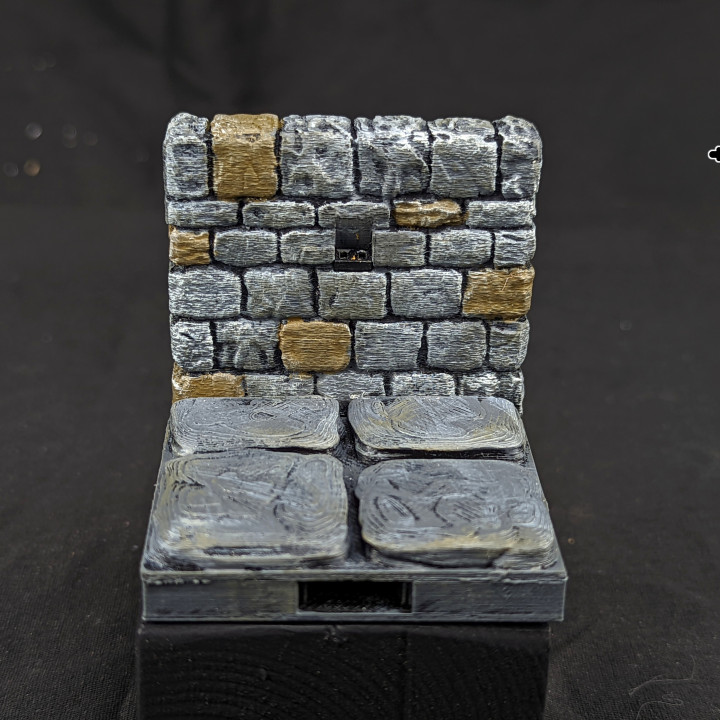
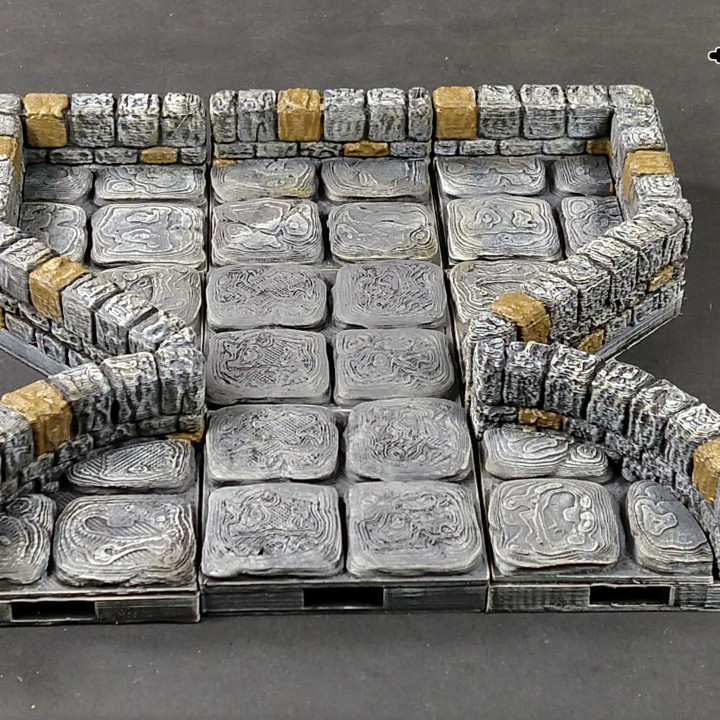
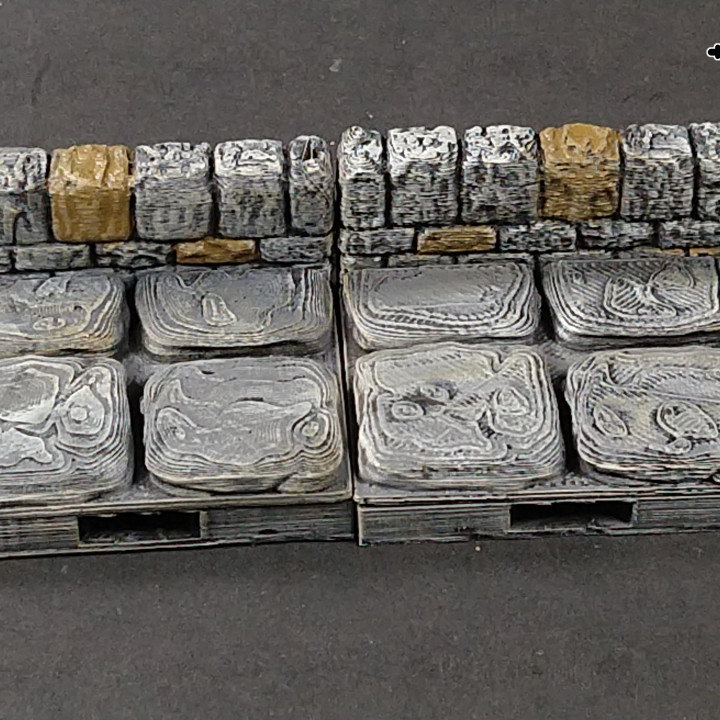
For each tile, print yourself one of the tiles and a base of the same size.
Other Dungeon Stone Tiles
You can find the rest of this set as it gets released in the OpenForge Dungeon Stone Collection.


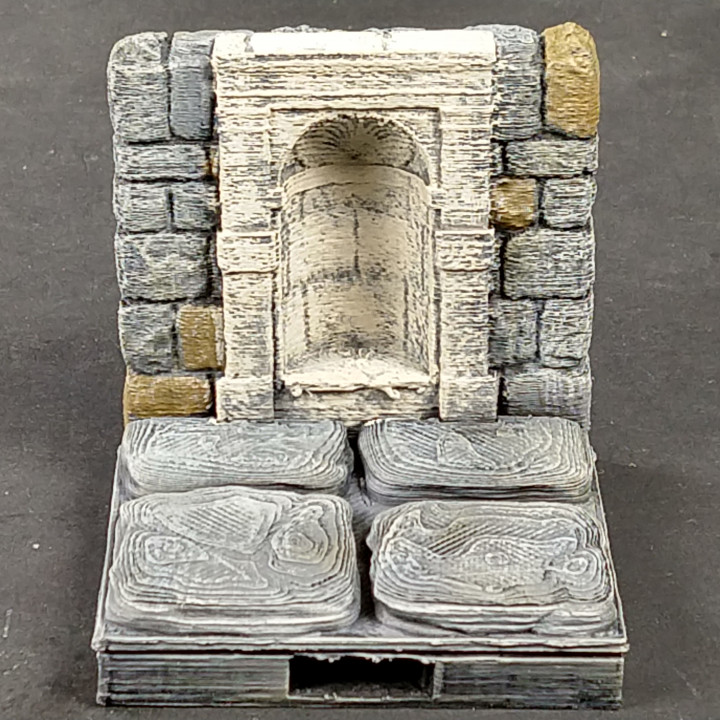
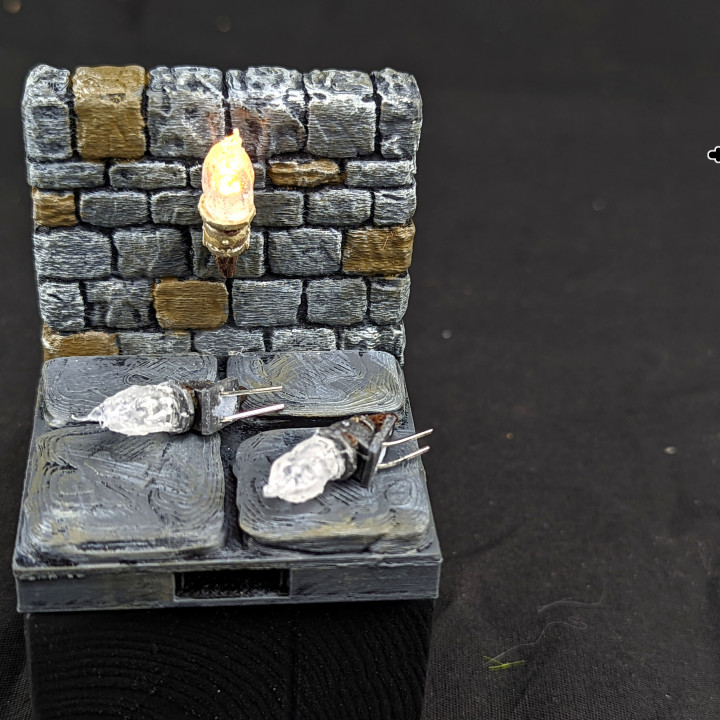
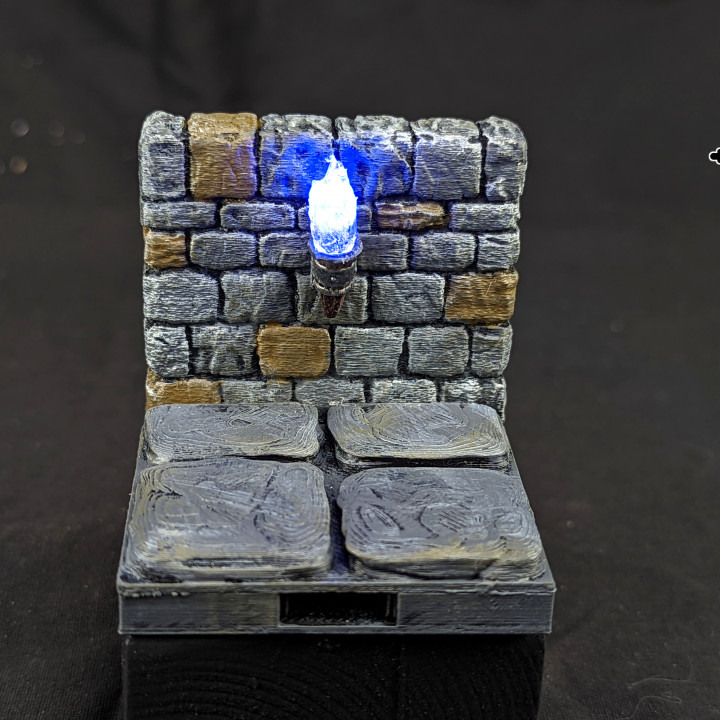
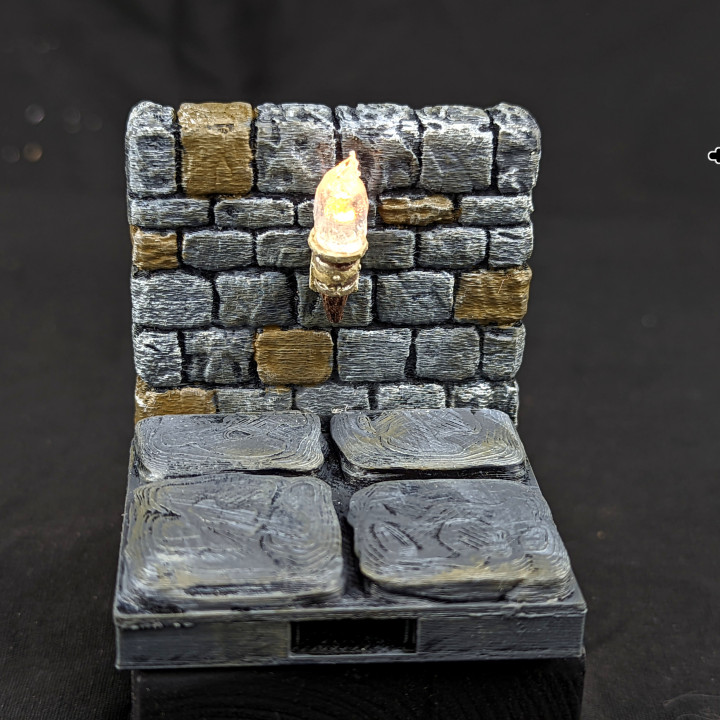
To Build the Torch Wall
- Print the wall you want, a base (use the old base design to give yourself a little more space to play with if doing a 2x2 tile), and the matching floor that is cut for walls. Also print the torch. There's two torch versions, the textured one is better on a resin printer. If you have only FDM, both can work, but the older, untextured torch is easier to print on FDM.
- Paint the tile and glue it, except for the wall.
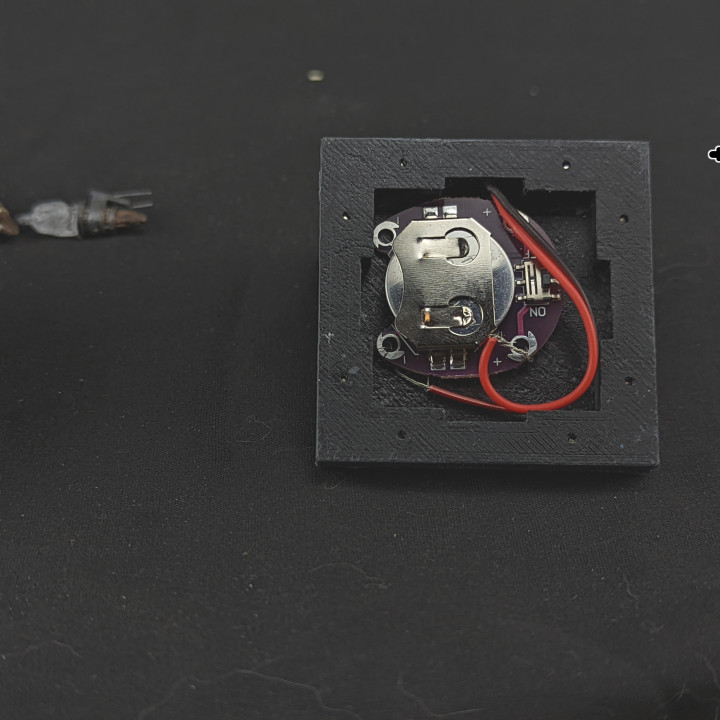
- Take one of the 2 pin dupont cables and cut it in half. Feed it through the hole. When the wire is out of the other side, pull it snug to get the connector fully into the wall. If you look at the photo above, you can see that the connector goes fully inside the wall. You will always want the cable to have the red and black wires the same on every tile you make. With the wall facing me, I put the red (power) on the left, and black (ground) on the right.
- Strip some insulator off the end of the cable, long enough that you can feed it through the holes in the lily pad battery holder. Red goes to +, Black to -. I tend to strip off about an inch so that I can feed the wire through and then wrap it/tie it to make it secure.
- Test the LED in the socket. The longer of the two wires should go in the red side of the connector. Once that's tested and it works, feed the LED through the torch body, test it again, and glue it down. I also prefer to file the plastic top to scar it up to make it better at diffusion. Finally I like to hot glue on the LED and shape that into a bit of a flame. Test it in the socket again.
- Once it all works, you can start trimming the wire from the LED so it sits snug against the wall. Remember, you can't cut something to be longer, so trim it a little at a time and test until the torch can sit snug against the wall.
- Remove the battery holder, and then glue the wall into place on the tile, ensuring the wire makes it inside the middle of the base.
- Now, you can choose to feed it out through one of the clip holes, or trim it down and re-attach the battery holder. There's a photo above showing how I fit the lilypad inside the base.
- Finally, if you have any problems, come chat in the openforge discord and we should be able to help you out.
Here's the set of gear I recommend:
- Flickering LEDs (You can do 3mm or 5mm, on net 3mm is probably better, but I did 5)
- 2 pin female Dupont cables
- Lilypad CR2032 Battery Holder (cabled interior in normal 2x2 floor, no soldering required)
- CR2032 Battery Holder (cabled exterior, or in a 2x4 floor, soldering required)
- CR2032 Batteries
Also useful
- Hot Glue Gun (Used to cover LED and sculpt flame)
- Mini Files (For scraping up the LED surface for better diffusion)
A lot of the design on this was done in collaboration with one of my patrons, Schadow. Schadow came up with the dupont connector idea, and has even come up with a multi-tile wiring scheme that works with the new torch wall. Thanks Schadow!
| Date published | 01/07/2022 |