Ender 3 - compact Hemera mount plate with BLTouch


Ender 3 - compact Hemera mount plate with BLTouch
Published 2020-01-30T19:56:02+00:00
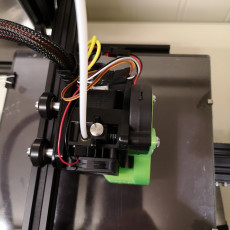
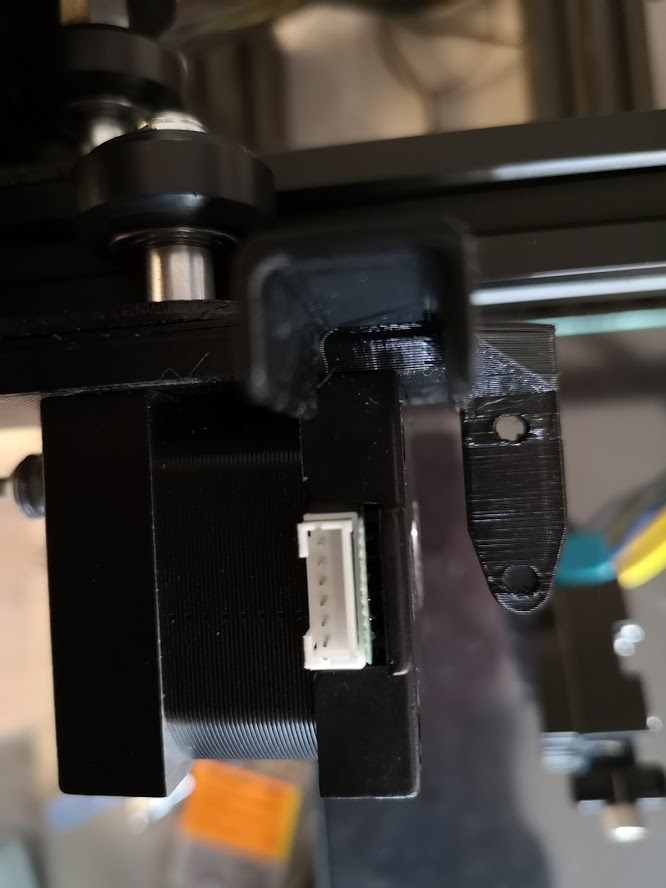
Compact mount plate for mounting the Hemera Extruder to an Ender-3 carriage.
UPDATE 2020-03-19: Uploaded v3 based on comments from Ronny Vedå. Base plate is .5 mm thicker and the Hemera mount holes are a bit wider.
I initially mounted my Hemera Extruder using Joe Cashas mount plate (https://www.myminifactory.com/object/3d-print-ender-3-e3d-hemera-mount-105802), but found it a bit to wobbly because the motor part was placed to the right of the Ender mount plate and only fastened in three places. So I designed this instead. Tolerances are quite tight so your printer needs to be dialed in well.
Besides the stock parts, you need 4 M3x6 bolts and 4 M5 washers.
Instructions:
- Take apart the existing hotend and x carriage. Remove the three wheels from the carriage.
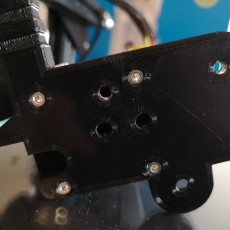
- Add the 3 M5 nylock bolts to the matching holes on the plate.
- Mount the Hemera to the plate using the M3x6 bolts
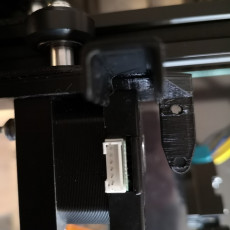
- Press the metal carriage into the two holes on the mount plate.
- Prepare the three bolts:
Add two washers, a wheel and a metal spacer to each of the two bolts for the top wheels.
Add the original washer, a wheel and the eccentric nut to the bolt for the bottom wheel. - Hold the extruder and carriage up to the printer, and mount the 3 wheels to the carriage.
- Adjust the eccentric nut until the cariage does not wobble but moves freely.
- Attach BLTouch and fan. I use this fan duct: https://www.thingiverse.com/thing:4042492
Marlin firmware changes (on my machine - yours may need other values!):
#define NOZZLE_TO_PROBE_OFFSET { 64, 0, -1.00 }
#define X_BED_SIZE 235
#define Y_BED_SIZE 225
#define X_MIN_POS -18
#define Y_MIN_POS -12


| Date published | 30/01/2020 |
| Support Free | YES |
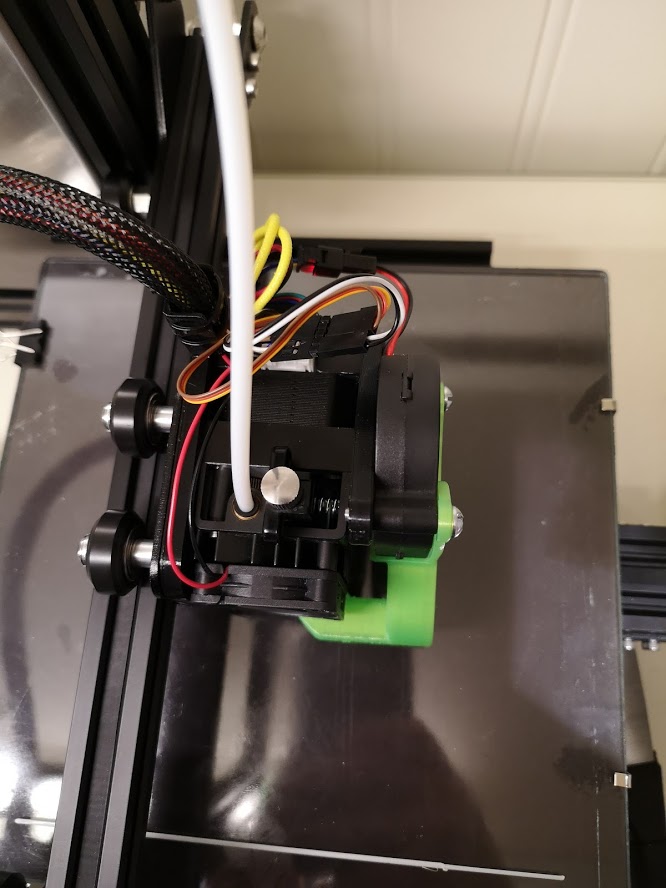

The extruder is mounted with a reverse bowden tube to minimize filament forces on the extruder.