Wall-E Robot - Fully 3D Printed


Wall-E Robot - Fully 3D Printed
Published 2016-10-17T10:33:35+00:00
This is the video showcasing Wall-E. So watch for more information and to see it in action!
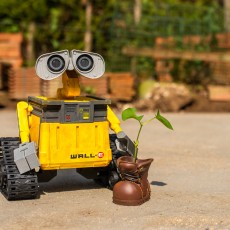
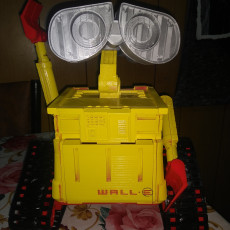
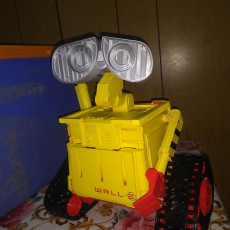
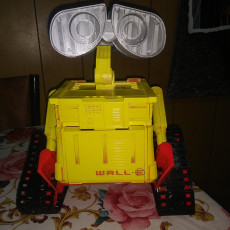
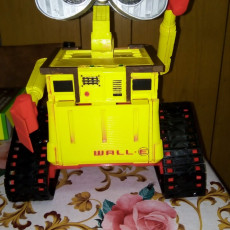
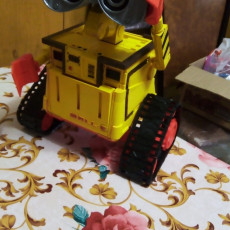
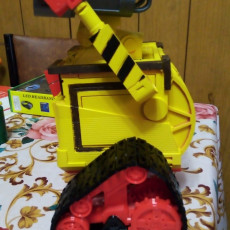
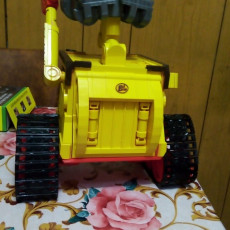
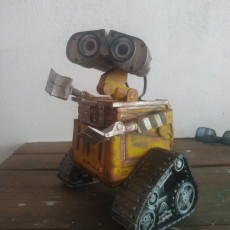
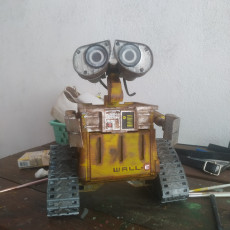
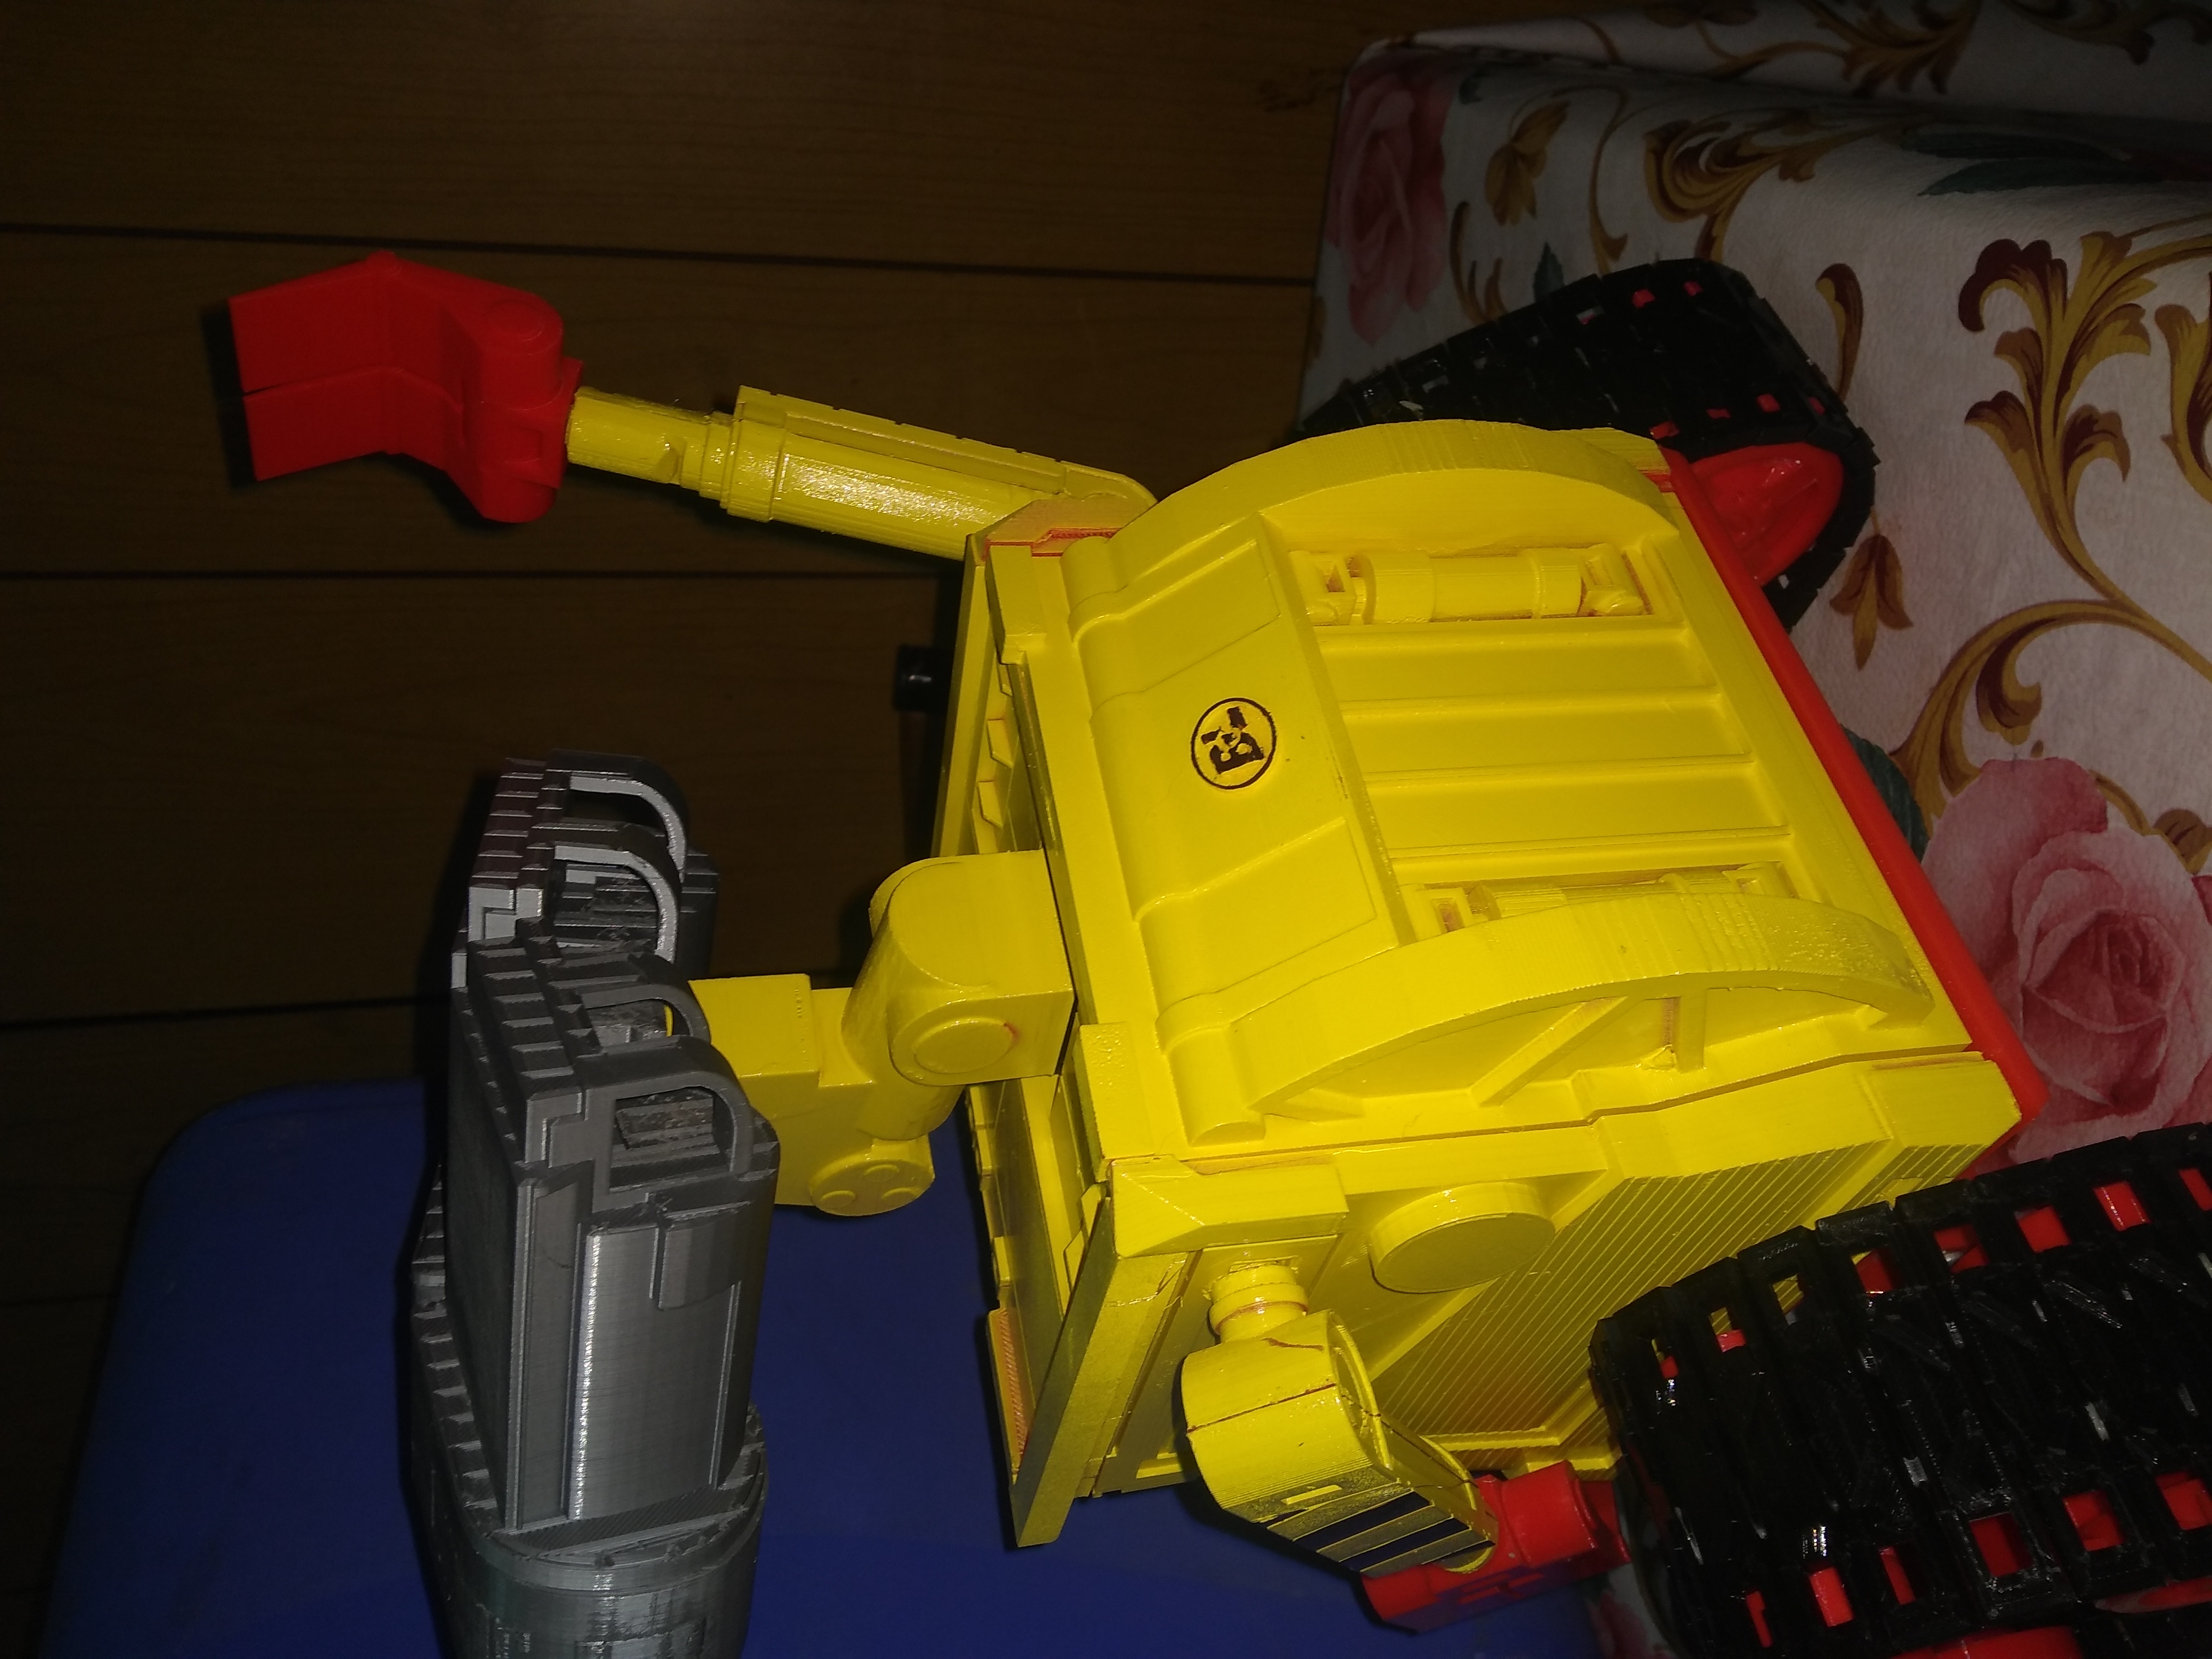
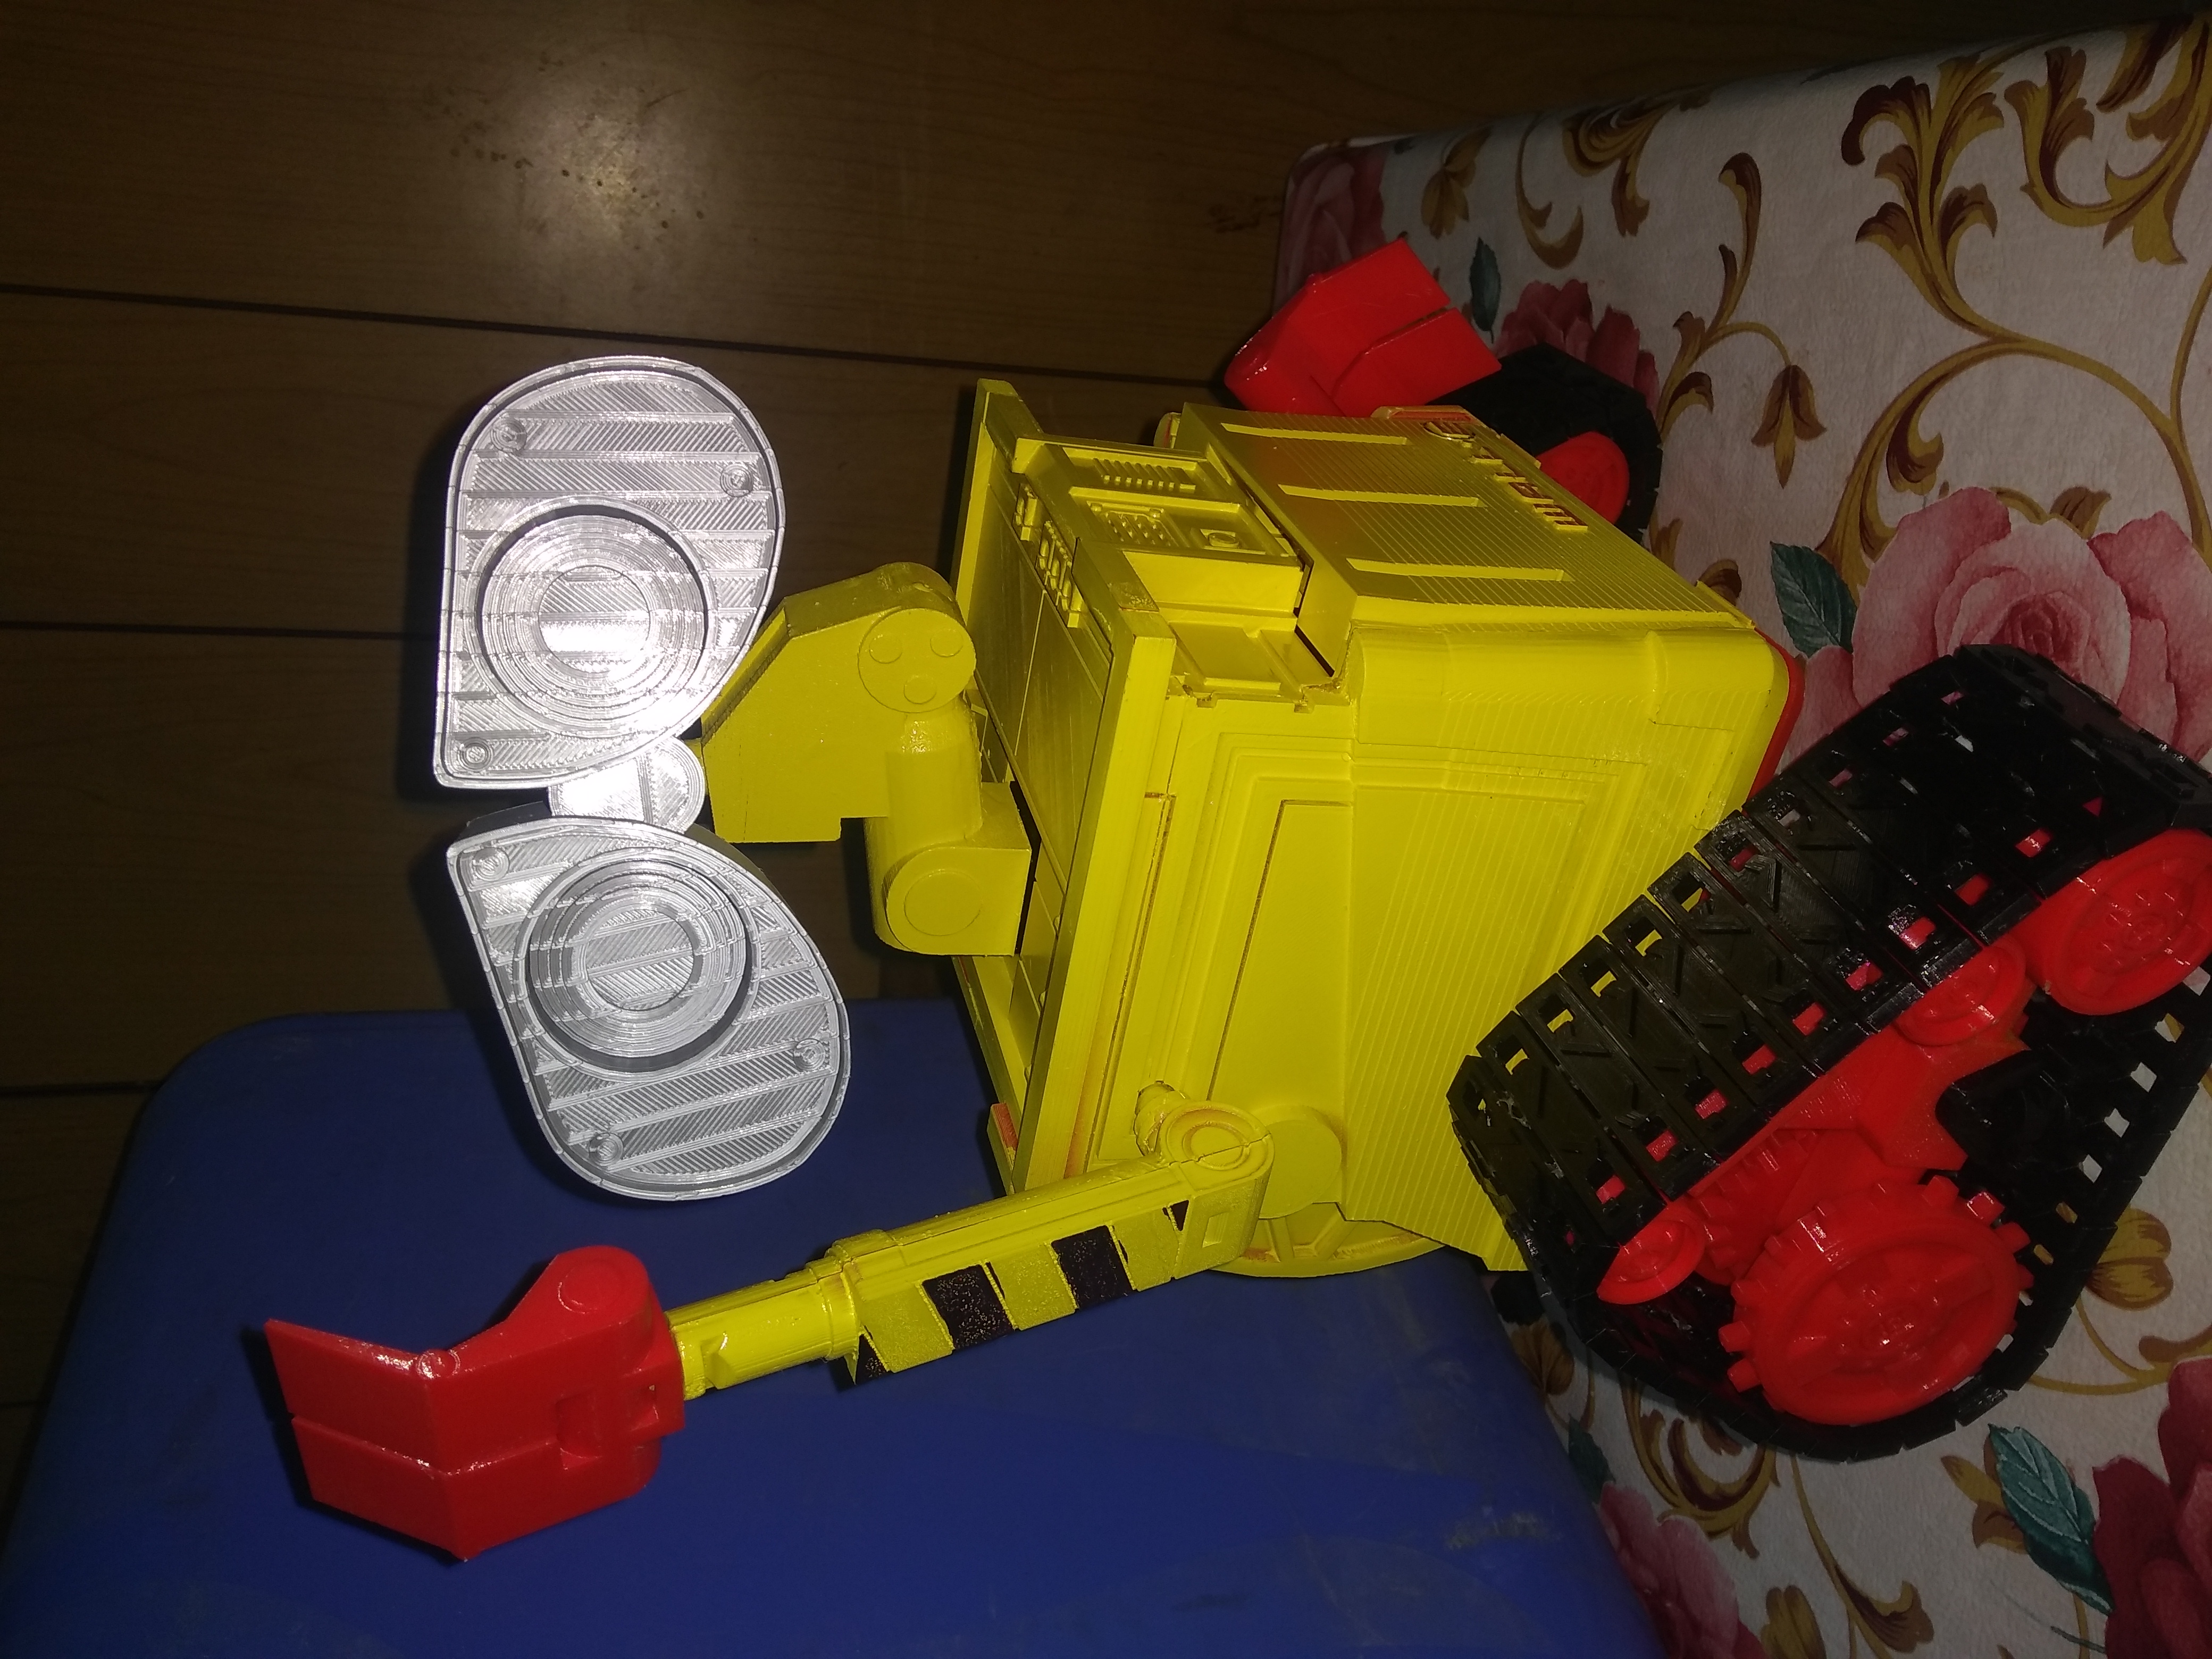
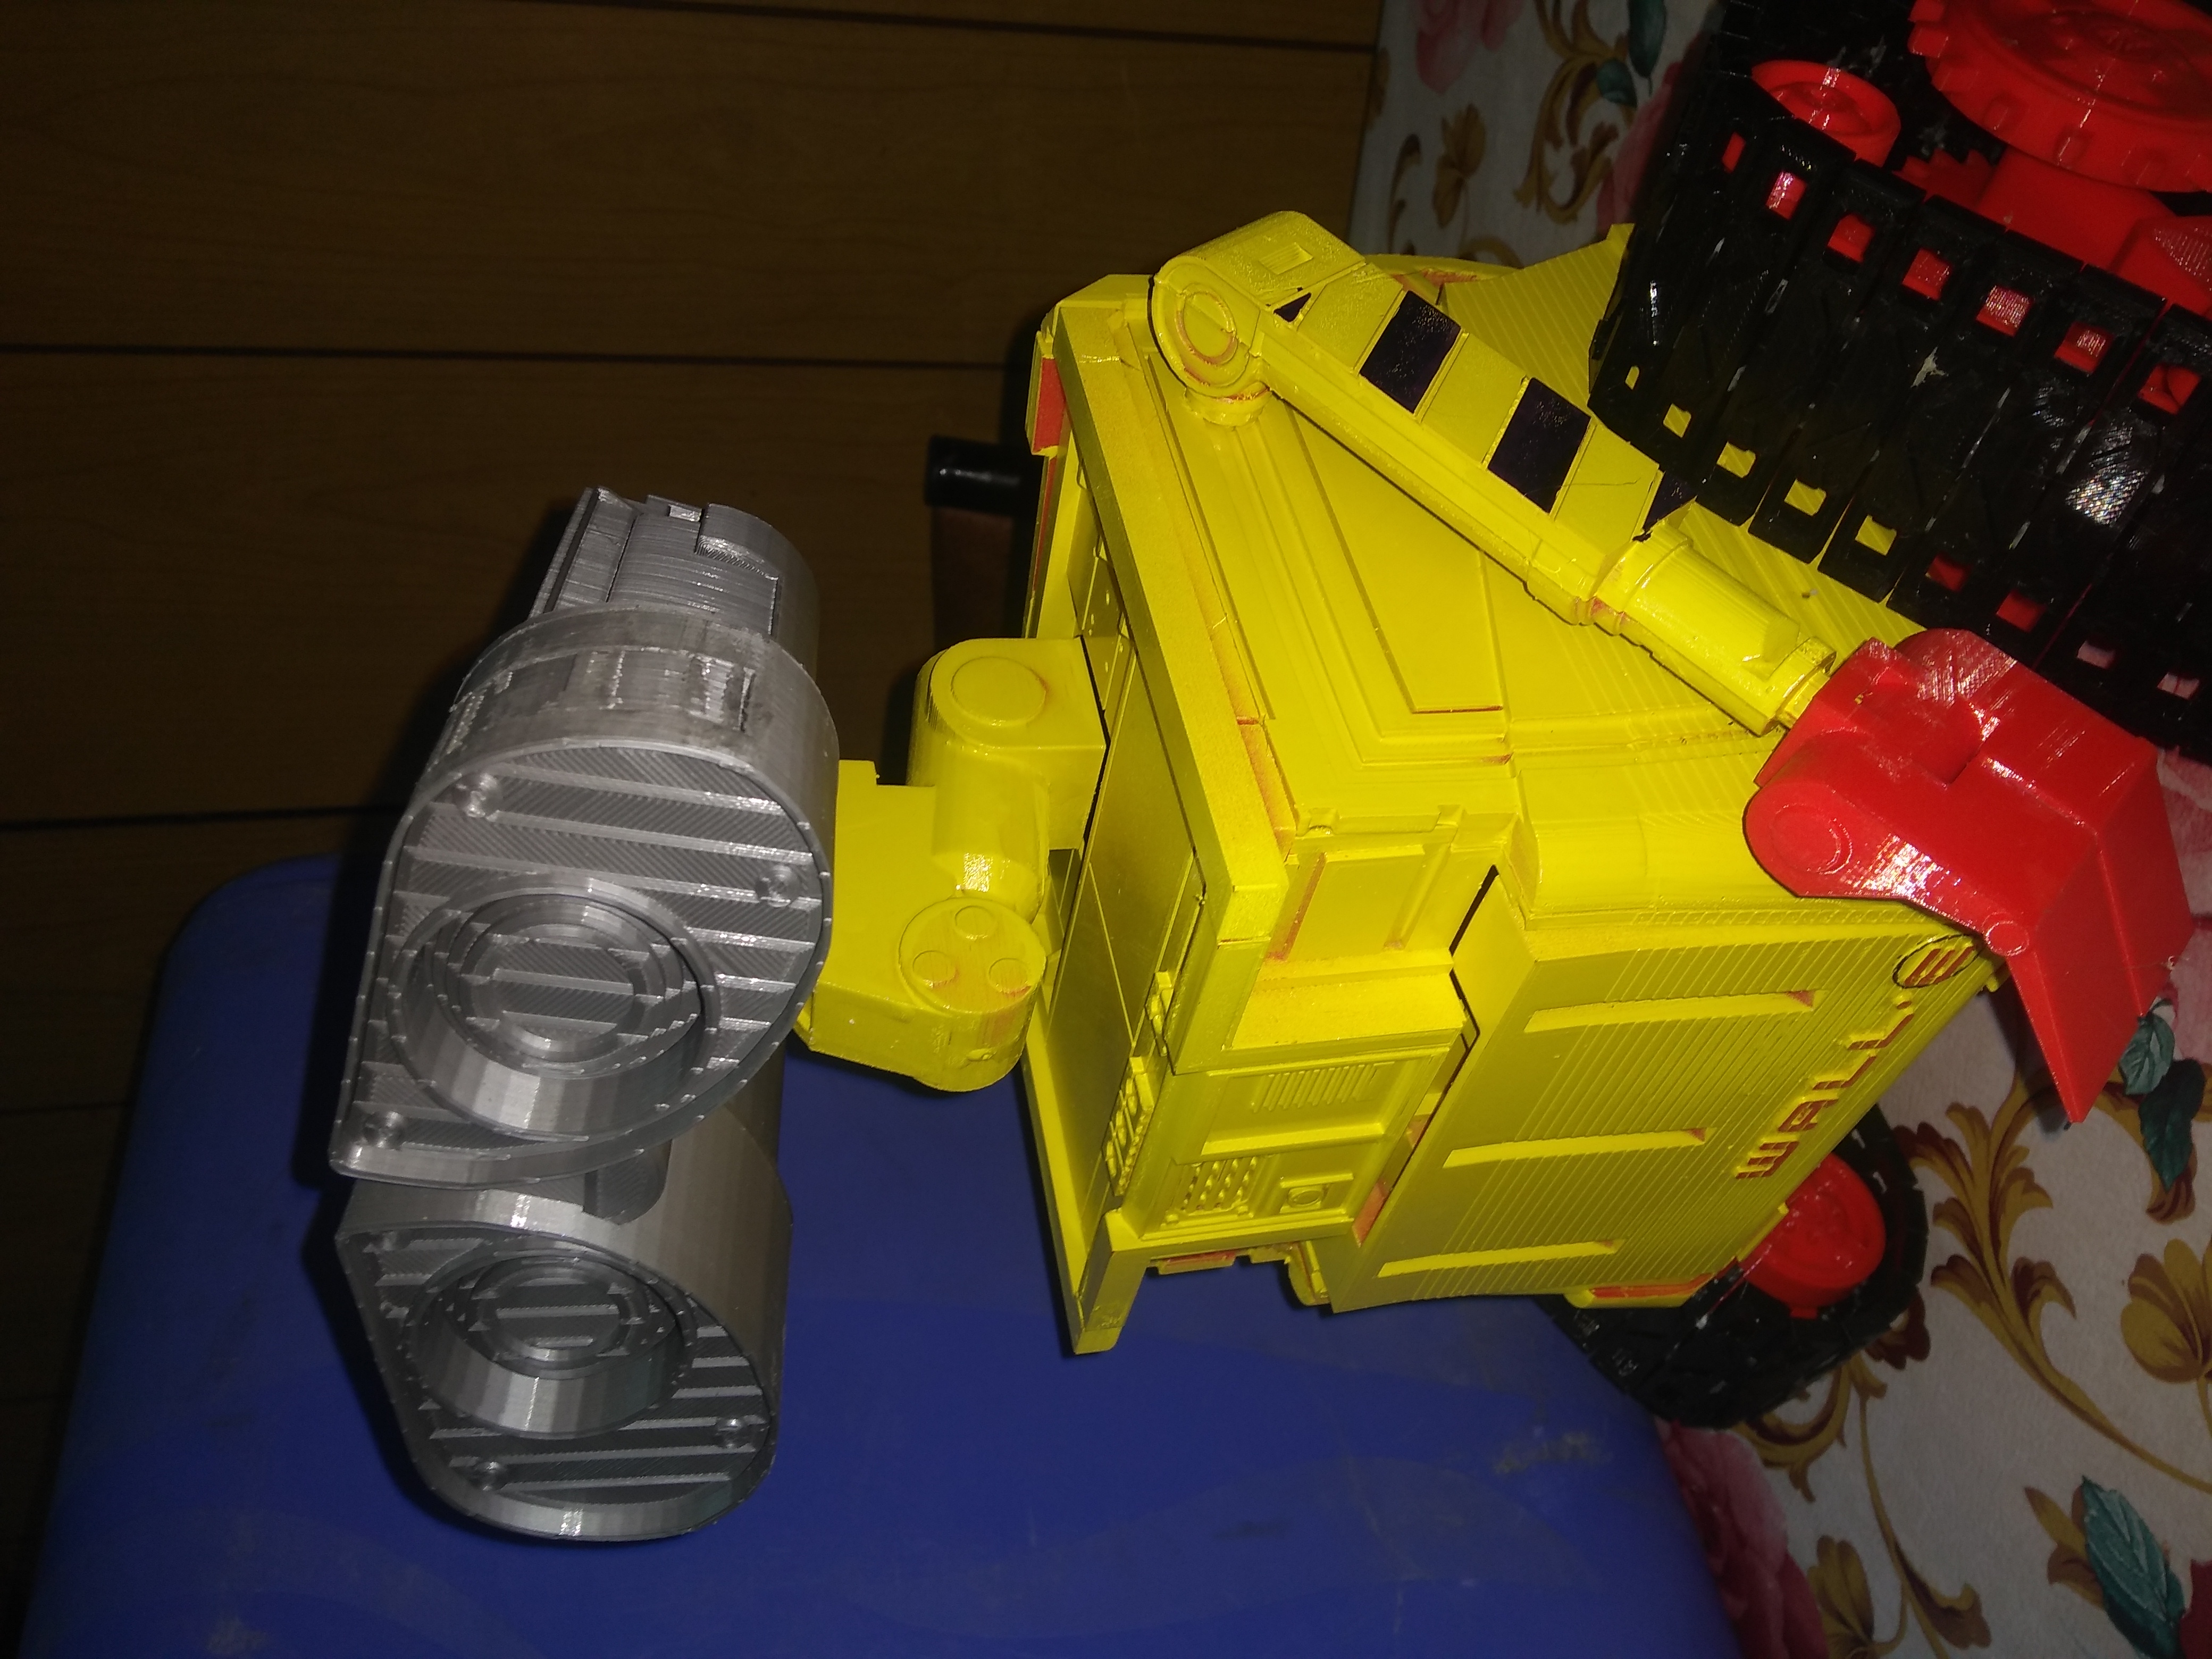
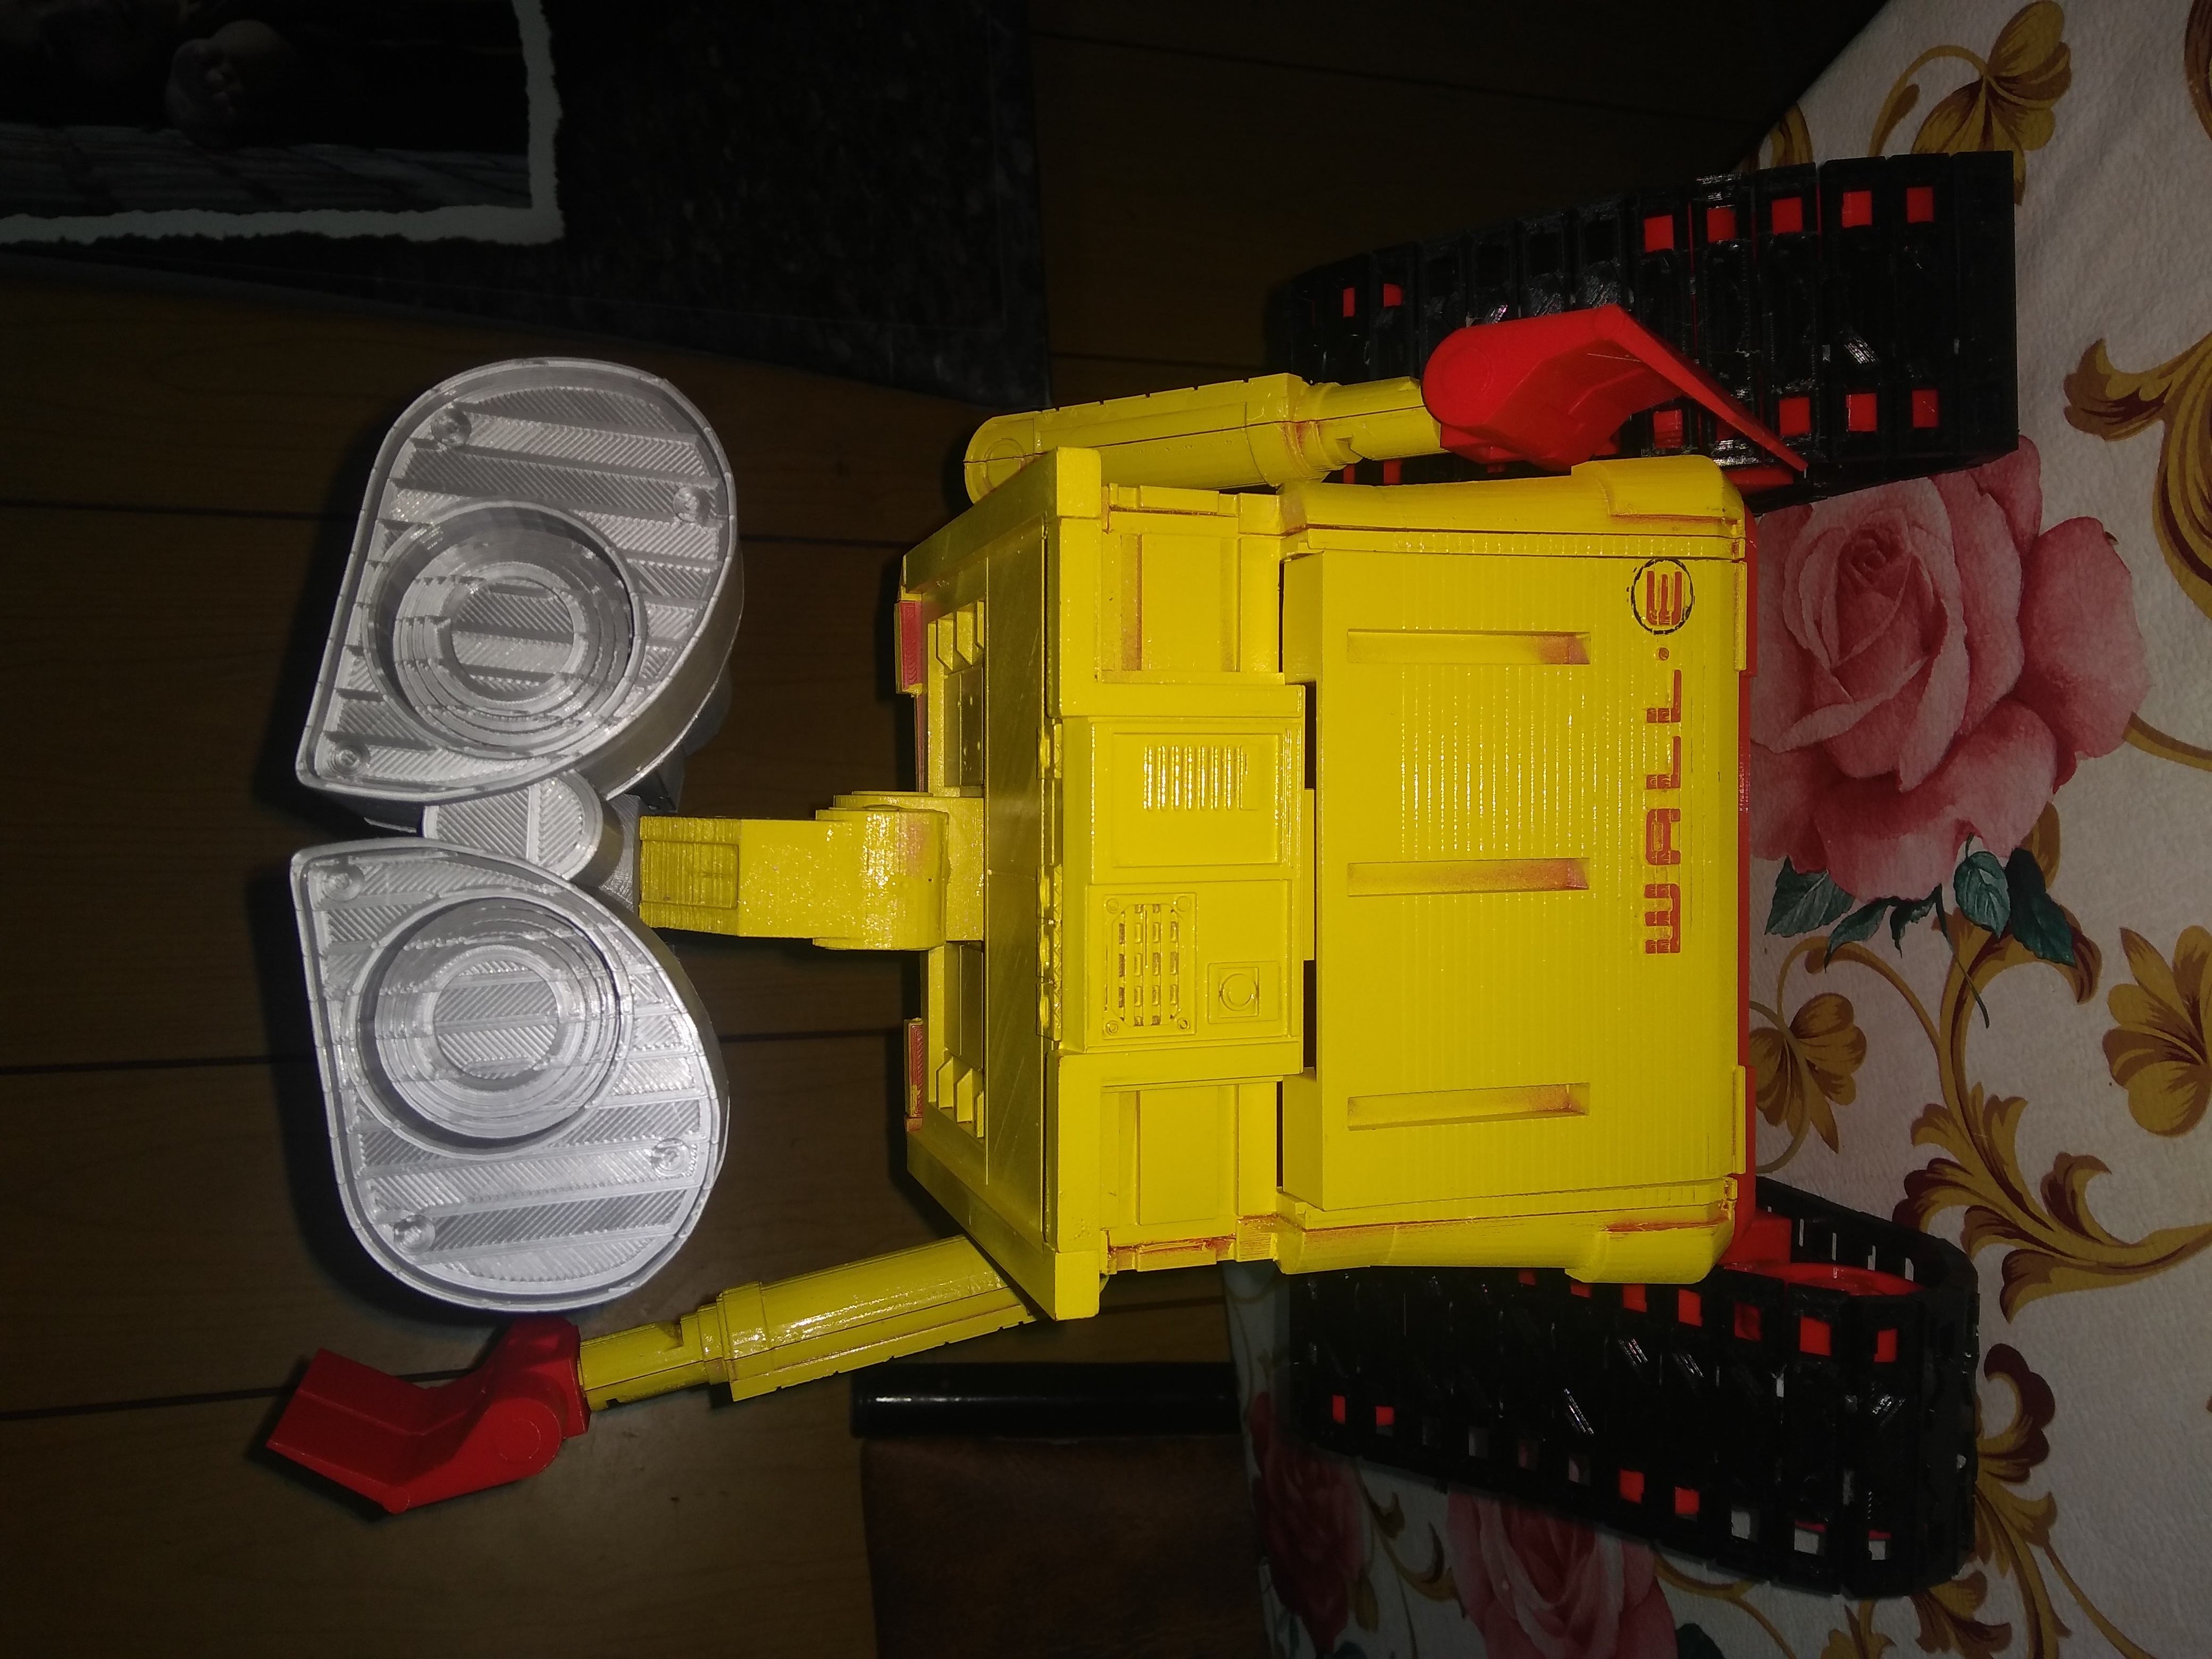
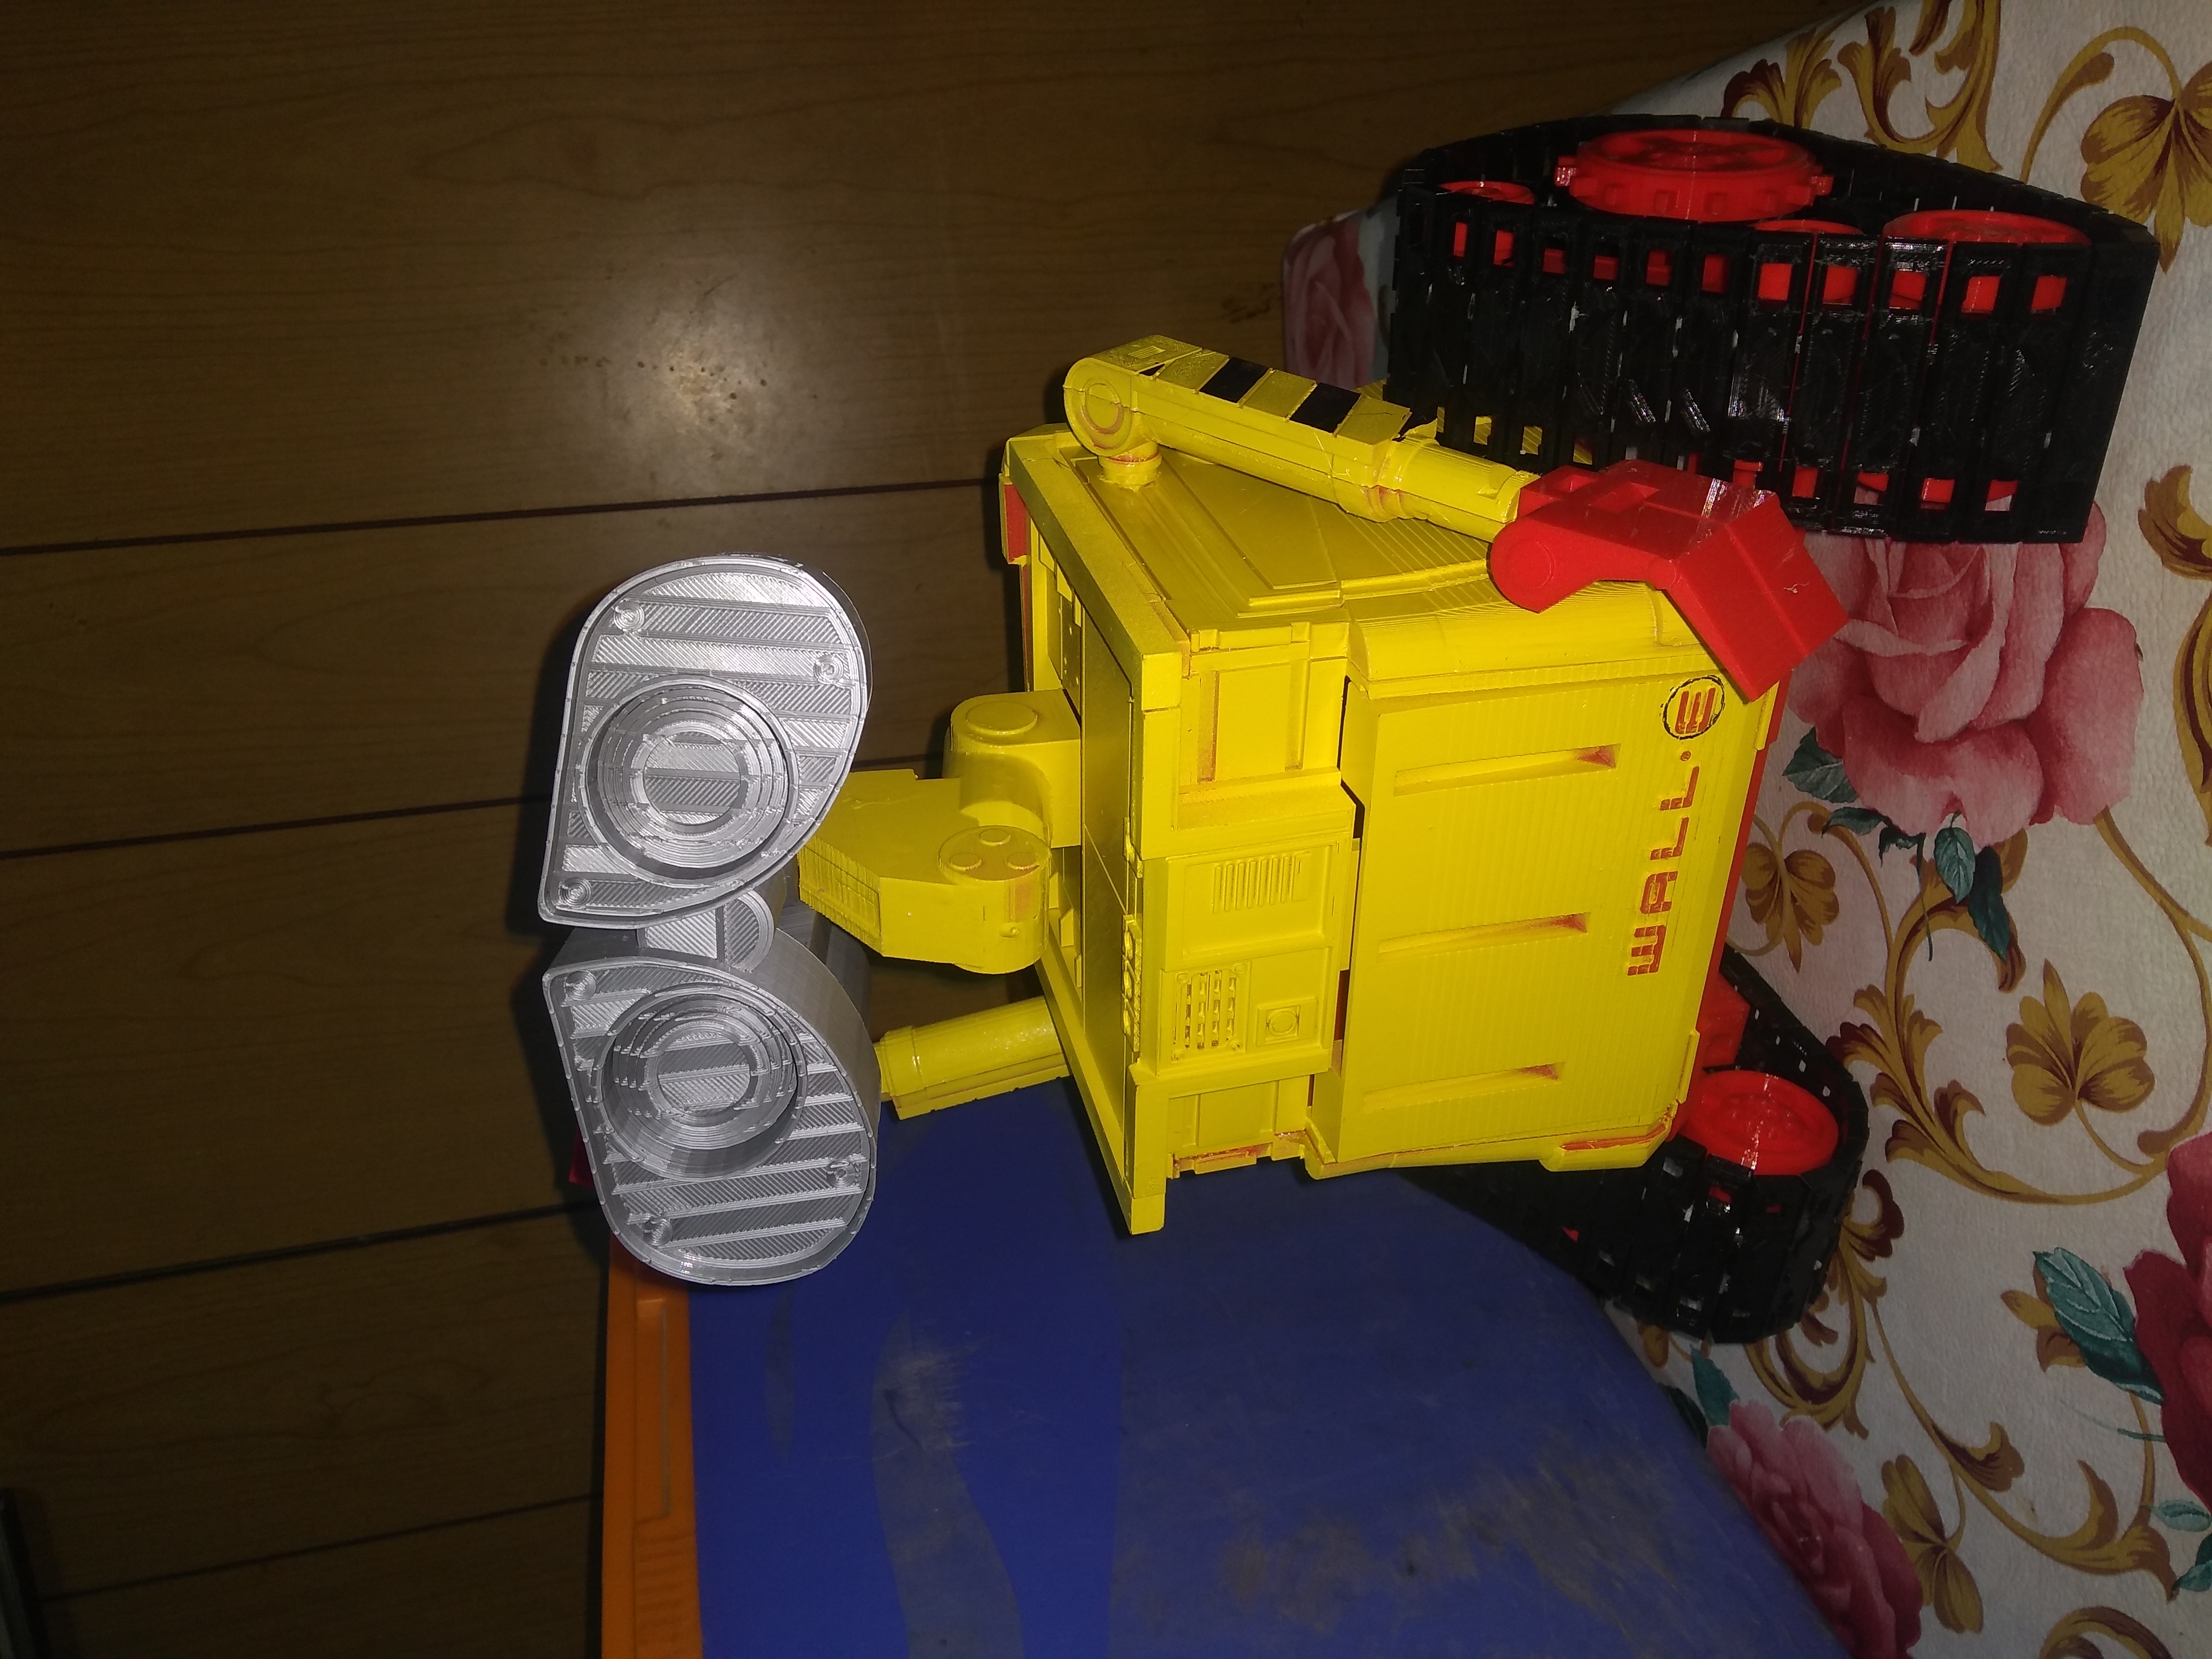
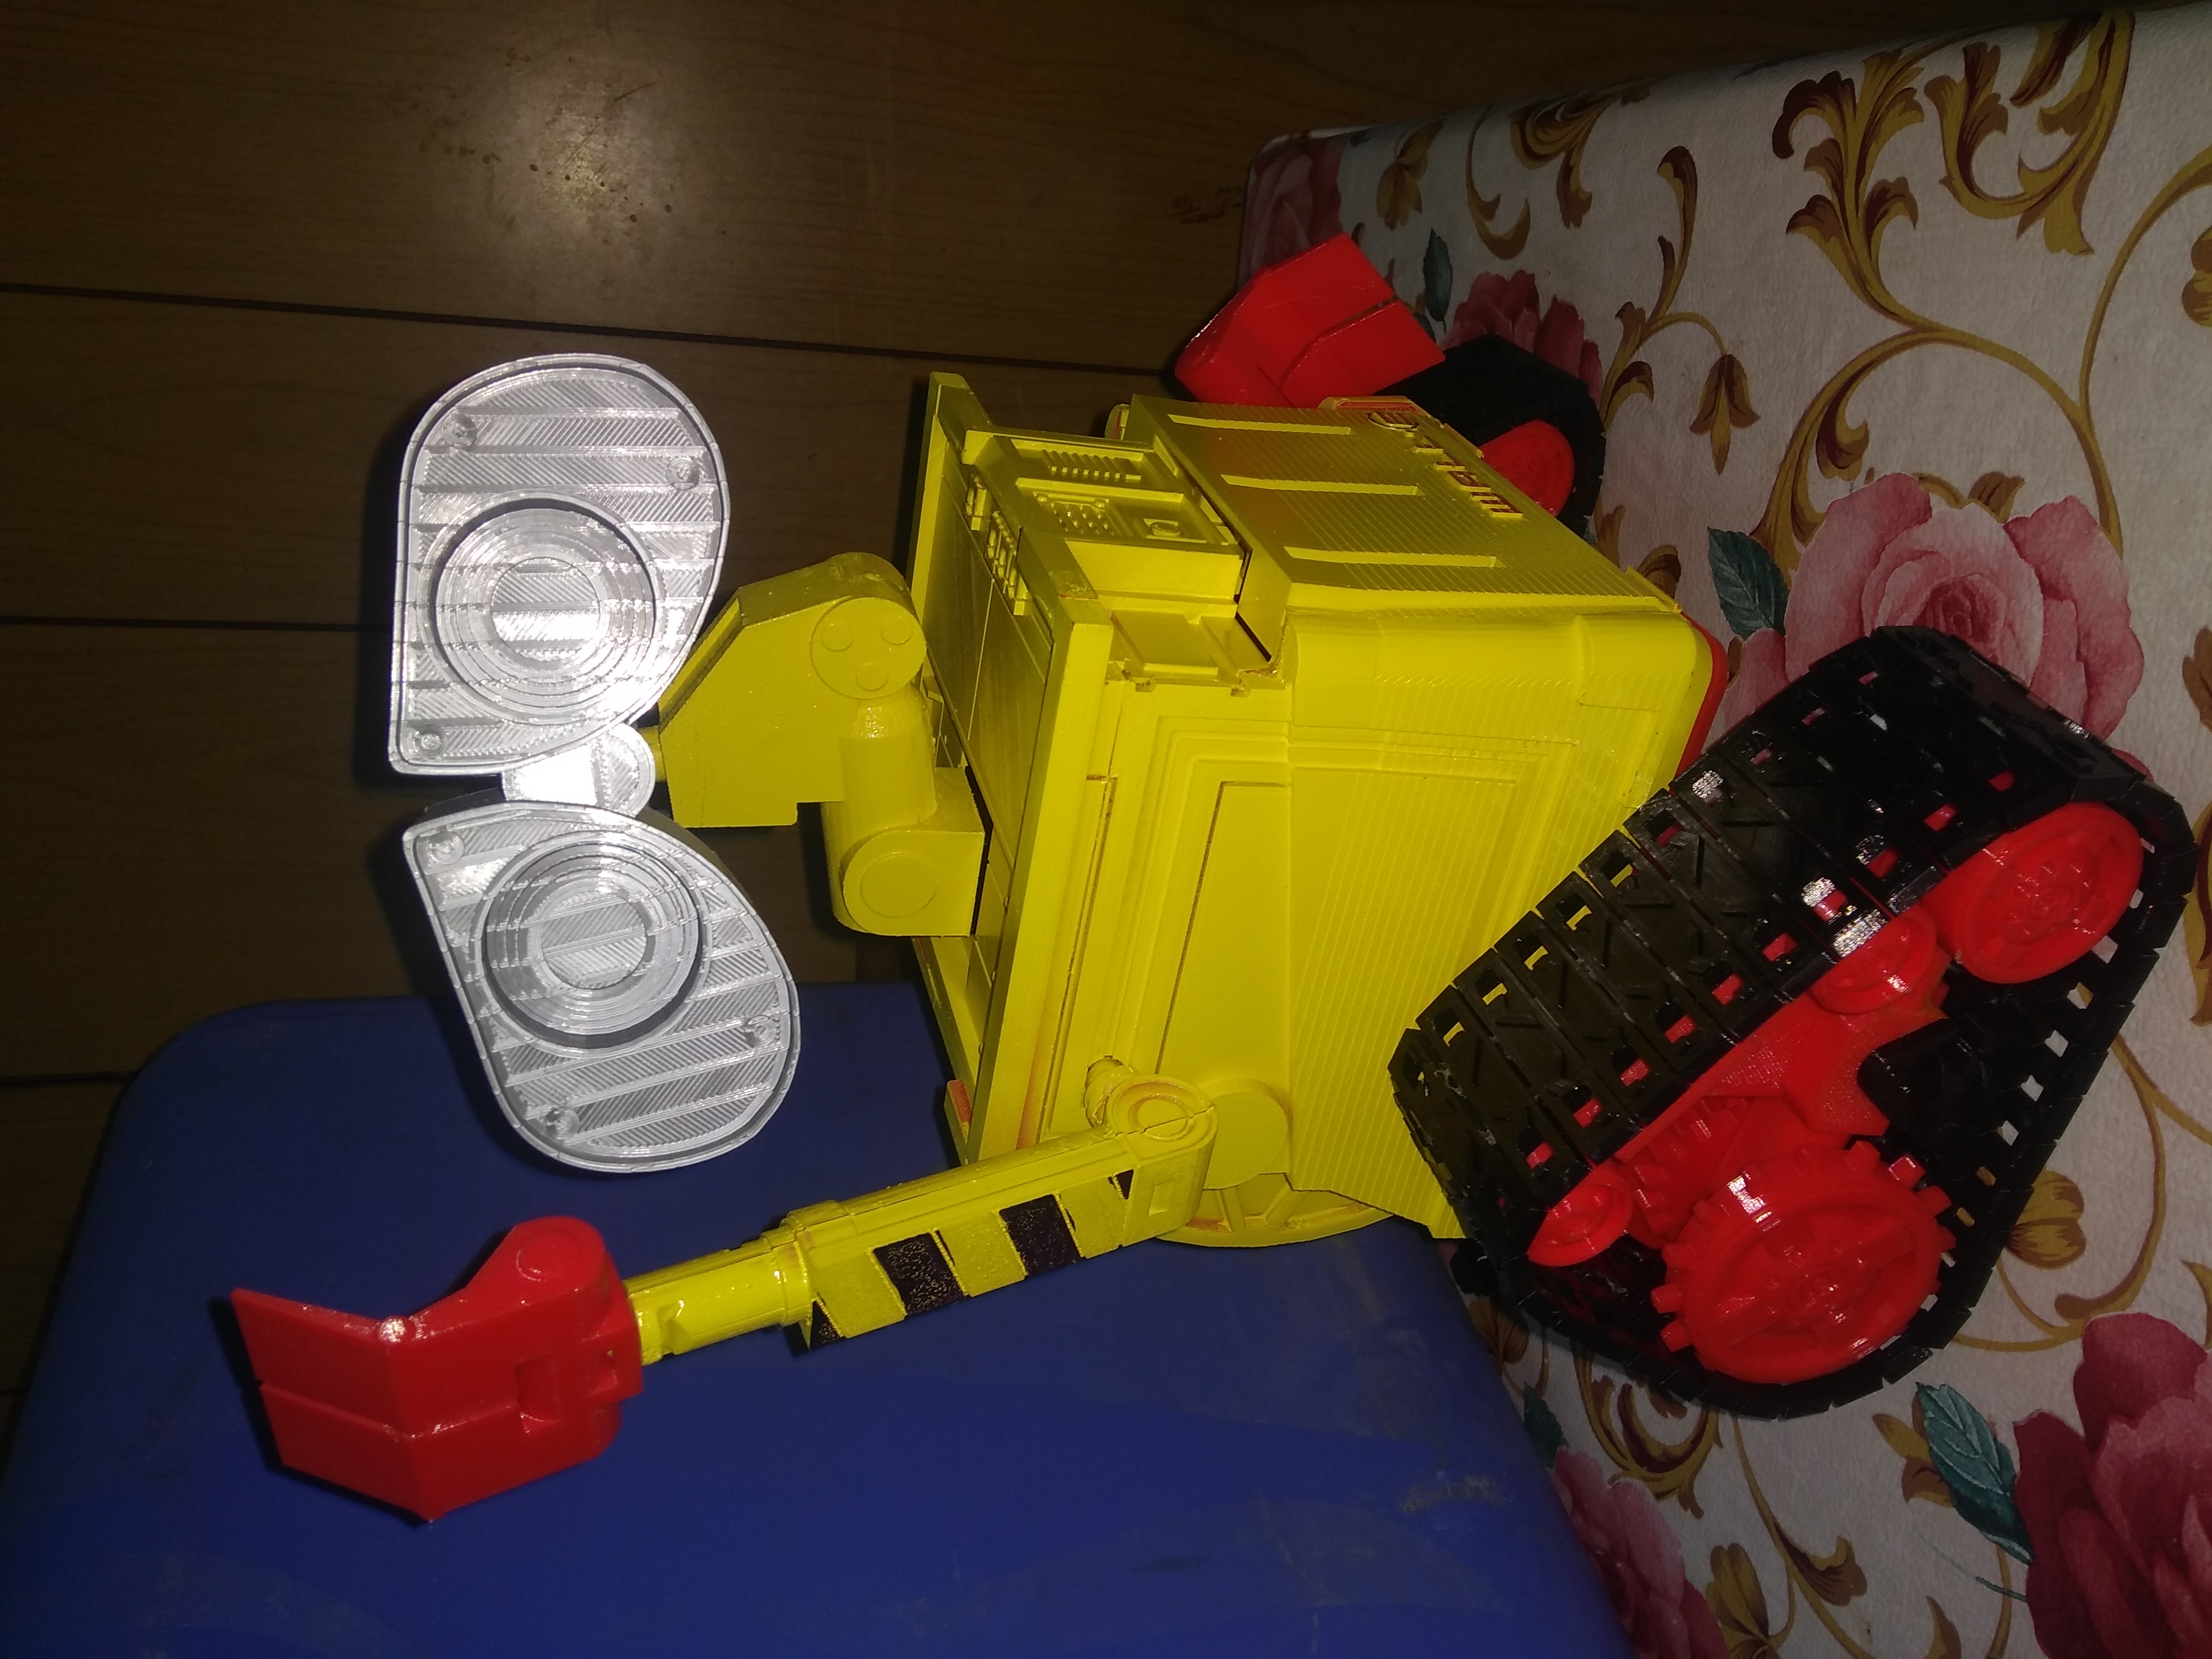
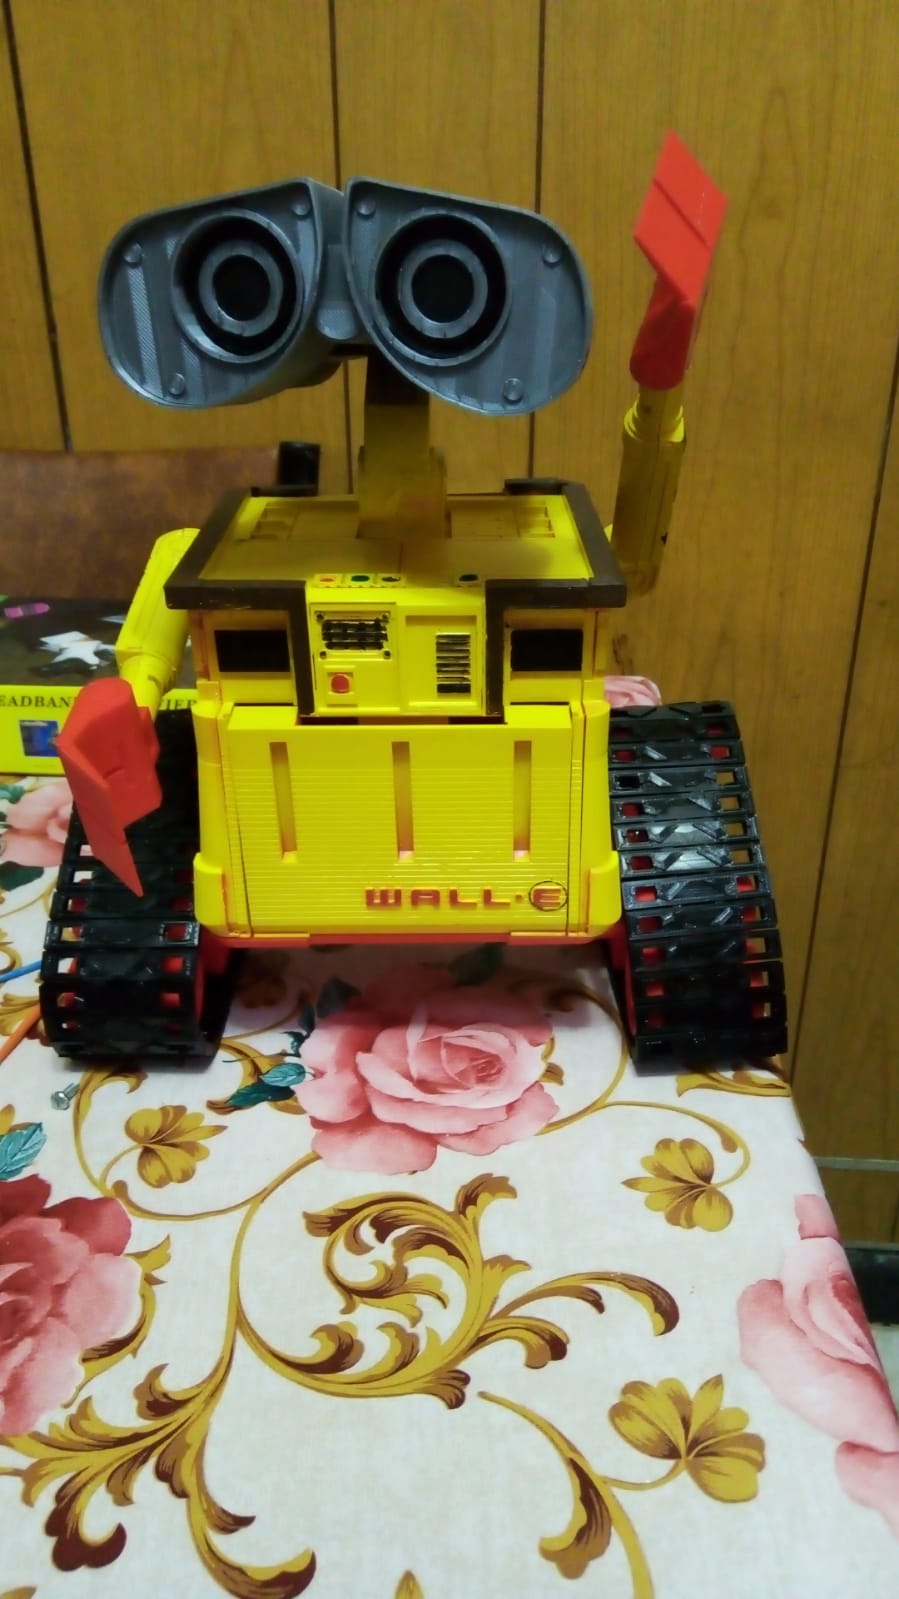
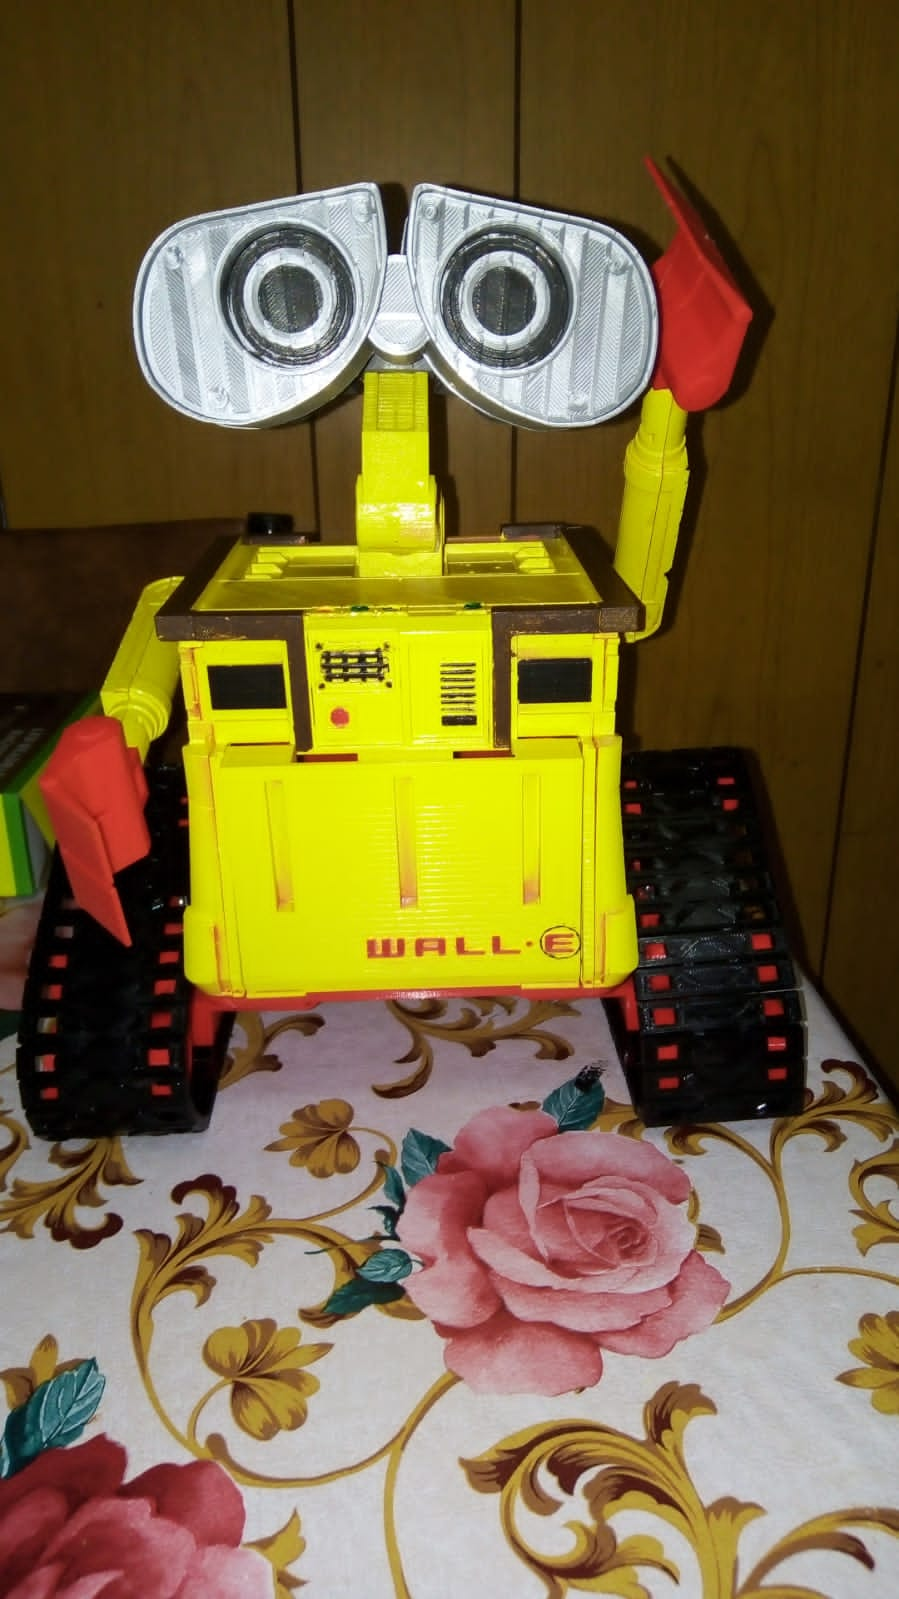
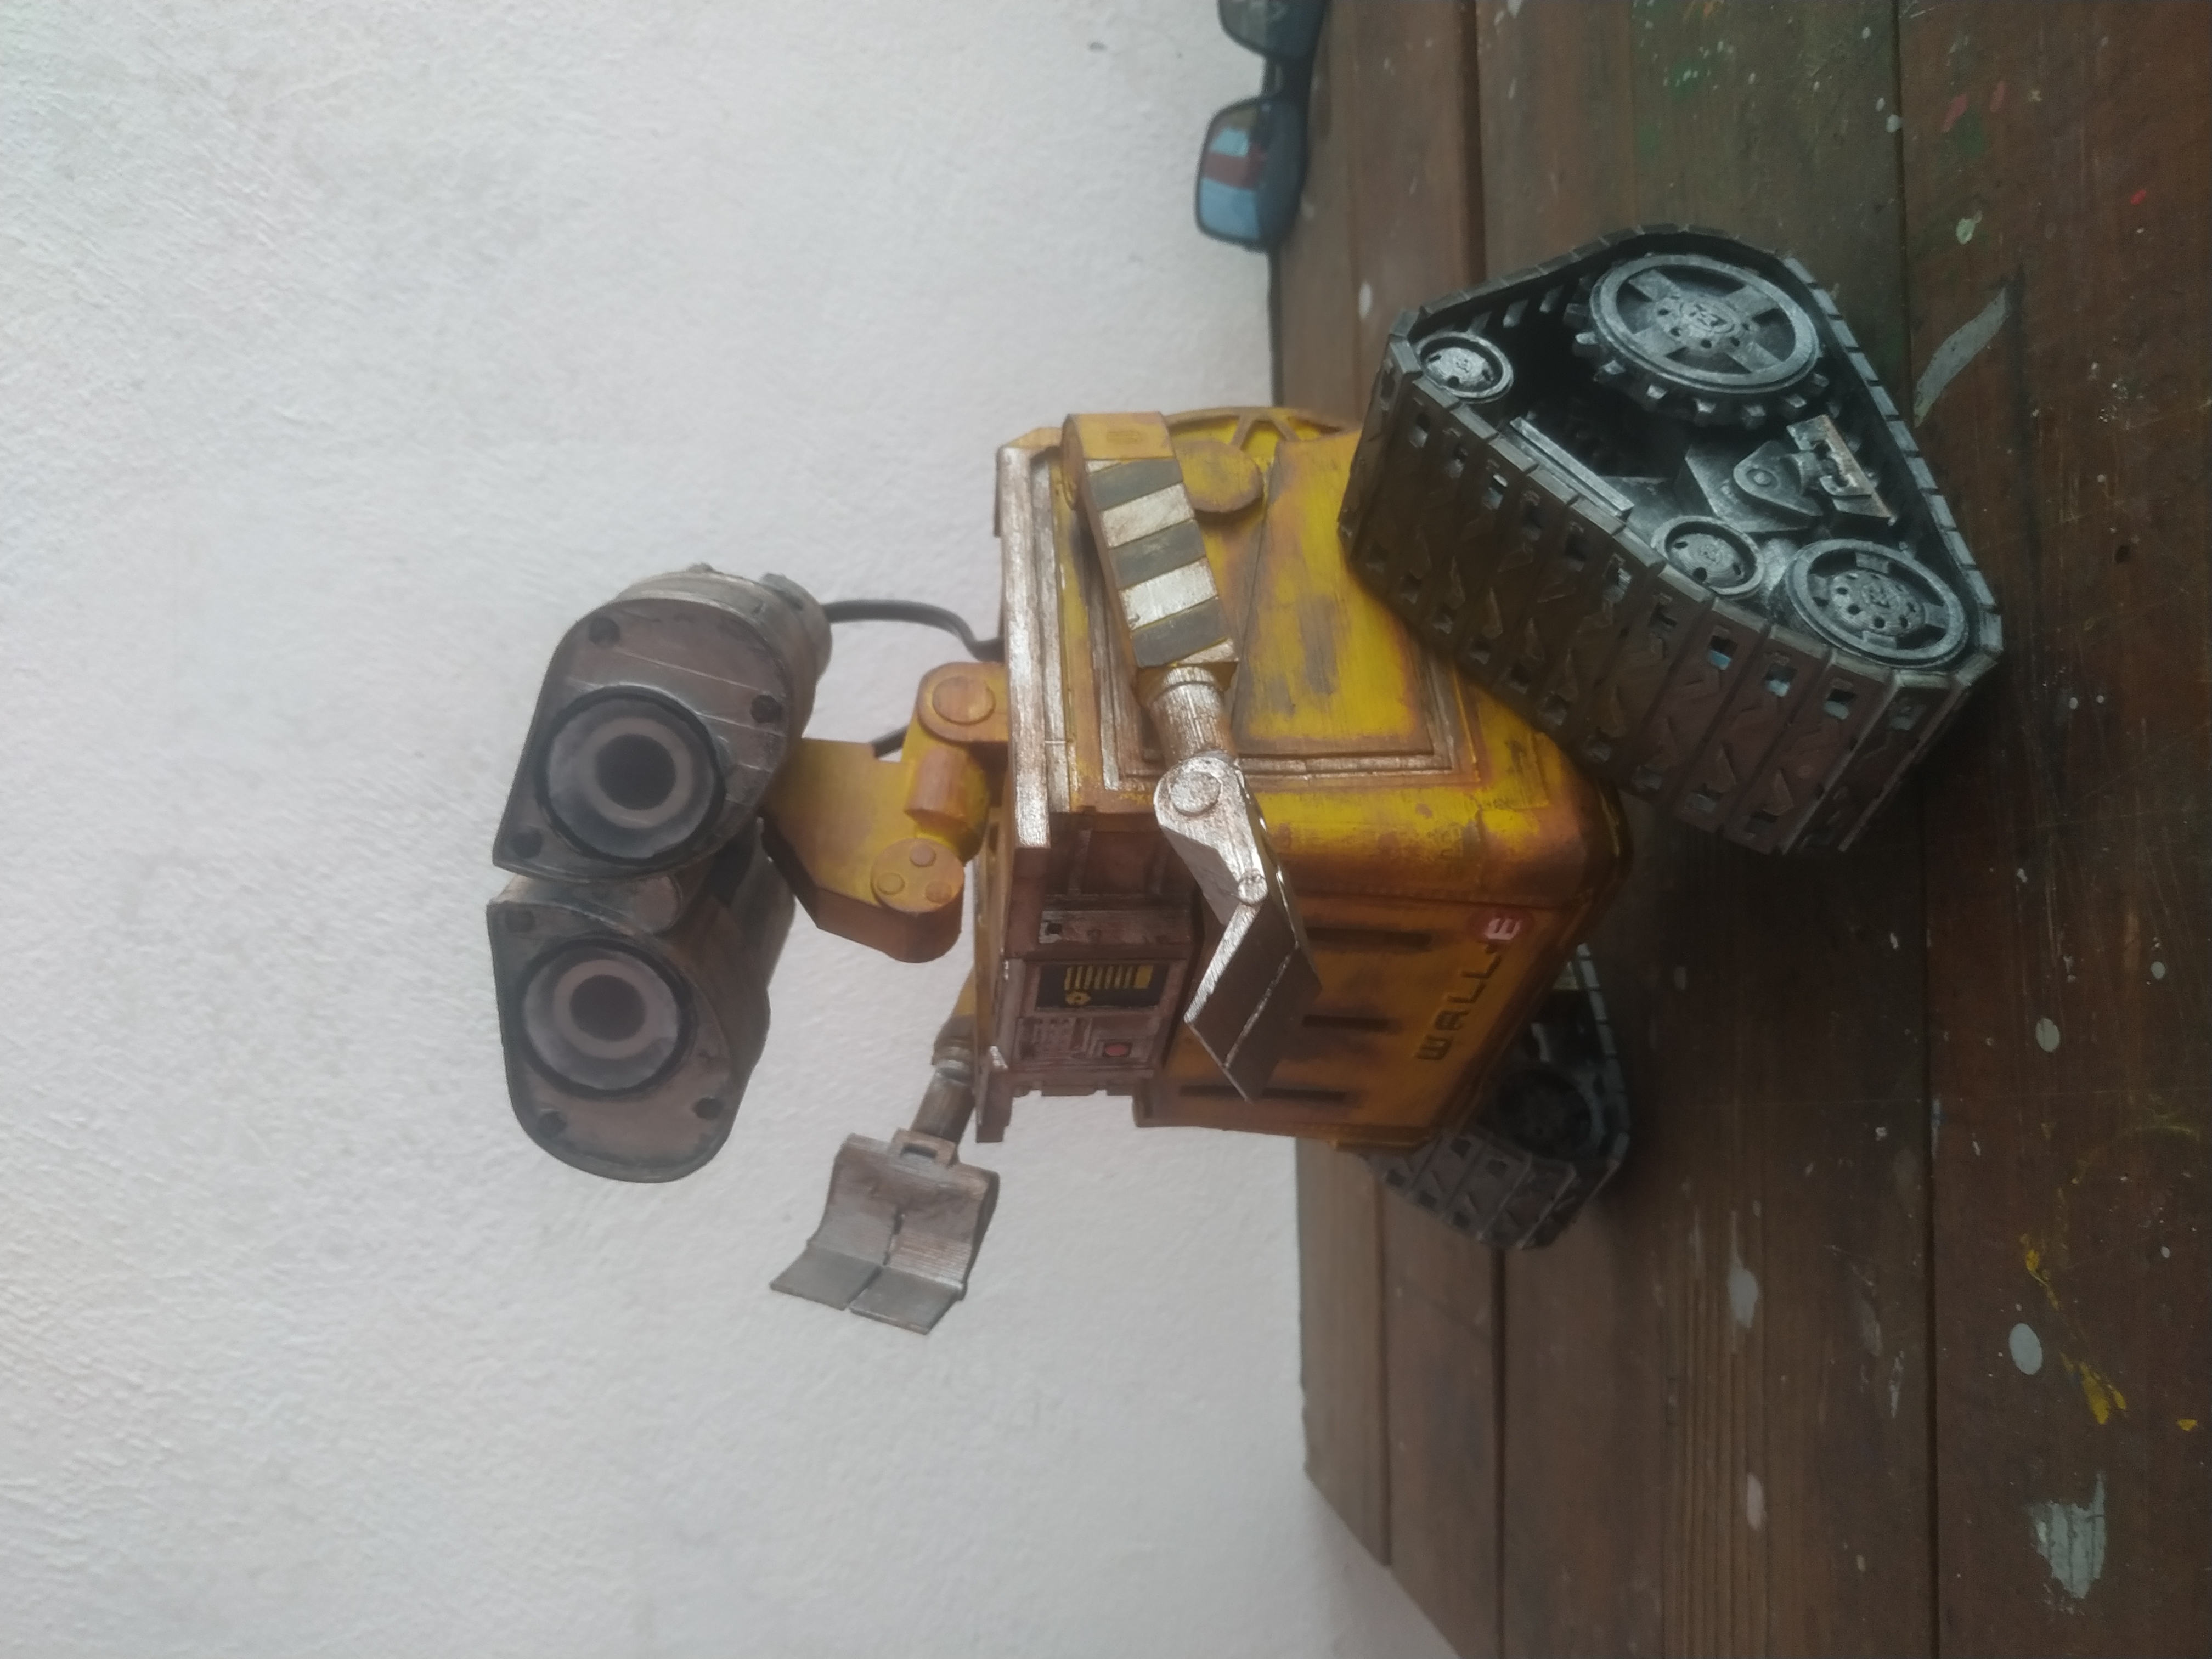
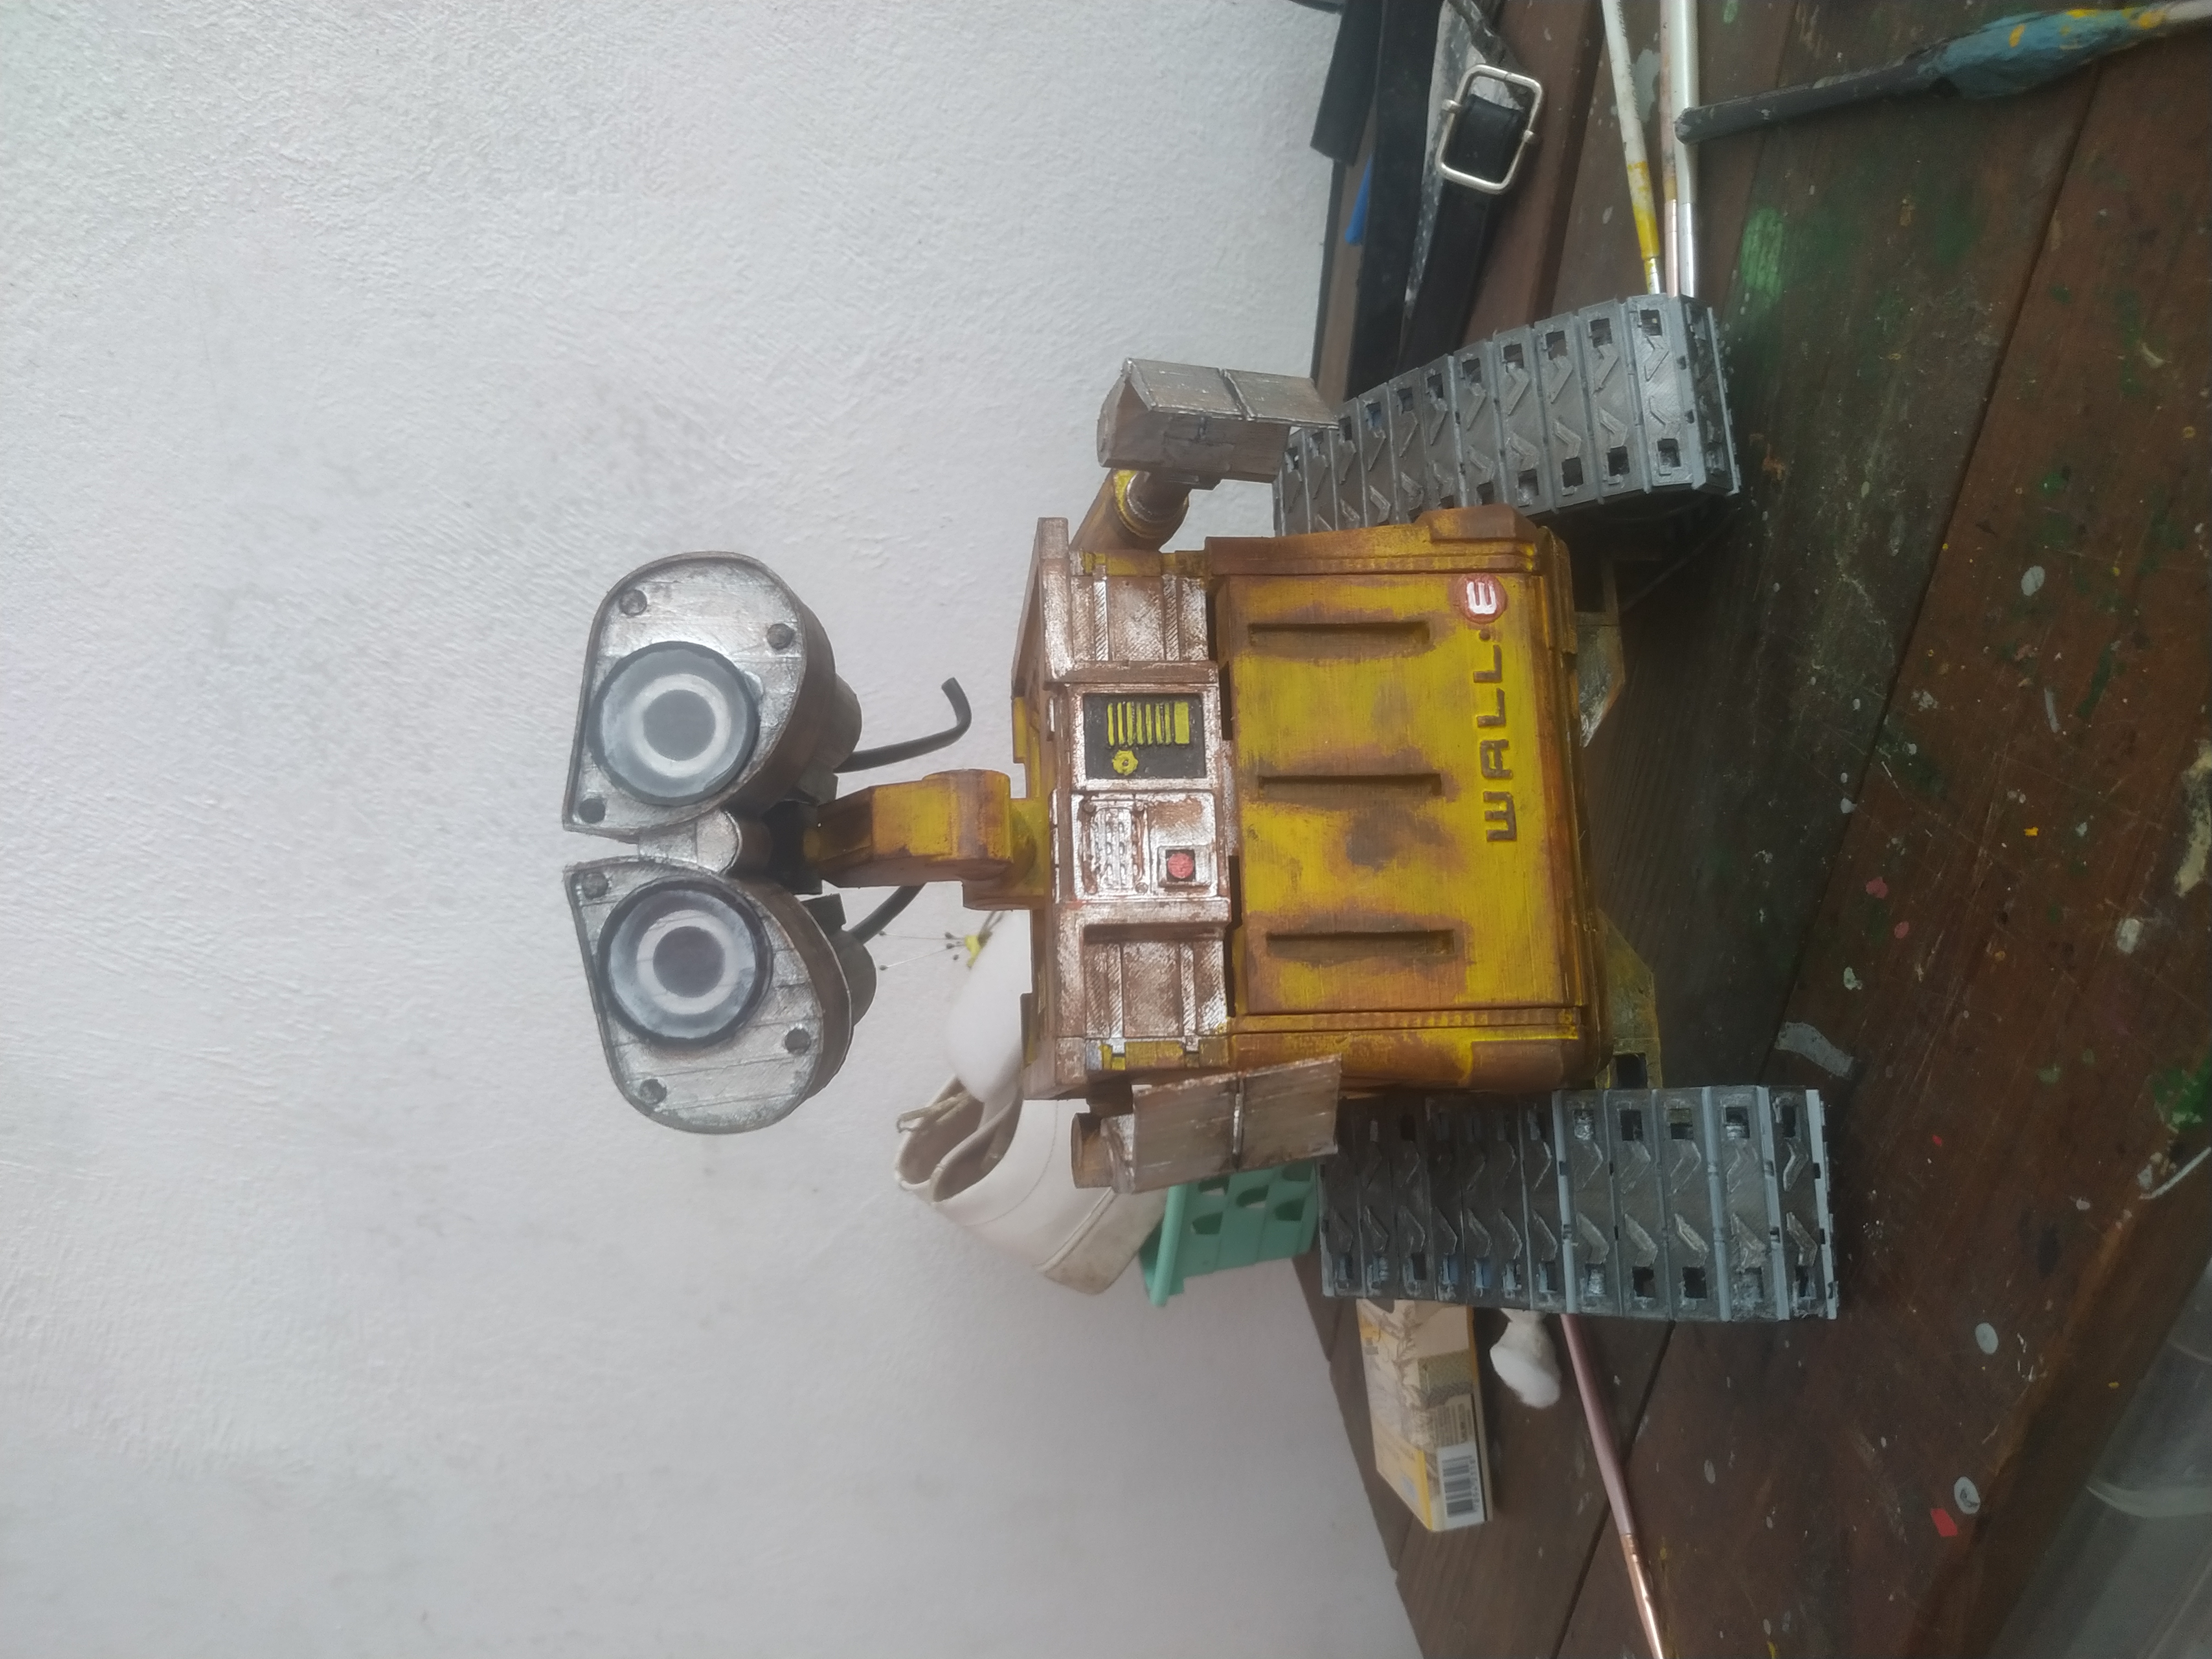
That’s right! It’s finally time for Wall-E. This is a semi-functional Wall-E Robot that I created in Tinkercad, printed out on my Robo3D and painted by my wife using spray painting, airbrush painting and brush painting techniques.
I have links to the files for Wall-E listed below. Please note that there are two versions of some files. These are basically for the electronic and non electronic versions. The only two files with multiple versions are the neck files and the leg bracket files. These files have “Non Electric” in the file name so they’re easy to spot.
In the electronic version of Wall-E there are 43 individual files, 84 main parts, 72 treads, and 144 pins needed. So that's a total of 300 individual parts that need to be printed.
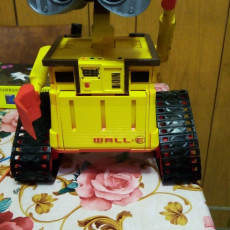
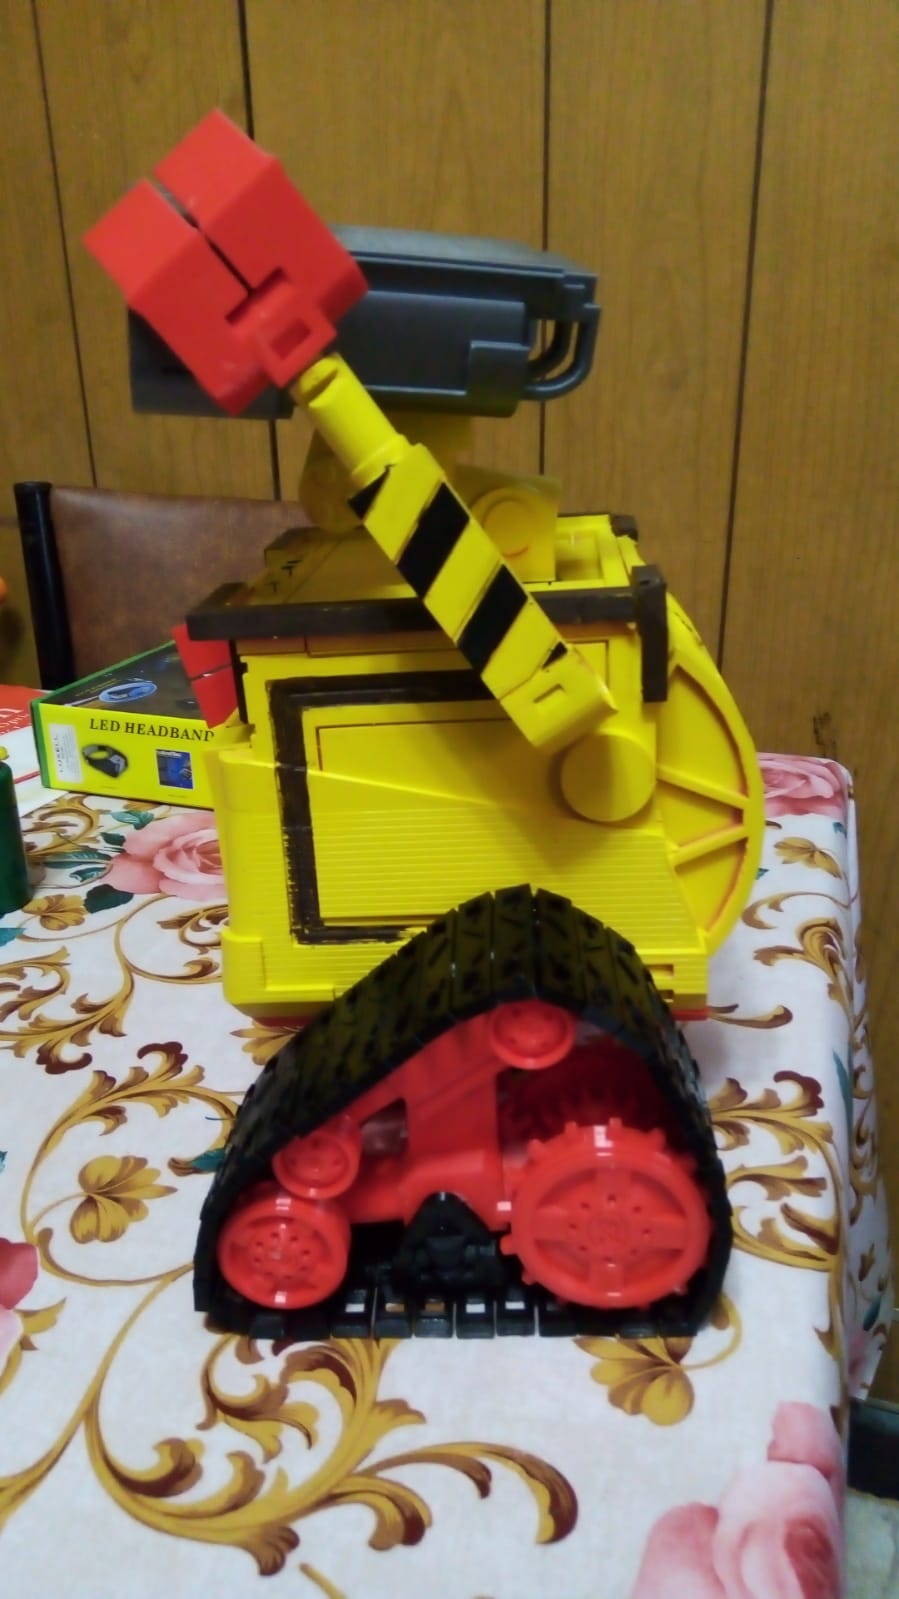
This is a list of the electronics components that I used. However, be aware that the DC motors I chose to drive Wall-E DO NOT work. They don’t have enough torque to drive him. So if you want to try to make this robot work, you’ll either need to redesign the legs/wheel mounts, or you’ll need to find a really high torque motor that is in a micro servo casing. The mounts I have built in fit micro servos specifically and it would be difficult to fit any other sized motors here.
Sub Micro Servo (Neck/Head):
https://www.adafruit.com/products/2201
DC Motors in a Micro Servo Body (Drive Motors):
https://www.adafruit.com/products/2941
There were a few other components I used like an Arduino Uno to control the whole thing, a bluetooth chip to control it with my phone, and a speaker to have him make noises. But these are not specifically fitted in here, so as long as you can fit it in the body, you’ll be good. So you can use your favorite components for this.
I also used #8 ½ inch screws and nuts to put him together and parts are fitted for these screws specifically. You’ll need roughly 30 screws for this. Most of the time the screws will screw right into the plastic and you won’t need the nuts, but most places have the ability to insert nuts if needed. Up to you.
Also some of the STLs will need to be printed more than once to complete Wall-E so I’ll put the quantity needed in the STL file name.
I really hope you enjoyed this project. Let me know what you thought. Happy printing. :)
The Non Electronic files are added now. It turns out I only needed to change the neck piece out. So instead of printing all the pieces with "neck" starting them. You can just download the "neck non electronic" file and that'll take care of the whole neck. The other part I was considering changing was the motor mounts for the legs but I would have to redesign that whole section so the parts will work without motors, there will just be a small gap underneath him.


| Date published | 17/10/2016 |
| Technologie | FDM |

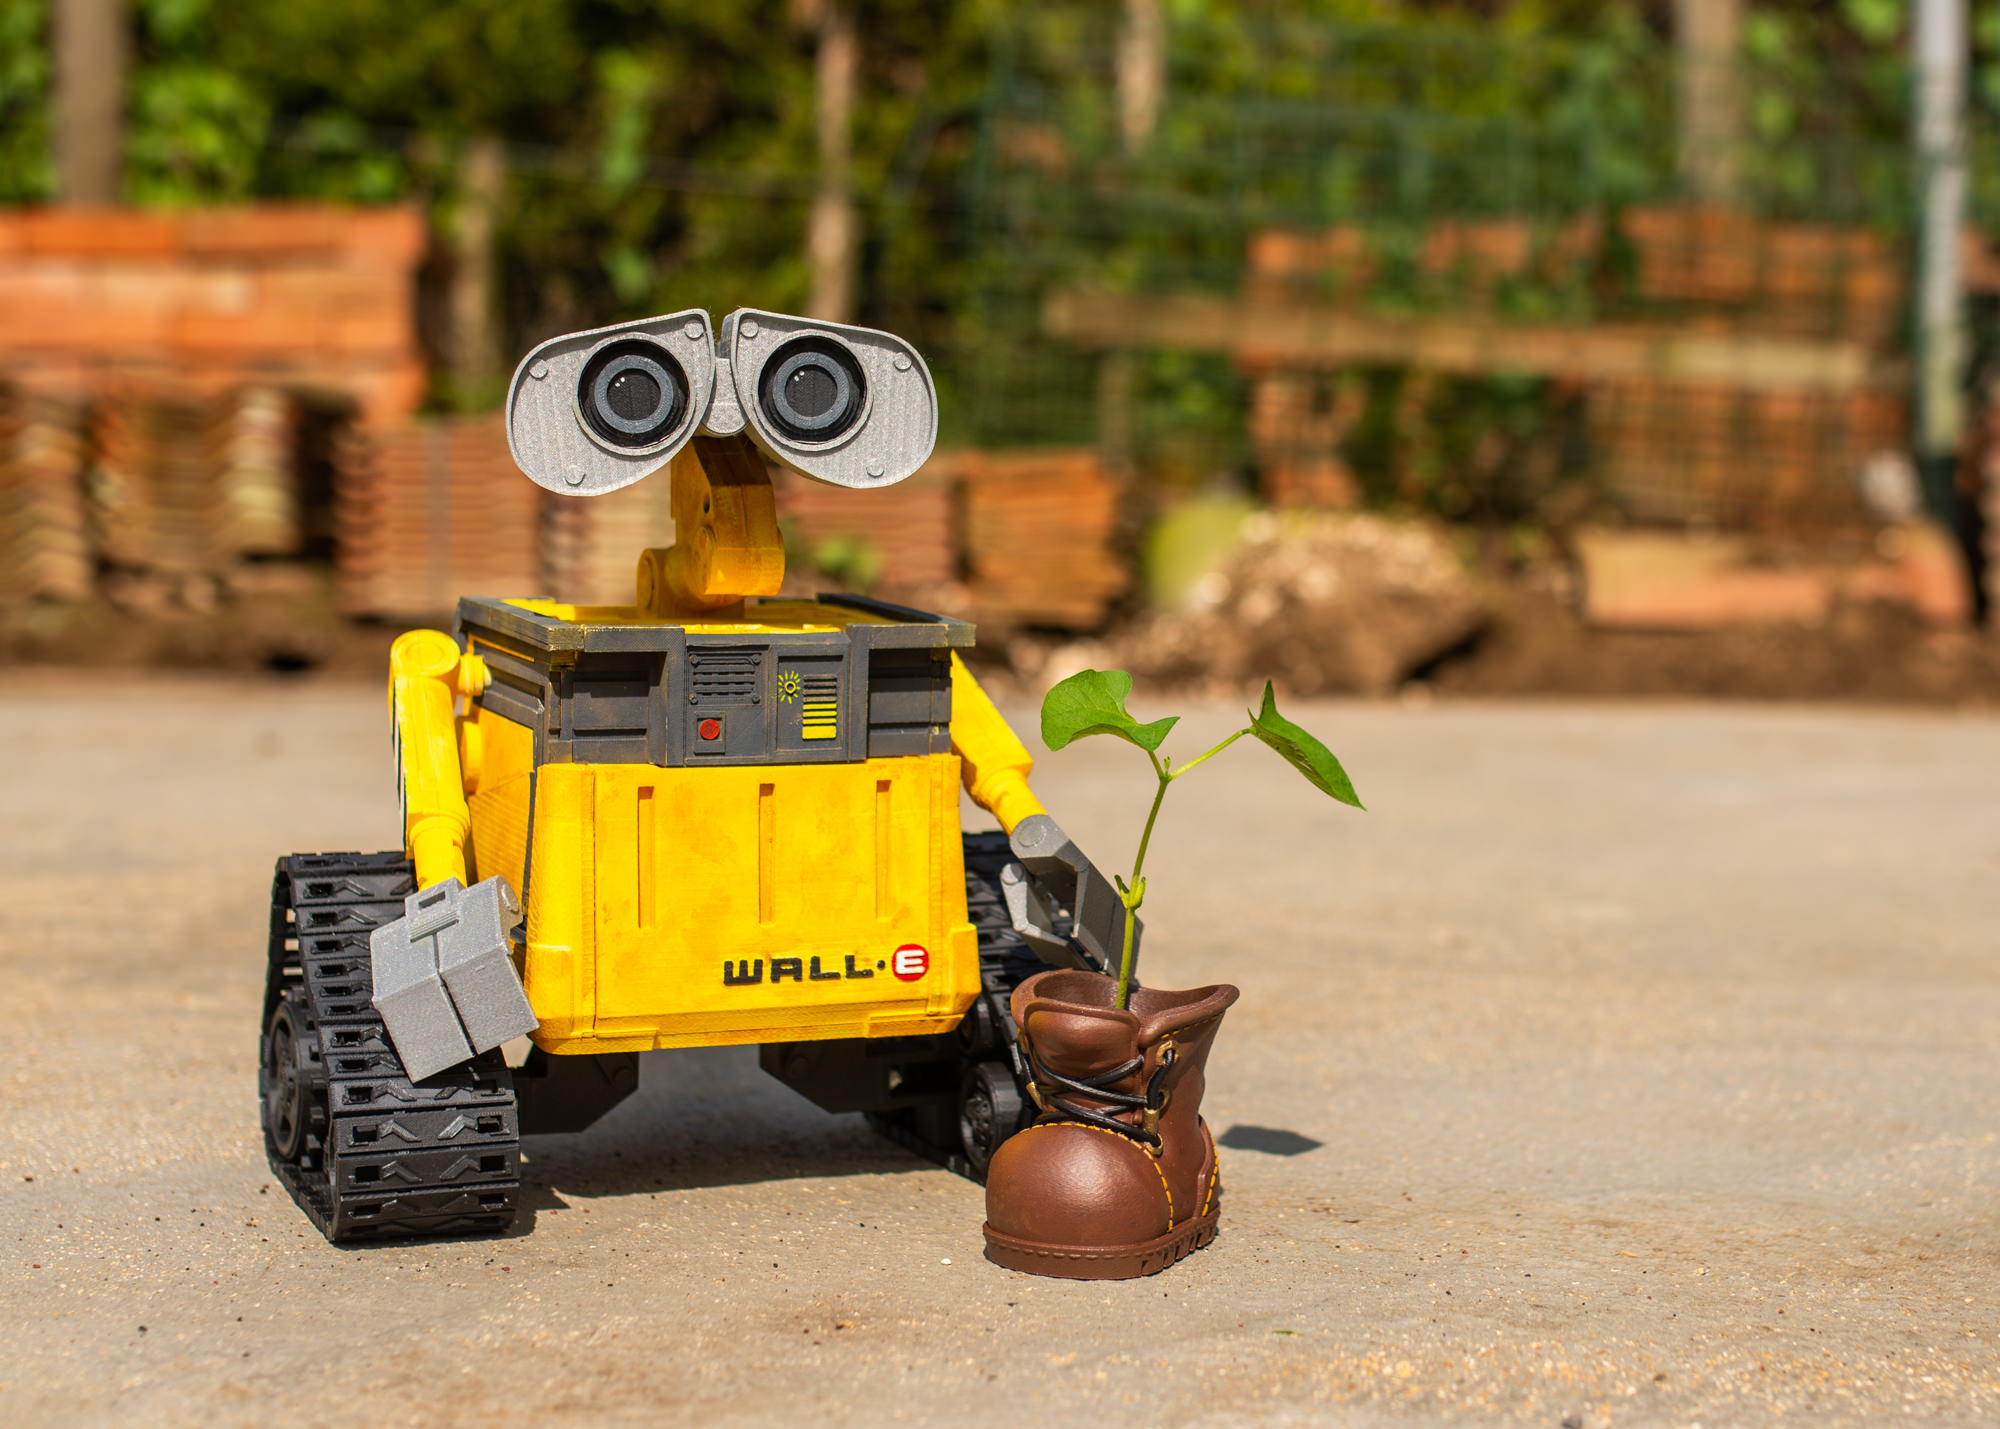


The complete Timelapse of the printing : https://www.youtube.com/watch?v=49Le8H4fih8 Some issues during assembly because the model is not fully finished but i have an another beautiful Wall-e at home now :) Printer : B-Velta (https://www.velta3d.com/) Filaments used : Arianeplast 3D Filaments - PLA grey, black & White (https://www.arianeplast.com) ICE Filaments - PLA Yellow (https://www.amazon.com) Spray for : Glue Spray Velta3D Scale : 100% Size of Wall-e : 190x290x320 mm Nozzle : 0.4 mm Layers : 0.2 mm Temp : 200/65 °C Infill : Fast HonneyComb 15 / 25% General Speed : 55 mm/s Total print time : 136H