Lieutenant Jila


Lieutenant Jila
Published 2022-06-21T09:42:52+00:00
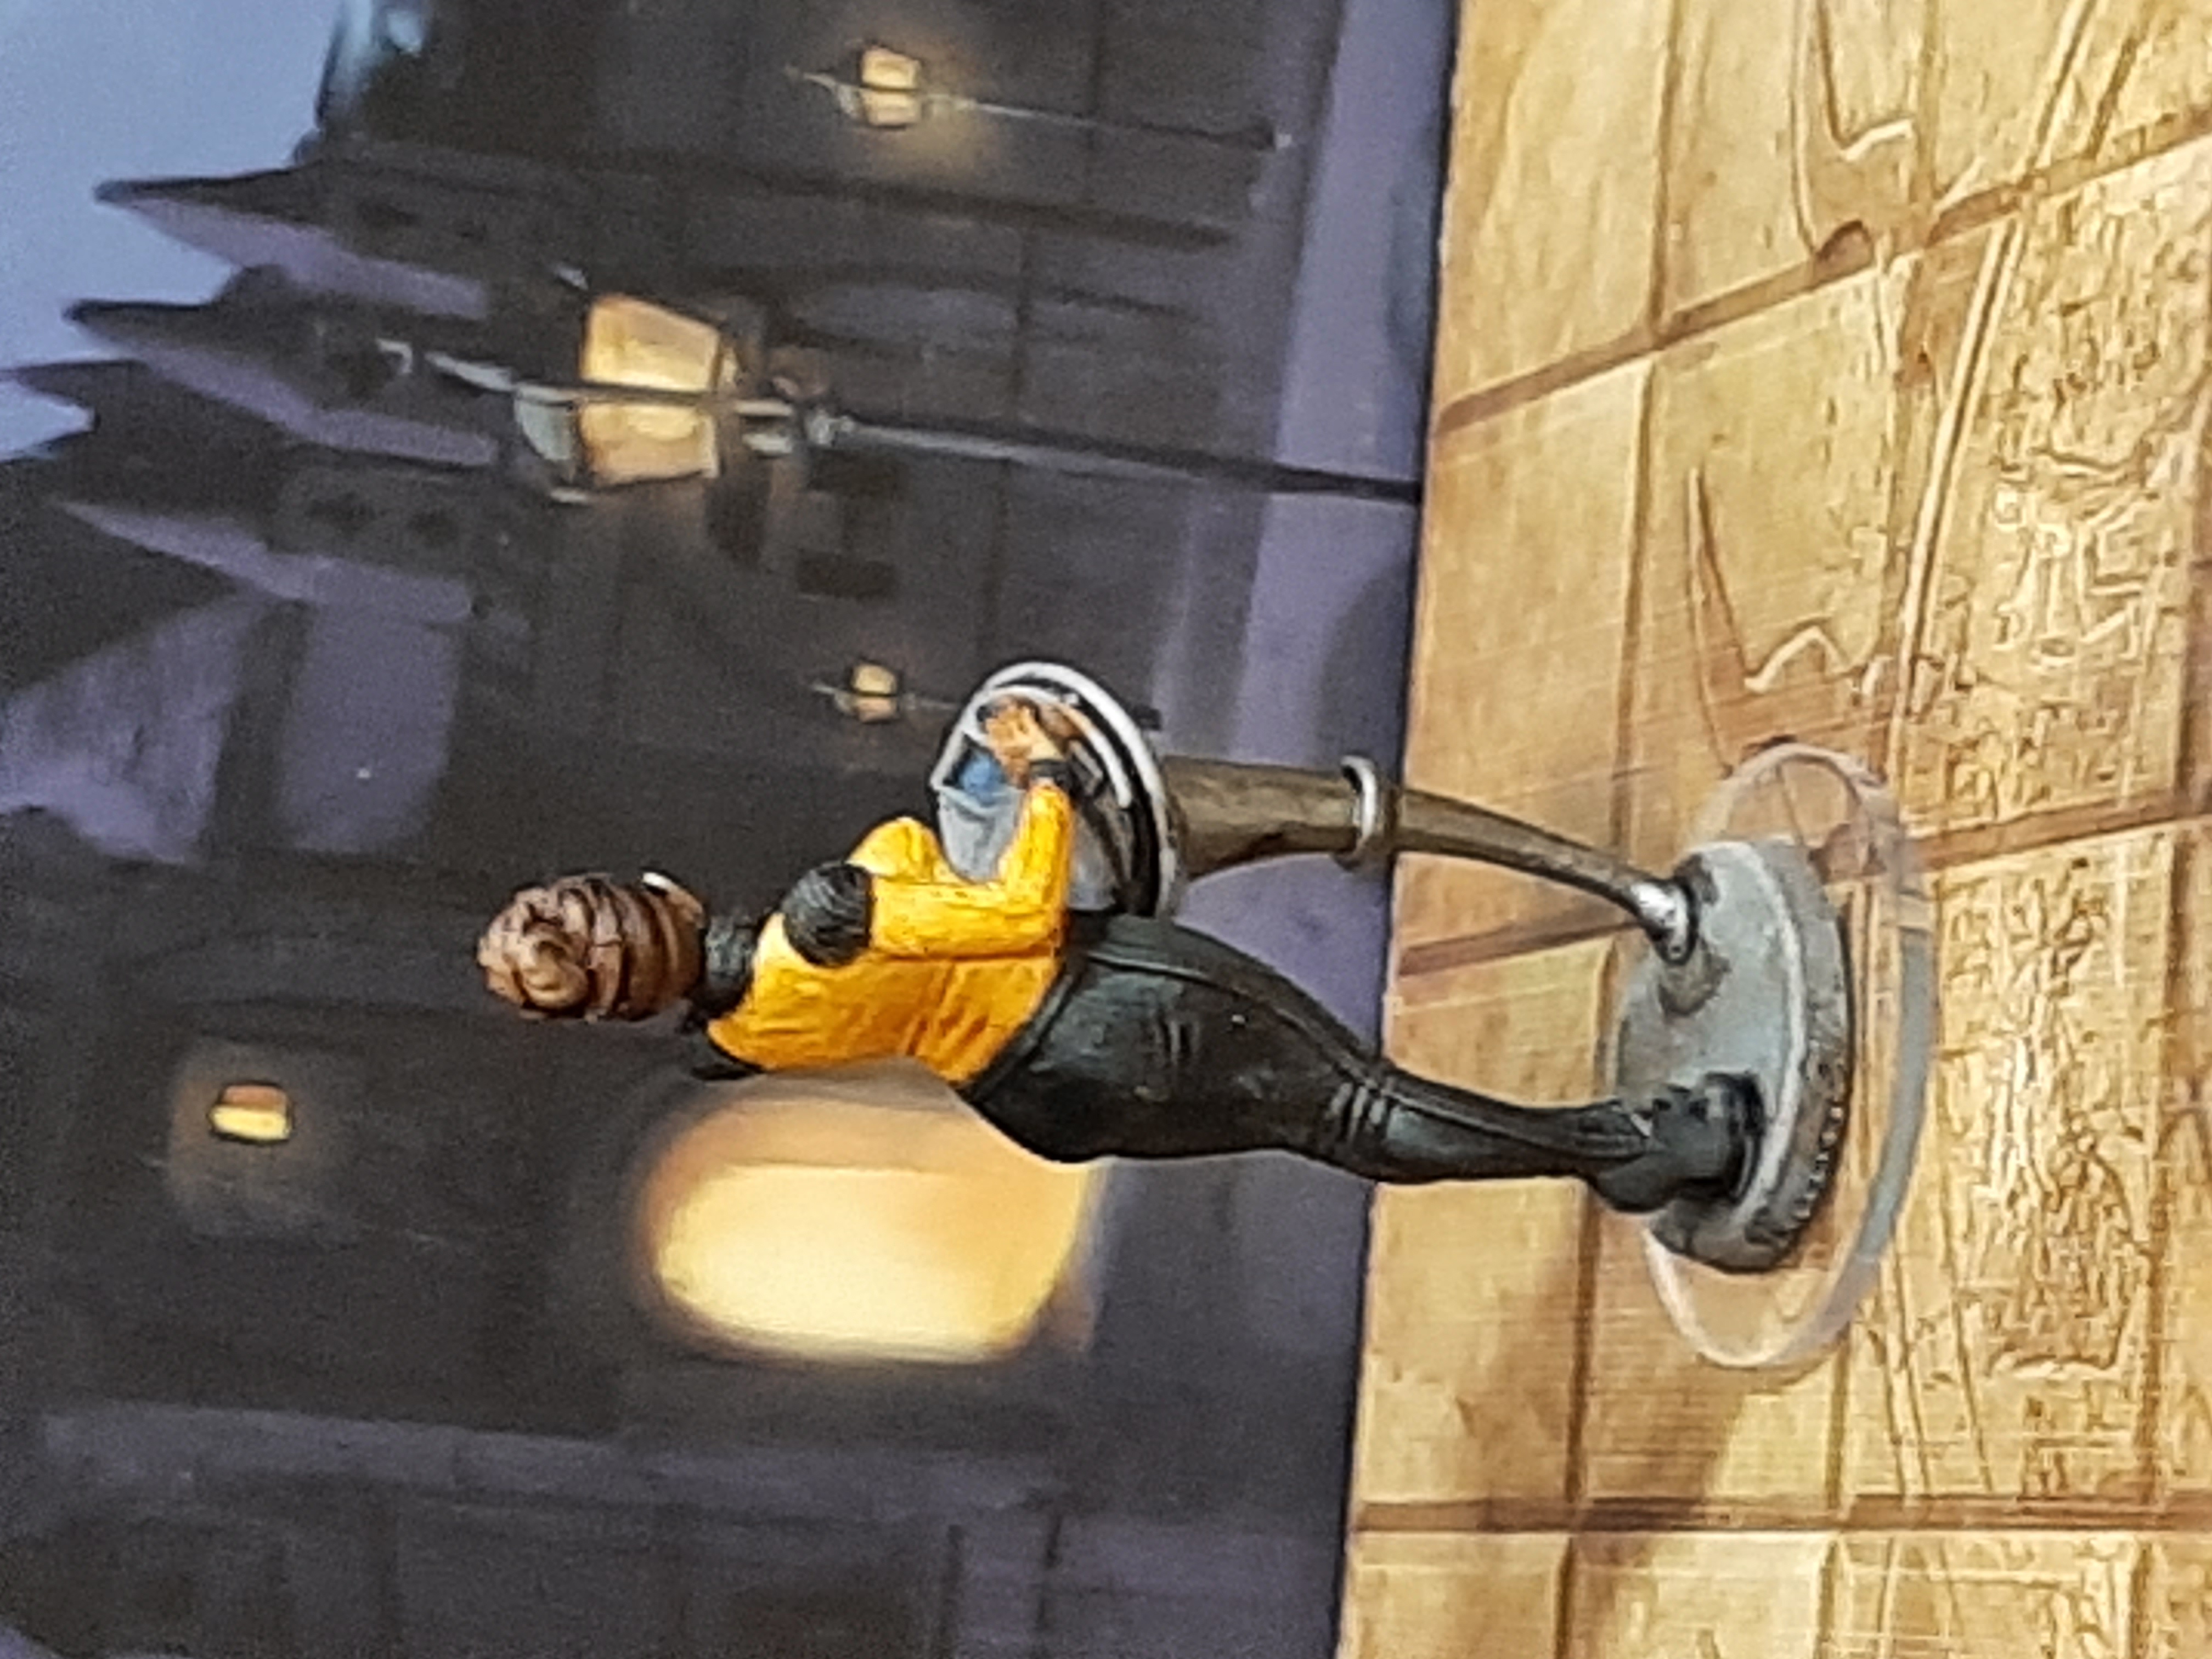
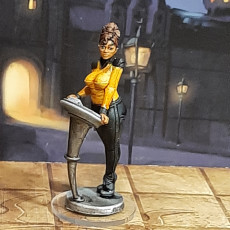
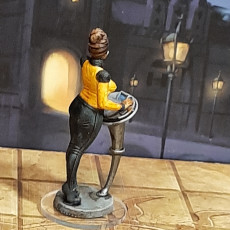
Lieutenant Hantau "Tau" Jila Tnbaa, Navigation Officer.
1:10 scale retro sci-fi pin-up figurine.
I wanted to make a retro sci-fi pin-up character, in the traditions of old-school TV shows like Star Trek or Space: 1999.
---------------------------------
I am making free models because I think everyone should be able to enjoy art whatever their situation. BUT I need your support to keep doing it!
If you can afford to contribute money, you can pay whatever you feel is fair for your situation as a tip here or on Ko-fi.
I also have a Patreon where you can get early access to future free models, and/or monthly releases.
If you don't like Patreon, you can become a simple monthly supporter on Ko-fi.
If you can't afford to contribute money, please don't! Instead, follow/share/like EmptyForge on social media. Spread the word! It really helps me.
All my links are here:
https://beacons.ai/emptyforge
If you can't do any of these, it's all good. Enjoy the model anyway! :)
---------------------------------
There are three different head options for this character: alien (main), alien ears only, and human.
The model is provided cut and keyed, and some parts have custom supports for FDM printing (see Printing Details for instructions on using custom supports in Cura).
There is also a full figure version of the model included (with only the main Alien head option) in case you'd like to cut and key it for yourself.
Note: Colour renders in the gallery are to show my original design intent and give you ideas for painting your print. The STLs do not include any colour information.


The STL files are provided in the orientations I used for my successful test prints.
All of my test prints were sliced in Cura and printed on my FDM printer at 0.1mm layer height. I used Line supports with support interface.
The details given apply to FDM, unless otherwise stated.
Note, I used a different technique for making the keys for this model, and as a result they fit a little looser than on my previous models.
Base
The solid base is intended for FDM printing, and the hollow base for SLA. No supports needed for FDM.
Head
I recommend using the custom support*. Needs support under the ears and the back of the hair.
Upperbody
Basically it doesn't need any supports. I did lift the model off the build plate just to get a skin of support interface under the model because the cut edge isn't completely flat.
Legs
I used the custom support* for around the bottom of the shoes, but after printing I thought it might not have been necessary. I increased build plate temperature by 5 degrees and used a brim to ensure good adhesion.
Left Arm
The shoulder key and surrounding area needs some support. The outer edge of the shoulder pad can benefit from support, but should print OK without. I recommend increasing build plate temperature by 5 degrees and using a 6-8mm brim for extra adhesion. I forgot to increase my build plate temperature and left the brim at my usual 4mm, but I got away with it.
Right Arm
I recommend using the custom support*. The wrist will also need some support.
Right Hand
Just needs a little support under the thumb. Using a 4mm brim with the supports should be sufficient for stability.
Terminal Bottom
I recommend using the custom support* which is for stability. On my first test print, I did it standing right-side up with support around the key, but it was too unstable to print cleanly up at the top. The custom support takes a bit more filament, but it provides a lot more stability.
Terminal Middle
Print upside down, with the big key on the build plate. Support only needed around the key.
Terminal Top
In the orientation provided, it needs support under front edges (facing the character in the final model), and at the back edge of the key hole, as well as on the thumb and fingers.
Full Figure
Use this file if you want to cut and key the model for yourself. The base is a separate shell, for your convenience.
*How to use custom supports in Cura:
You need to download the "Mesh Tools" plugin from the Cura Marketplace.
Import the STL file, right click the model and go to Mesh Tools > Split model into parts. Select each custom support, click on "Per Model Settings" on the left of the screen, and then choose "Print as support".
| Date published | 21/06/2022 |
| Dimensions | 211.6mm x 69.3mm x 86.2mm |