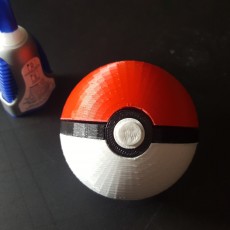
Pokeball with Magnetic Clasp


Pokeball with Magnetic Clasp
Published 2016-04-11T14:34:16+00:00
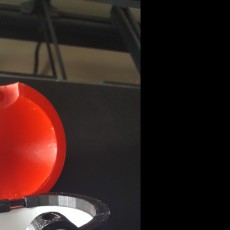
Now you can catch them all! Provided they all fit inside a 3-inch diameter ball :)
Check out our Etsy for all kinds of 3D printed awesomeness! https://www.etsy.com/shop/CarryTheWhat
Instructions
Print pieces in the right color. For the hinge pin, I suggest at least 4 perimeters, for springy-ness.
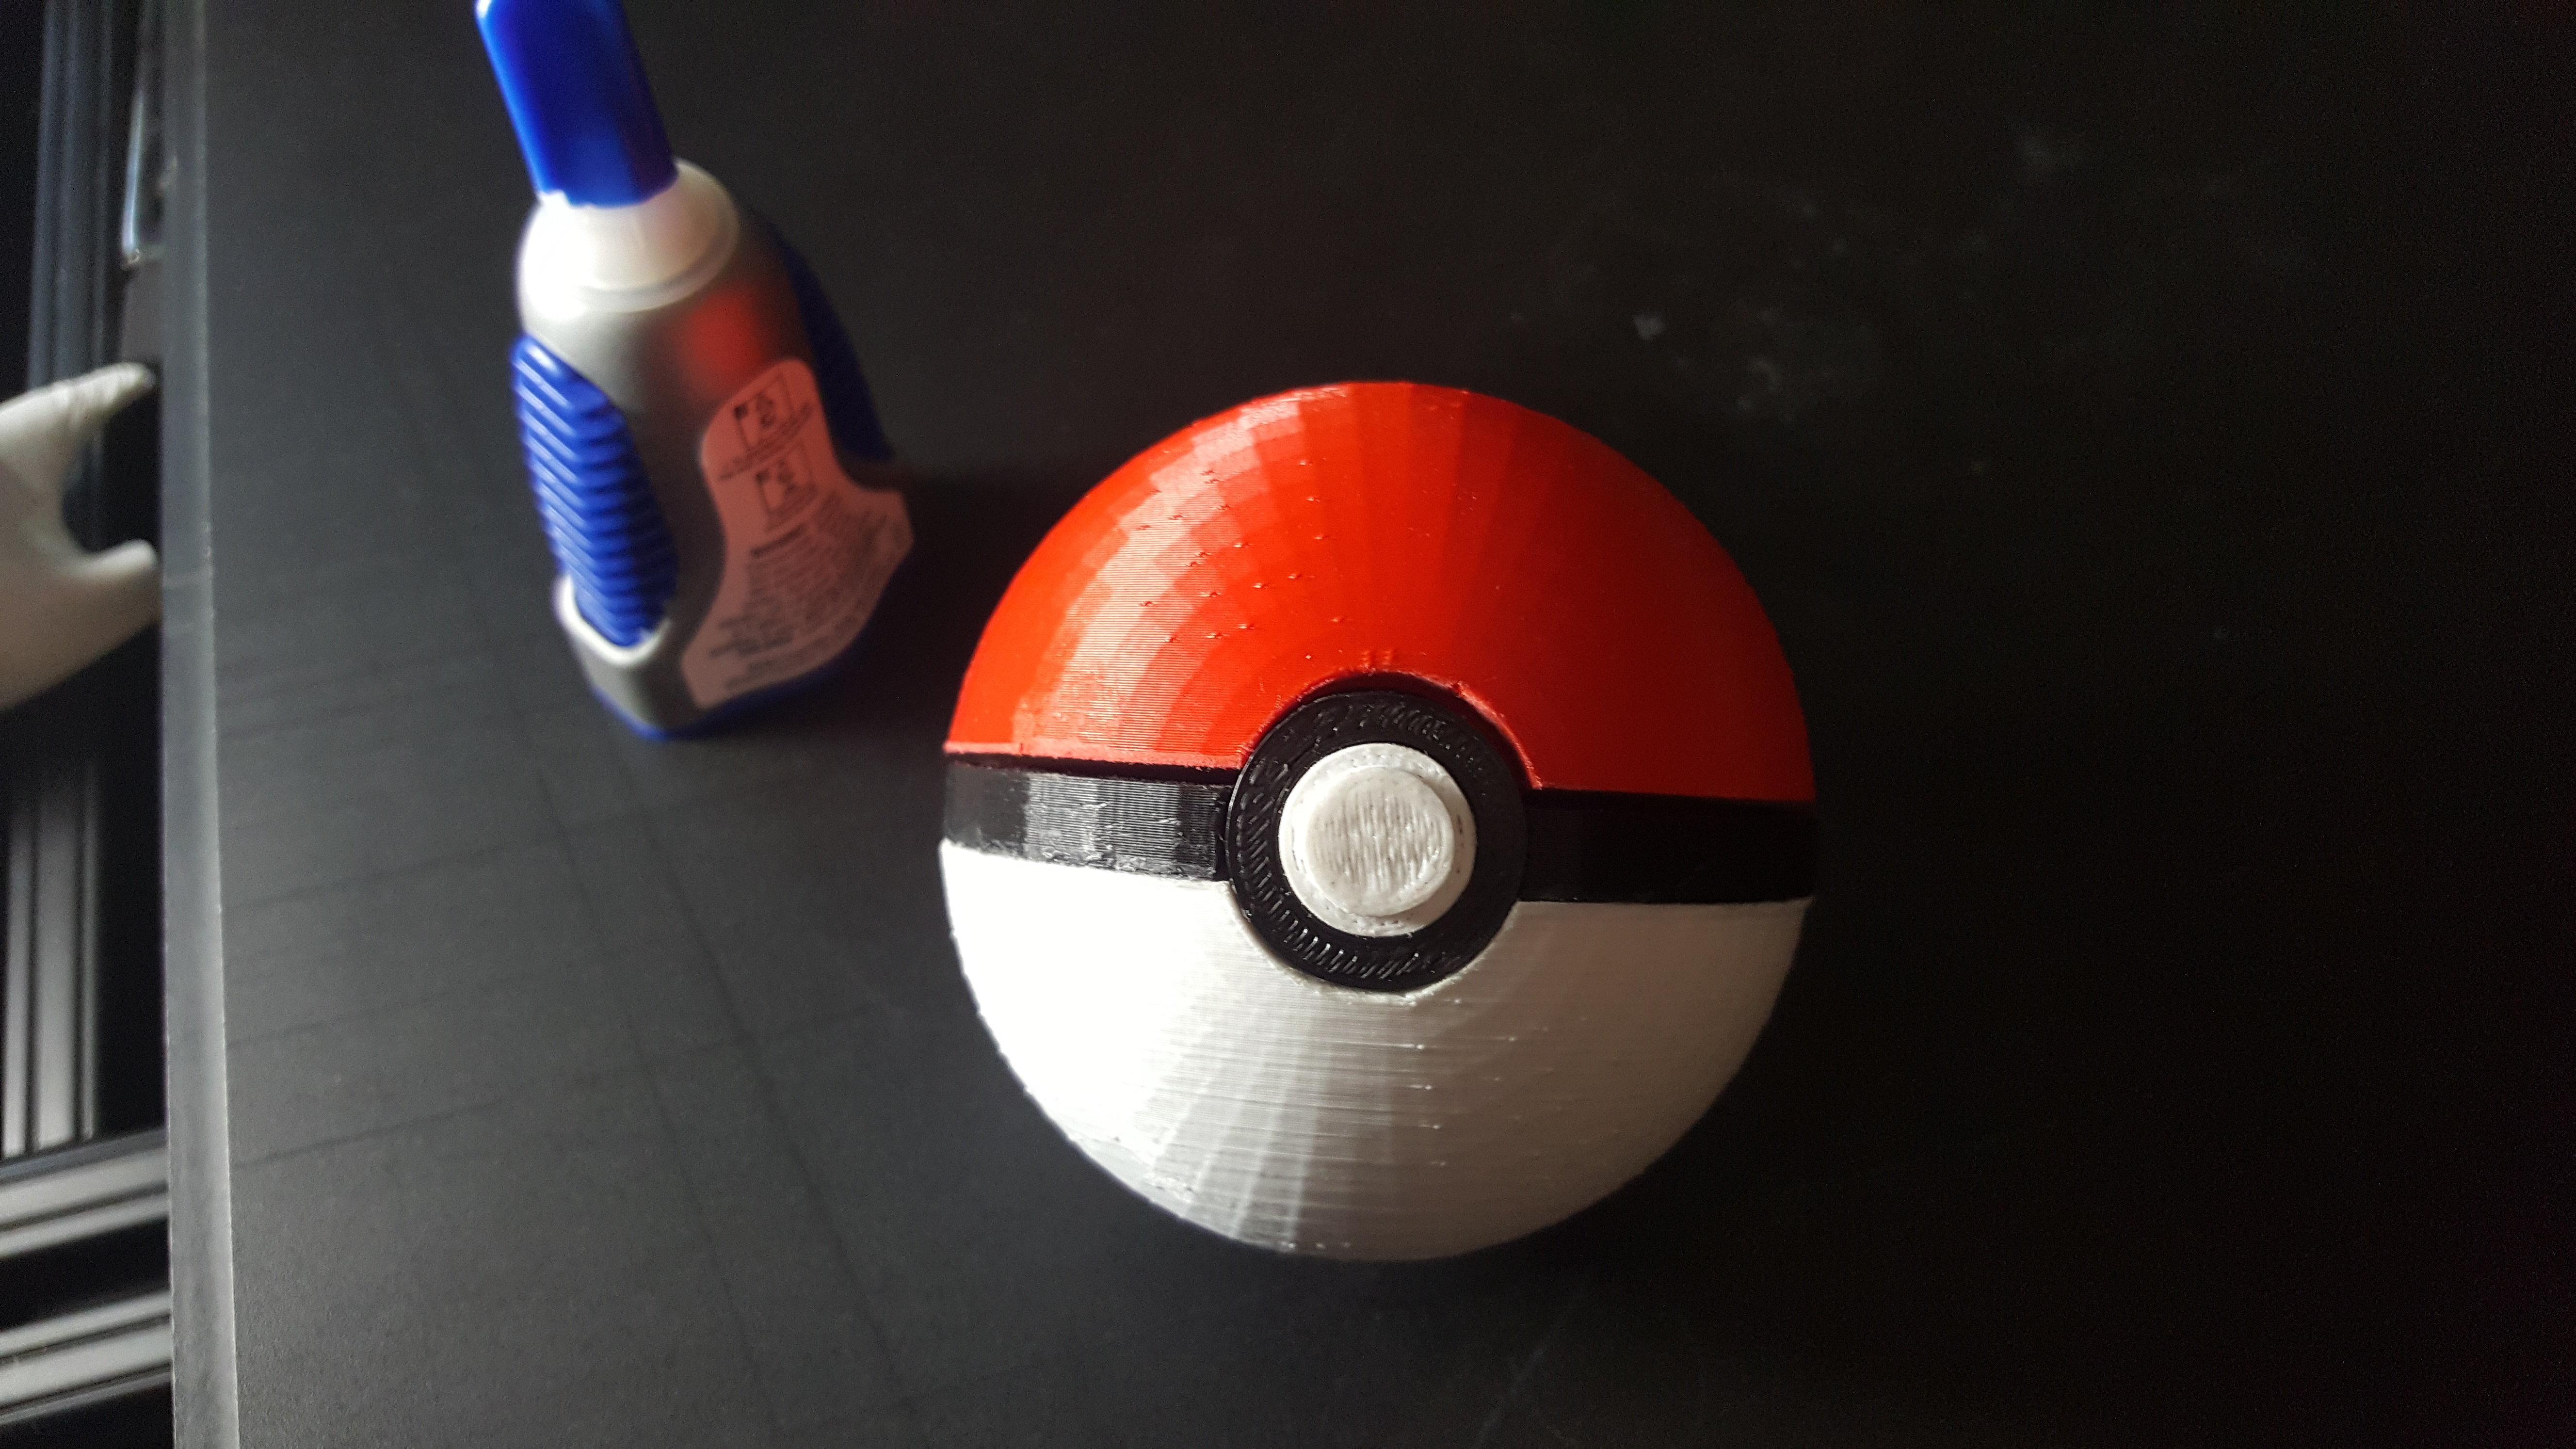
In addition to the printed parts, you will need:
- super glue
- 2 magnets (1/4" X 1/16")
- We also suggest using gloves whenever you combine superglue and rare earth magnets.
Assembly:
1) Insert hinge pin into the black ring pieces, such that the 3rd pin is angled up at 90 degrees.
2) Glue one of your two magnets into the hole for the top half. Wait for this to dry.
3) Insert the white button into the black button holder. It might be a tight squeeze, so pliers are helpful.
3) Find the correct orientation for the other magnet to go into the black button holder. Glue it in the right orientation, and wait for this to dry.
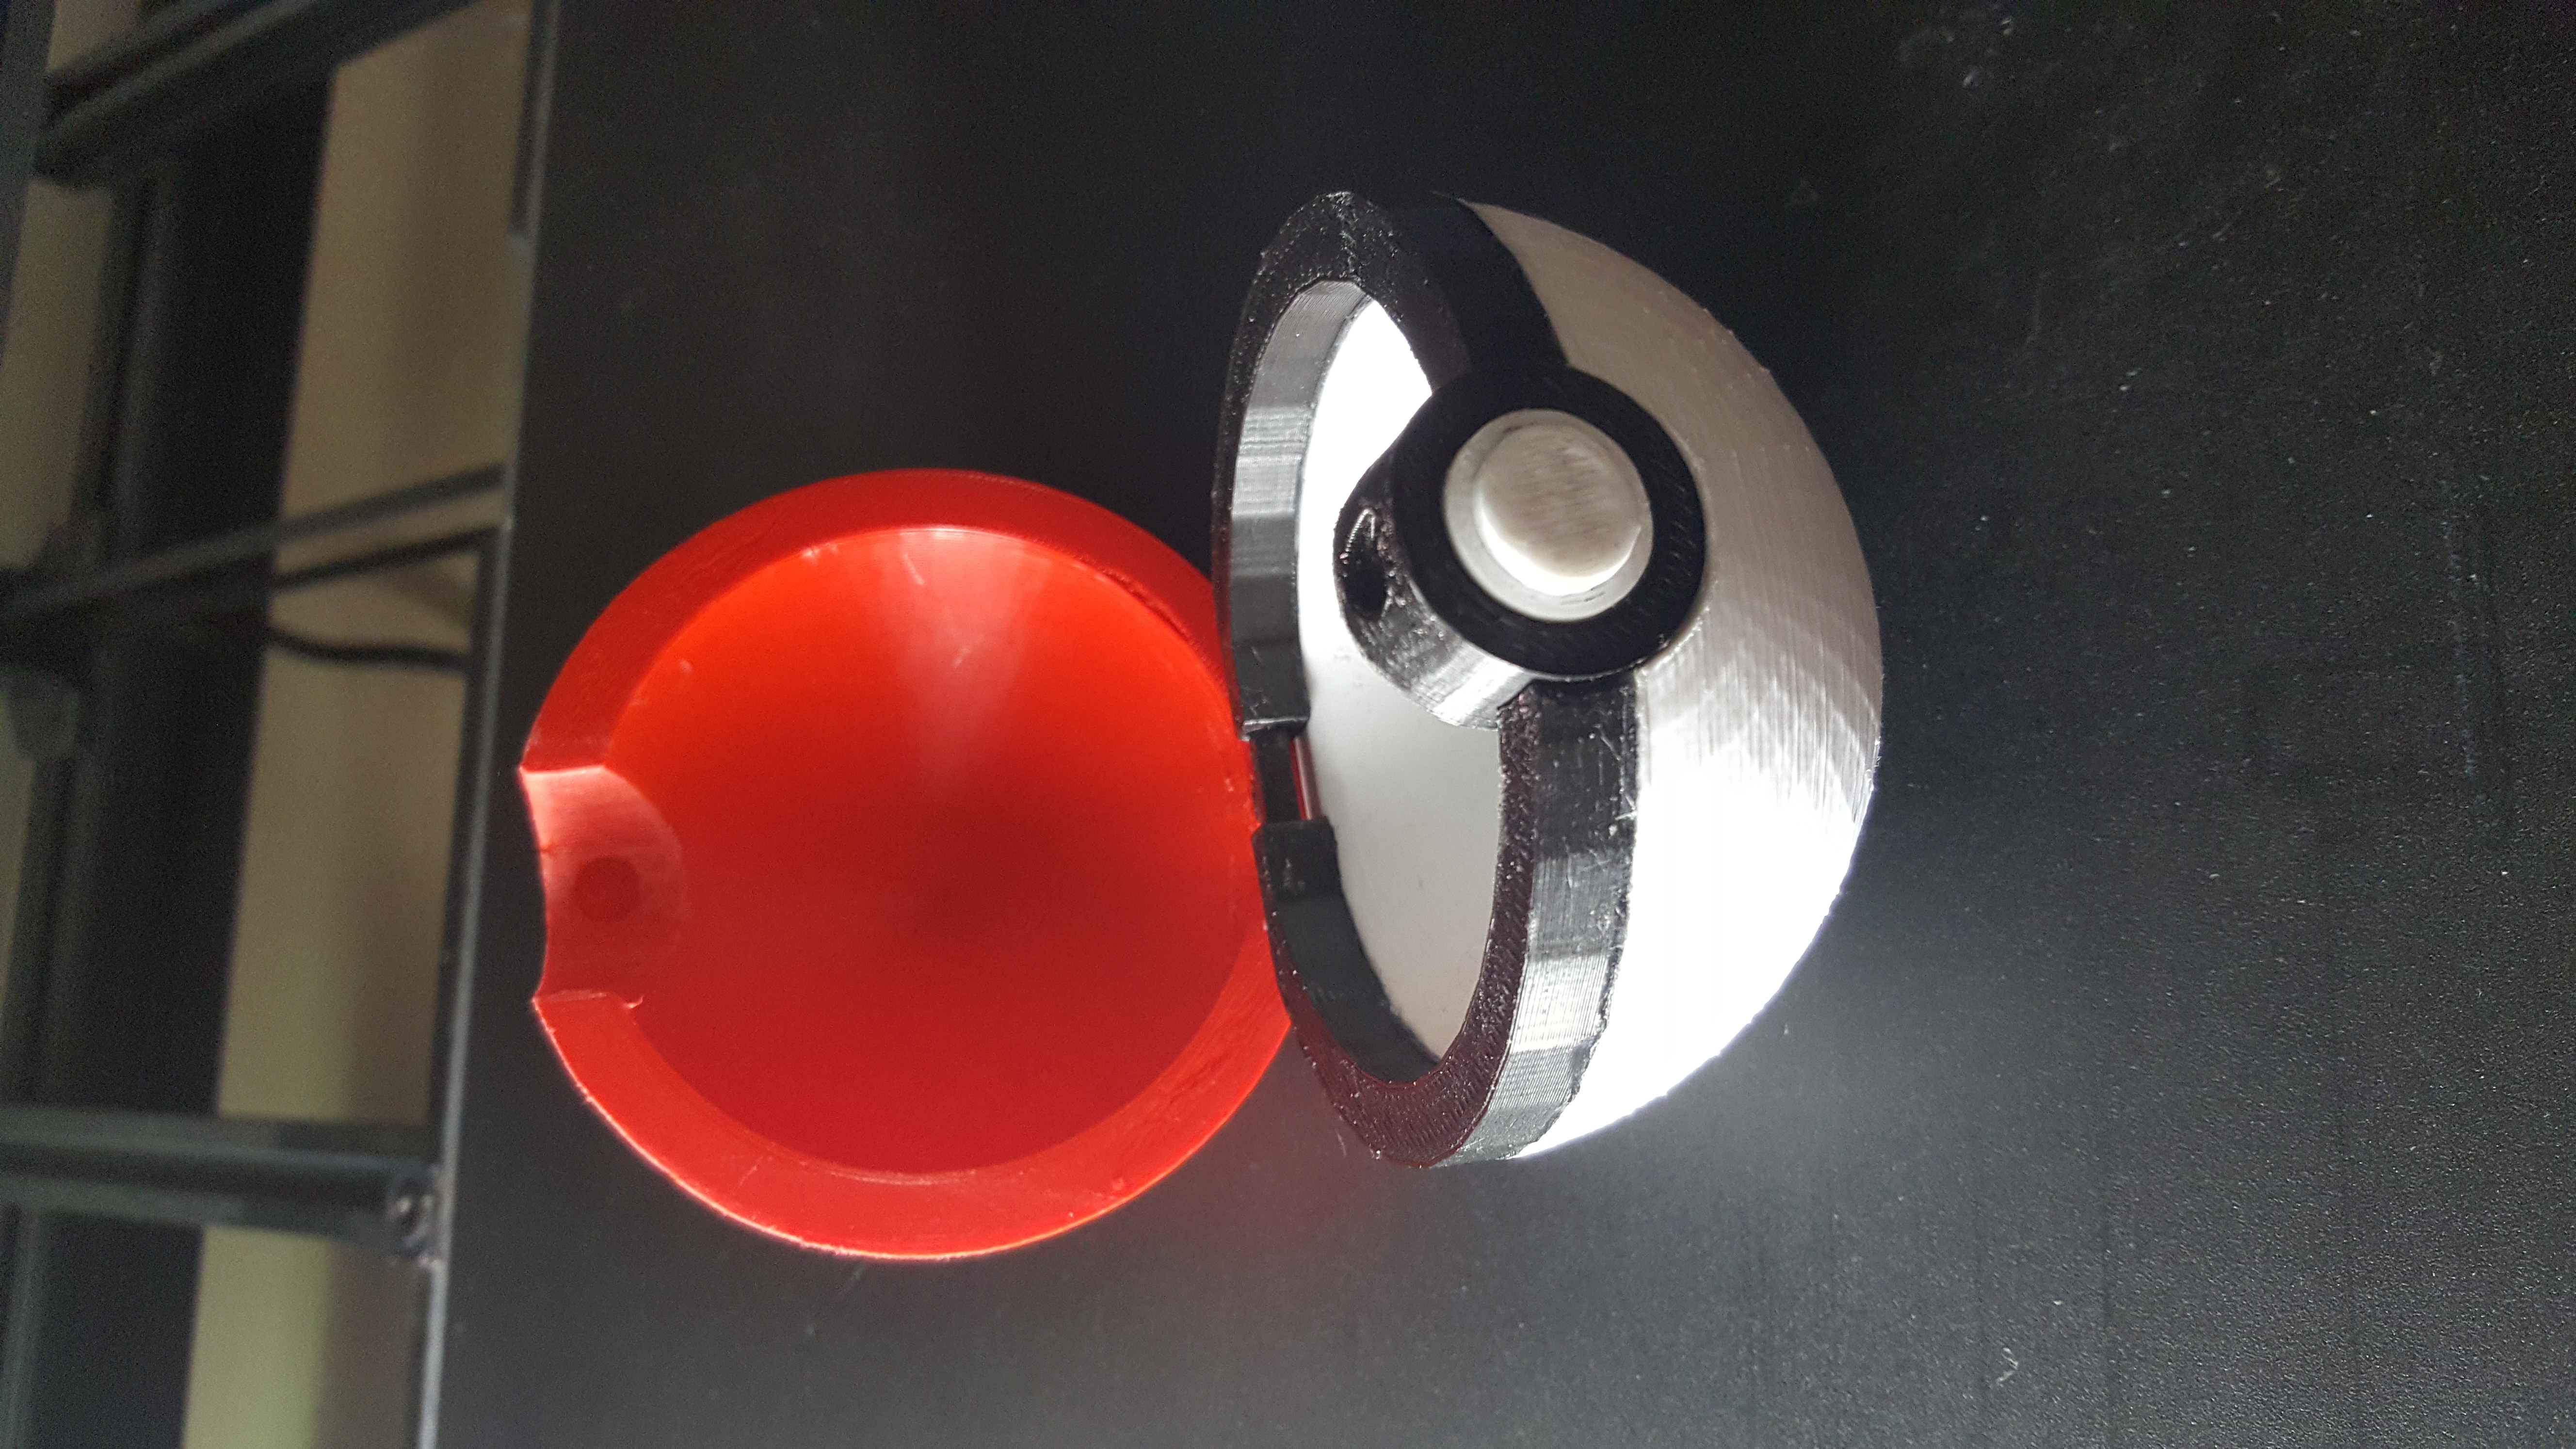
4) Attach the black ring to the top piece via the hinge pin. Attach the button with the magnet. Squeeze the black ring so it fits snugly against the button. Apply super glue around the black ring and bottom of the button. Hold the bottom of the ball against the super glue you just applied. Allow to dry.
Done!
Remixed From:

This work is licensed under a Creative Commons Attribution-ShareAlike 4.0 International License.
Pokeball, with magnetic clasp by CarryTheWhat is licensed under the Creative Commons - Attribution - Share Alike license.


| Date published | 11/04/2016 |
| Technology | FDM |
Pokeball from pokemon! Easy and fun project! I used pla filament on my gCreate gmax1.5XT+ 3d printer with e3dv6 hot end for this project. I'm missing a magnet in a picture, just because I didn't have any at the moment. Huge thanks to 3d central for designing it!