Scale of Inscryption


Scale of Inscryption
Published 2022-04-06T08:08:15+00:00
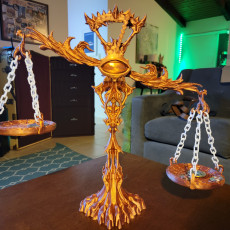
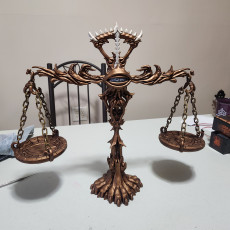
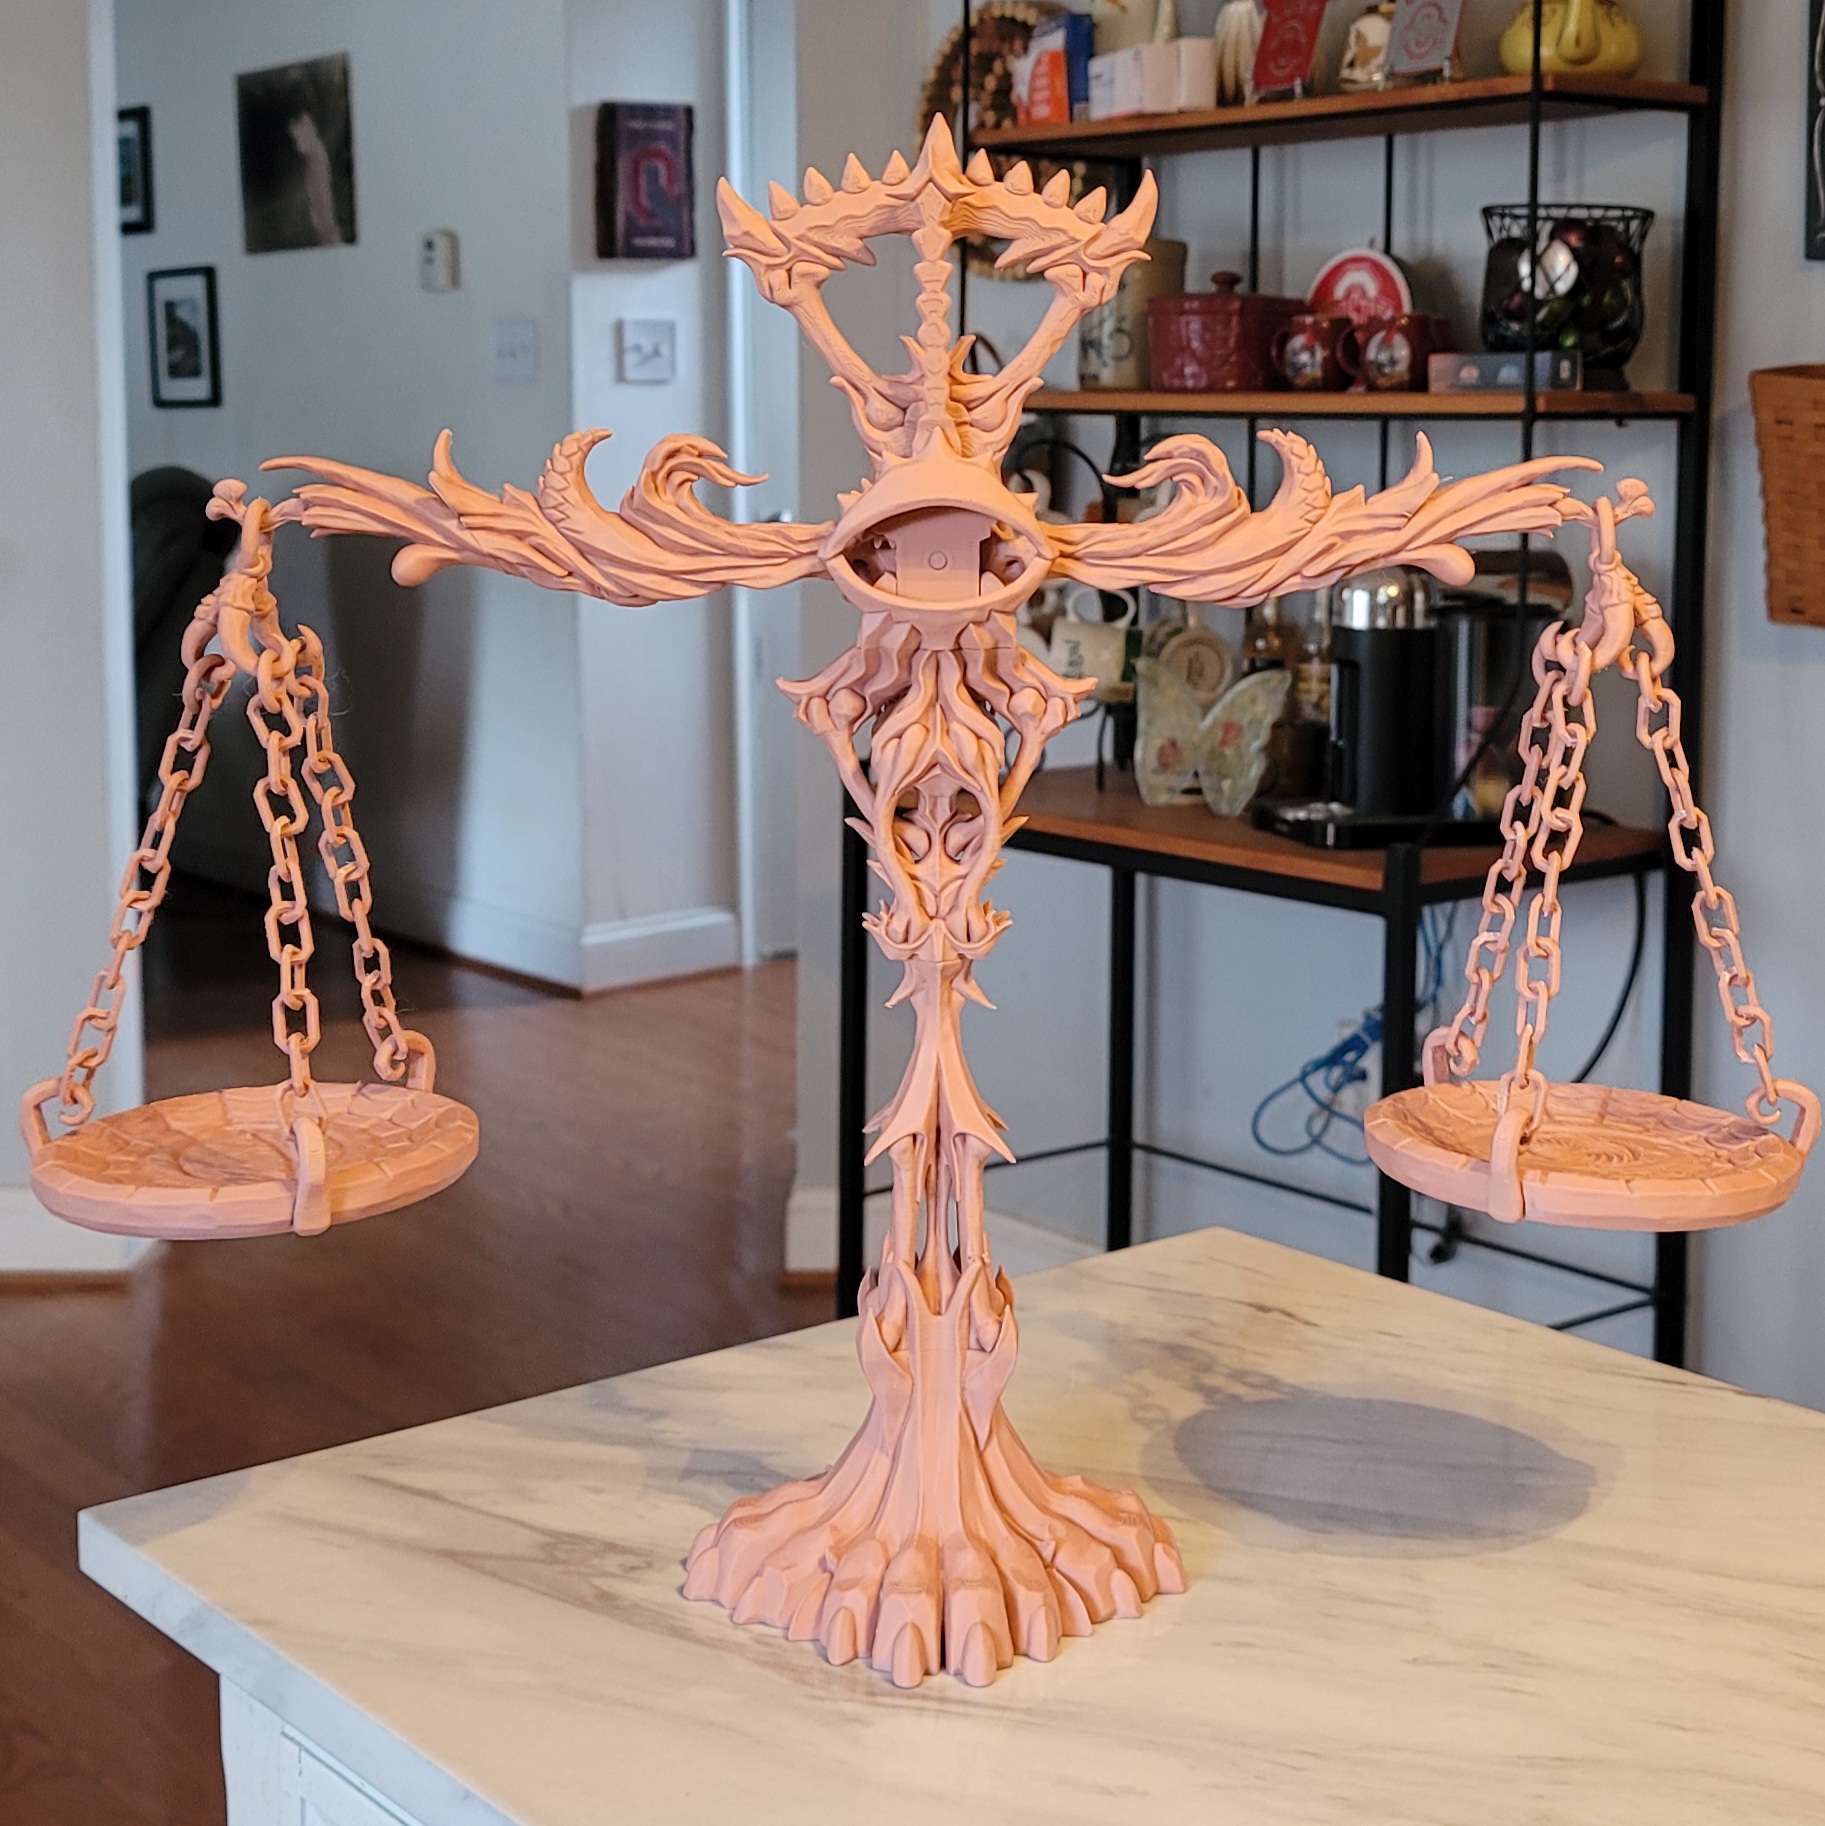
The scale of the game Inscryption as an actual real world scale that works.
In the game the scale shows the player the actual game state in a twisted sometimes brutal card game. Teeth are put on the scale for points earned, when the scale goes all the way to one side a winner is determined and a loser terminated.
Keep in mind that physics don't quite work like in the game. (When there are lots of teeth on one side a single teeth can not change the scale one increment. Furthermore the teeth would need to be really heavy to change any increment.) There are however extra controls at the back that lets you change the scale to any increment. Theoretically you could also use this scale to weight real life things if you use it along with scale weights.
The default scale is split up in a way so it can be printed without any support. Connector bits can be put in slots to connect the pieces without any glue.
Need teeths? - You find teeth here https://www.myminifactory.com/object/3d-print-teeth-and-tokens-of-inscryption-218386
Want to check out more art of Inscryption? Go here: https://www.artstation.com/artwork/8edk1n
Never heard of the game? This is a good start: https://www.inscryption.com/
Check the printing details below for instructions on the scale. You will also find quickstart images in the files.


No support needed for the regular files.
There are extra files in the zips which offers various variations (more combined, some different tolerances etc.)
There is a picture showing all the pieces and their names as well as a picture showing the mechanics better and how to best put it together. For the arms make sure you have the center DriveGear.stl in its place when you connect the arms otherwise you will not get it into place anymore.
Put the pieces together using the connector pieces. If they are too hard to get together there are also variations of it in the extra files.
Generally for small things its best to print with a raft and print multiple things at once. (Also for the eye lids with something else at that height or the levers may come out bad)
For resin prints I advice using the more combined versions in the zip as well as connector pieces with more tolerance. You might also want to print some gear variations to try out since prints can be slightly inflated with resin printing.
The eyes close automatically with the arms but don't open that way, you could however solve that by connecting the levers to the holes in the arms with a twine. Just make sure to not make that too tight. (If you don't want any of that just cut the levers off) The eye lid with the thinner lever belongs at the bottom.
There is a optional bottom case which can be used to give the base more weight by for instance putting coins in it.
| Date published | 06/04/2022 |
| Support Free | YES |
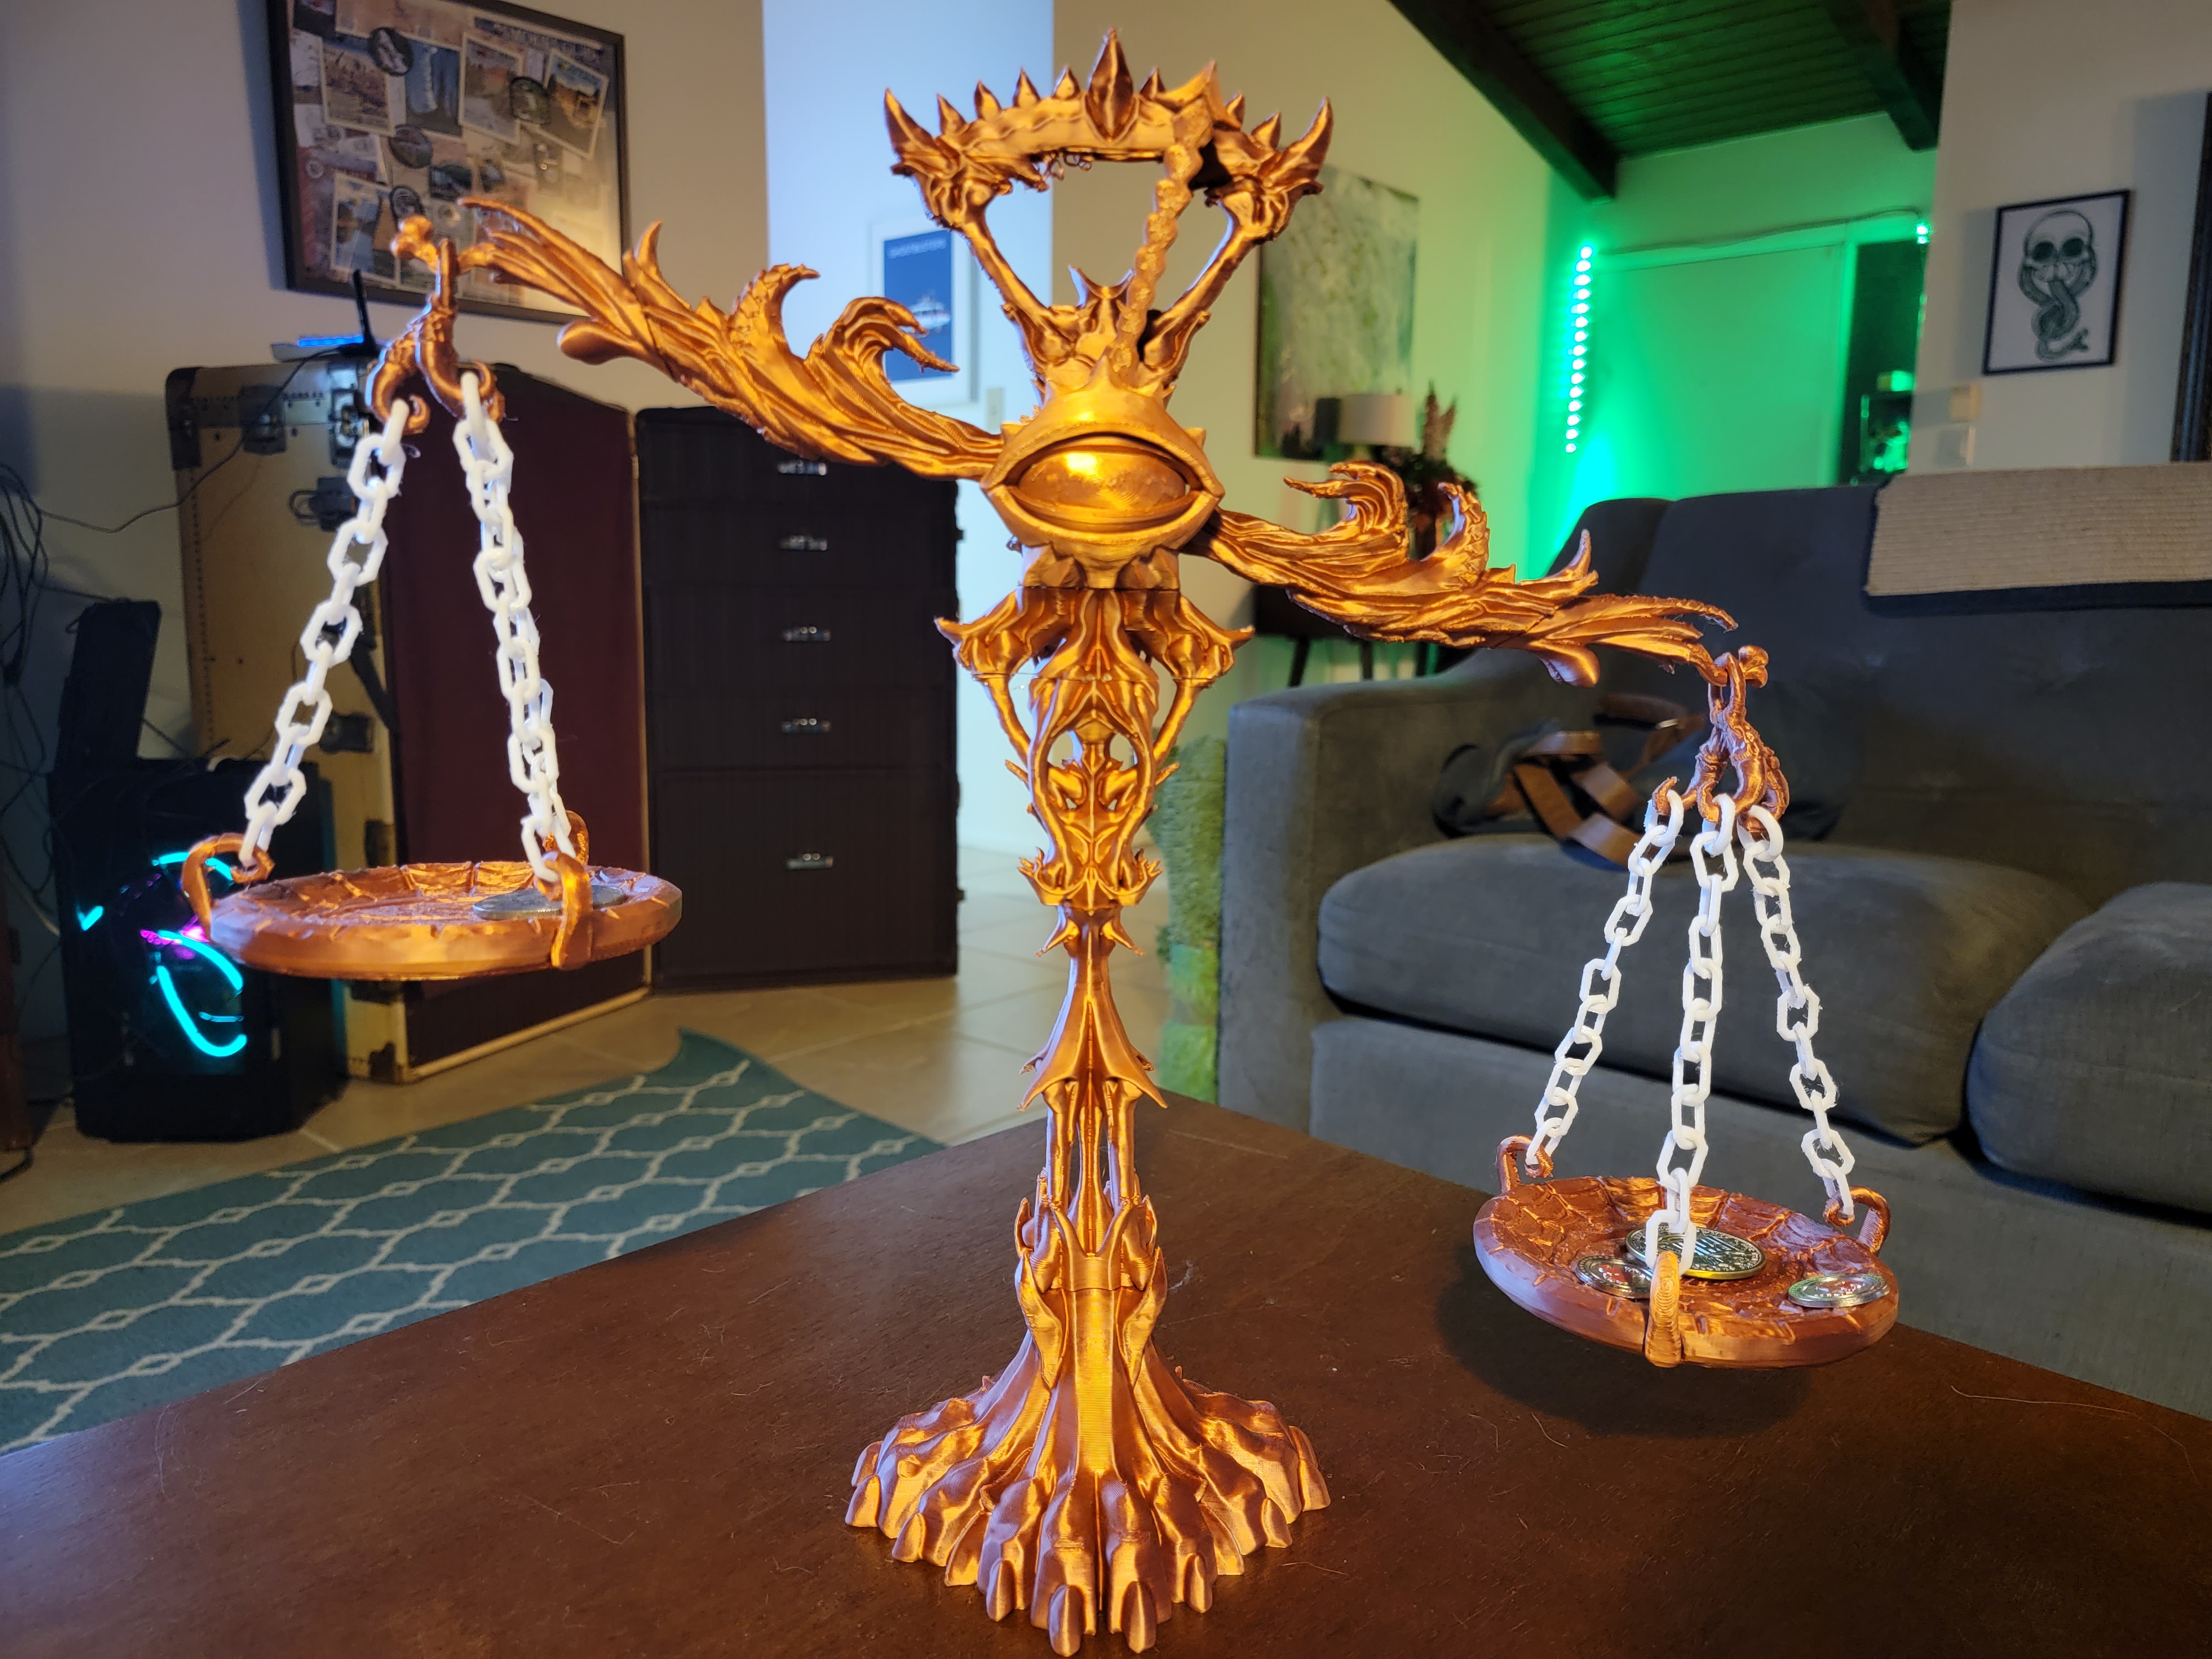
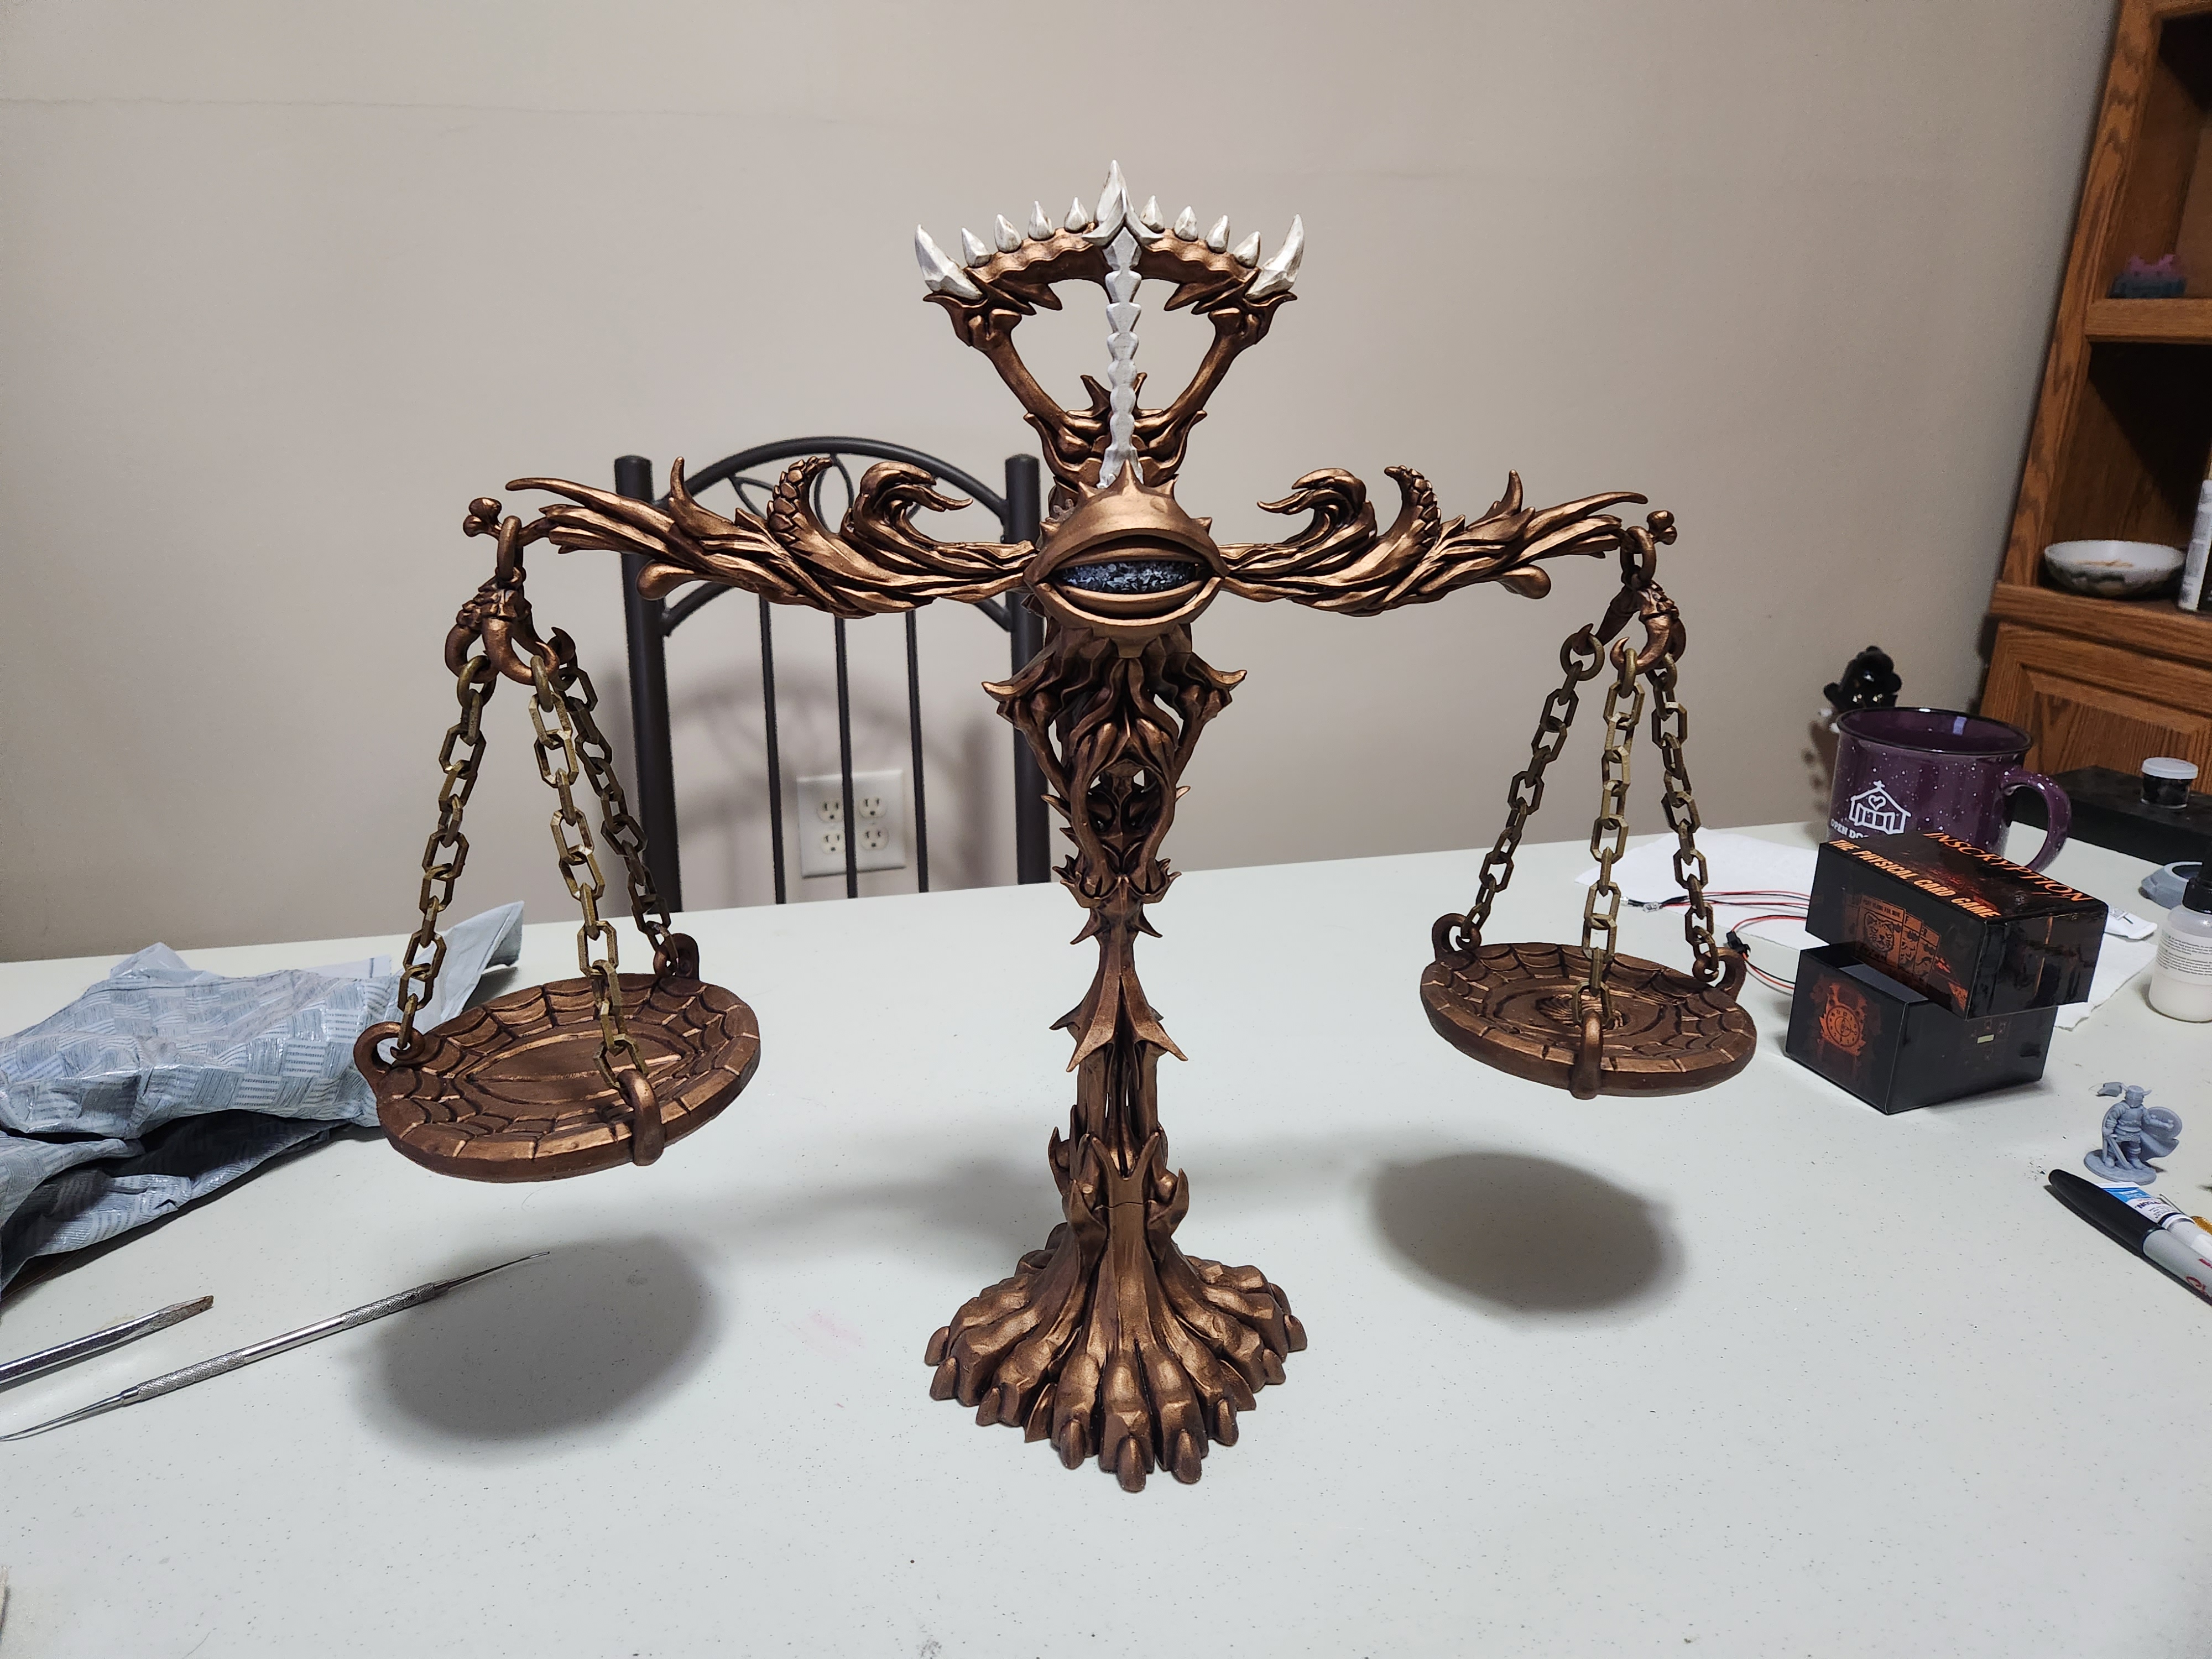
Printed in Fiberlogy FiberSilk Metallic Copper PLA (mostly. the chains were too problematic with the silk filament)