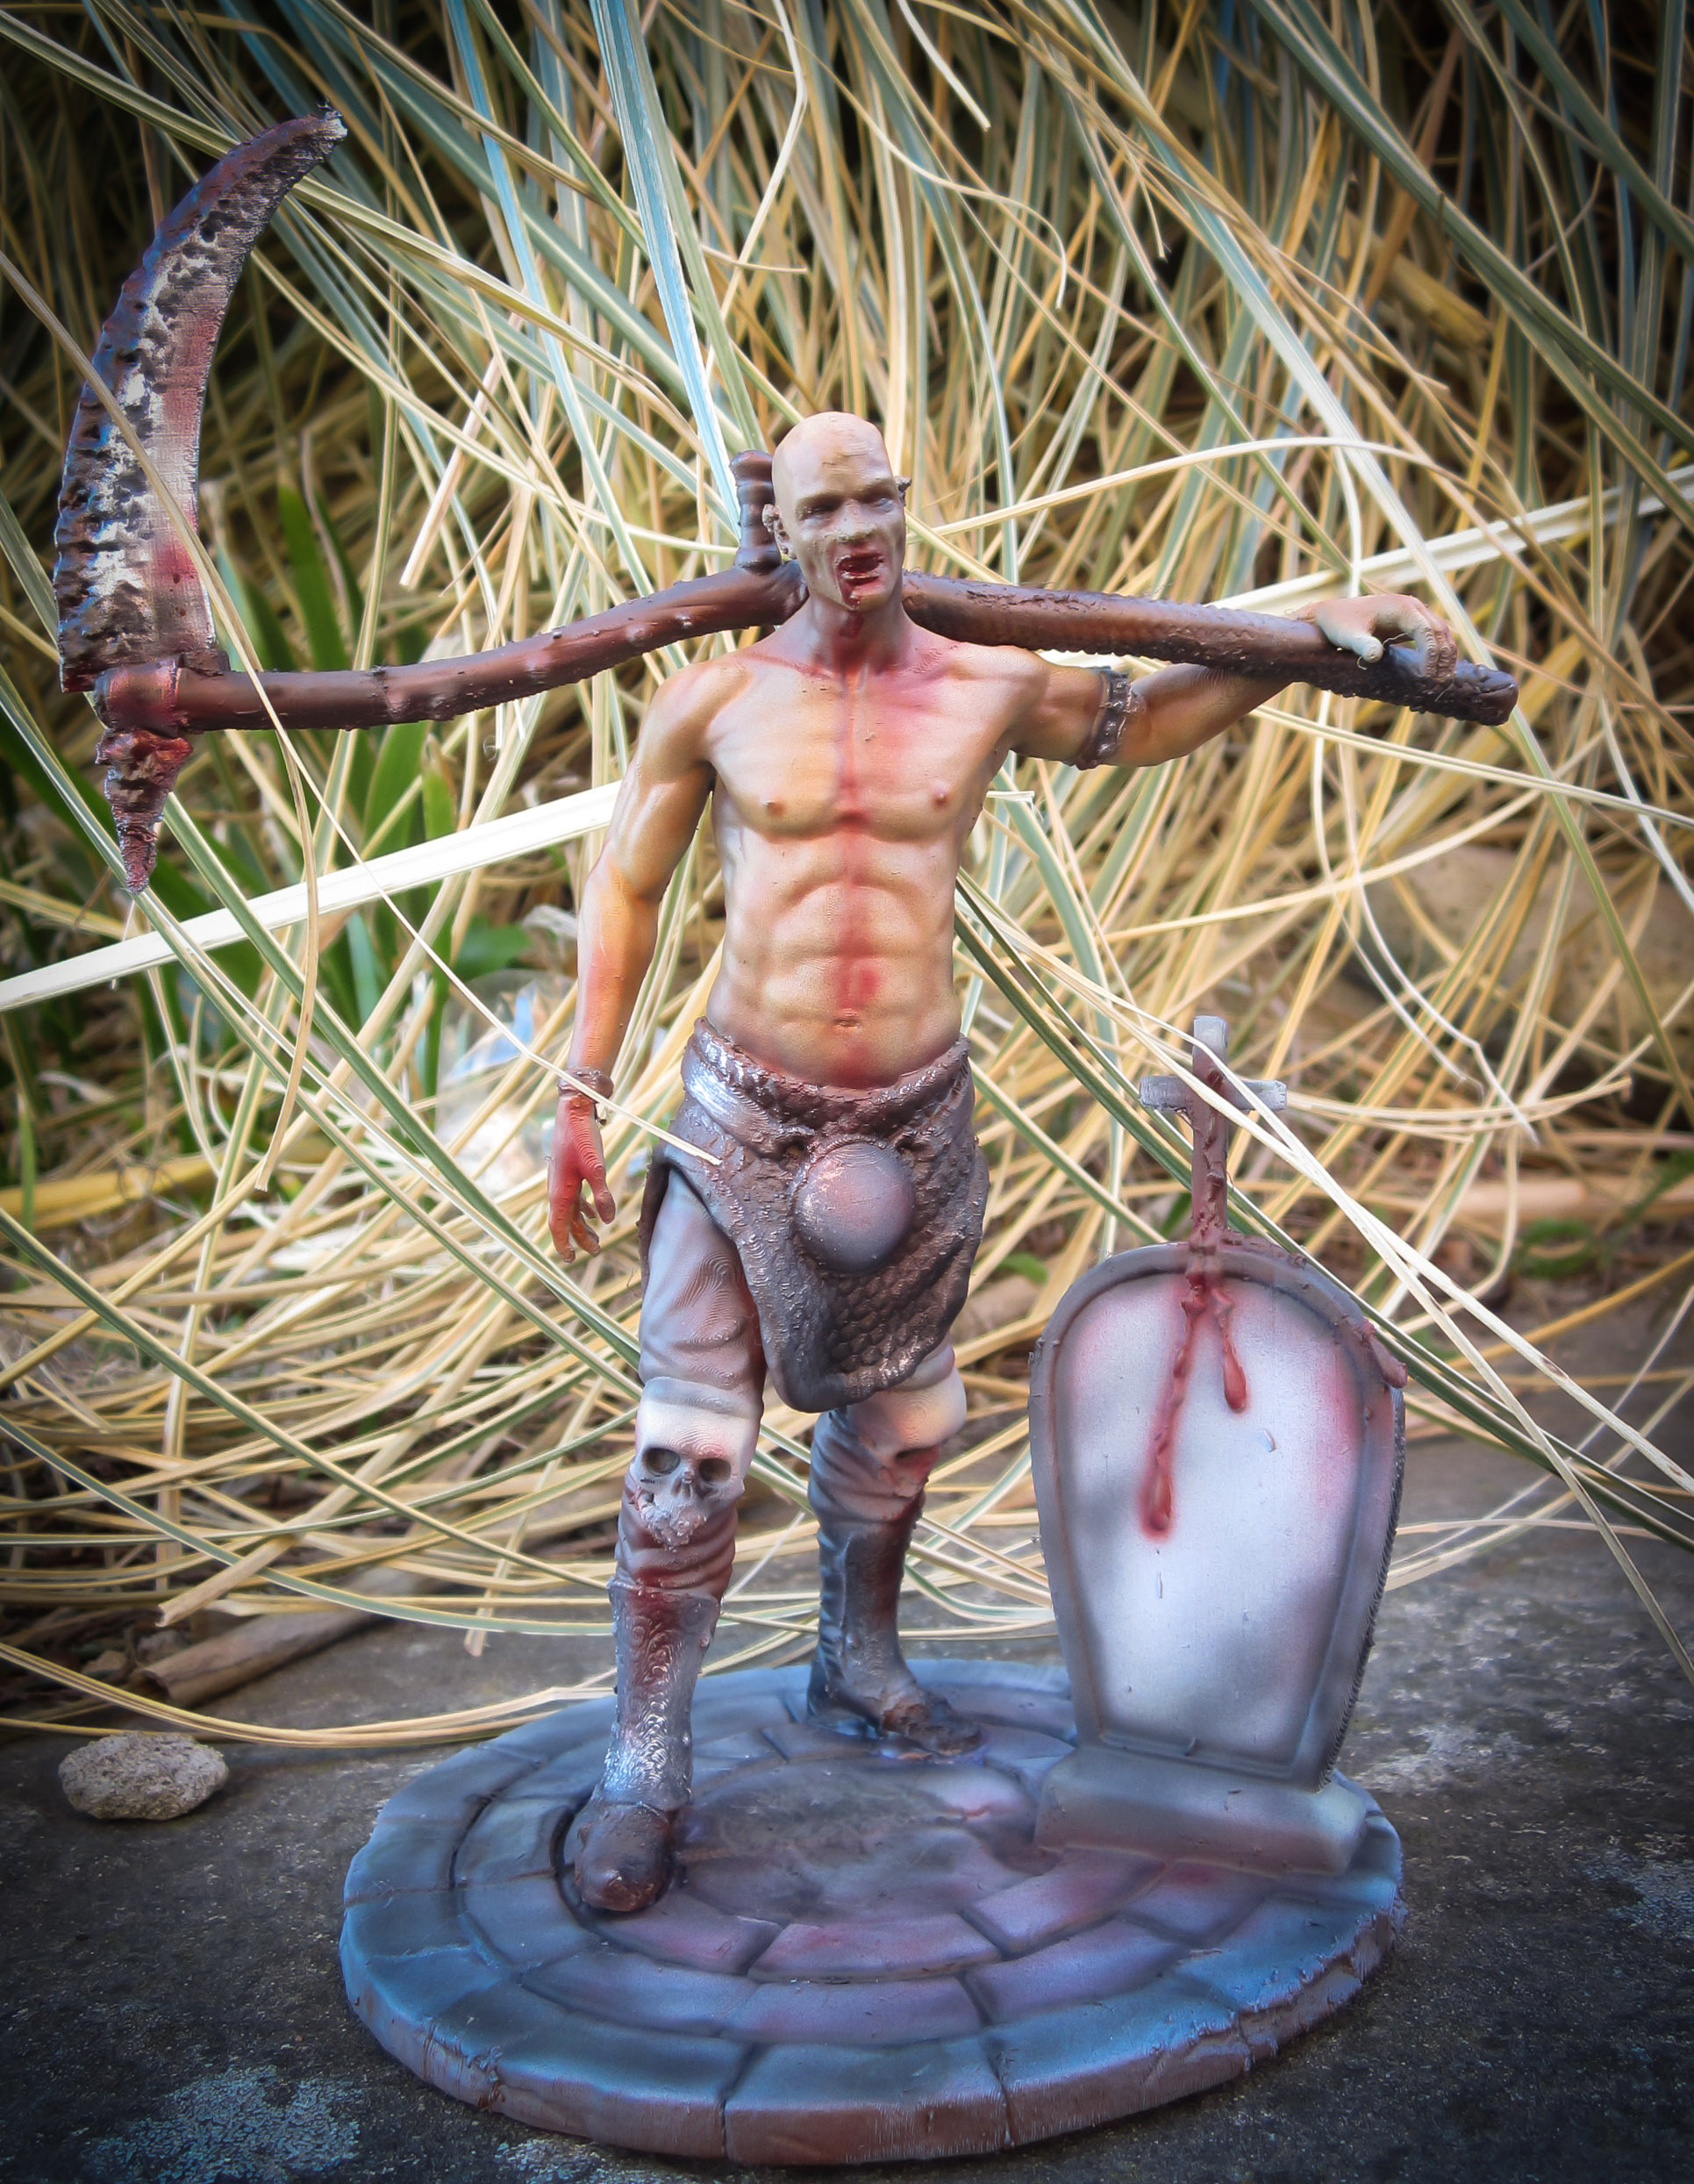
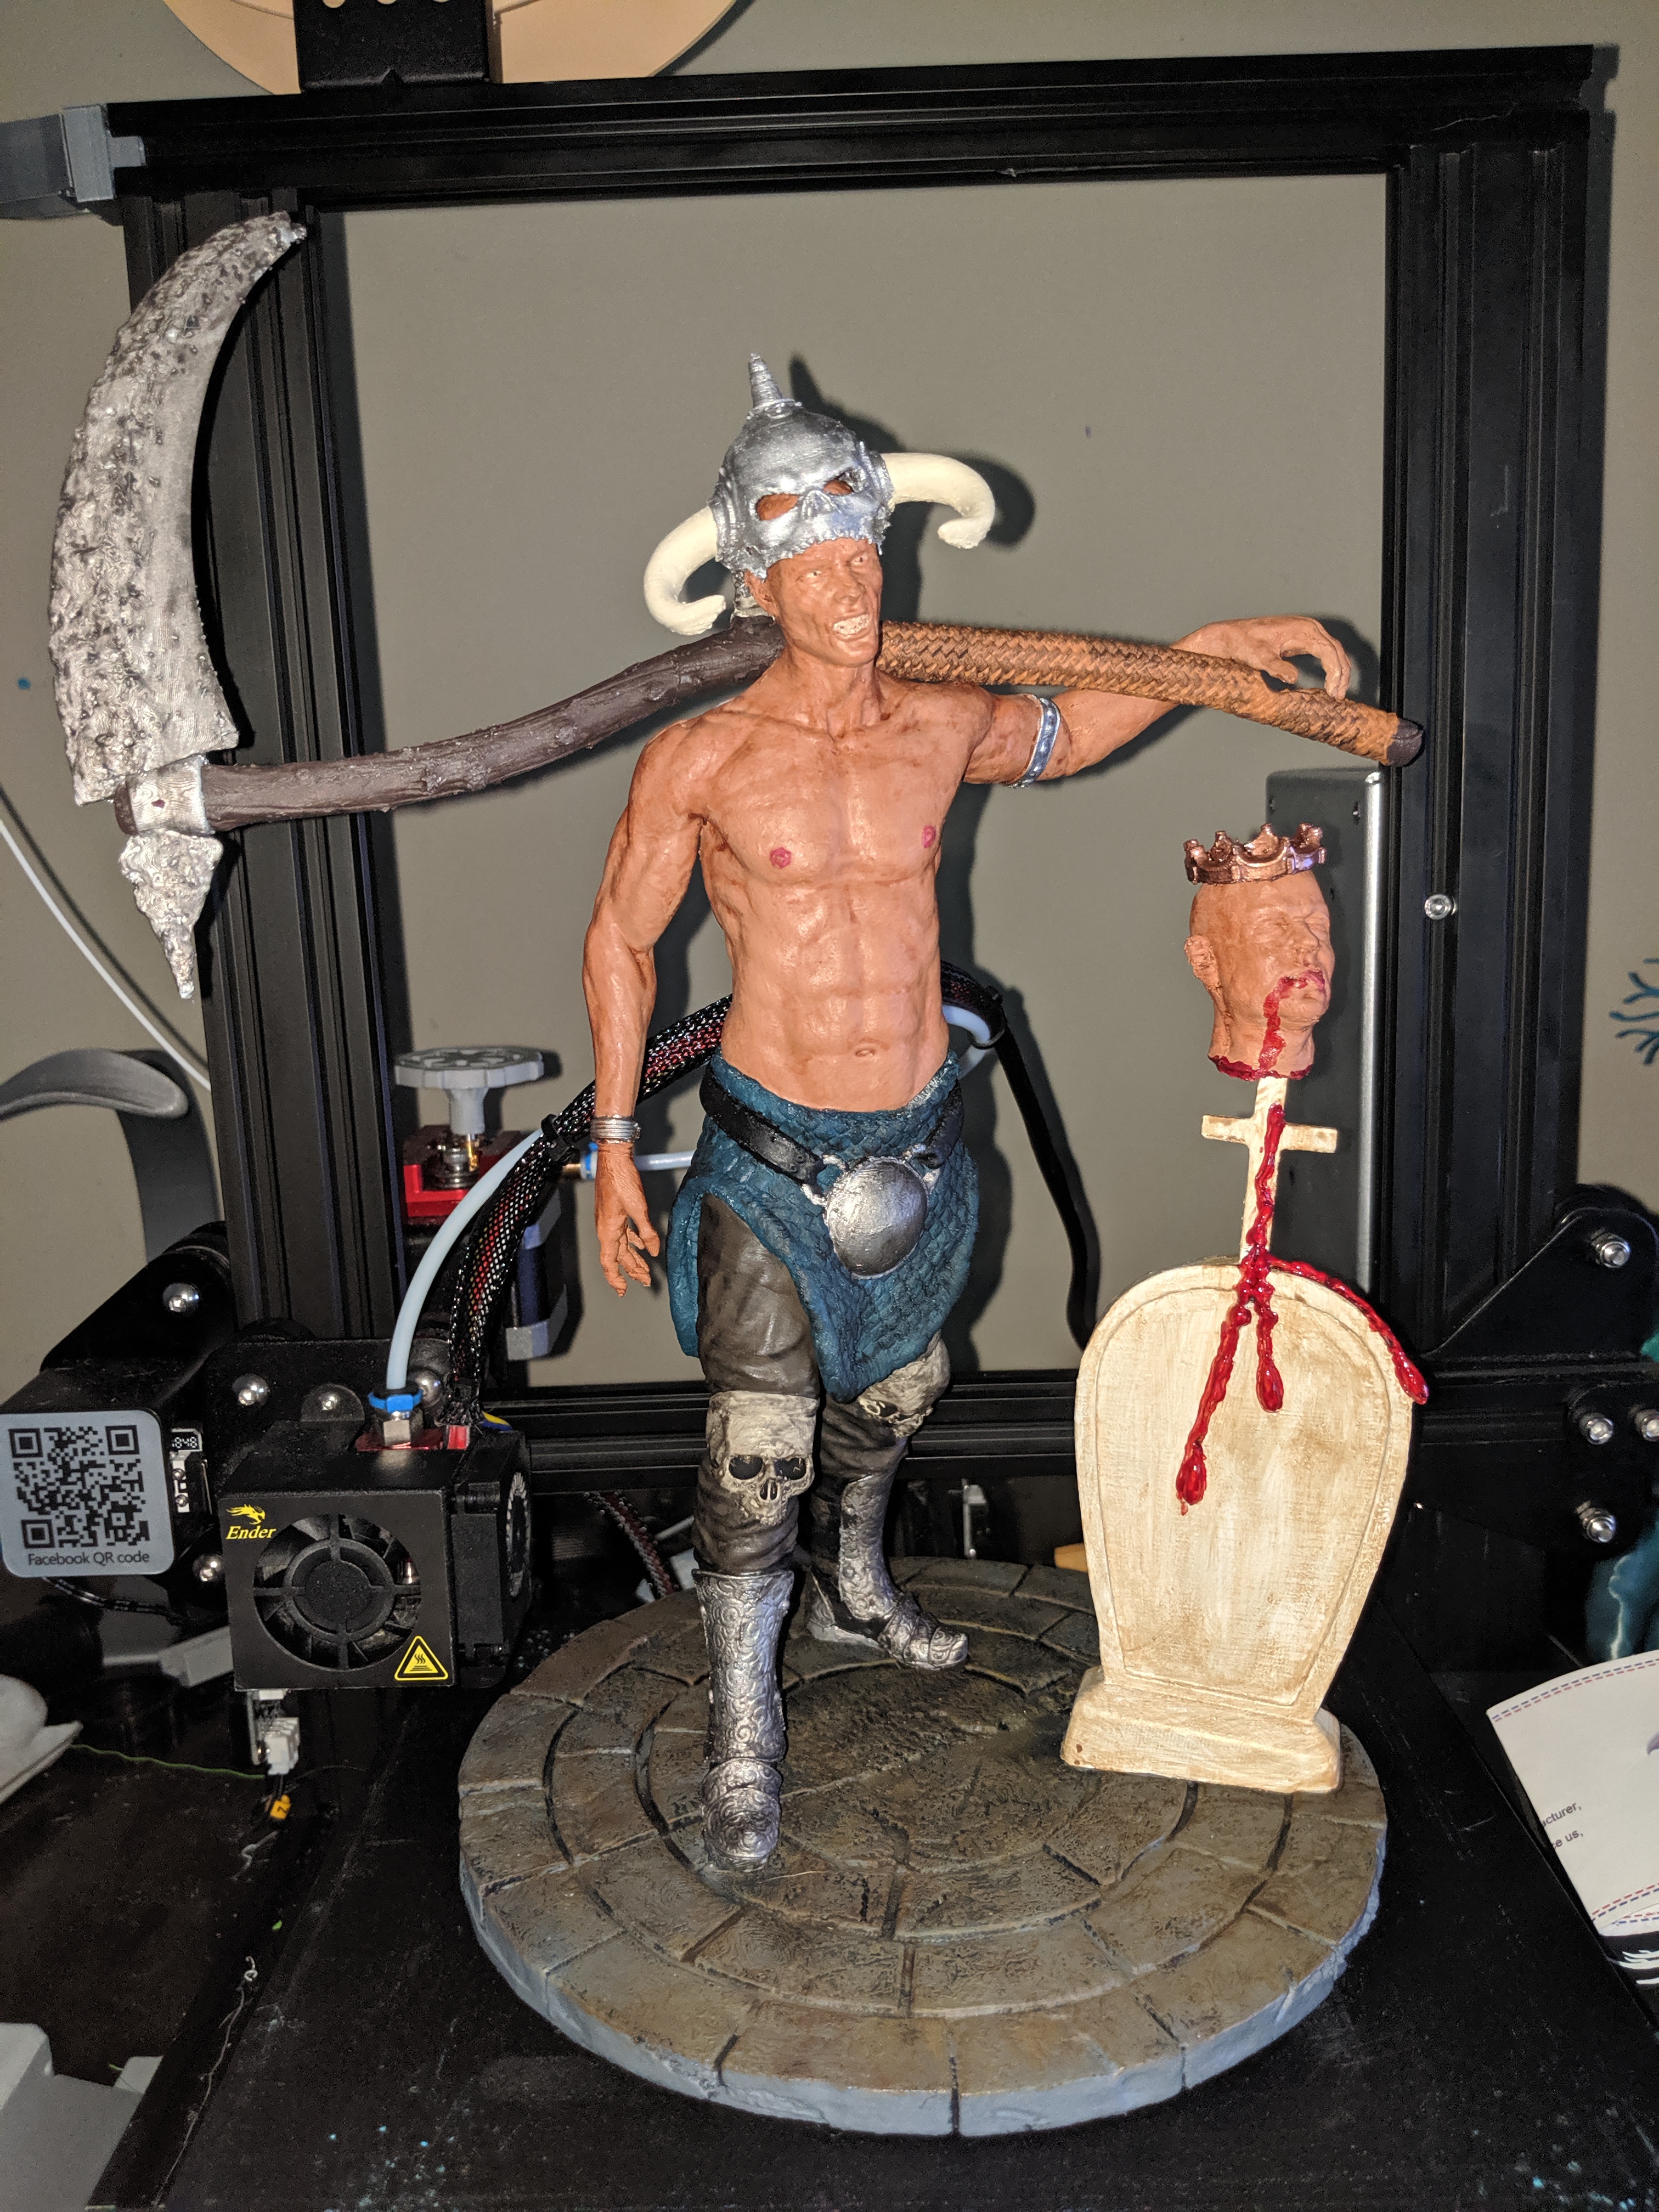
Black Hanter


Black Hanter
Published 2017-10-27T09:17:25+00:00


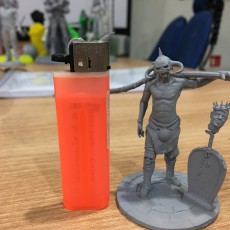
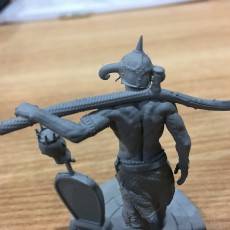
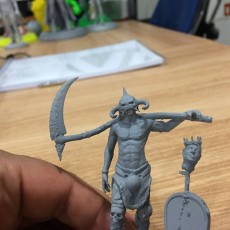
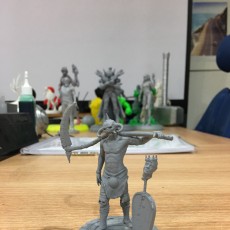
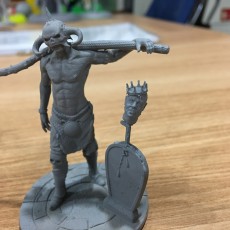
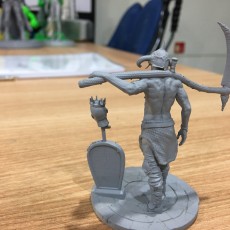
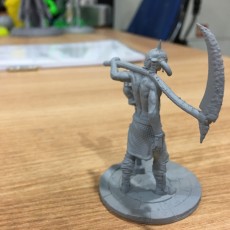
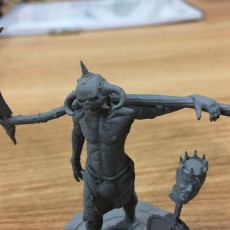
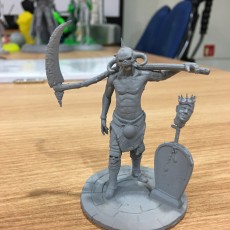
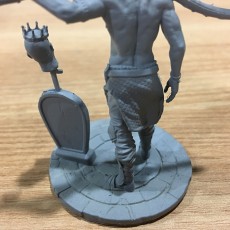
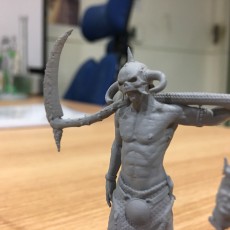
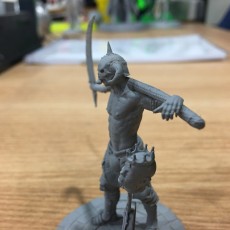
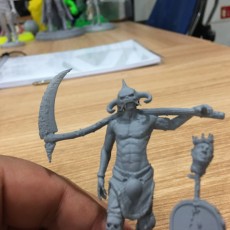
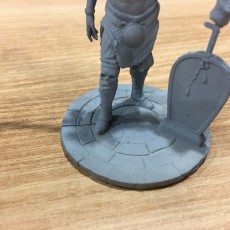
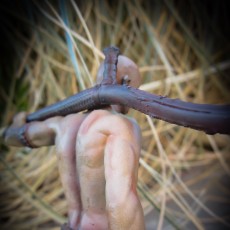
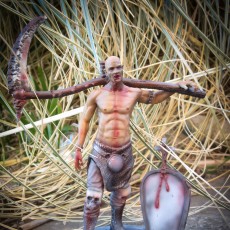
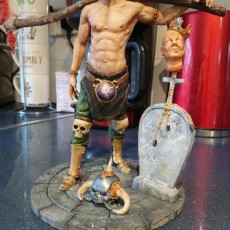
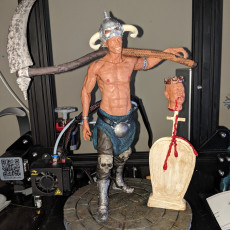
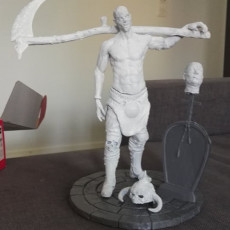
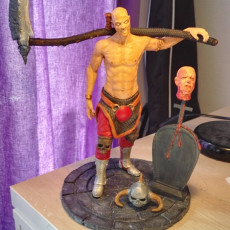
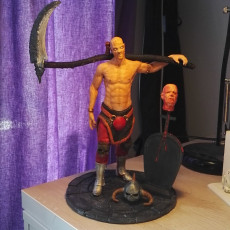
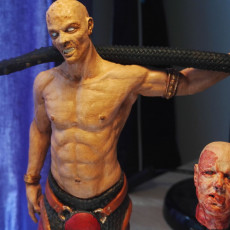
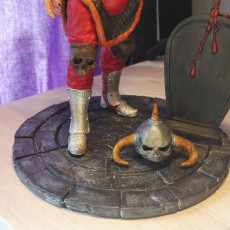
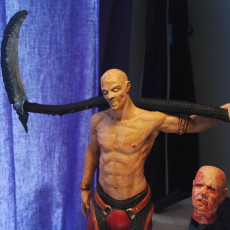
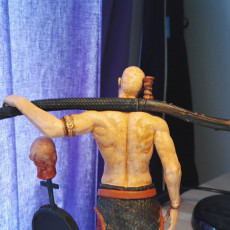
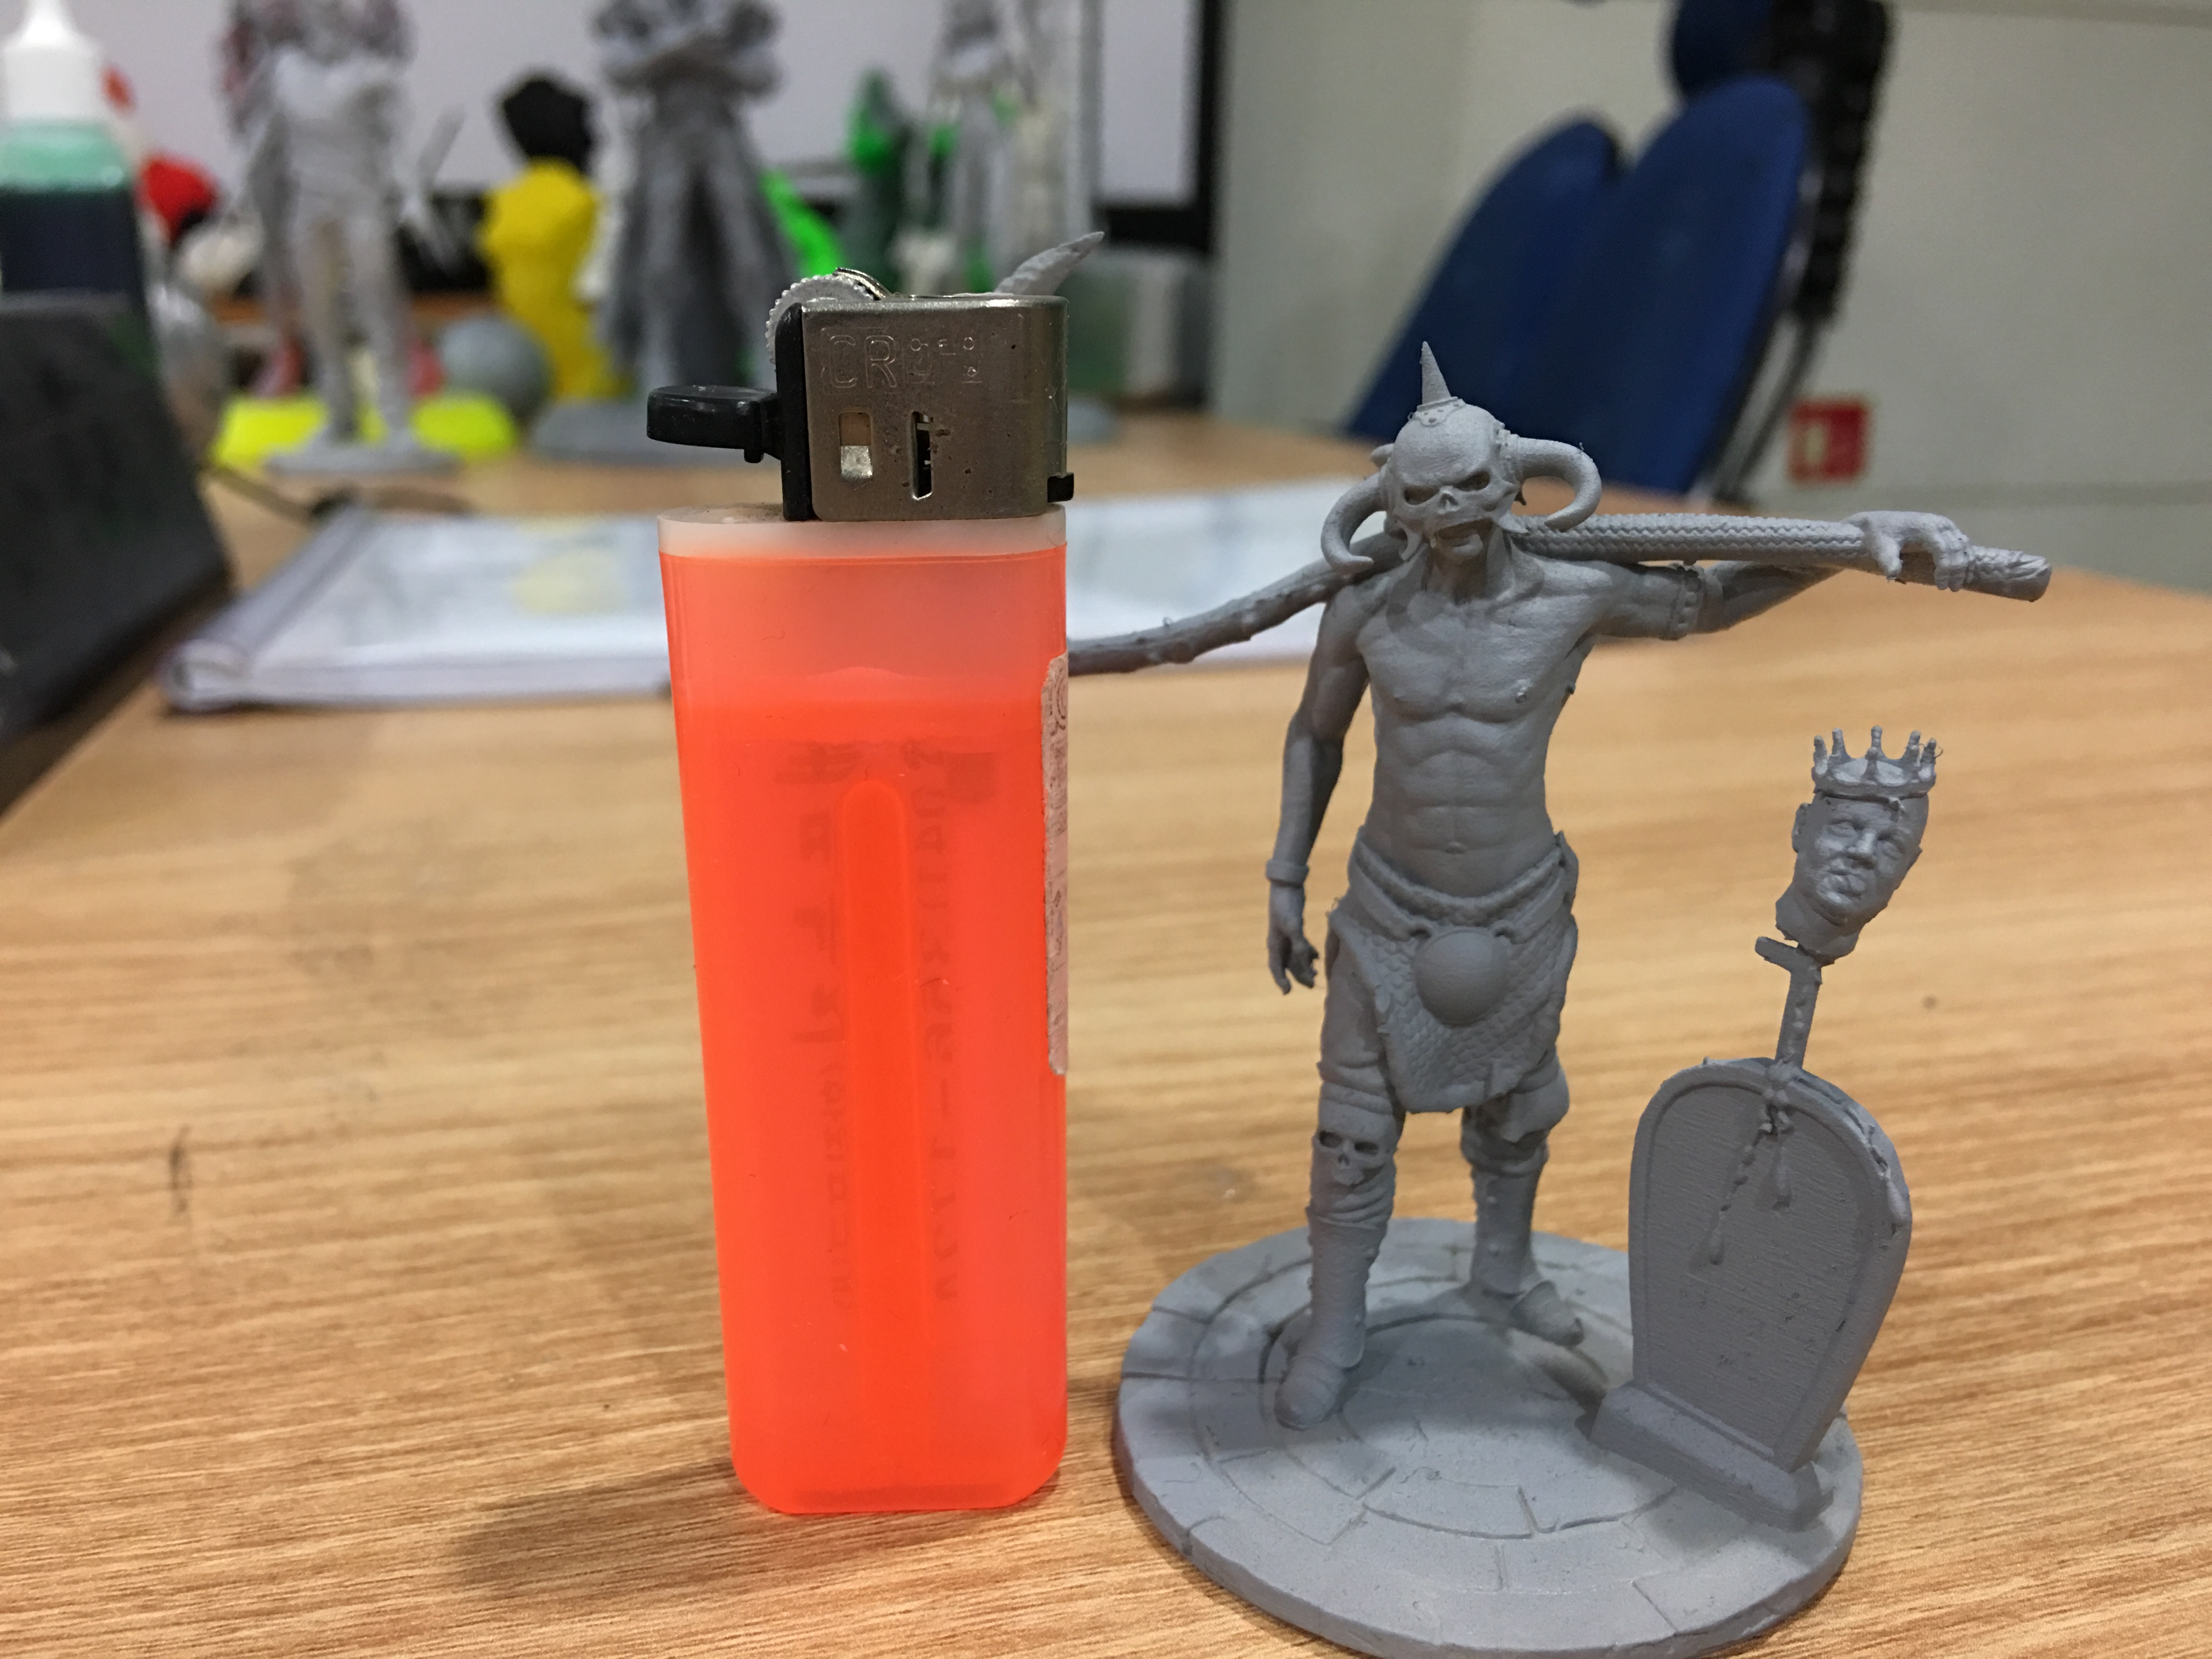
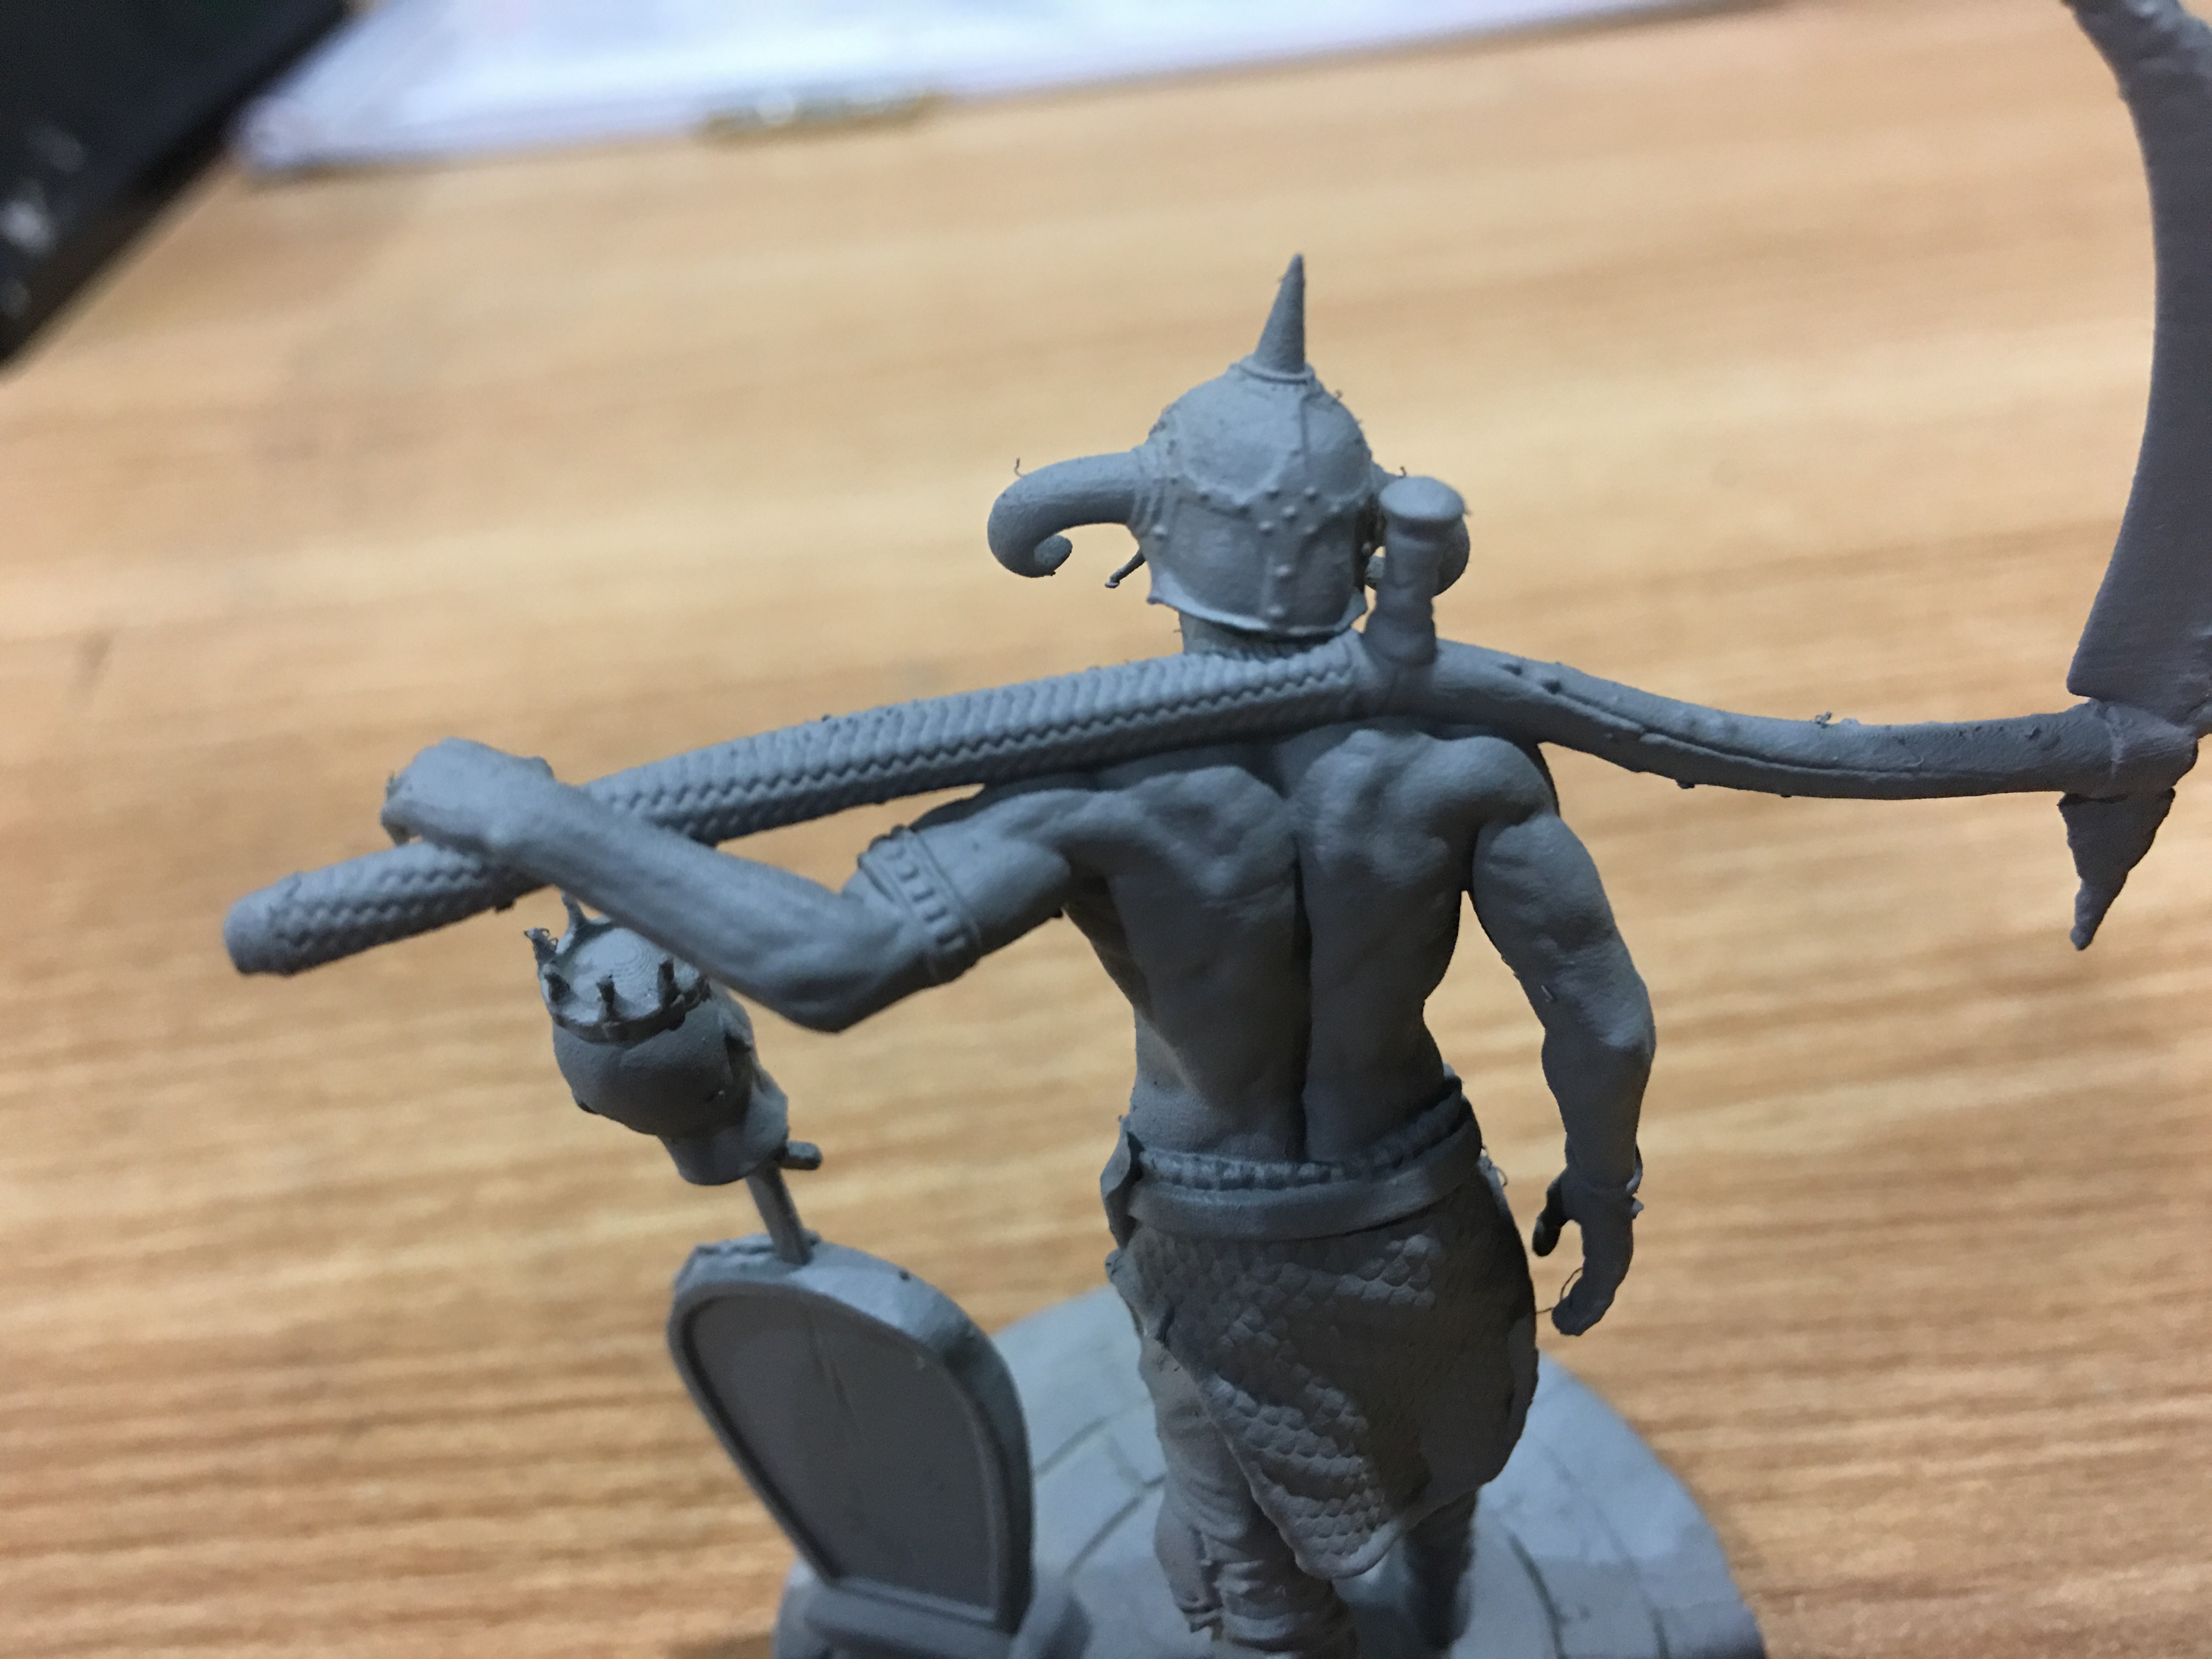
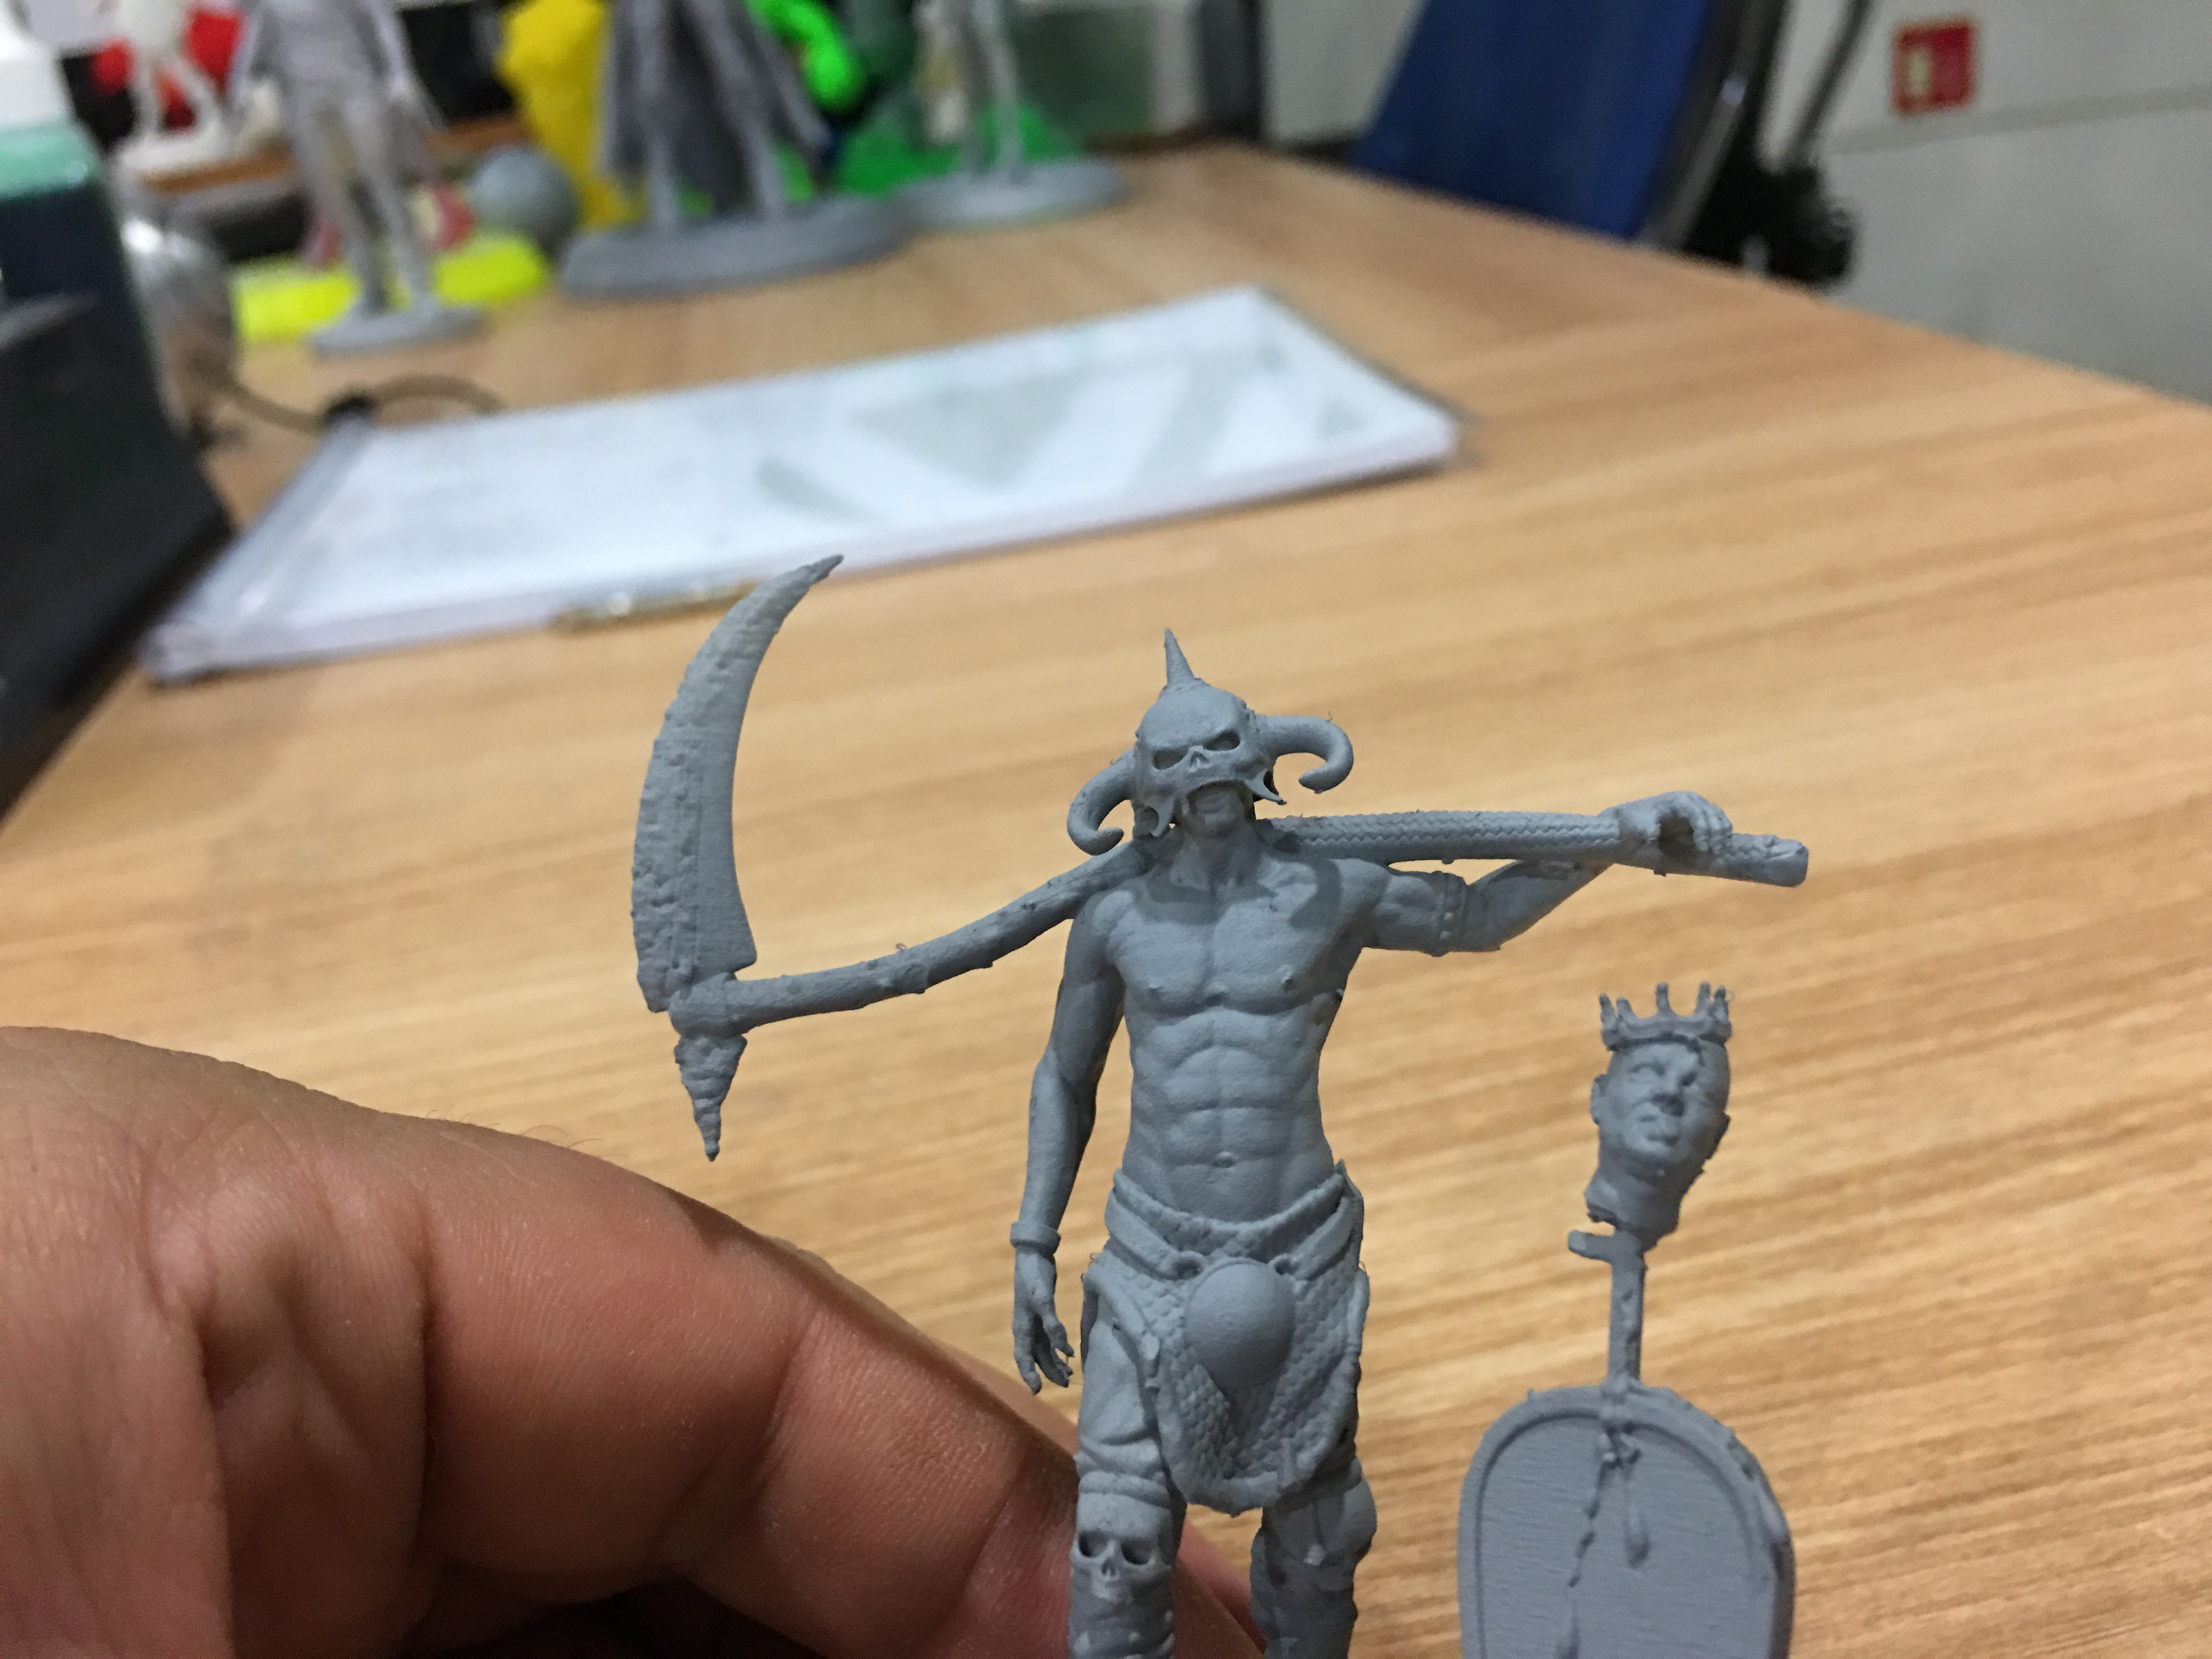
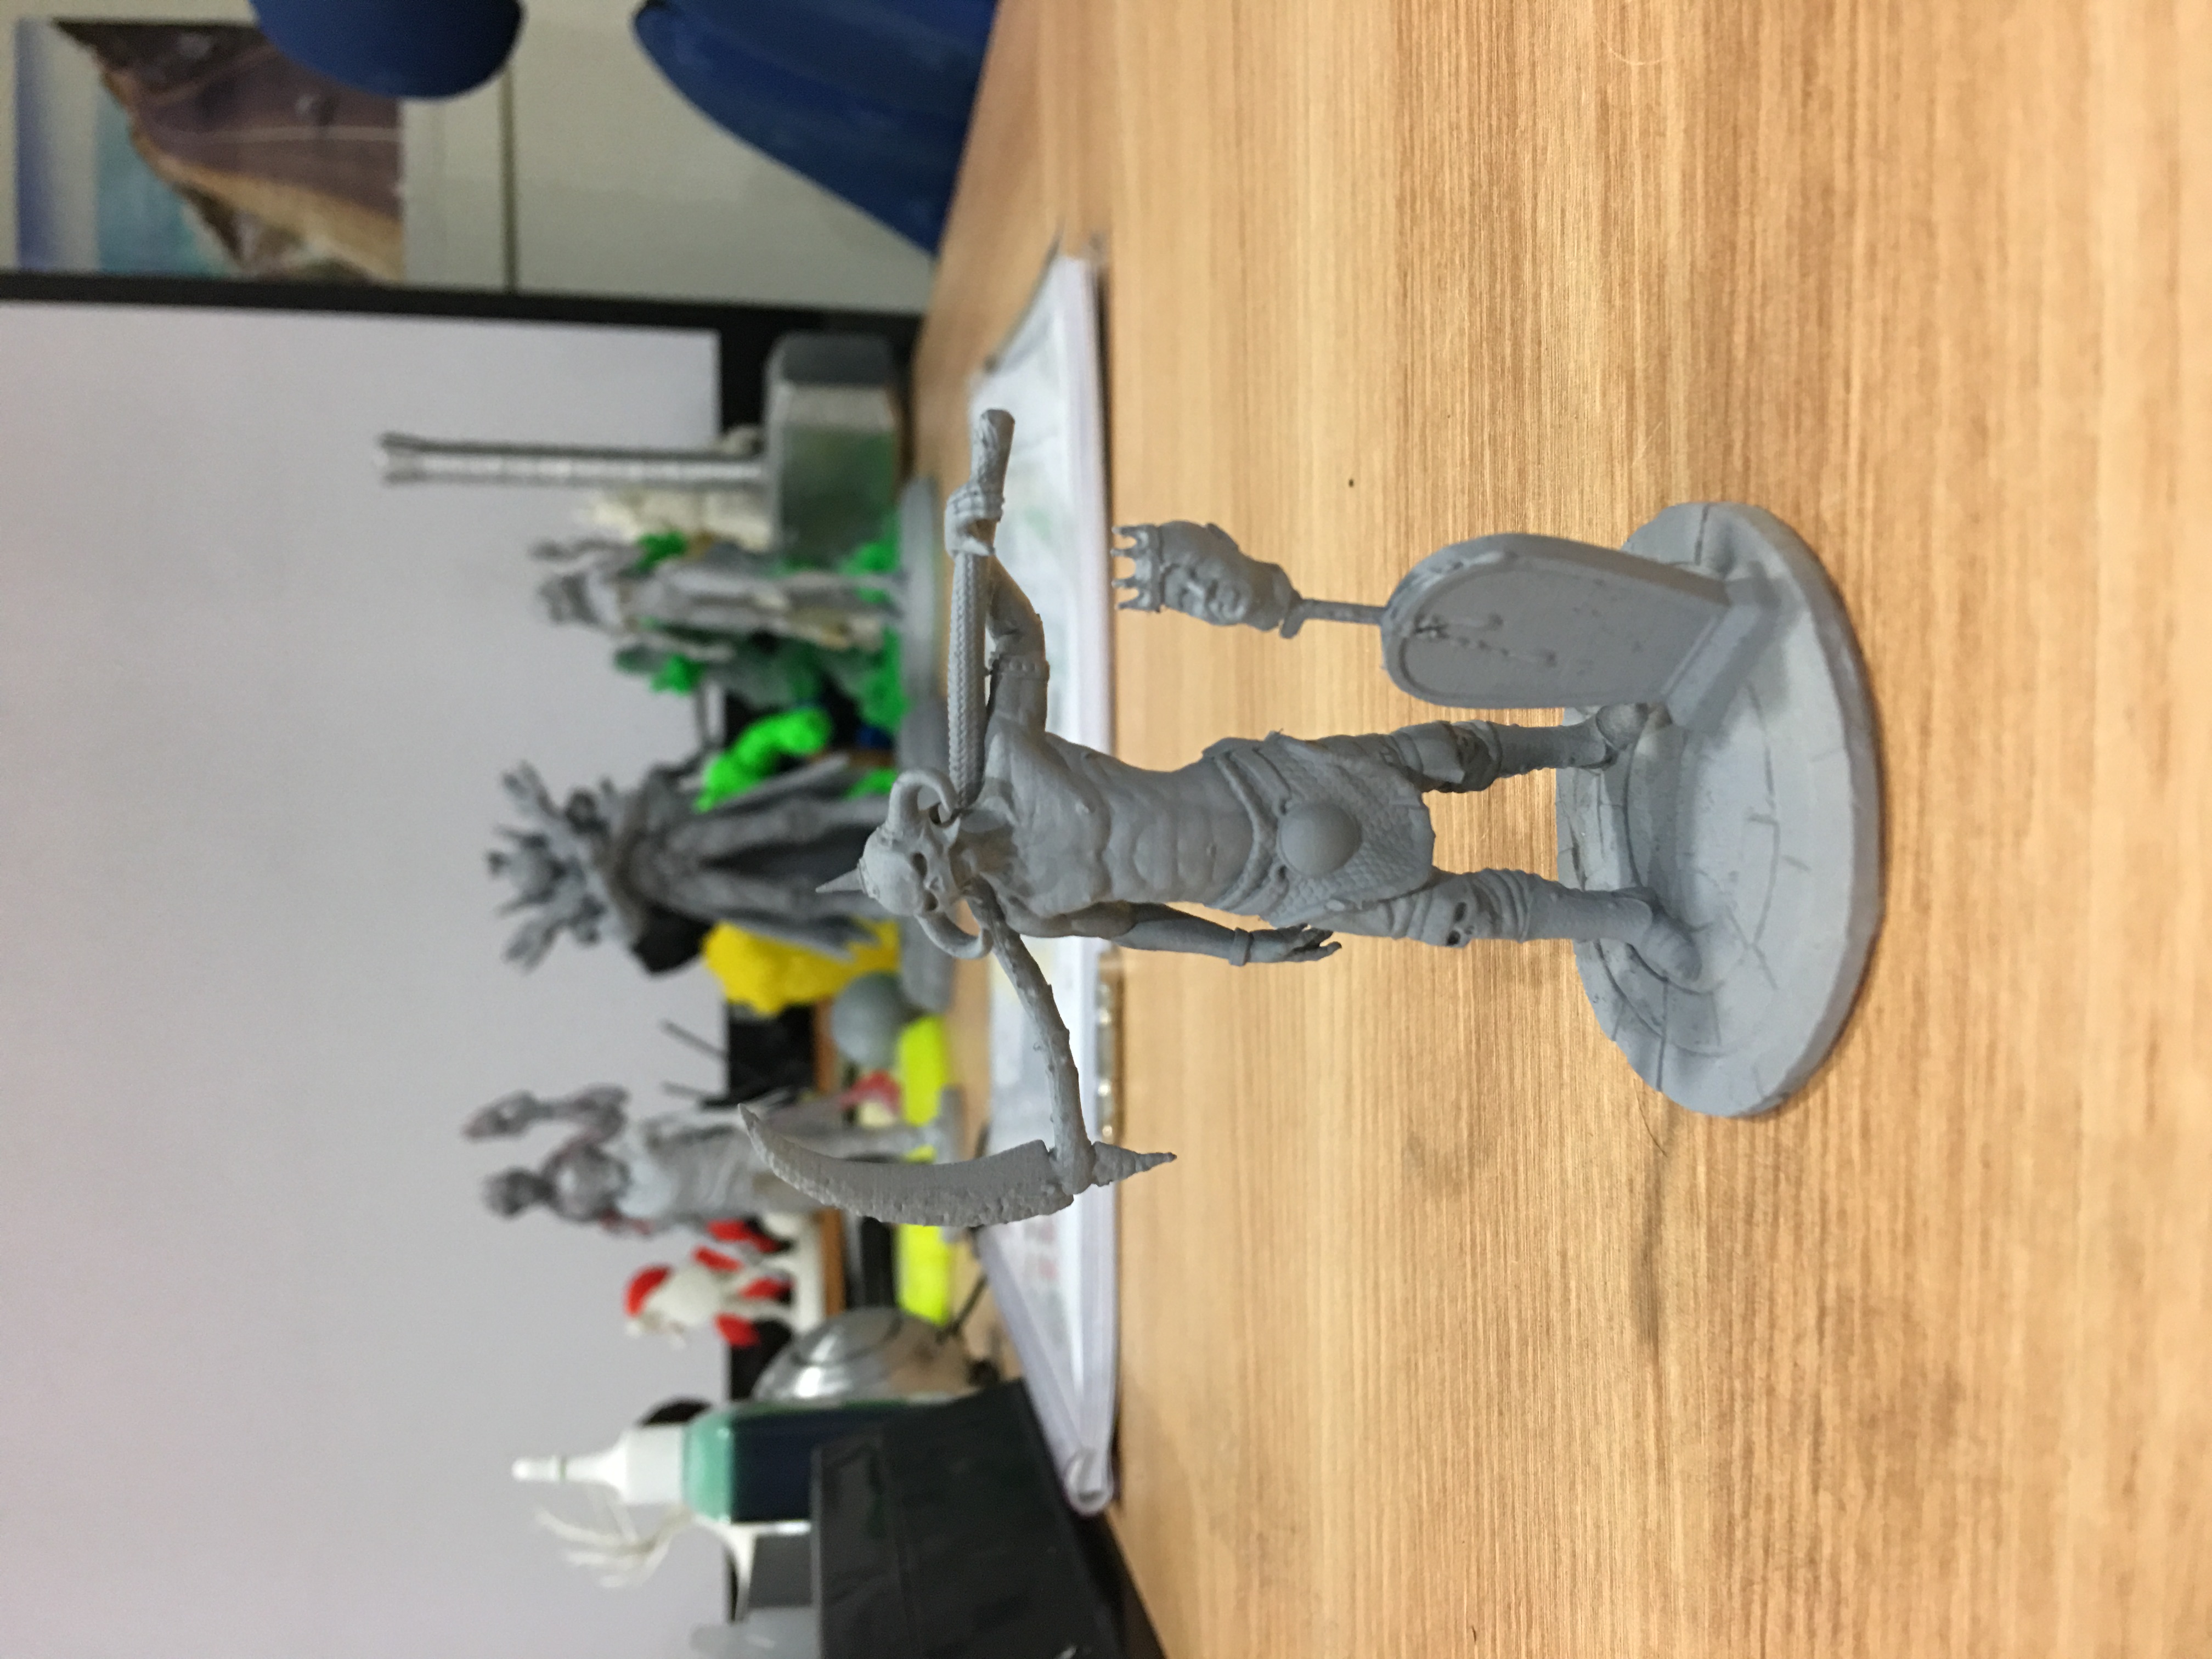
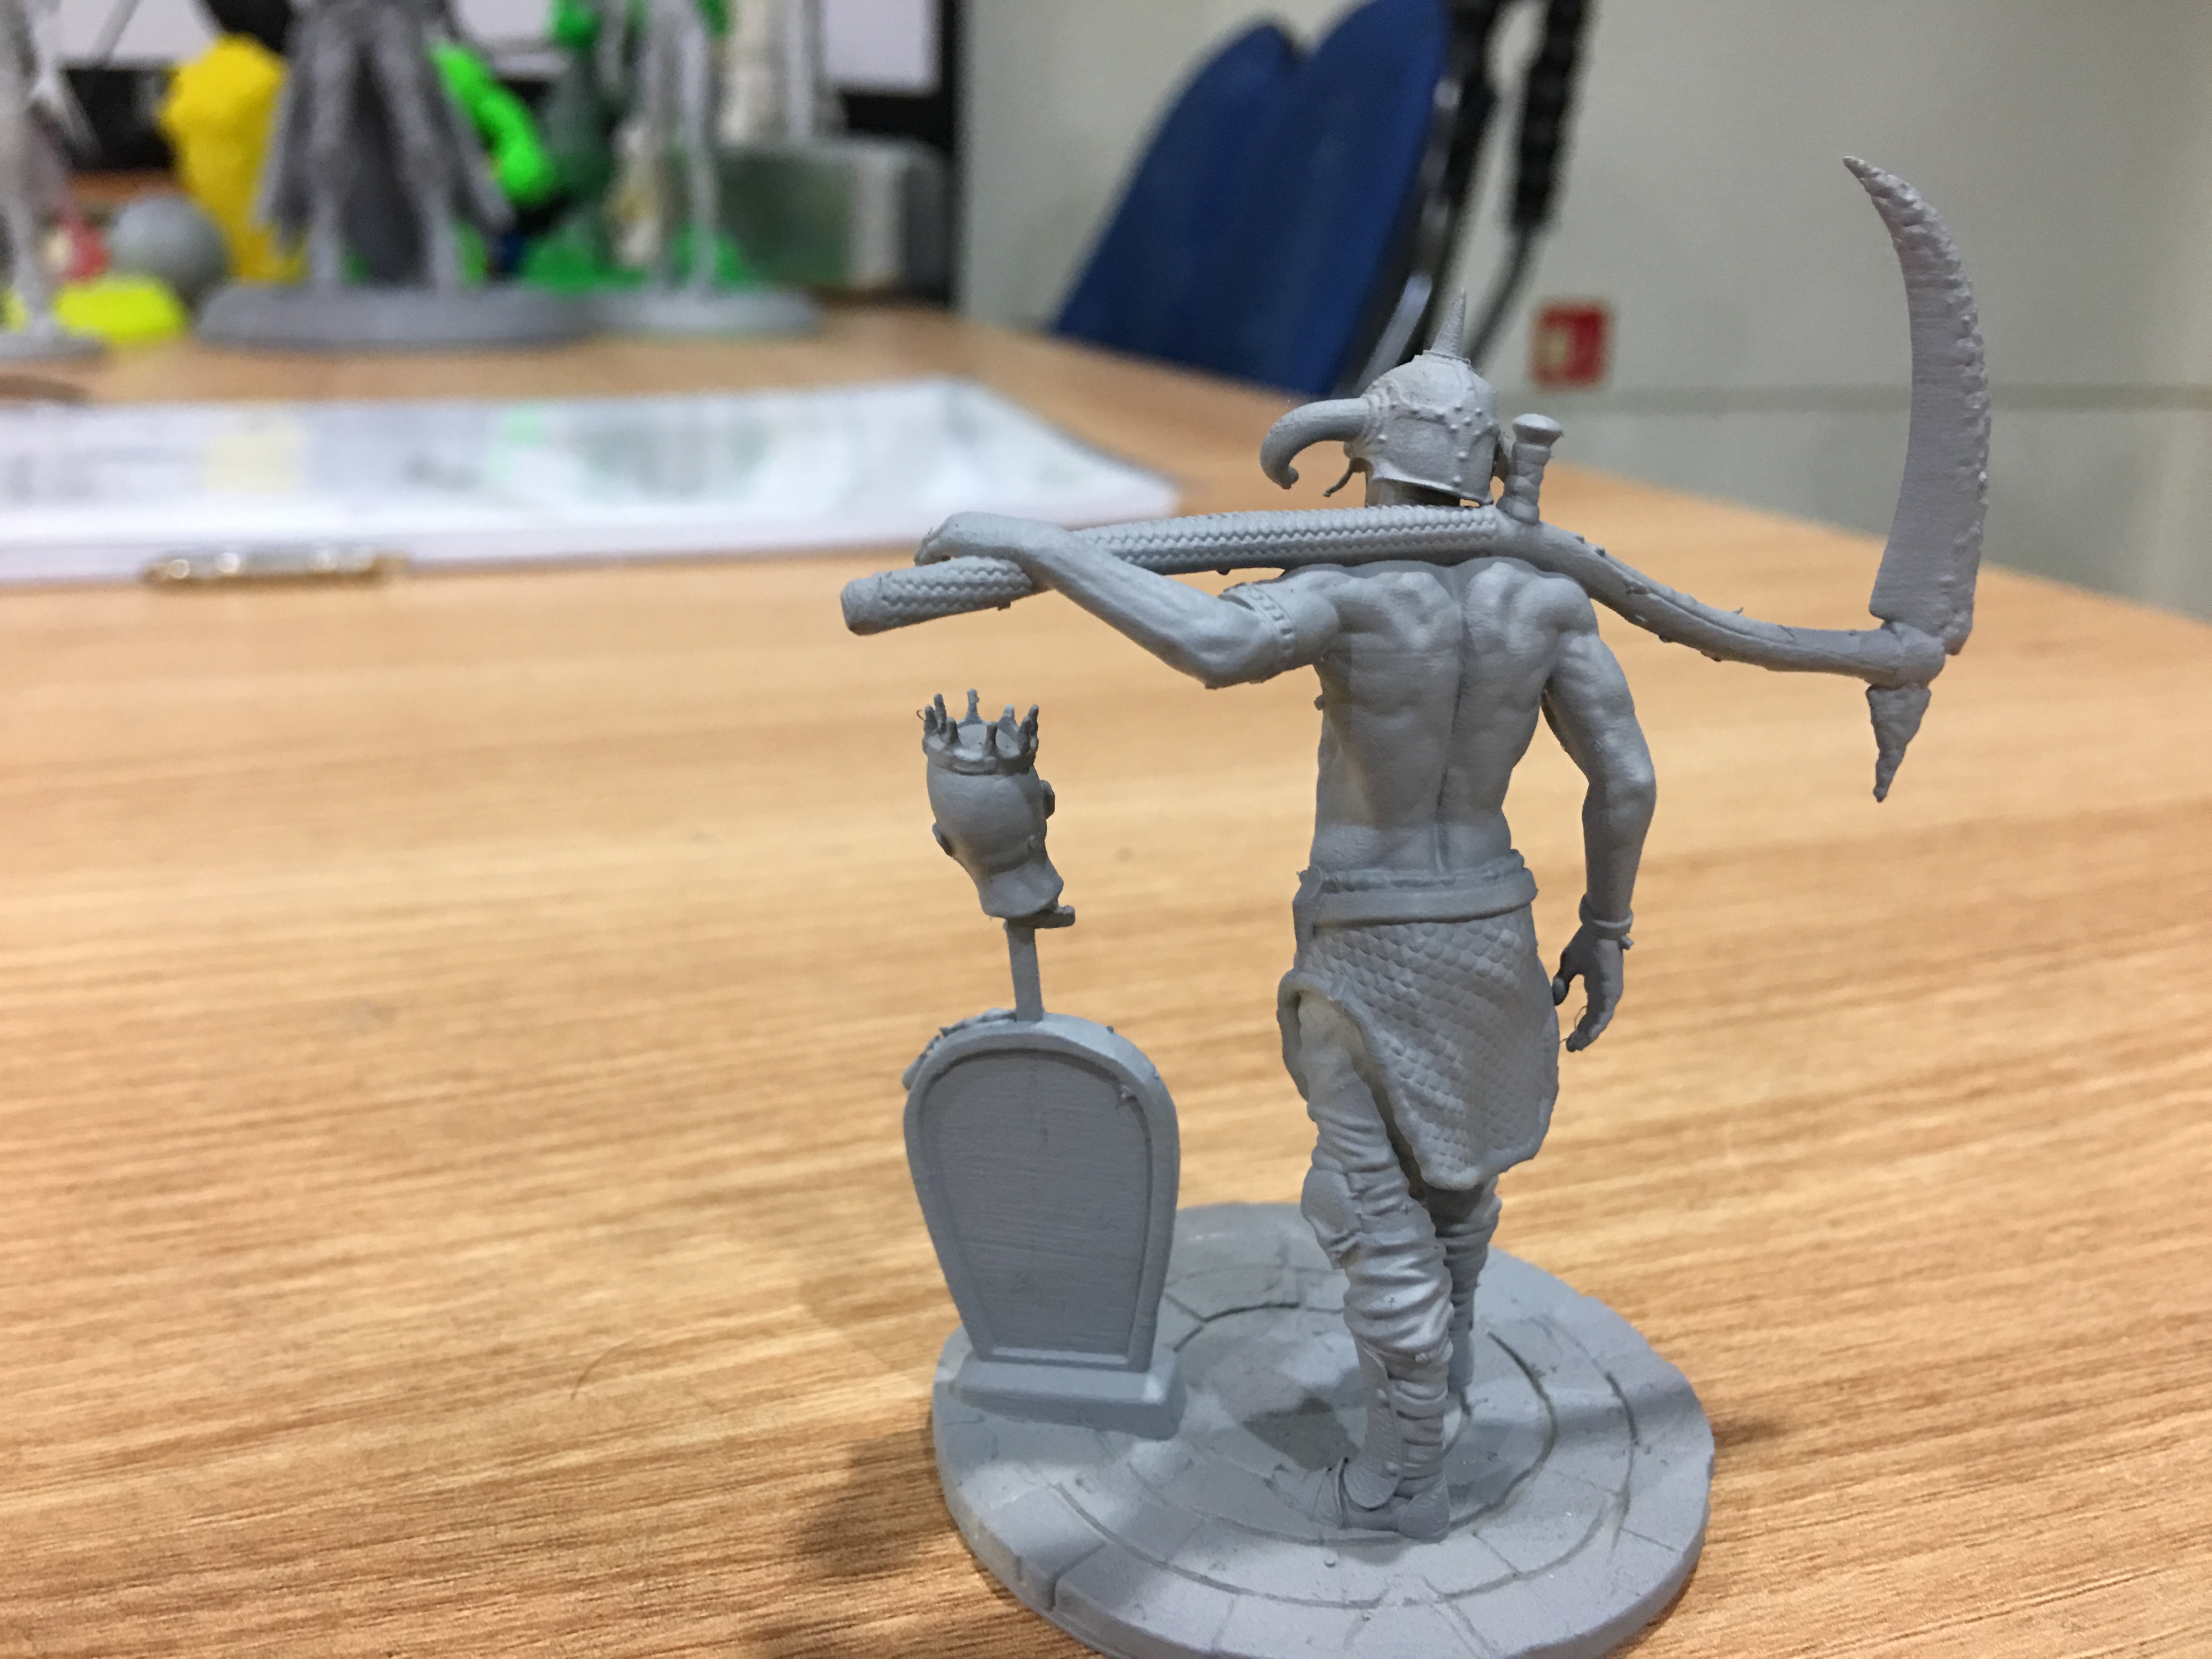
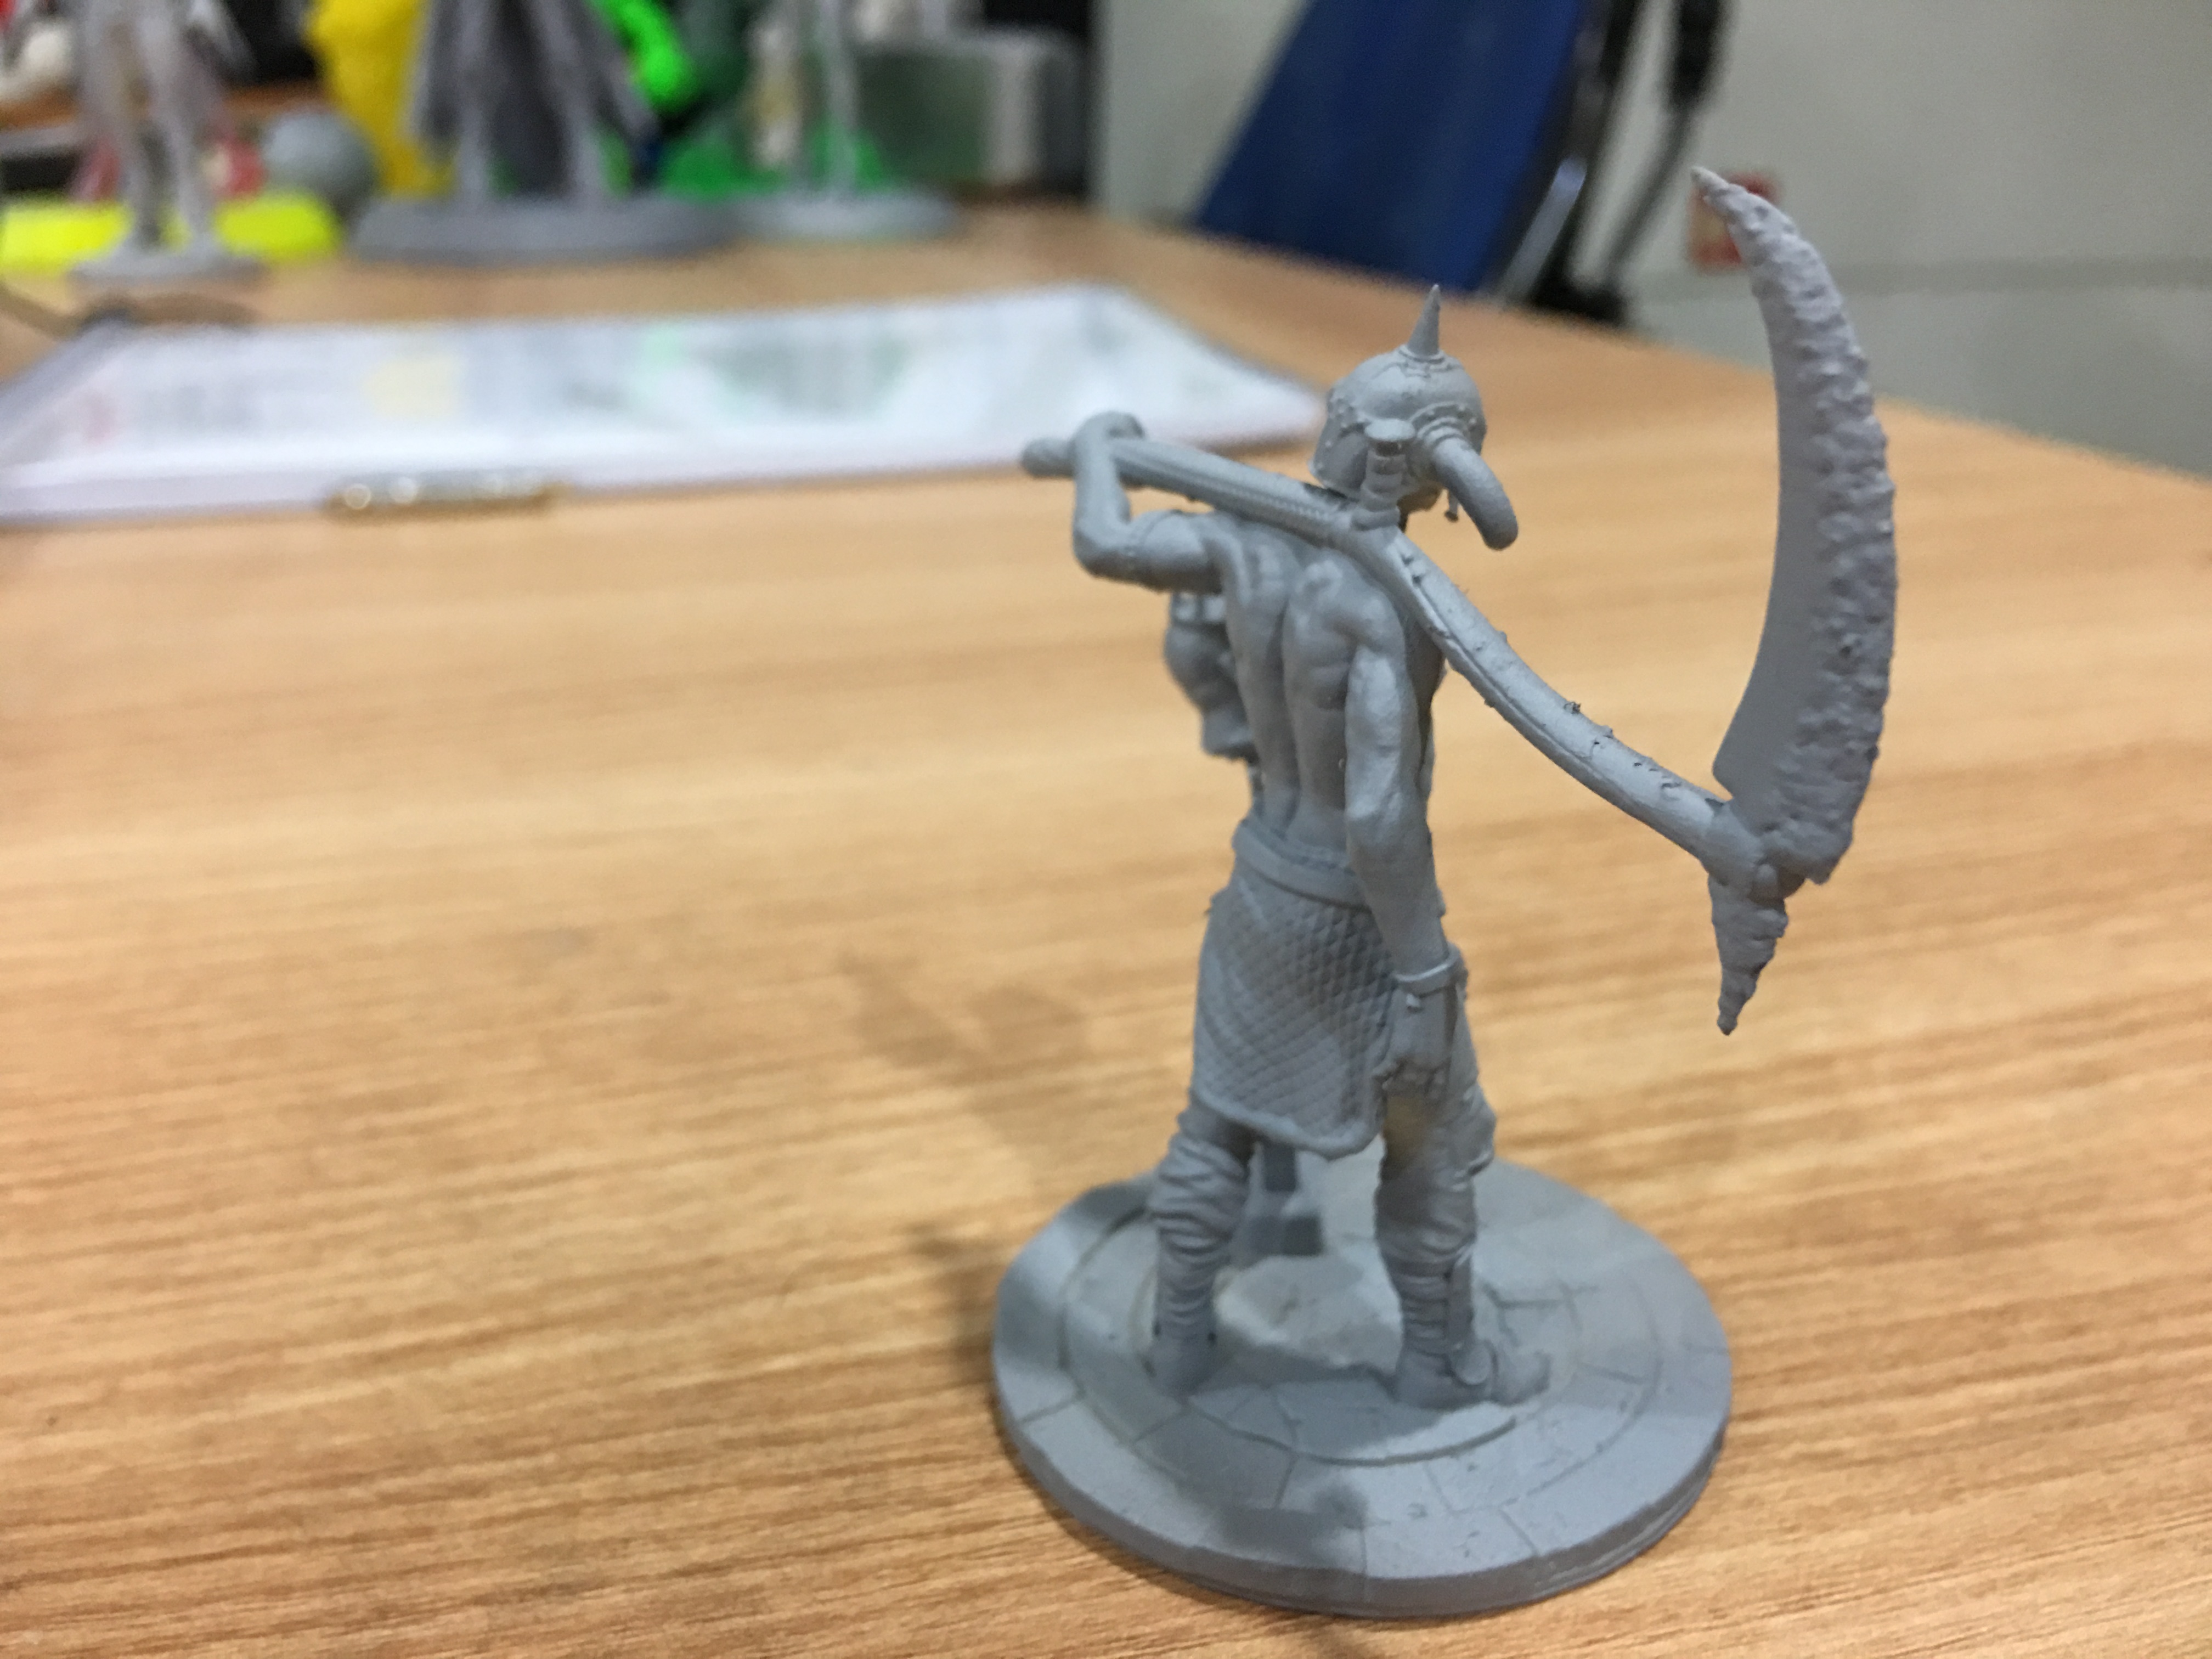
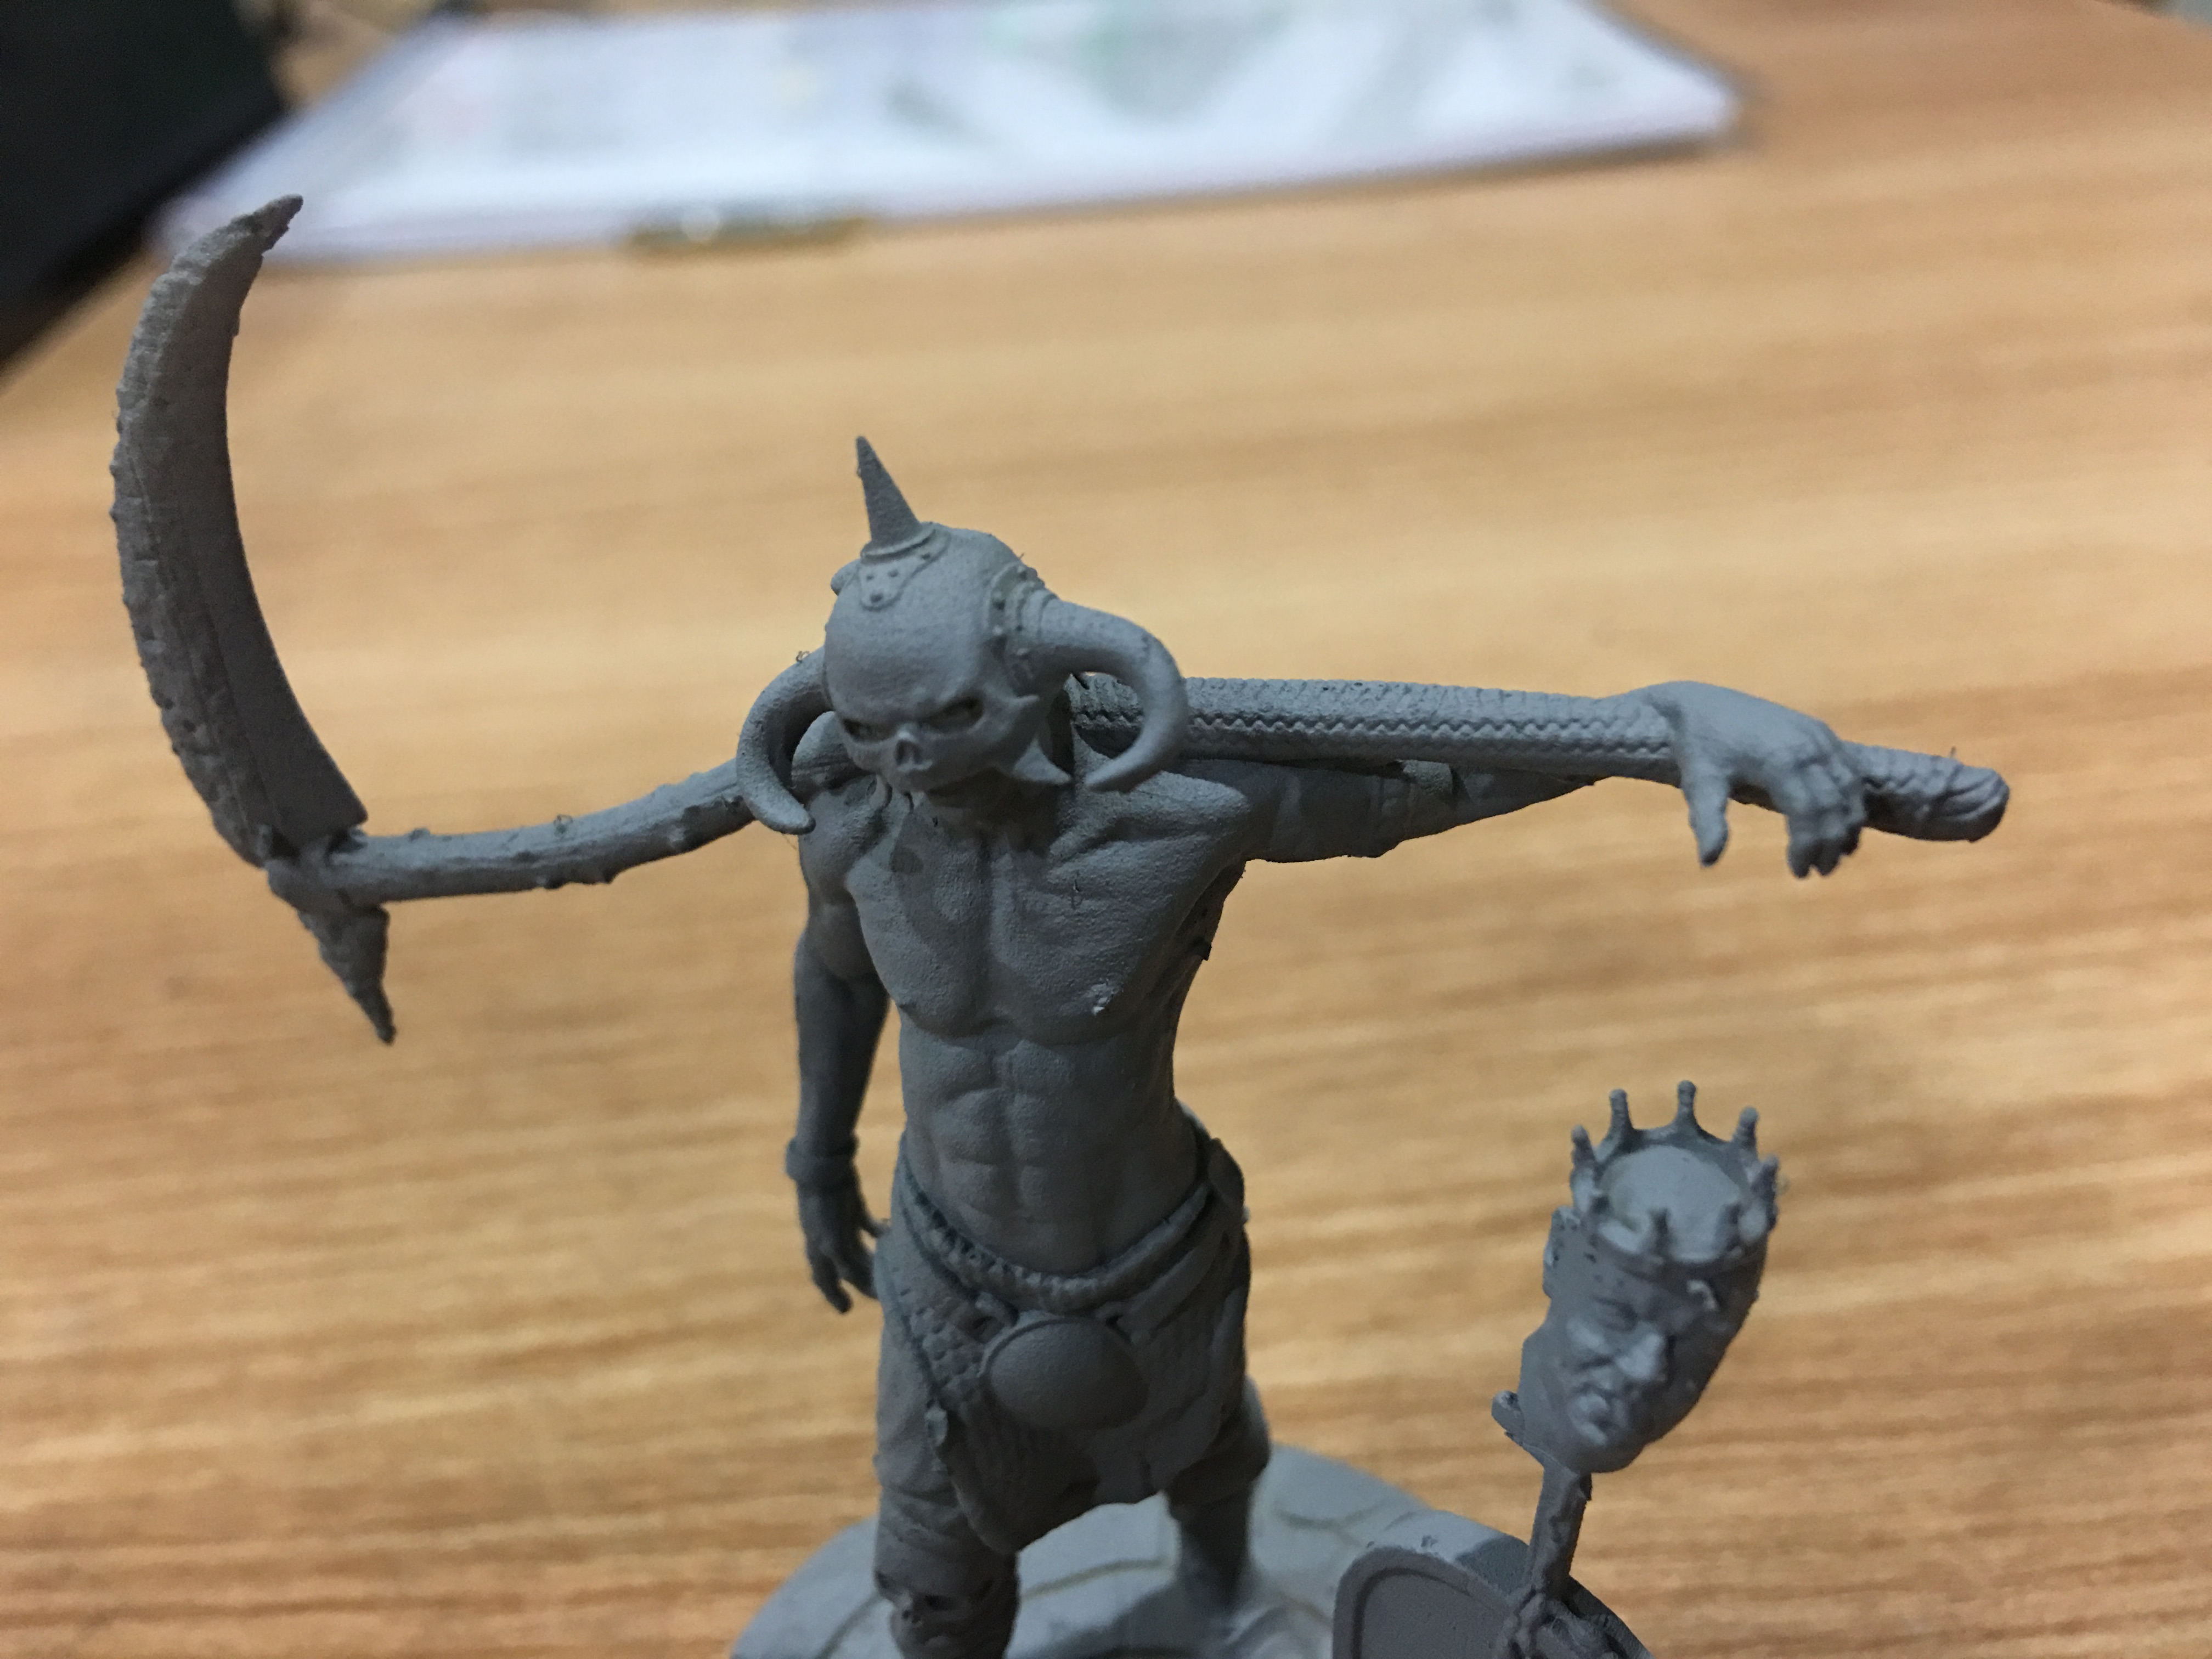
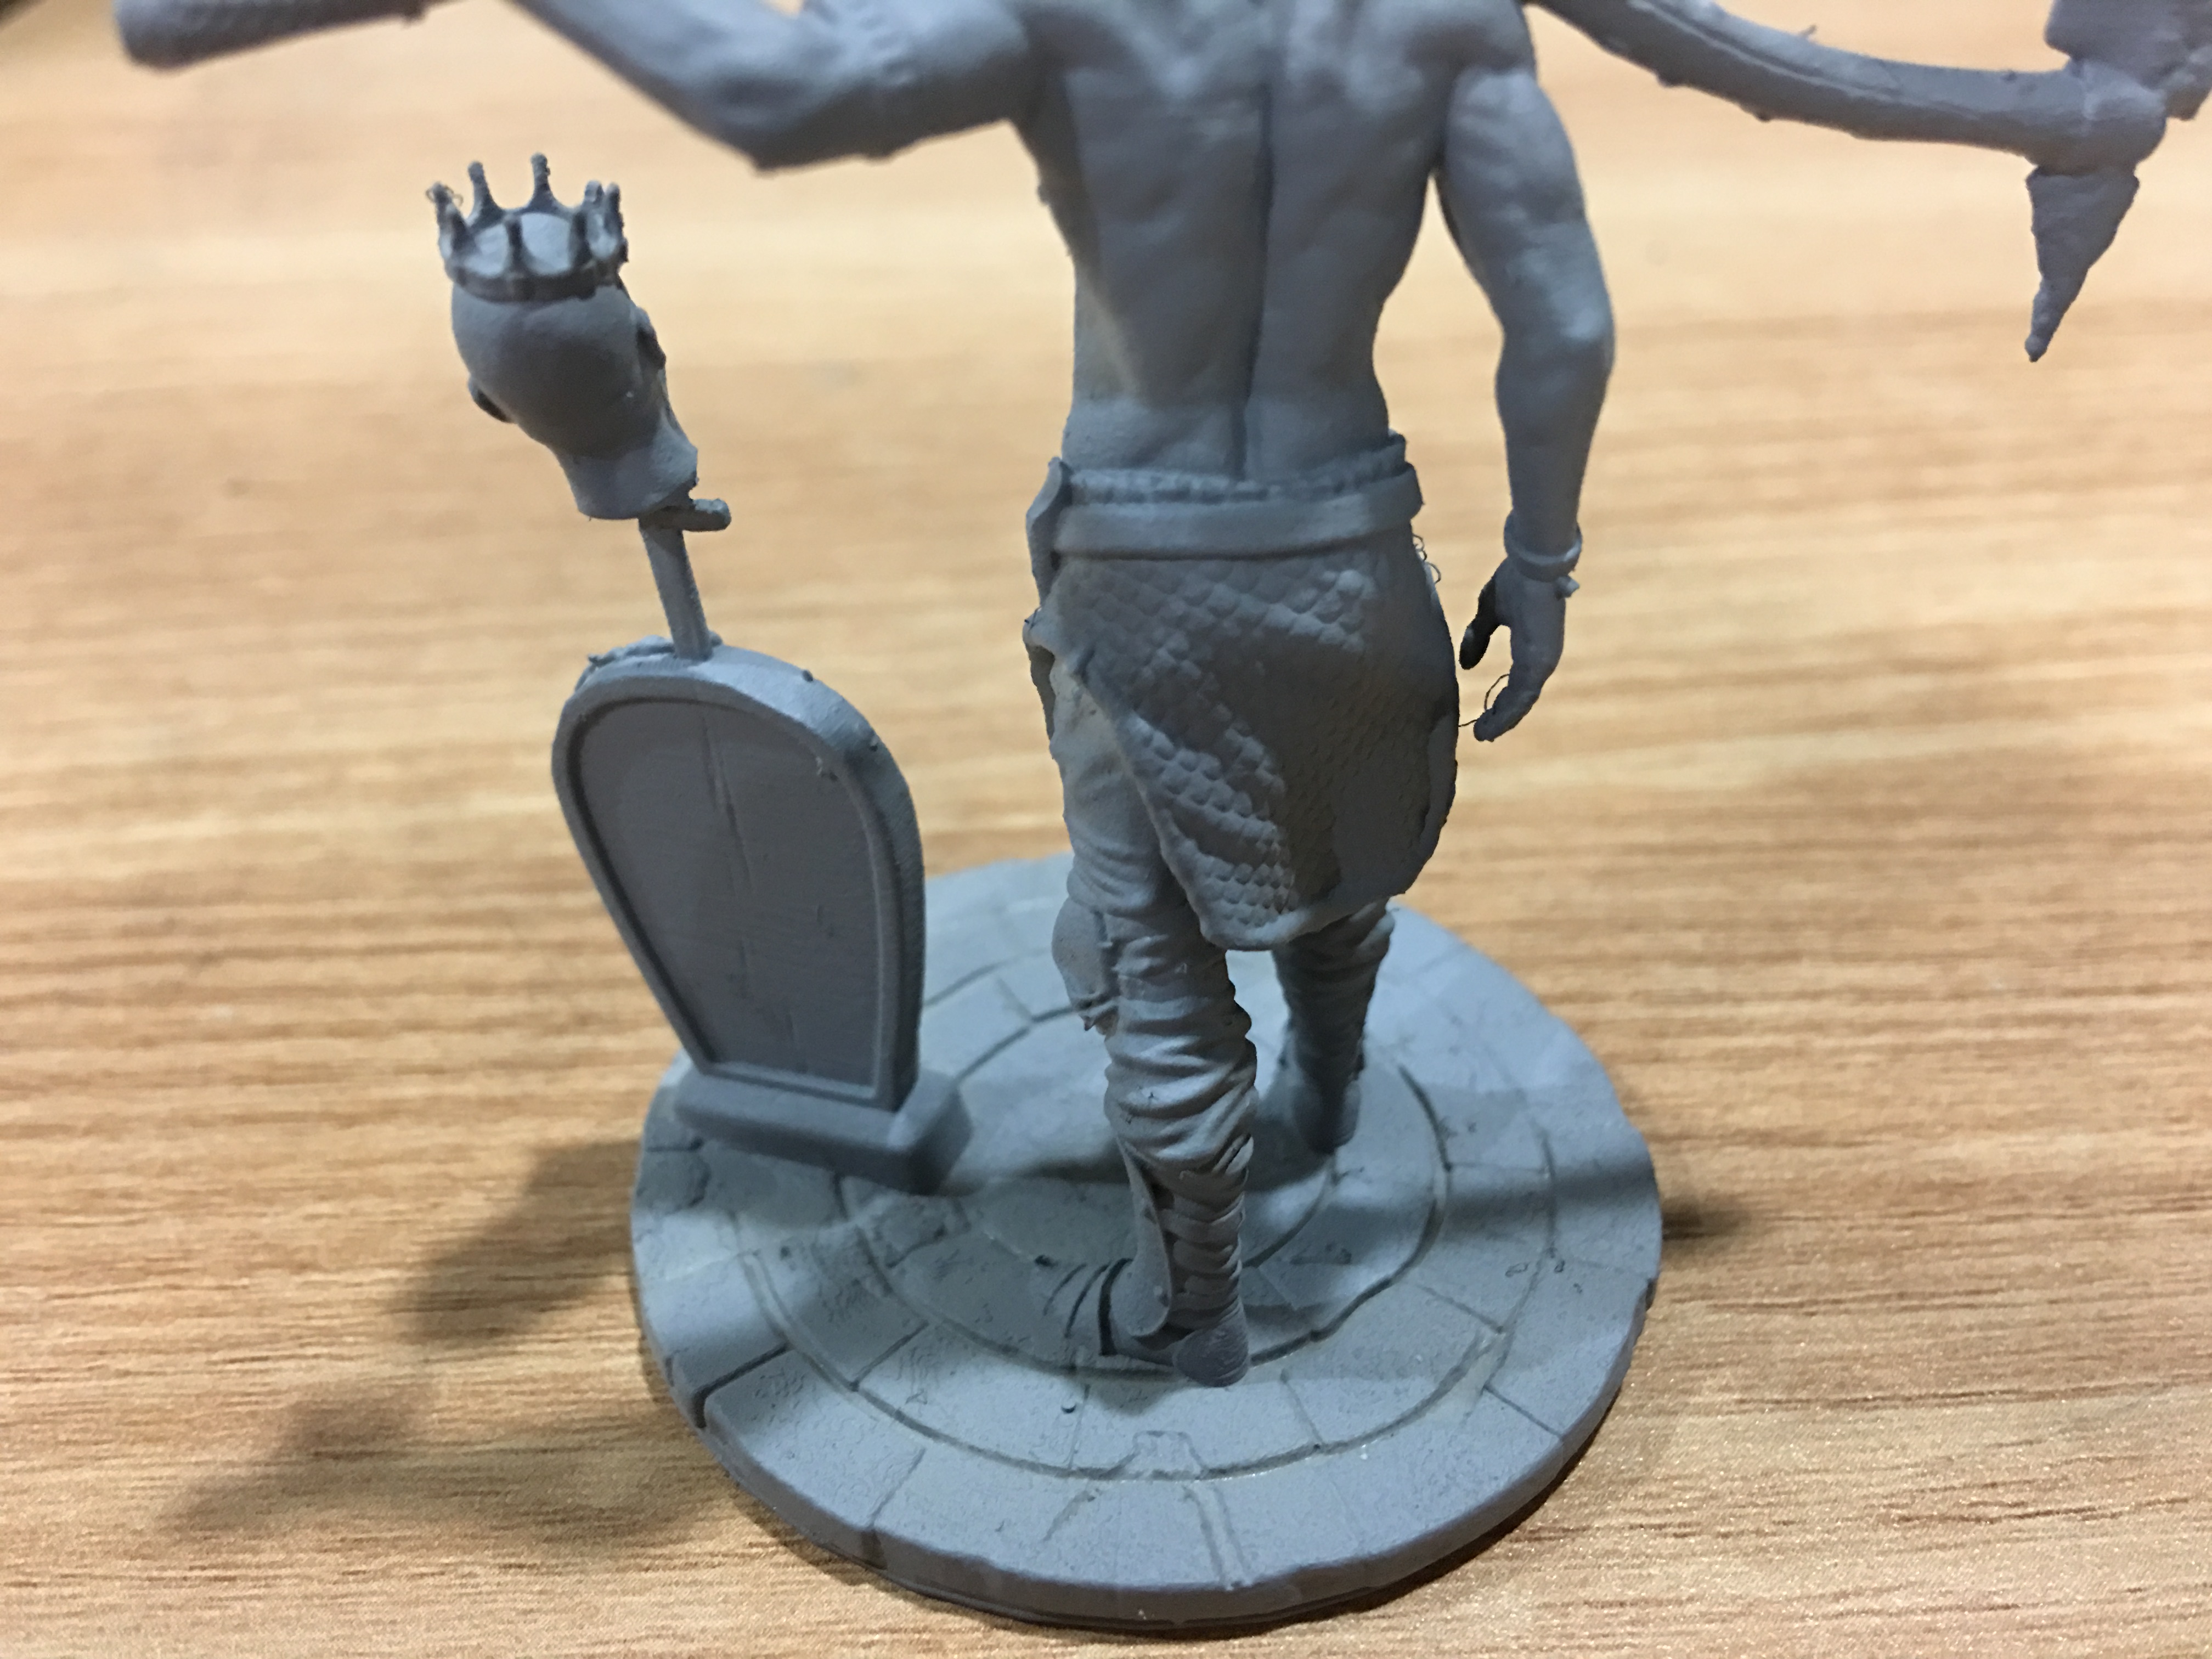
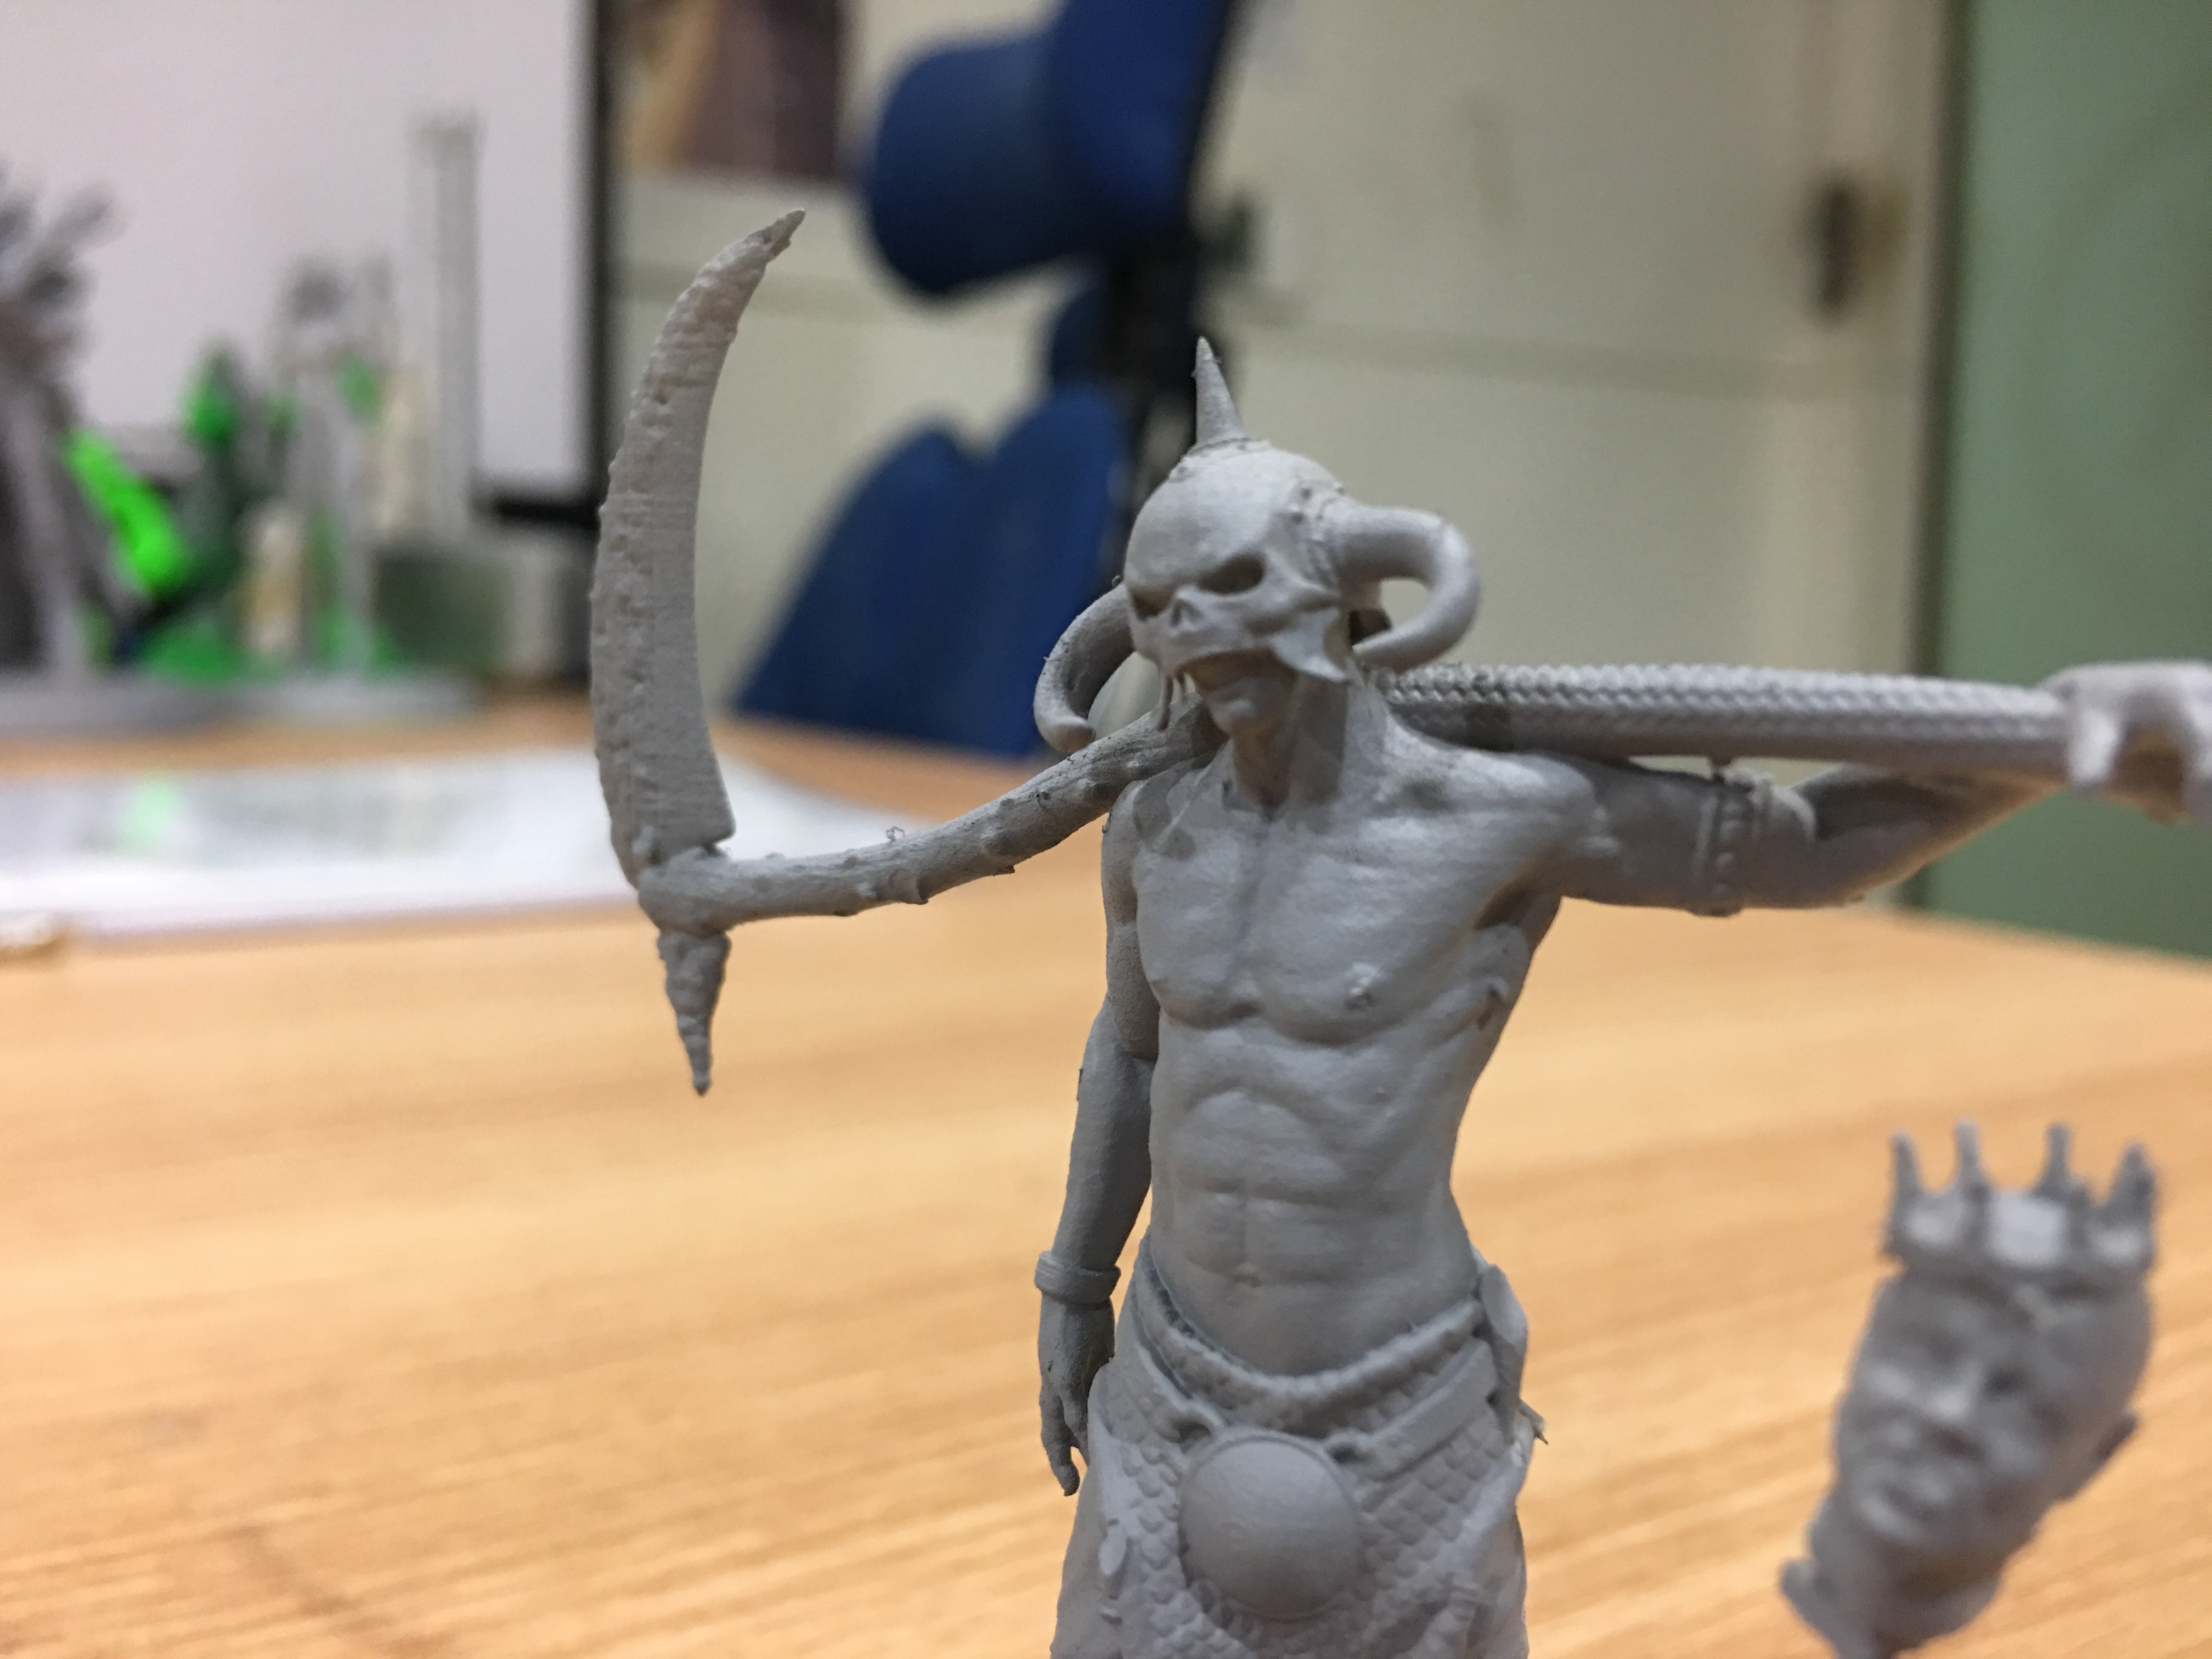
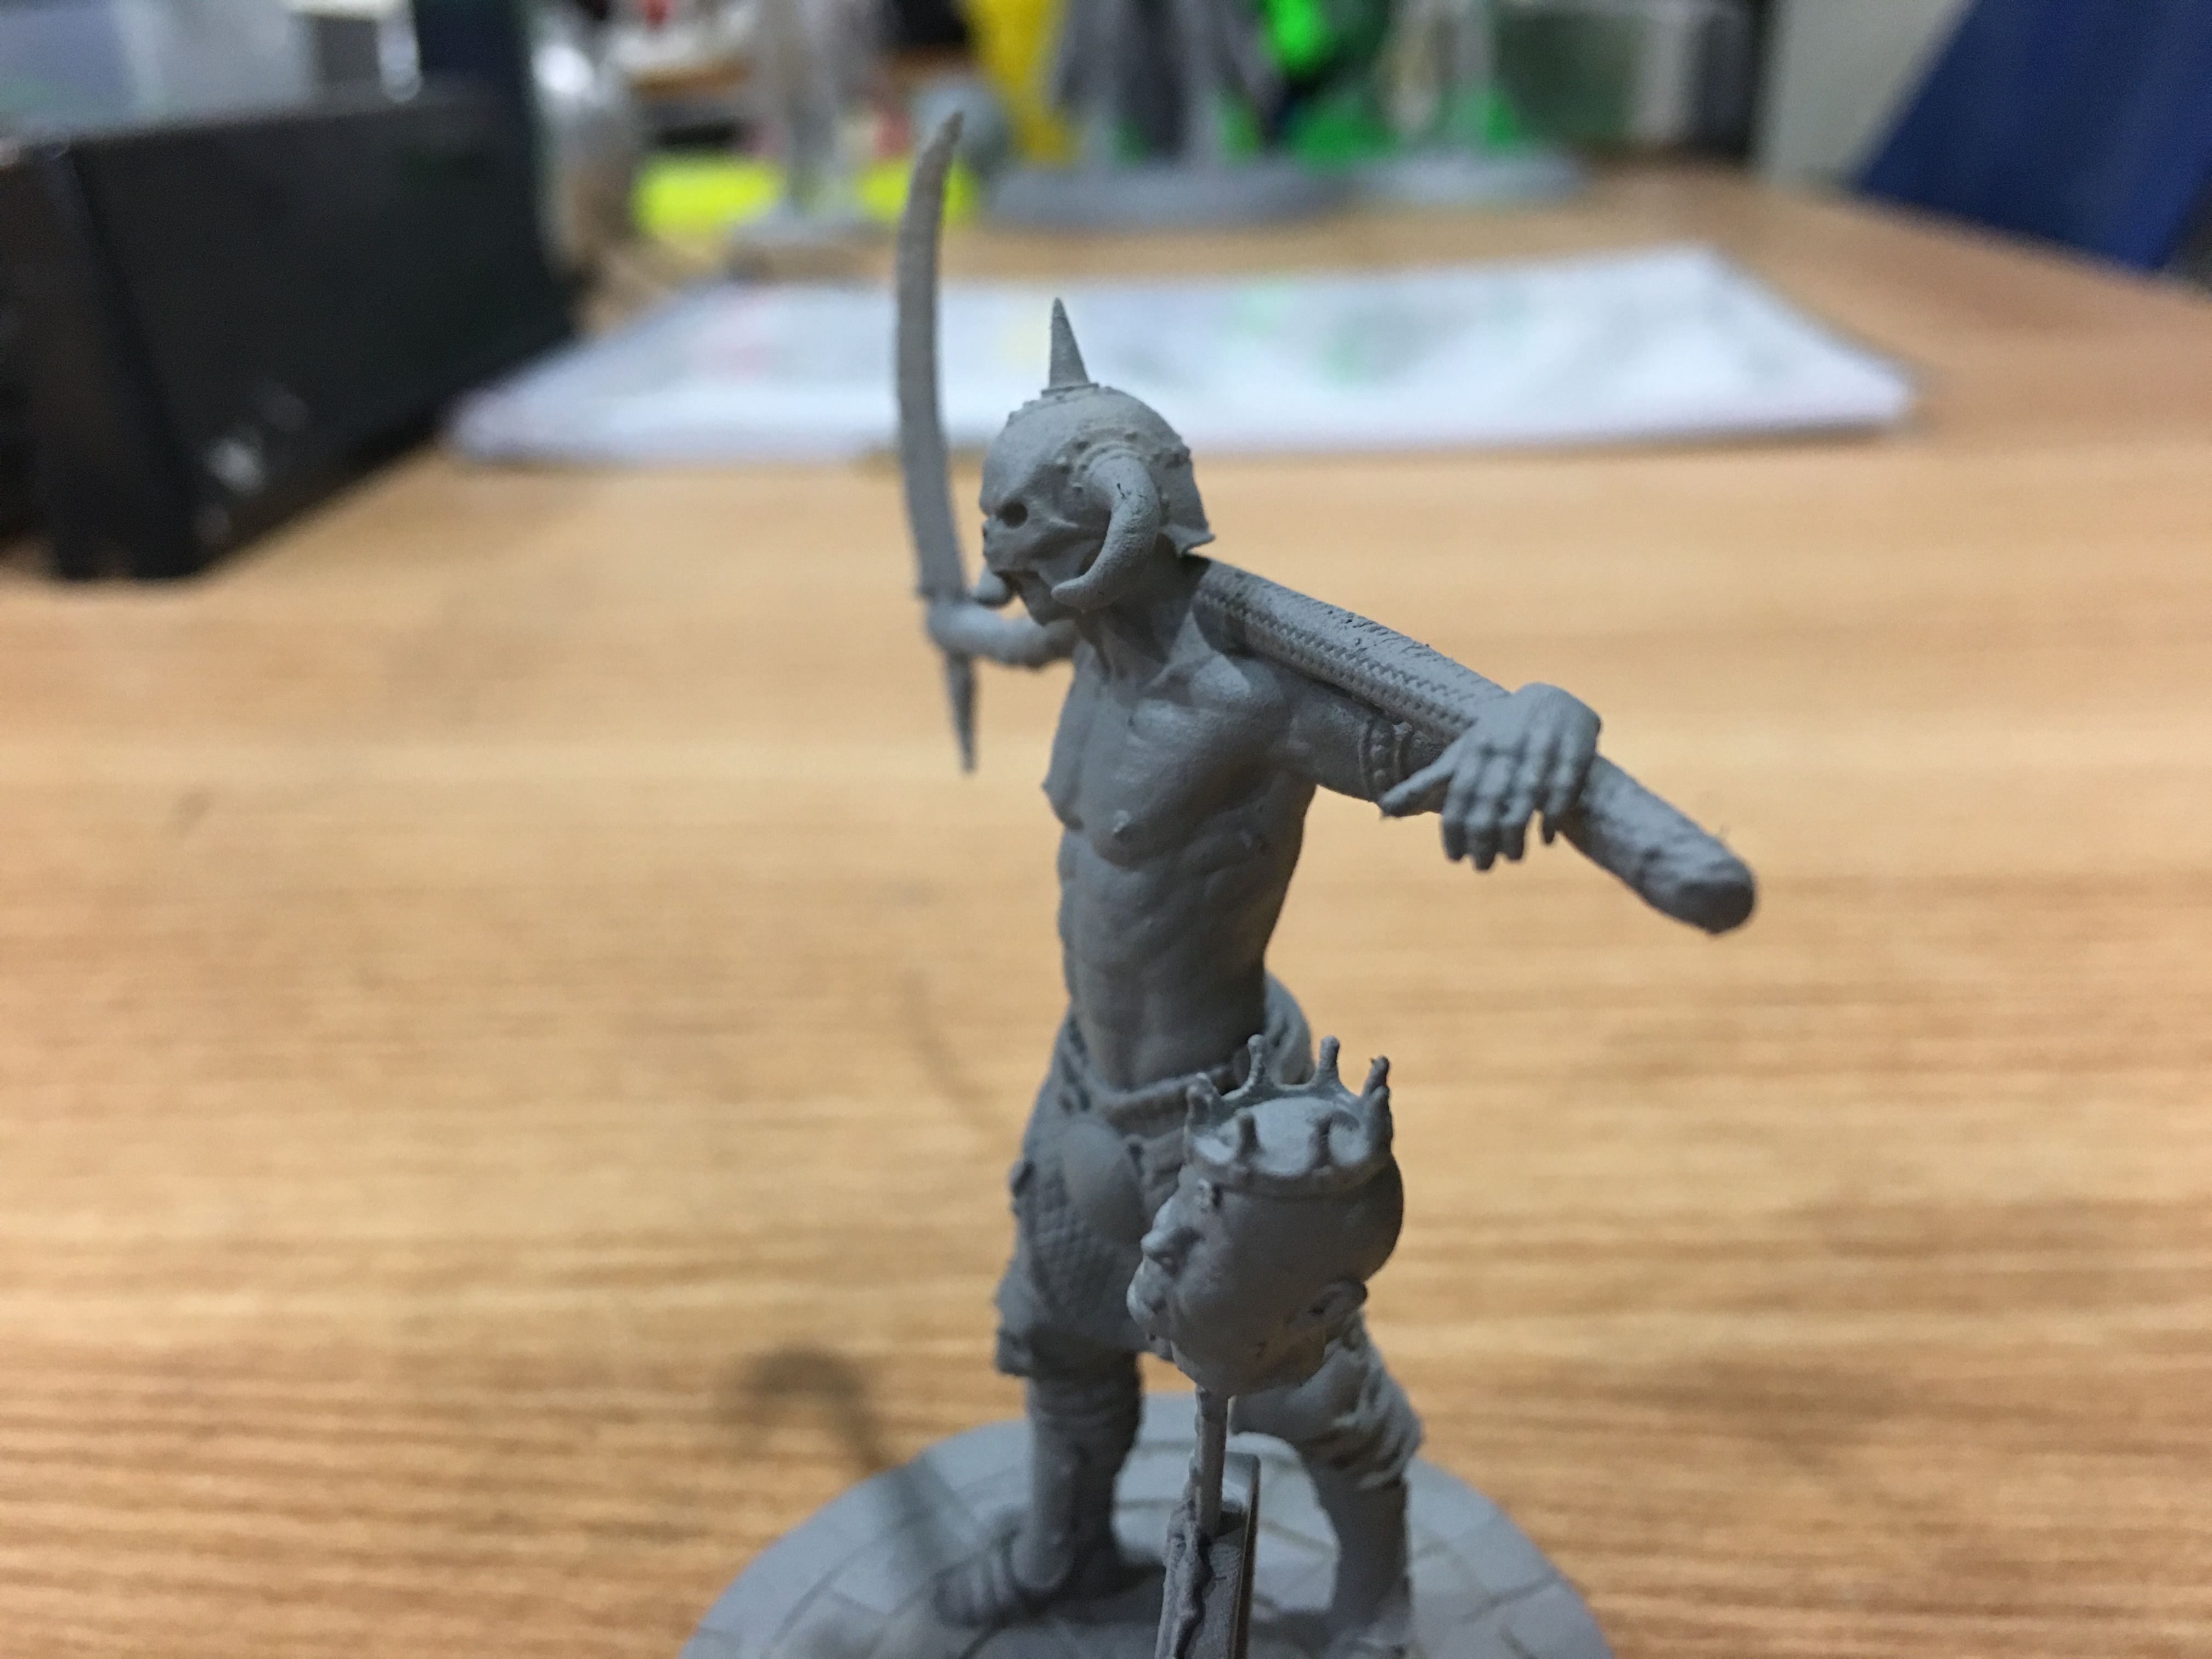
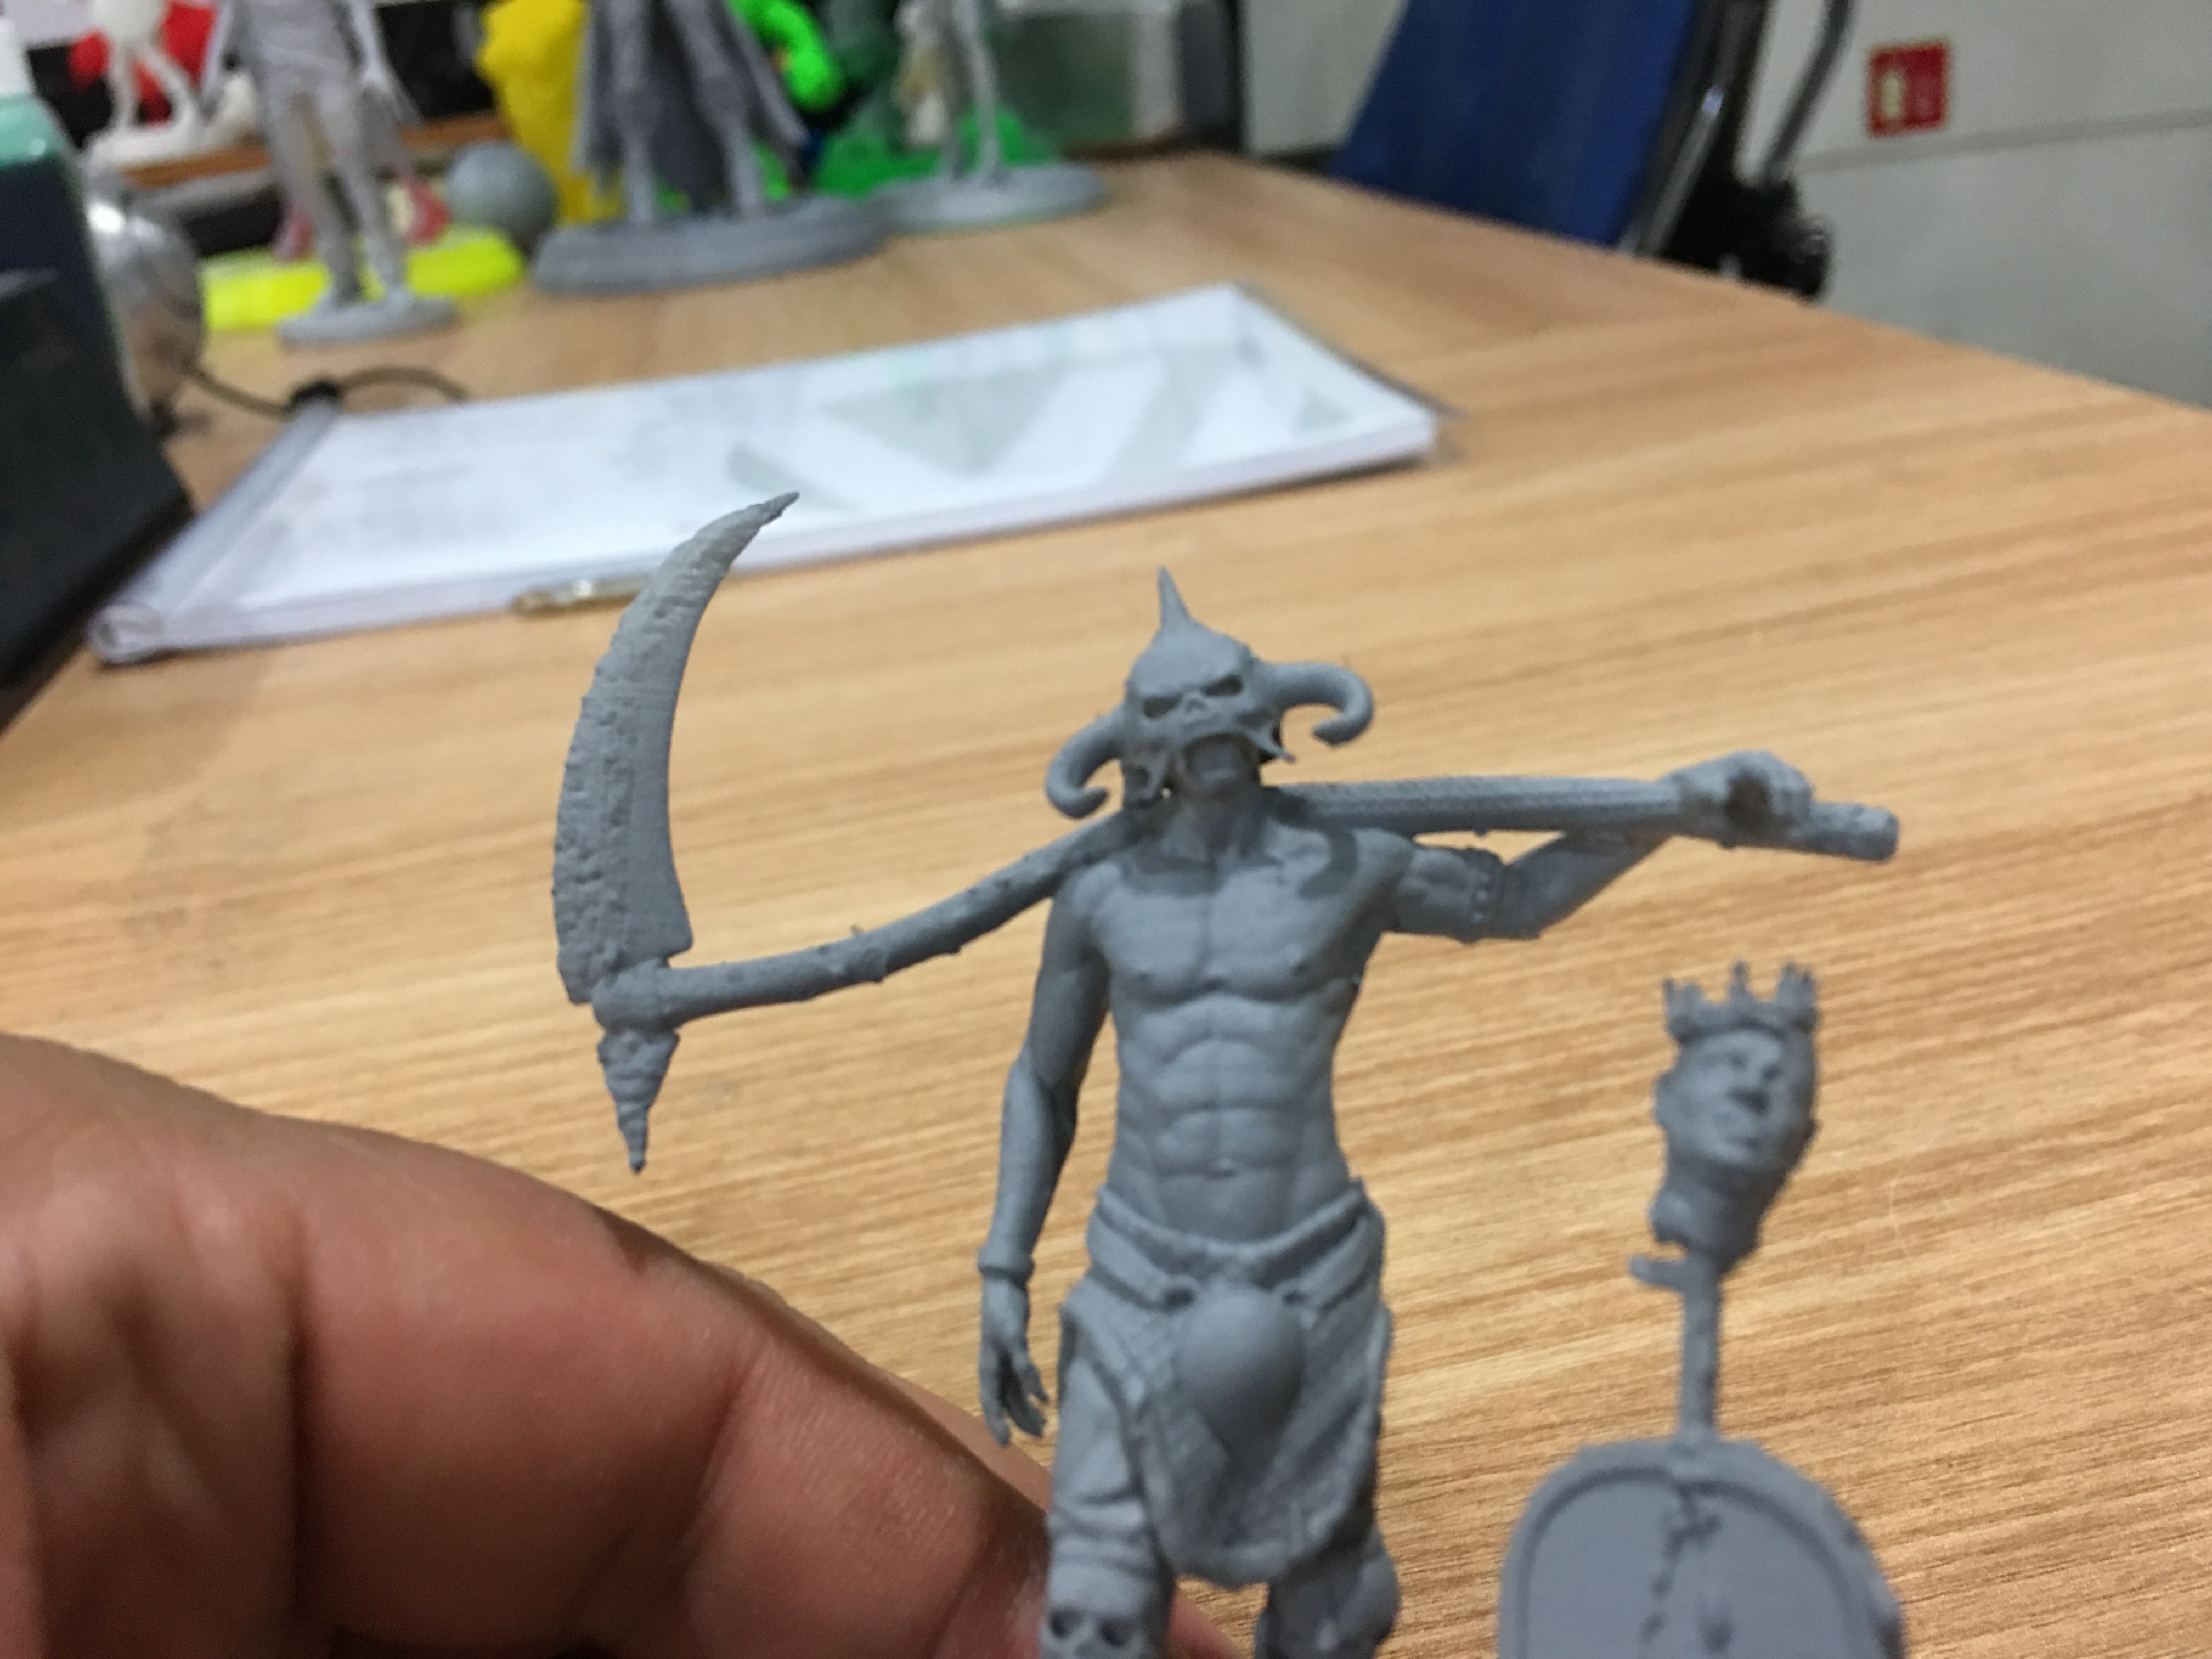
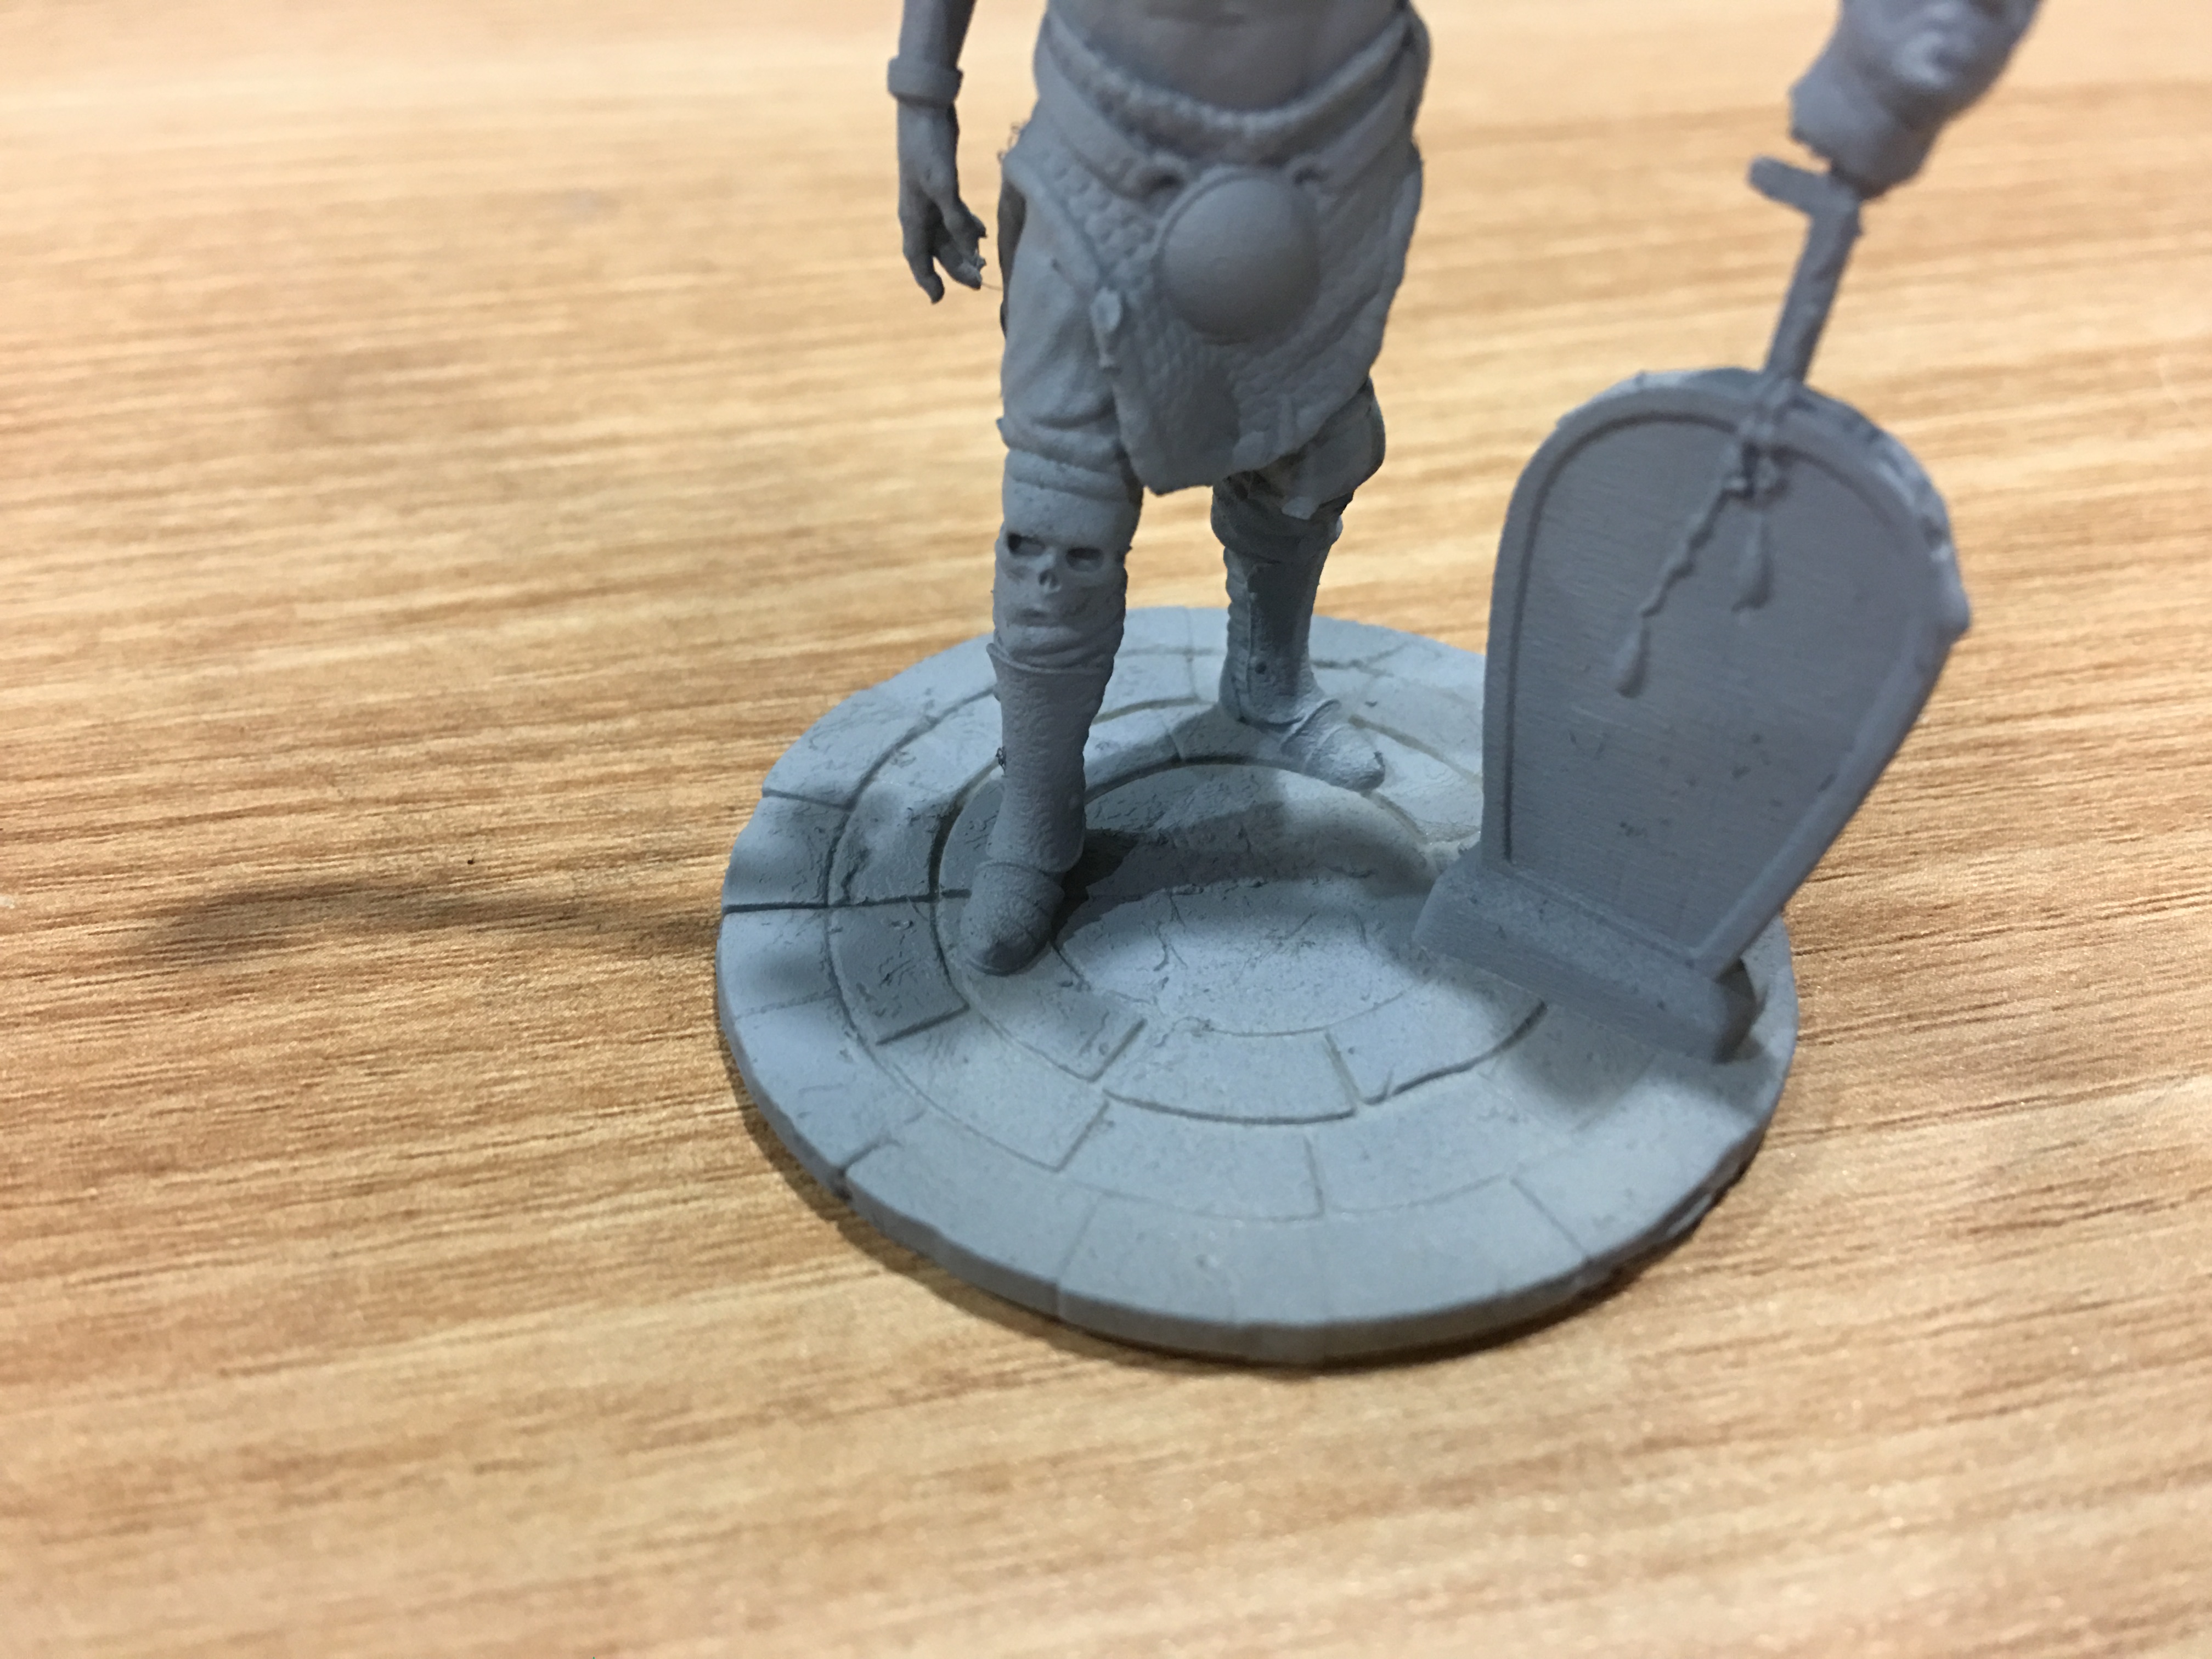
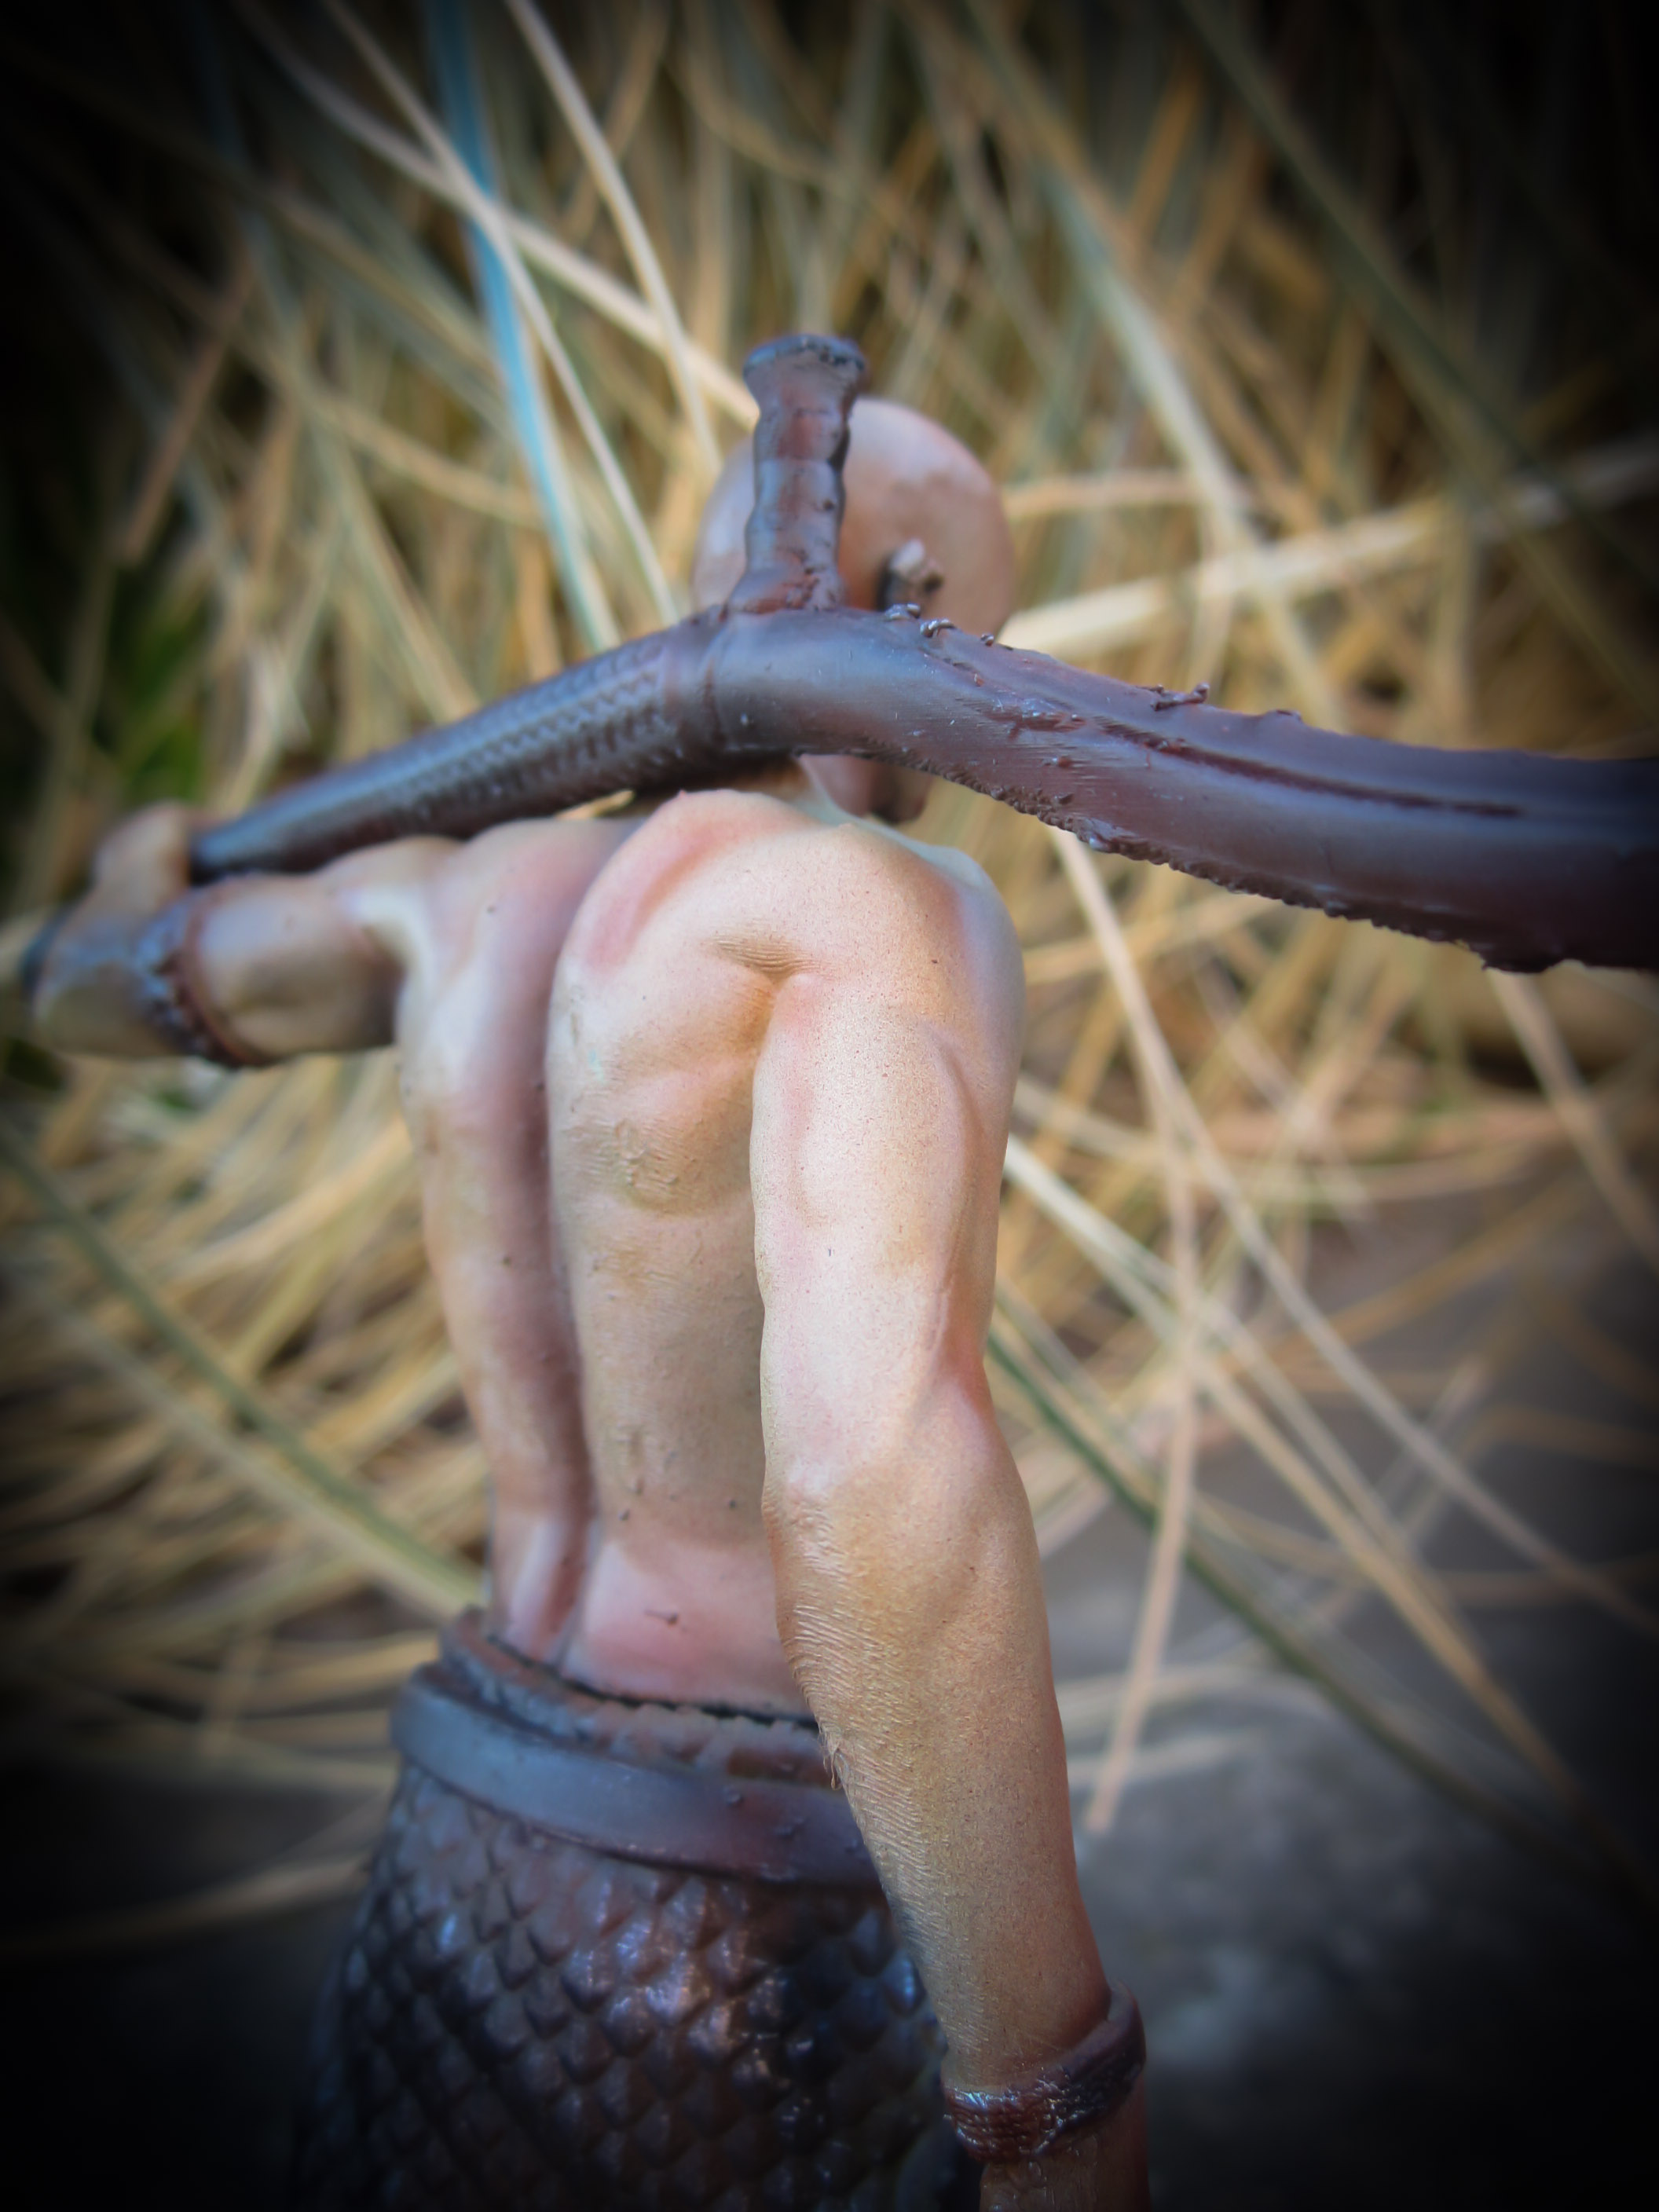
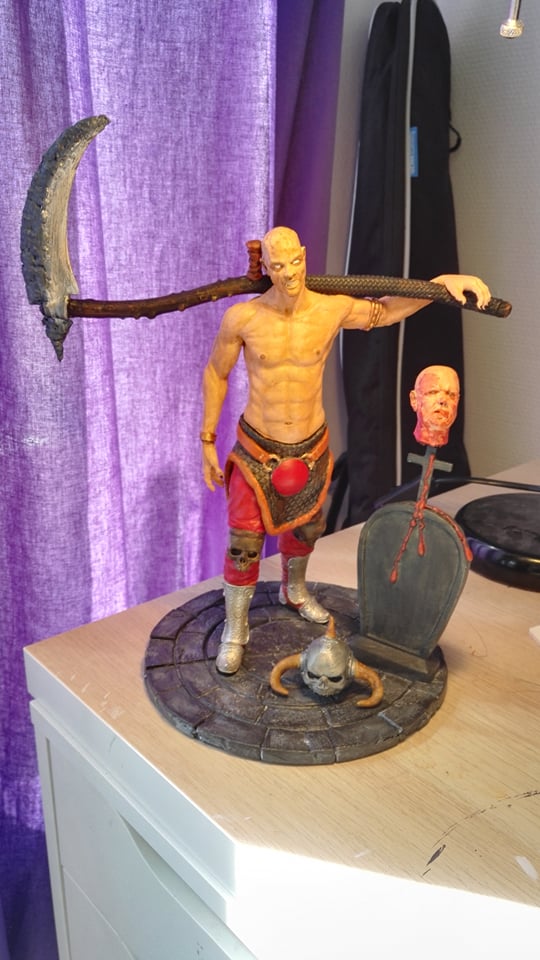
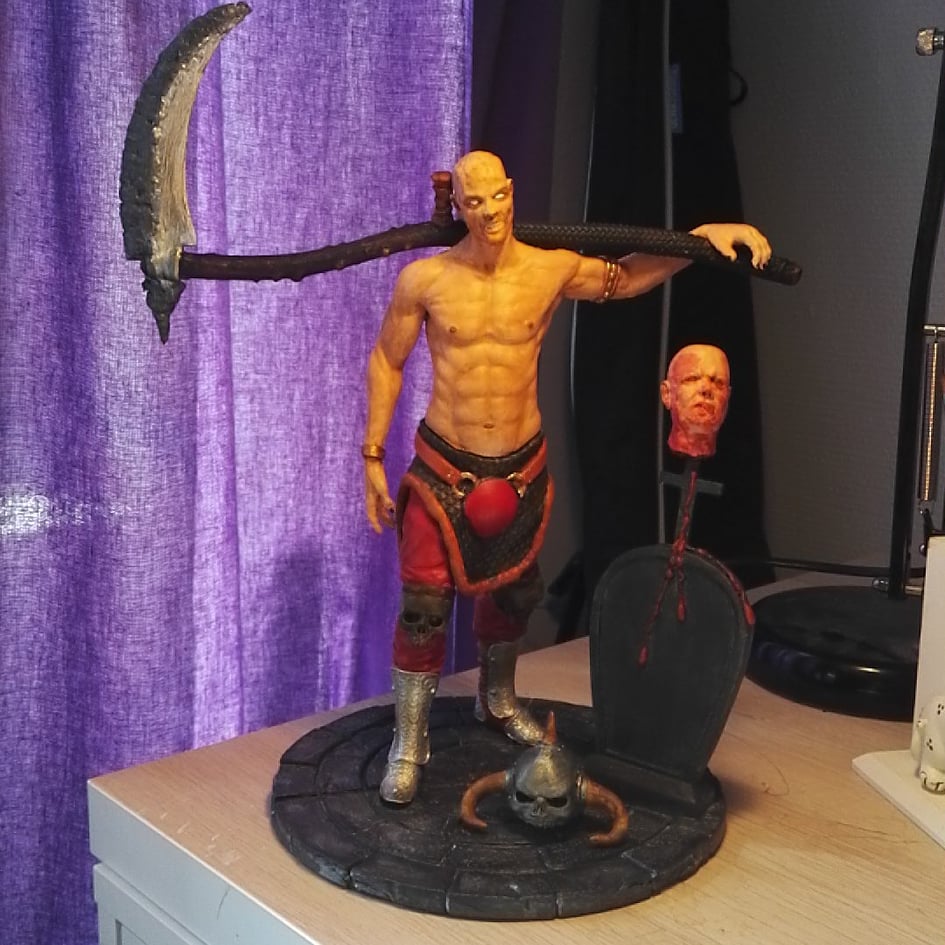
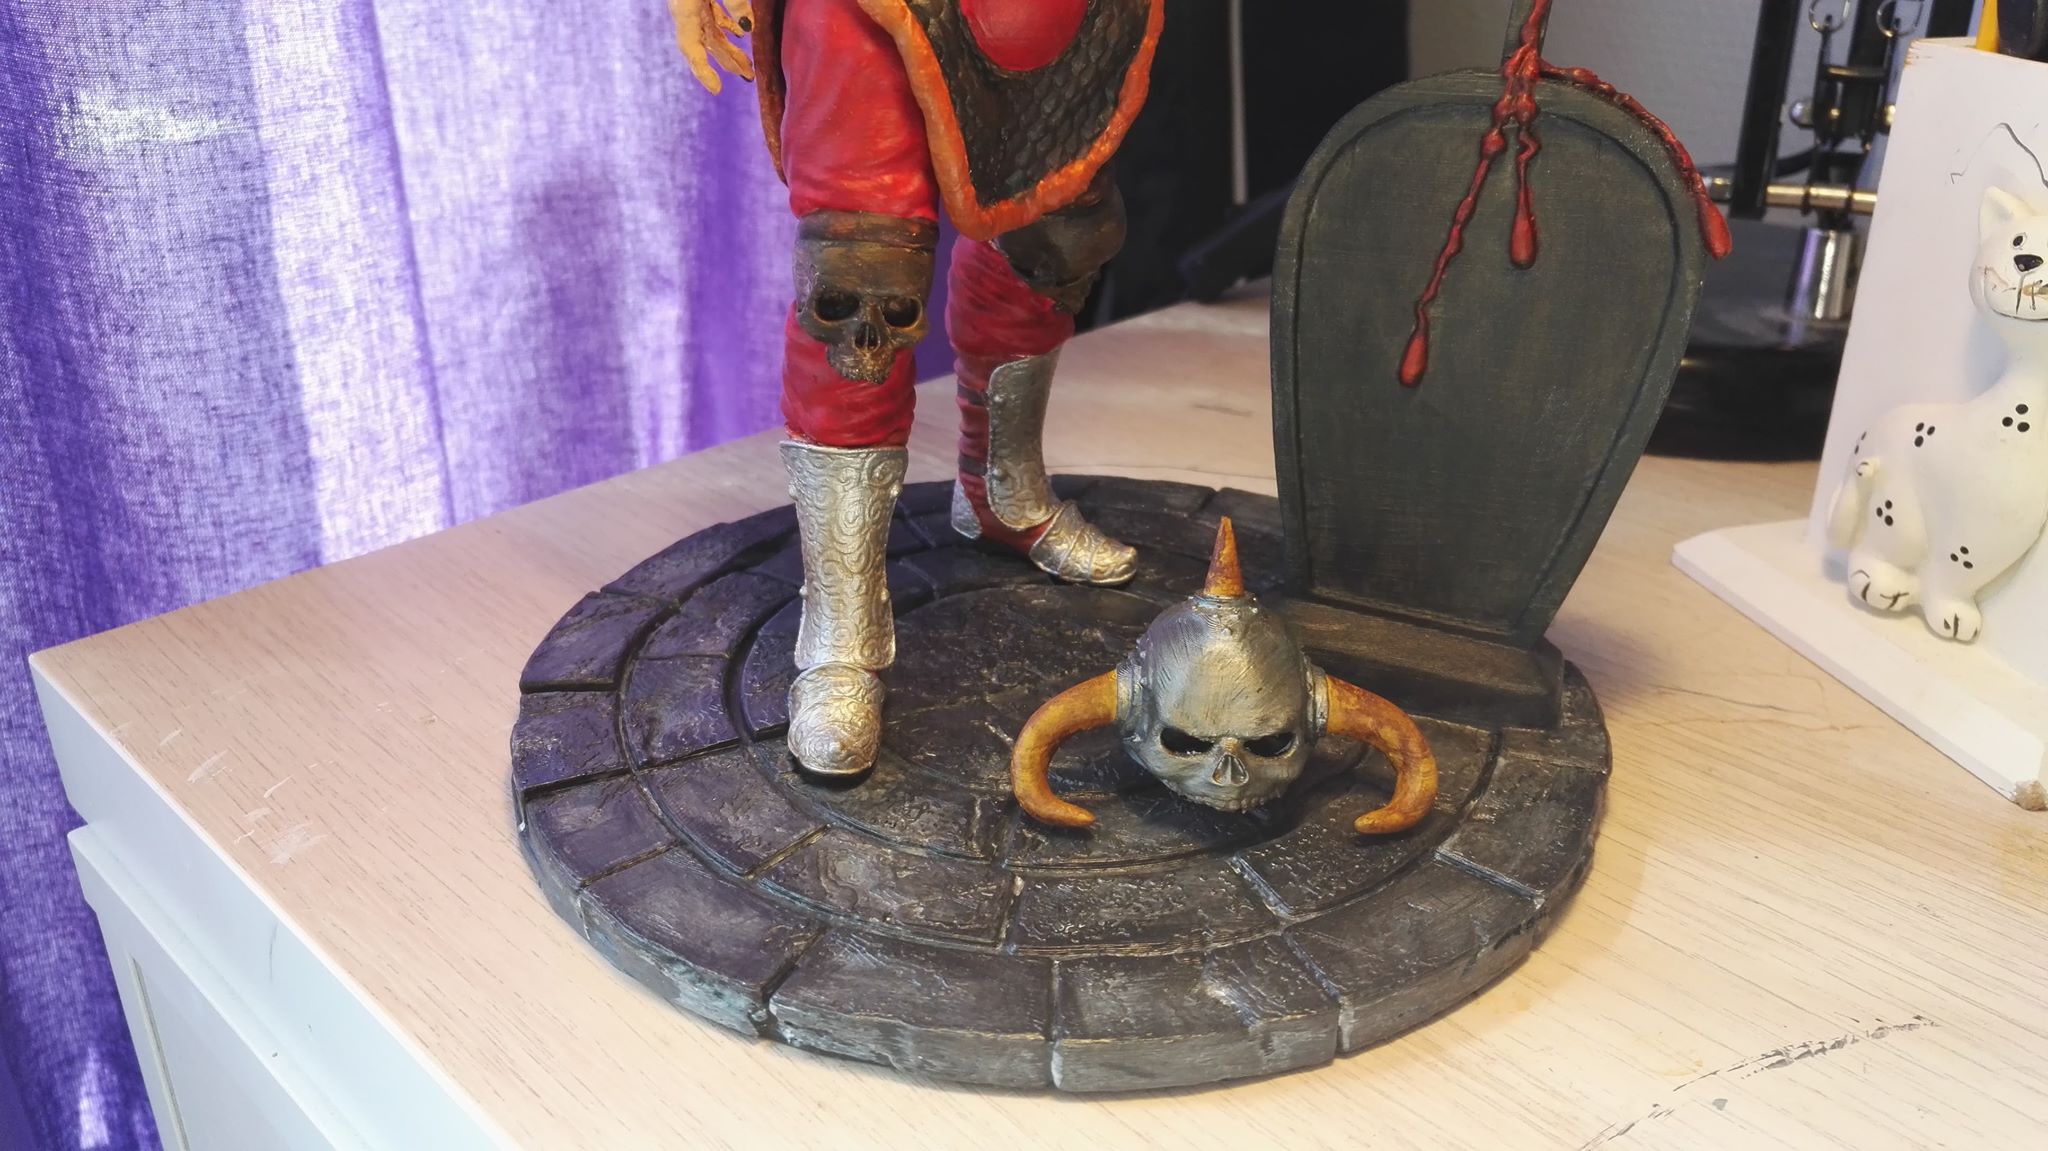
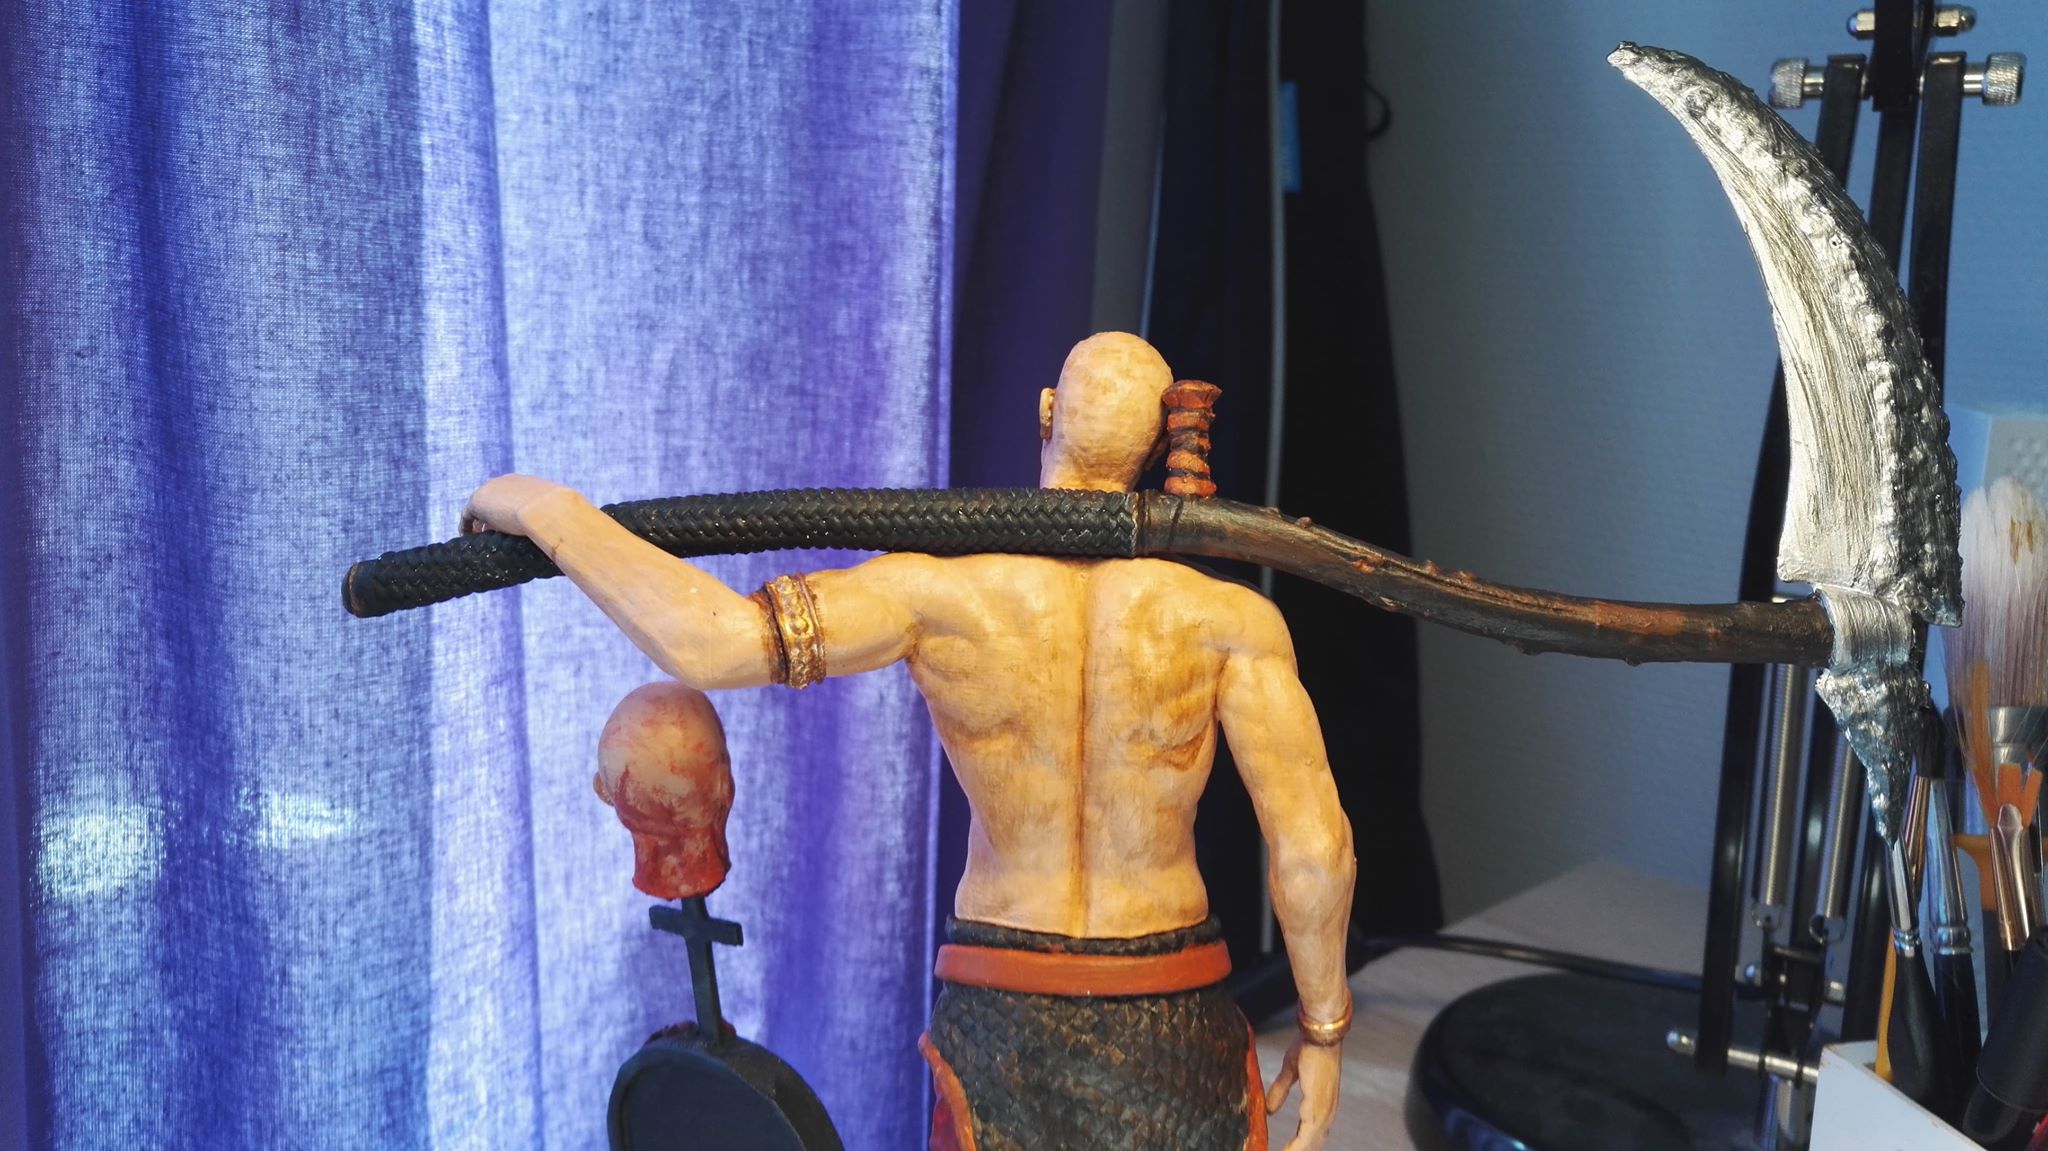
800% scale. You will probably want to scale this up to print. Printed with .0809 layer height, 40mm/sec speed, 25%infill, 5 top/bottom layers, 3 shells, raft and supports also, on everything except the blade and base. You may have to add manual supports around the head and torso and a few fingers to make them print correctly. Used .1618 layer height for base, with 5 top/bottom layers, 3 shells, 30% infill to make sure flat surface prints with no holes Also on the base, used no raft but minor support for cross area and tombstone area. Used .1618 layer height for blade, 50% infill, 5 top/bottom layers, 3 shells, rafts and support. Orientation used as follows: Decapitated head, crown, small hand, legs, torso with head, all print vertically in the correct up/down orientation for the model. I rotated the bigger hand/arm/bicep to print vertically as well, meaning the bicep is on the build plate with the hand in the upward position. Waist prints upside down vertically. The base prints flat. The blade, I rotated to print with the arc of the blade kind at an upward type position, the handle should also be at an angle when you do this, you will need supports under part of the blade near the tip and in the middle area. Auto generated supports picked up more, but I added some supports on other areas of the blade because I didn't feel they were sufficient, use a raft also. For ASSEMBLY, I used super glue. First attach legs to the base, and glue. Next attach the waist to the legs, you may have to wiggle it a bit to coerce it into the sockets, just put a dab of glue on the tip of the legs before insertion and your set. Next, set the torso on the model but do not glue it yet, take the blade and line it up on the back of the torso, there are groove lines, and it should line up with the groove lines. The blade should follow the contour of the shoulder if you have it right, DO NOT GLUE YET! Now take the arm/bicep/hand part and place it into its socket and make sure it fits in the socket and lines up correctly with the grooved part of the blade. Once you have adjusted and are happy with it, take glue and put some on the connector part of the hand/bicep, and put some glue on the blade portion the hand lines up with on the groove part of the blade. You must be fairly quick and get it right, the glue will probably dry fast. That is why we dry fit this first. This part is optional, I also put some glue between the shoulder/neck area in the blade to help hold it onto the back of the model. It helps being able to remove the torso from the hips when doing this to help line everything up and for dry fitting. Now remove your torso with all the attached parts and glue that in place with some glue in the socket. Next, take the decapitated head and make sure to remove support, from the hole underneath it, I actually had to take a small screwdriver and dig out the hole a little bigger to be able to insert this onto the T of the cross on the tombstone, I would dry fit this a few times before you add glue so you can get it as far down the cross as you want. Add a bit of glue to the interior hole of the head, and place it. Last, glue the crown however you desire, I used a dab of glue on the bottom to help when I positioned the crown, then put some on the interior part of the crown touching the head. NOTE: there is a helmet for this model but it has printability issues and I think this model looks fine without it. Ignore the helmet for now. Also the tip of the blade has and issue and does not print correctly, still turned out fine, but the tip will break off, not much you can do, it has mesh issues, the rest of the blade prints fine. Really enjoyed this model, and just in time for Halloween! Happy Printing!!
| Date published | 27/10/2017 |
| Time to do | 600 - 1200 minutes |
| Material Quantity | 400-800 |
| Dimensions | n/a |
| Technology | FDM |
| Complexity | Medium |


I printed this model with Polaris LCD Printer