USO : Unidentified Storage Object


USO : Unidentified Storage Object
Published 2017-09-05T16:57:21+00:00
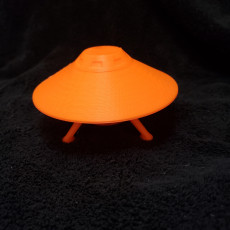
USO's exist... Unidentified Storage Object's (with an outer disk section that rotates) have started invading build plates all around the world!
The images provided are proof USO's exist...
This is fun and practical storage solution in the shape of a UFO. The USO disk is made of two parts (upper and lower) and link together to rotate around the central body part. Use a light (silicone) lubricant on all the contacting surfaces to ensure your USO disk rotates freely and threads run smoothly together / apart.
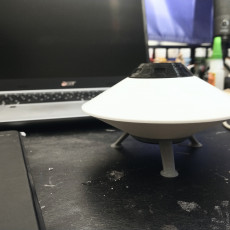
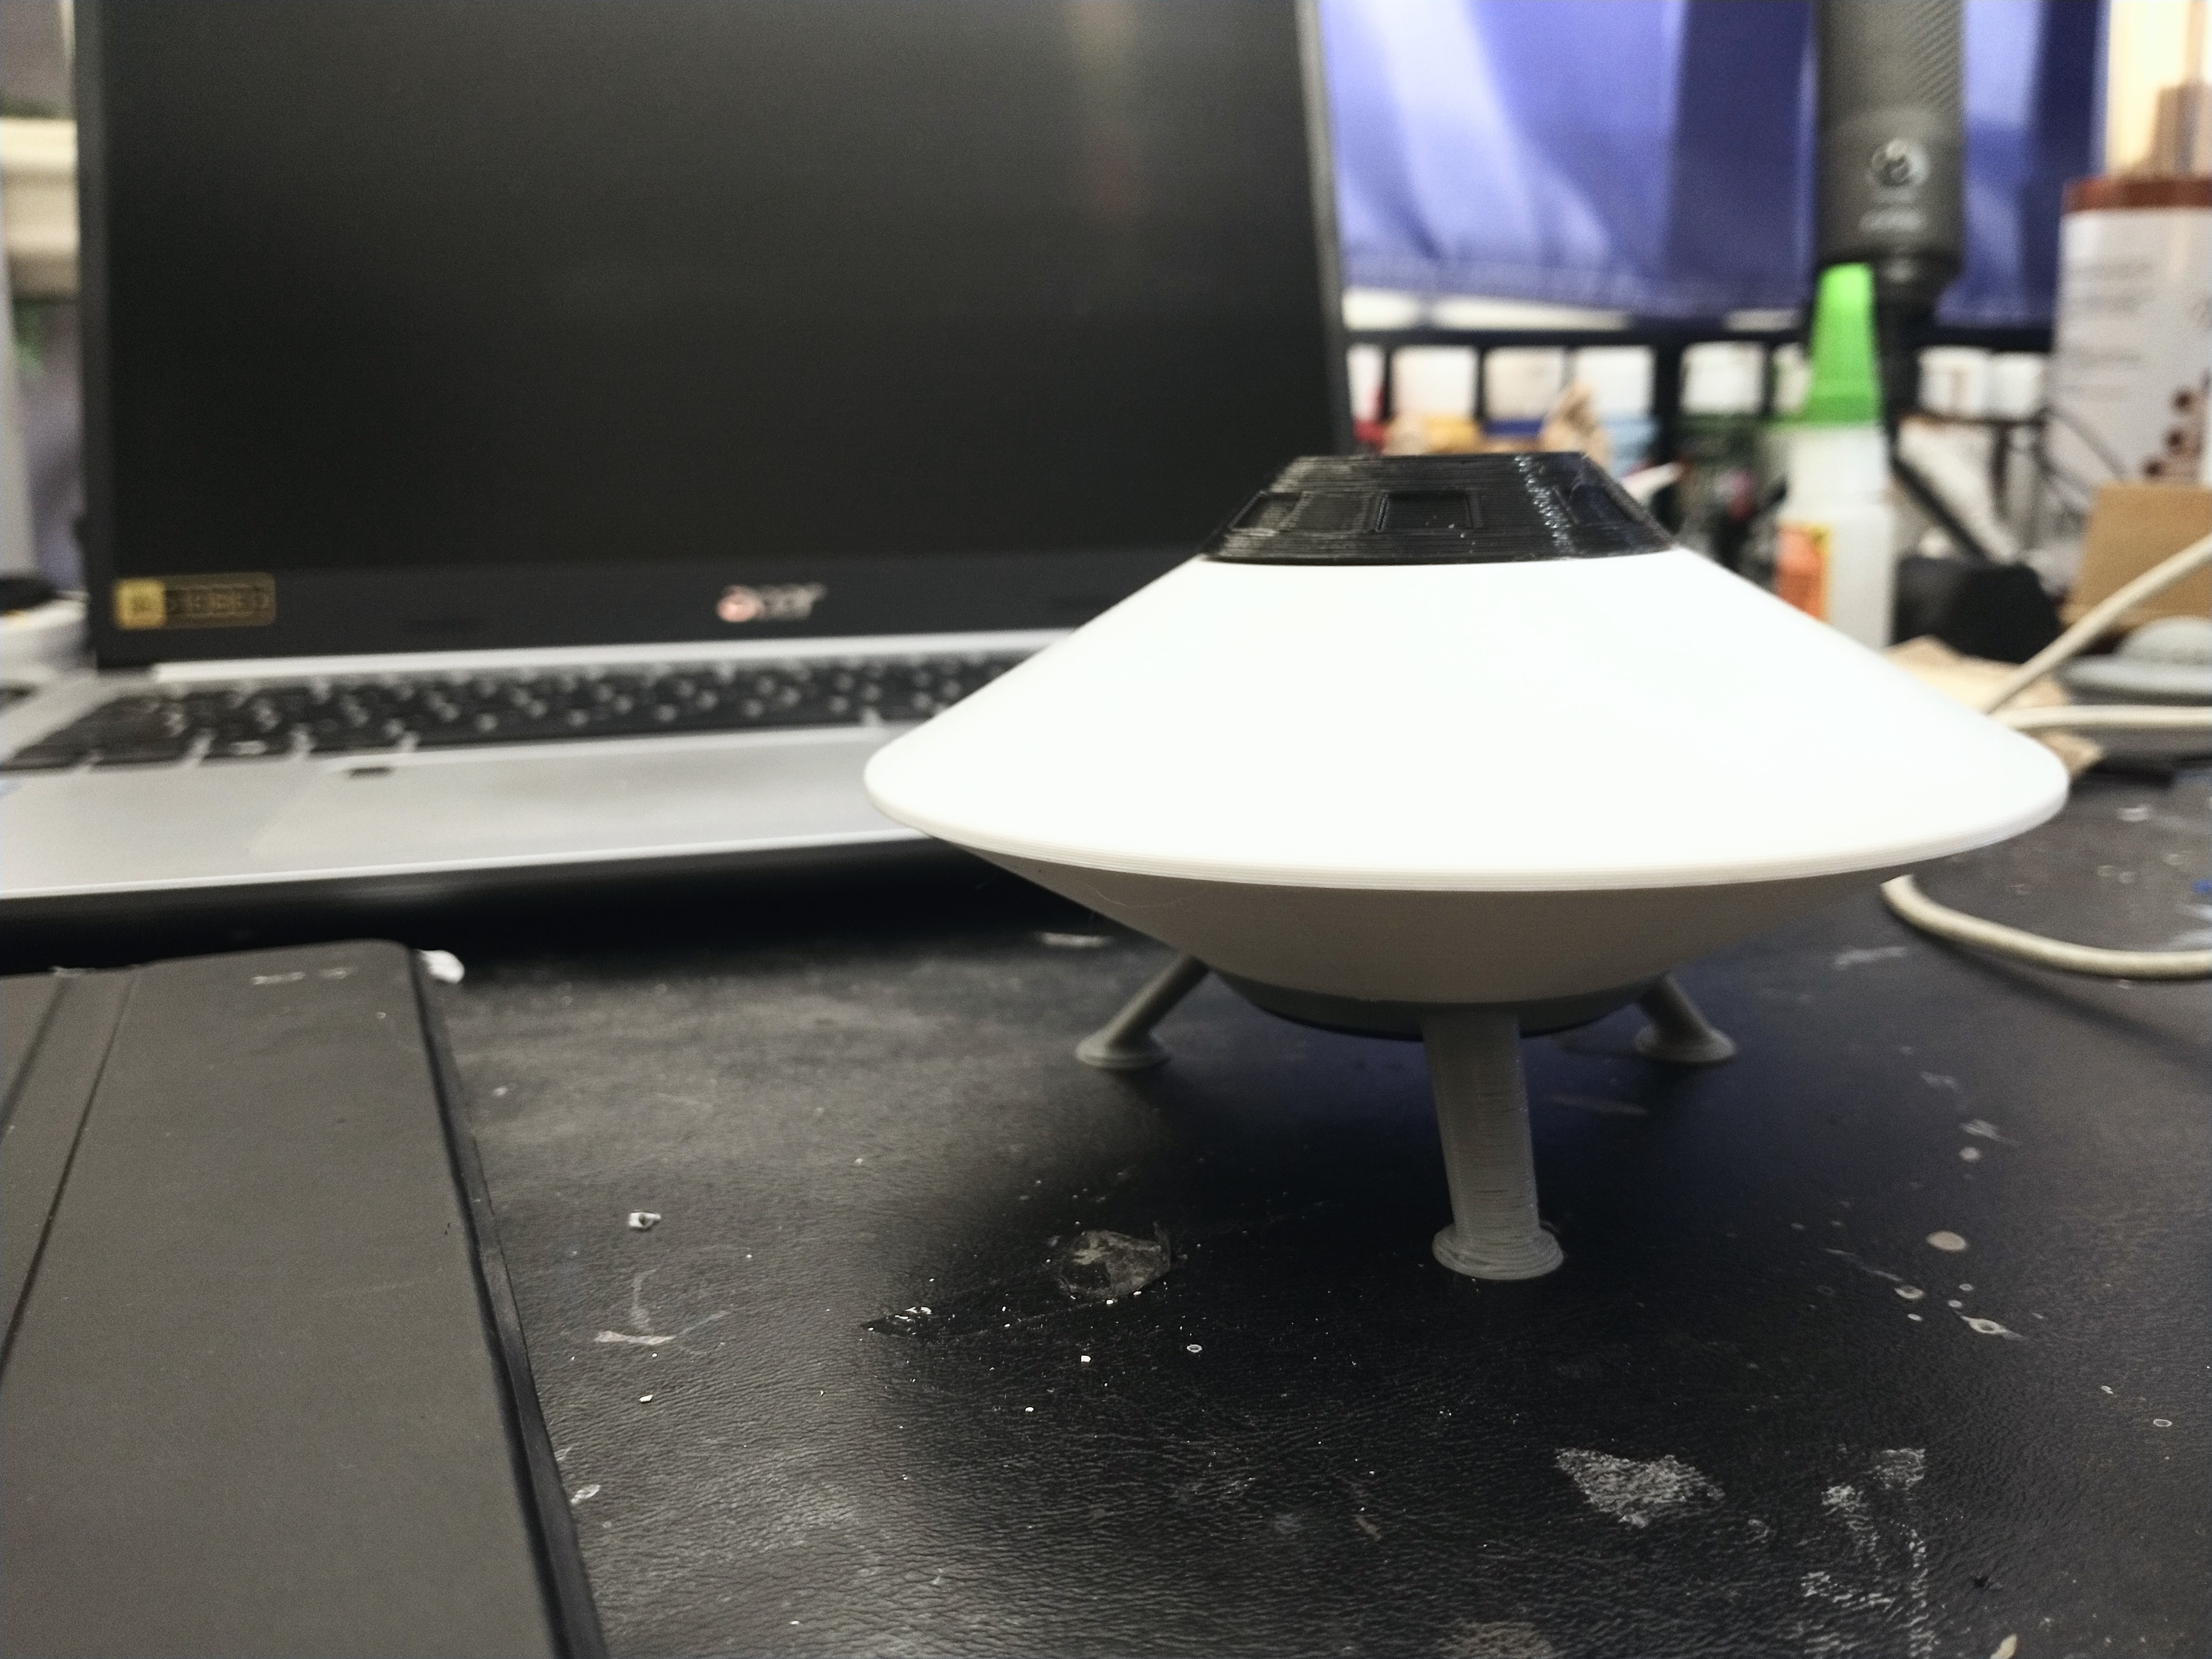
A fully assembled a USO printed at standard scale is approx. 125mm in diameter and 75mm in height. Make one just as a fun model UFO or use it as a novel storage container for all sorts of small things. There are seven (7) storage areas inside the USO, one of which is a 'secret chamber' underneath (the screw in base part is hollow). However, unless you know better, to a casual observer seeing the USO on a shelf / desk, they would think it was just a model... and not suspect anything is stored inside.
The USO design is made five (5) parts. One of each part is required. They are easy PLA prints 'without support' on precise, well set up machines. Accuracy is essential so the threads that hold parts together form well and clearances are adequate but not excessive.
Note: An alternative Top has been added which has two small holes in it so the USO can be easily hung up and displayed. The alternative Top file is named 'hang top.stl'
Make a USO as a fun model / display thing or to use for storage. USO's will look great in all sorts of colours. You can also pause your machine mid print (at approx. 1mm height...so very early in the print) to add a coloured ring around the upper disk for a spacey effect. The base looks good printed in a different colour from the body and disk parts (refer images).
Scaling up / down should be okay but do not scale down too far or the clearances will reduce too much to the extent that the parts will not fit together and threads not screw together.
Please refer to the images and print instructions for additional information... and post images of your USO's for other members to see!
Note: If you like this check out the rest of my fun and practical designs.


Printer brand : MakerBot
Printer : MakerBot Replicator 2
Rafts : Yes
Supports : No
Resolution : Atandard / 0.20mm
Infill : PLA / 2 Shells / 20% infill
Notes : The USO parts are all easy prints provided you have a well set up / precise slicing app and machine. Good build plate adhesion is important as is a filament fan providing effective cooling to deal with the extreme angles applied. Key points / recommendations are: Using a Raft is recommended to improve build plate adhesion Print each file in the orientation as provided (in the download). The lower disk, body and top all print upside down from how they will be oriented once assembled. Do not use any automated support. If your machine is well set up, build plate adhesion is good, and you have effective filament cooling support is not necessary
Post printing
Your USO is ready to assemble...
Firstly clean up away any stringing and print imperfections. Next, it is strongly recommended that you apply a light (silicone) lubricant to all the threads and surfaces that will run against each other when the disk parts (upper and lower) are rotating around the body. Before final assembly test the threads run together fully, make sure the disk parts interlock easily and that the interlocked disk parts rotate around the body part. Now you are ready for final assembly... which is easy! Slide the lower disk onto the body... followed by the upper disk. Check the two disk parts have interlocked so they will only move together once held in place then screw the cap on top. Provided your USO has printed well the disk should rotate around the body. Lastly, screw the base up into the body from underneath. The designed in clearances (at standard scale) should be snug but not tight. The aim is to ensure this design works reliably across most makes / model machines. However, some may find the clearances looser or tighter than is ideal when printed on your machine. Minor uniform scaling will usually overcome this issue. To add items to be stored / remove items stored inside just unscrew the top cap and lift off the top disk.... and unscrew the base to add/ remove things from underneath.
| Date published | 05/09/2017 |
| Technology | FDM |
| Complexity | Very Easy |
| Support Free | YES |

Came out great. Going to print another in a different color and mix and match the parts! Thanks for the model!