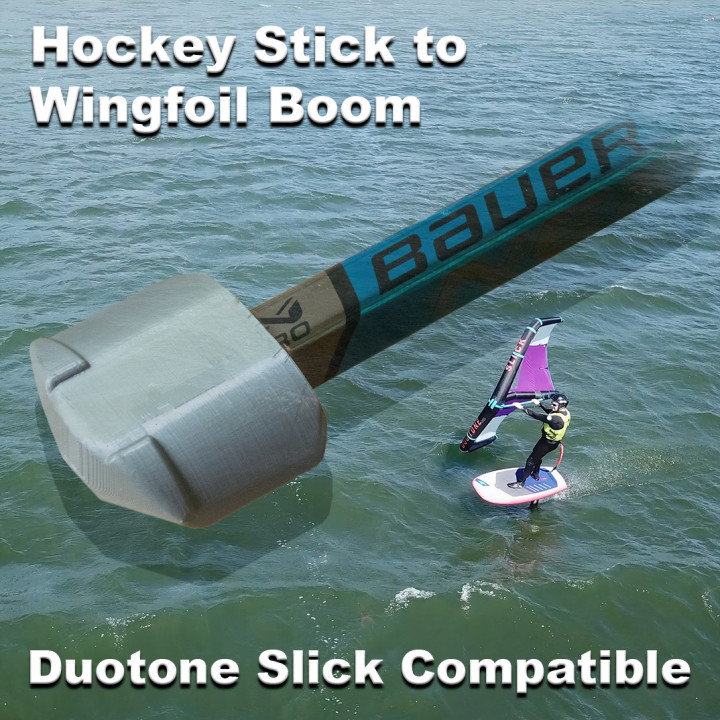
HockeyBoom Wingfoil Boom (Duotone Slick Compatible)


$10.00 HockeyBoom Wingfoil Boom (Duotone Slick Compatible)
Published 2022-07-08T10:12:45+00:00
Watch my YouTube video on how to make your own HockeyBoom:
https://www.youtube.com/watch?v=-stZgCOYuoo
Wingfoiling is a fast-growing great new sport. The hand-held wing is like a small sail and it can be used on water, land, snow or ice. On water, the wings work best with hydrofoils, flying over the water surface with the help of the wing that remains submersed. On land, they can be used with skateboards, inline skates etc. One of the easiest way to learn how to handle the wing is to use one on ice or snow with skis, snowboard or ice skates. Winter "winging" is a truly accessible sport that is easy and rewarding at any age. On water, it's a bit challenging - getting the hang of it is sort of like learning to ride a bicycle (once you know how, it's not that hard, but there's a bit of a learning curve).
Duotone makes the excellent Slick and Slick SLS wings for wingfoiling. These wings feature a rigid boom instead of handles that are seen on most other wings. Duotone has booms for their wings and offers them in aluminum (as a more affordable option) and carbon fiber.
Ever since the Slick was introduced, people have also been making their own booms for the wings. For most, it's a quest to make an affordable lightweight carbon boom. Duotone has also had supply chain issues with their carbon booms.
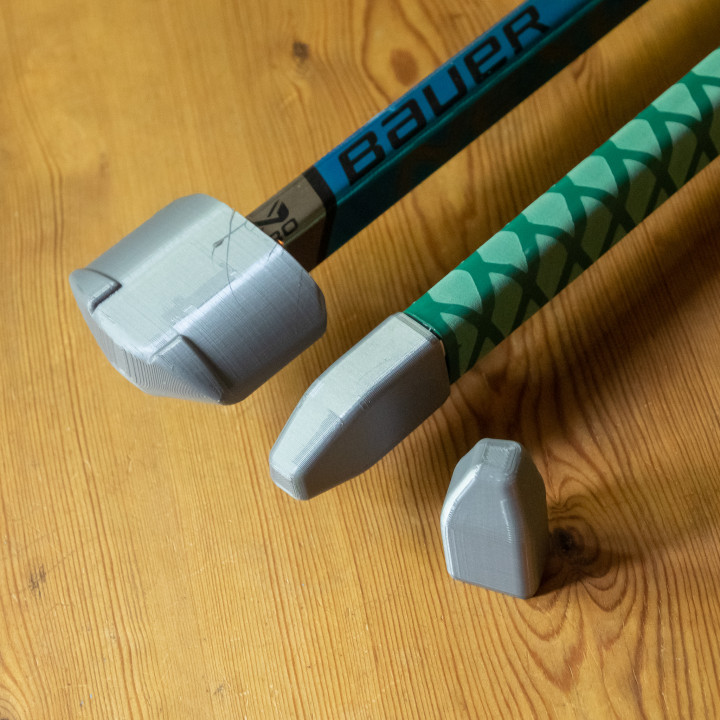
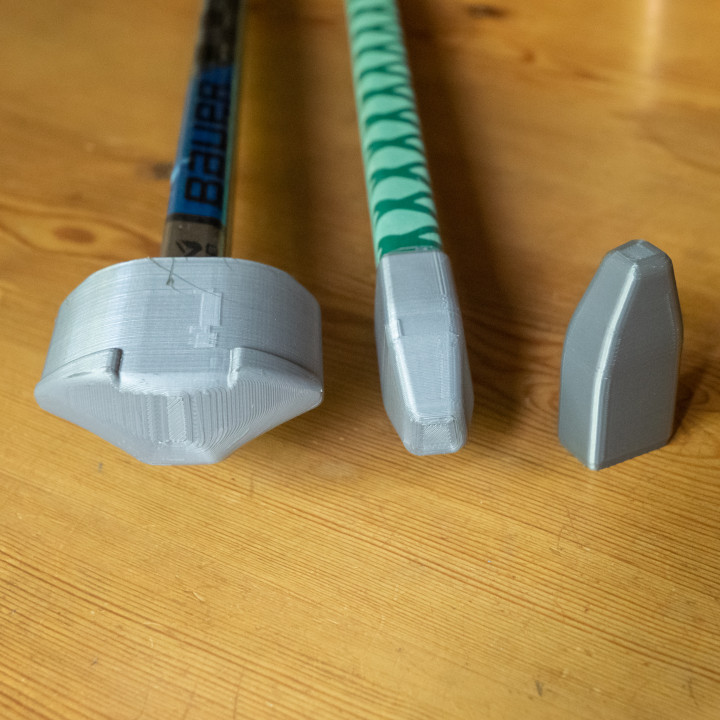
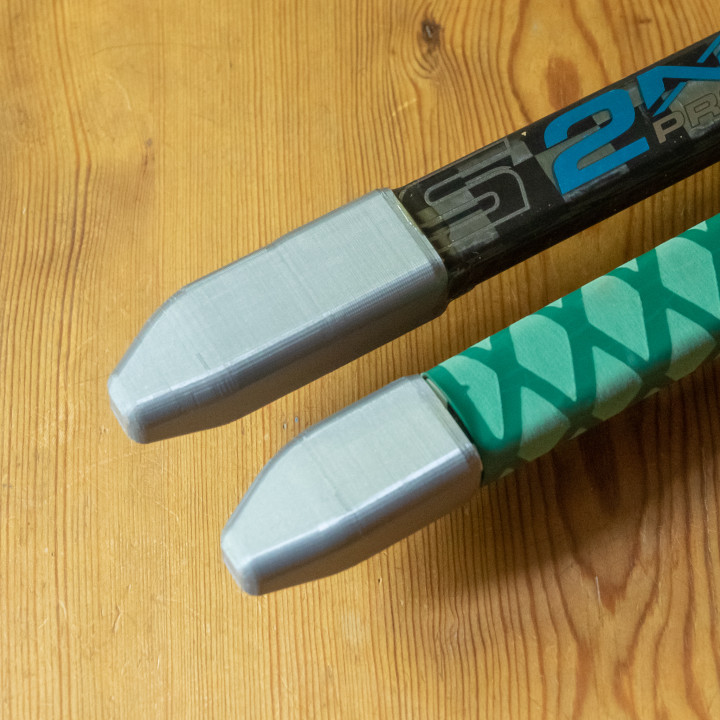
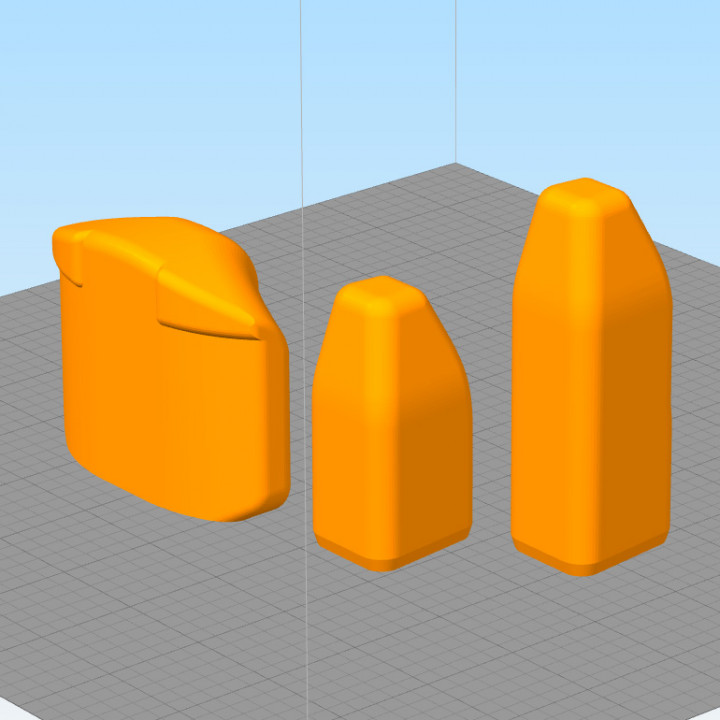
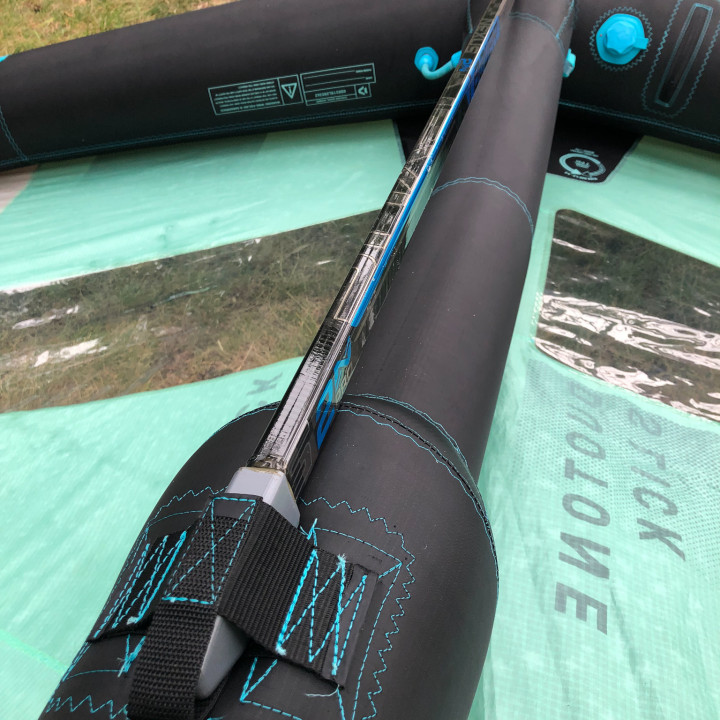
The HockeyBoom features 3D-printed end pieces and a carbon rod from a hockey stick. The end result is a boom that can be used with Duotone Slicks and that can be up to 20% lighter than the Platinum carbon boom that Duotone offers. Best yet, once you have the 3D models for the ends, the cost of making a boom can be well under under $10.
Hockey sticks are often broken near the blade, so the shaft is usually still in great condition even when the stick is thrown into garbage. If you have an ice hockey rink nearby, you may be able to get free shafts from the garbage bins if you just ask the janitor and players for permission. This is a fantastic way to recycle carbon fiber that would otherwise just end up at a garbage dump.
If you shop around, you may find brand new composite hockey sticks for around $50. Used hockey sticks are even cheaper. So, even if you buy new, the HockeyBoom is likely to cost less than the much heavier standard aluminum boom.
To make a standard HockeyBoom that fits all Slick wings, you need an unbroken shaft length of 125cm. Using the extended tail piece, this can be reduced to 122cm. Using the standard back piece and a 125cm shaft, the resulting boom will be slightly longer than the standard Duotone boom.
Shorter shafts can be used to make booms for smaller wings that have double attachment points at the tail of the wing, set 15cm apart (6"). Please check your wing to see if it has the double straps at the tail. The 3.5m^2 wings that I have seen have them, but this isn't something Duotone advertises as they only offer the 125cm boom (their 125cm boom is approximately 128cm long, end to end).
I have noticed very little flex when wingfoiling on water, but flex was slightly more noticeable on snow. For small wings, flex probably doesn't matter, but for larger wings, you may want to use flex 75 or higher. One tester actually liked a bit of flex when using a harness and riding on snow.
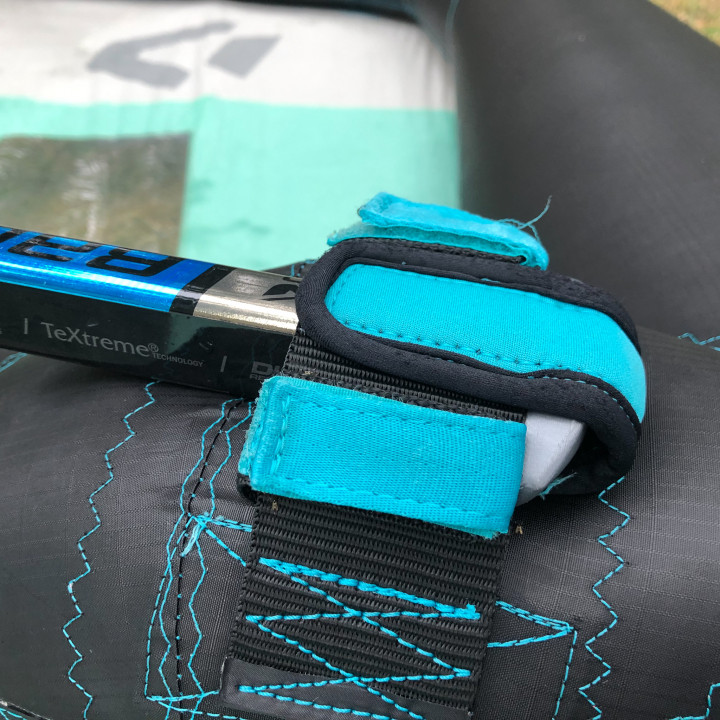
Most modern hockey sticks have a sticky lacquer coating that offers good grip when dry, but feels a bit more slippery when wet. The surface dries really quickly. I have been using the Bauer-based boom without a rubber grip all summer. The grip adds up to about 80 grams of weight, so the choice is up to you. Heat shrink grips cost about $5-$10 each and can easily be removed and replaced. For winter use, there's really no benefit from adding a rubber grip.
Some options for buying heat shrink grip:
https://www.amazon.com/Greatfishing-Fishing-Bulding-Waterproof-Insulation/dp/B07H7ZFKT3
https://s.click.aliexpress.com/e/_DC8dXlp
Note: The 3D models for these parts have worked well for me and the booms have proven to be strong and performed well. Since you will be 3D-printing the parts yourself and assembling the boom, I can not guarantee or take responsibility for the durability and suitability of the boom for its intended use. Inspect the hockey stick carefully for structural damage in the area that you are going to use before using it to make a boom.
I have used ordinary PLA for all my booms. The "Bauer" boom in the photo has been used around 30 times already and shows no signs of wear. I haven't observed any breakages, but obviously the quality of your printer also determines the strength of the resulting part.
PLA becomes soft at high temperatures, so if you leave the boom in a car that gets hot, try not to put pressure on the printed parts and shield them from the highest temperatures. If this is not practical, consider a "high temp" PLA material or a more advanced material. Some PLAs can be annealed in an oven to make them heat-resistant, but the process also causes minor dimensional changes, so you may need to experiment with scaling to get a perfect fit.
If you print with 3 outside walls (~1.5mm wall thickness), the parts of the print that matter should essentially be solid. A 10%-20% infill is quite sufficient for the parts that get filled in. I recommend using 5 top and bottom layers (more is fine). A 0.2mm layer thickness is probably overkill for this part. If your printer can handle the flow rate, a layer thickness of 0.28mm will print faster. If you are printing this part in a maker space (public libraries in Finland have 3D printers, for example), they may limit the time you can reserve on a 3D printer, so getting the print time below 3 hours for the head piece may be useful and is quite achievable.
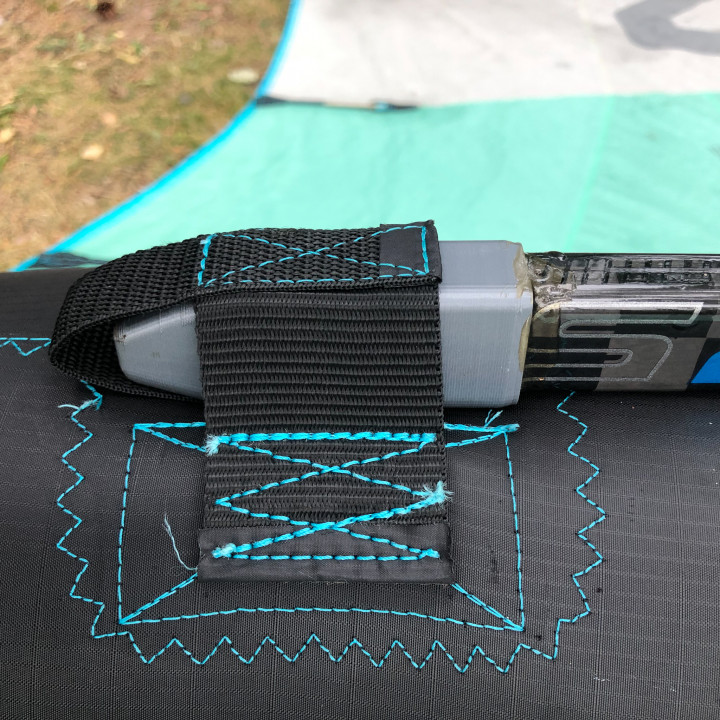
Hockey sticks have a rounded rectangular cross section and usually have dimensions of approximately 20mm by 30mm or slightly under in the main section. The shape changes slightly as you get closer to the blade of the stick, so you may find something like 18mm x 32mm in that region. To get a tight fit, the end pieces should be scaled and I provide a spreadsheet (Excel, ODS and Google Sheets versions) to do the calculations. My Youtube video shows how the sheet is used, but it's a relatively simple process where you measure the hockey sticks at both ends and enter separate X and Y scaling values in the 3D printer slicing software (Z should remain at 100%).
https://docs.google.com/spreadsheets/d/1R7yy-17CrWY4mLYOOOTHWQ27DgHCWHCAqmGp8vDk-_E/copy?usp=sharing
http://www.cameraid.com/windsurf/HockeyBoom%20Calculator.ods
http://www.cameraid.com/windsurf/HockeyBoom%20Calculator.xlsx
Some of the latest hockey sticks have a hexagonal cross section. I don't know if can be used as booms using my 3D models (it may be possible using epoxy filler), so check the production description before buying a hockey stick.
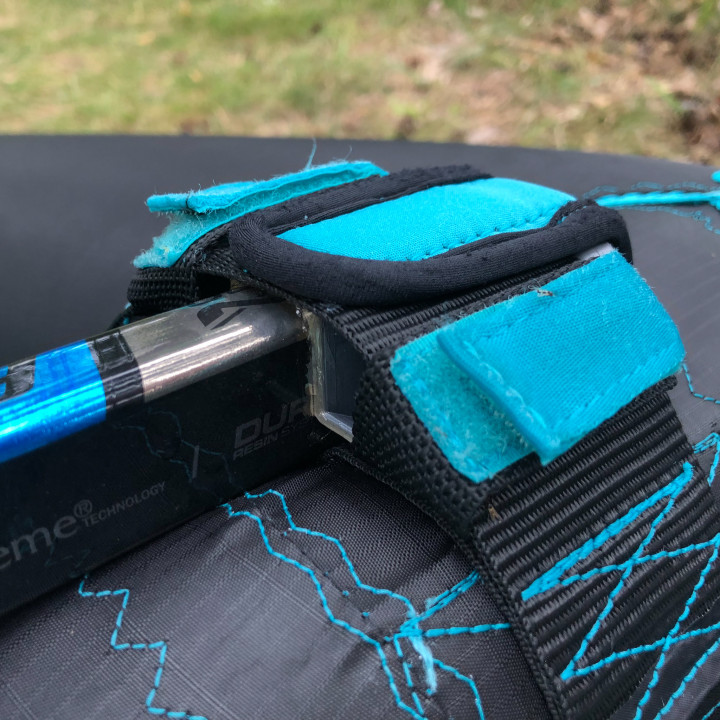
I used 2-component 1 hour epoxy to glue the end pieces and small blocks of styrofoam to seal up the ends of the hockey stick so that water can not enter (genuine Duotone booms are notorious for taking in water because the ends are riveted on and not really waterproof). One possible way to use leftover epoxy is to coat the 3D prints, which will make them stronger and potentially more heat-resistant too.
Hot glue may be strong enough to attach the back end piece and seal the ends, but I recommend using epoxy for the front part.
Use the standard tail if your the stick shaft is long enough for the boom you wish to make. If it's slightly short (up to about an inch short or maybe even 3cm short), you can print the long tail version.
| Date de publication | 08/07/2022 |
| Price | $10.00 |
| Quantité de filament | 50 grams |
| Dimensions | 78mm x 35mm x 63mm |
| Sans support | YES |