Aquarius zodiac sign stencil / multicolor
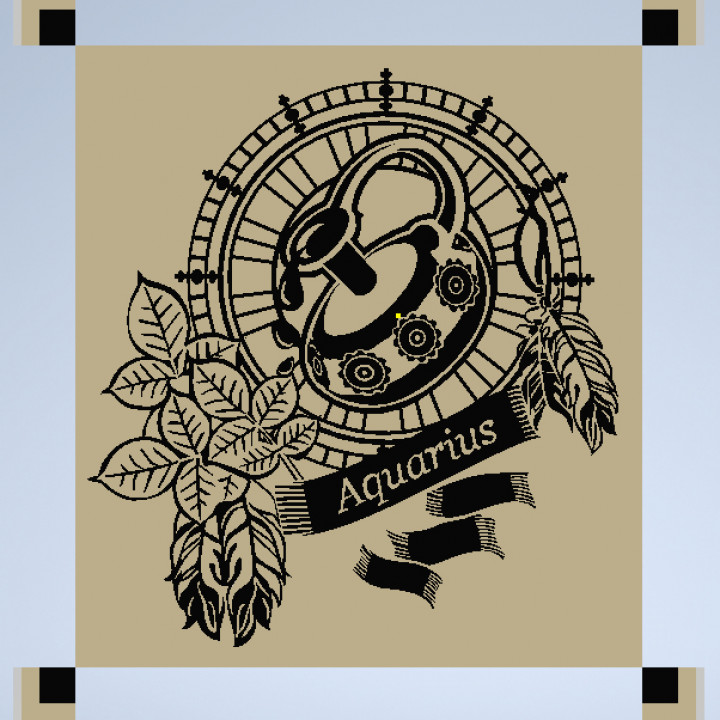


Aquarius zodiac sign stencil / multicolor
Published 2020-10-30T16:33:56+00:00
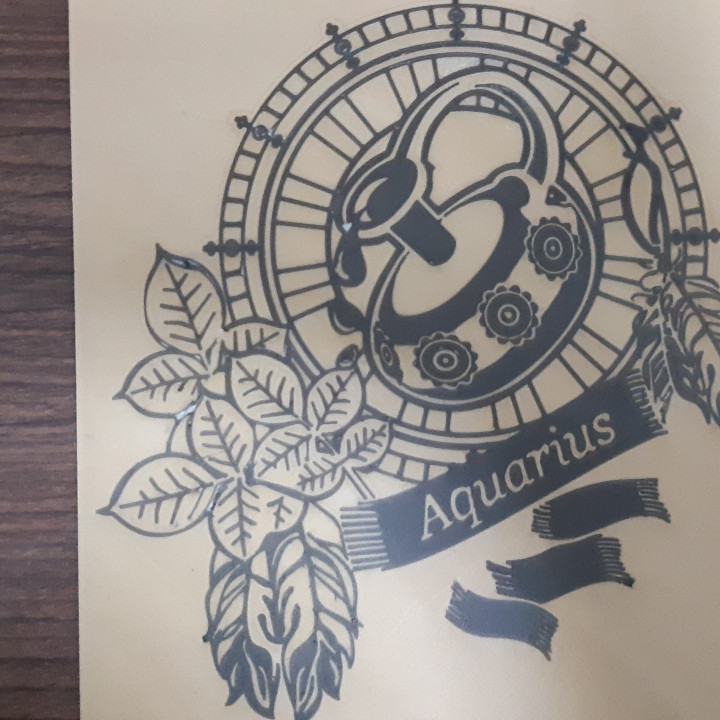
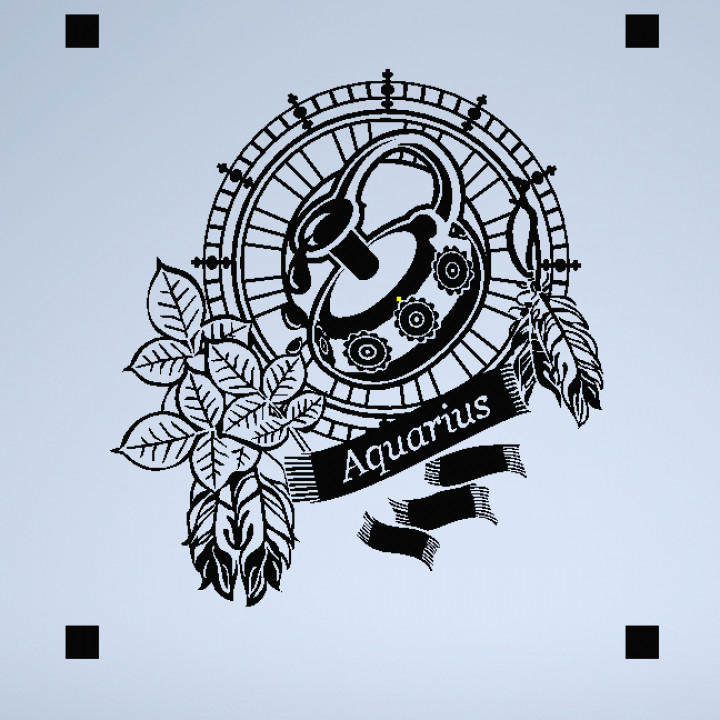
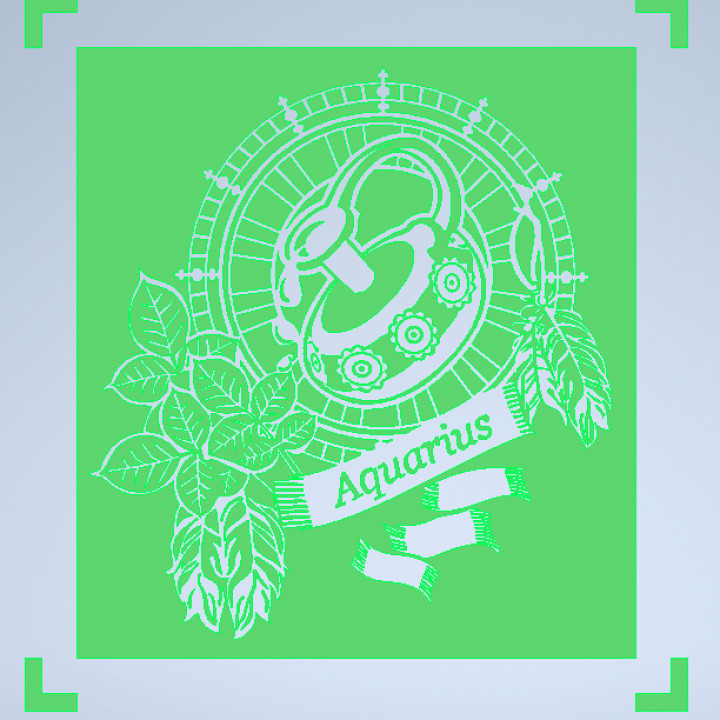
3d model of aquarius zodiac sign < contains 3 files which can be used to create a stencil alone or 2 color 3d printed image
For 2 color image, print the file (1-aquarius infill.stl) first following these instructions:
1-load the file in slicer.
2-scale the x and y dimensions of the model (I used 500% for both)
3-flip the model in the slicer so it's facing upside down.
4-set the X and Y position to (0,0) respectively in the slicer to center the model on the bed
5- set the Initial layer height to 0.2mm (very important)
6- print and when done keep the print on the bed (do not remove), heat the bed and nozzle and change the filament to another color
next print the file (2-aquarius-stencil.stl)
1- load the file
2-scale the x and y dimensions to the same value of the first file
3- flip the model upside down
4-set X and Y position to 0 and 0
5- set initial layer height to 0.2mm
6- delete the first model (1-libra Infill.stl) if it is still present
7-print the model with a different color
next print the file (3-aquarius-backl.stl) to add strength to the print
1-load the file
2- scale x and y to same value of the other 2 files
3-flip the model
4-set x and y position to 0 and 0
5-set initail layer height to 0.2 mm
6- delete the previous model
7- print the model
NOTE : to reduce print time, print the third file with a larger nozzle (change the nozzle and re level the bed with the previuos models remaining on the bed) and in slicer set the initial layer height to 0.2mm (very important) and set the layer height of the remaining layer as you desire ( I use 0.4mm layer height) this step has reduced print time of the third file from 6 hours to about 1 and a half for me


0.4 mm nozzle with 0.2 mm Initial layer height
Z hop enabled
no brims or rafts
| Date de publication | 30/10/2020 |
| Sans support | YES |