Pneumatic gripper
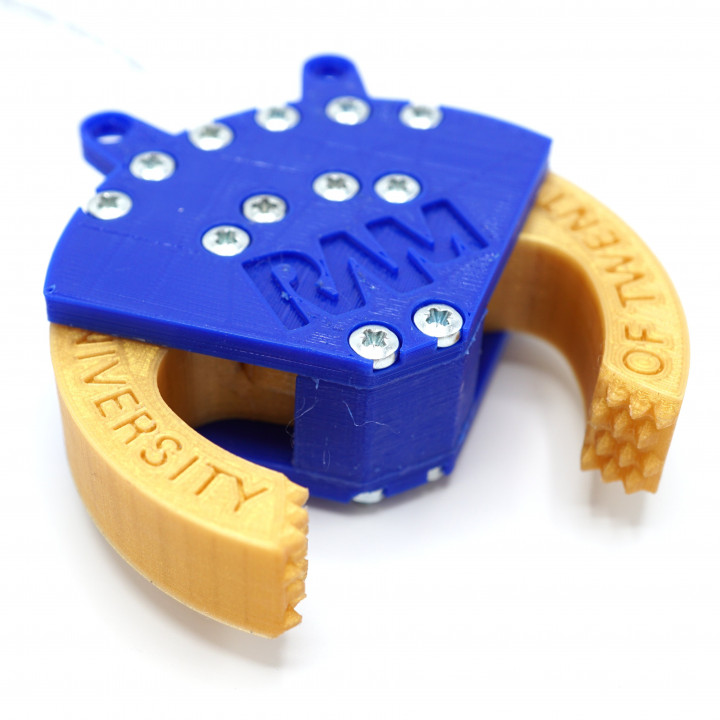
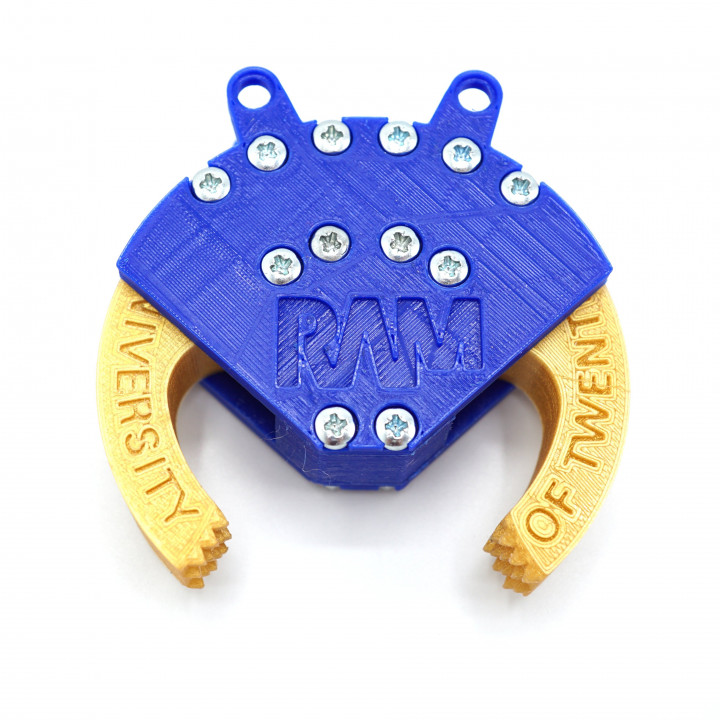
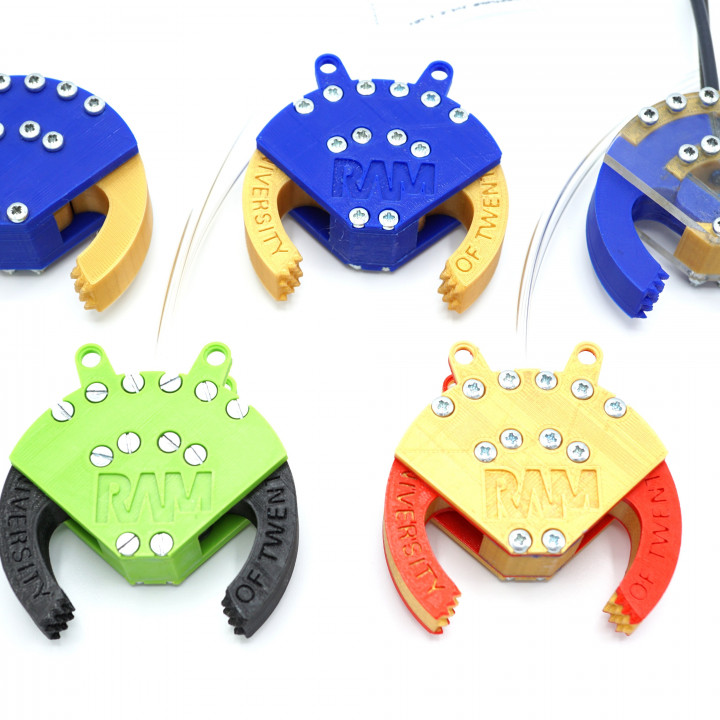

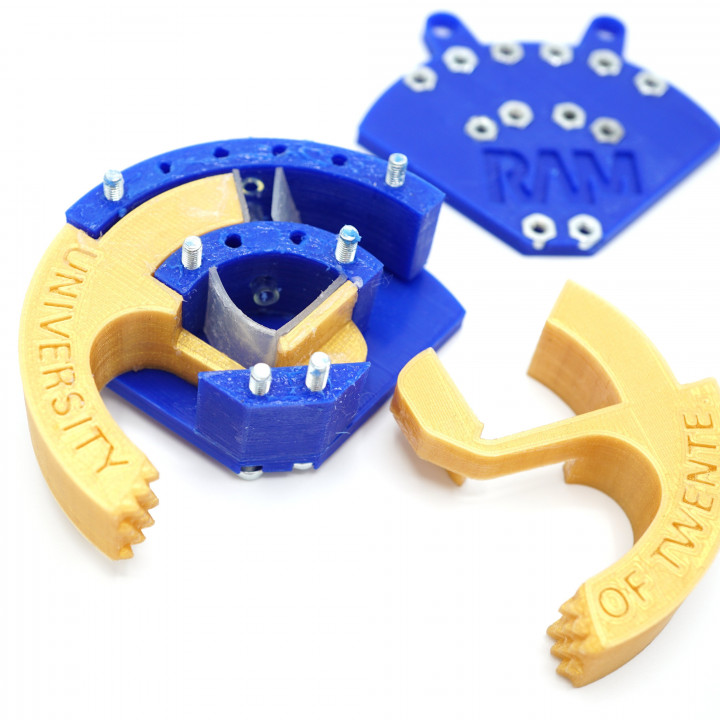


Pneumatic gripper
Published 2019-09-09T19:40:22+00:00


Additional materials and tools
Silicone rubber sheet, 1mm thick
4mm (outer diameter) pneumatic tubes, e.g. polyurethane tubes or Lego pneumatic tubes
M3 x 22mm (or longer) bolts and nuts
(Optional) Sealant such as blue silicone
(Optional) Lubricant such as vaseline (petroleum jelly)
(Optional) Something to make 3D printed parts airtight. Impregnating agent "waterdichtmaken.nl" works fine.
Stanley knife with 9mm blade size
Drill with right size for tightly fitting tubes
Clamp
Compressor
Valve
If you do not use sealant and/or when the housing parts are not airtight, significant leakage may occur. The gripper can still be actuated with a high-power compressor, but to make it work with LEGO equipment, adequate airtightness is necessary.
Troubleshooting
Friction and leakage are the main enemies of any rapid prototyped pneumatic device. It is impossible to fully eliminate both of them, but they can be kept to a minimum by good manufacturing and troubleshooting. Especially when operated with small Lego-sized compressors, super low friction/leakage a must. Laser-cut acrylic top/bottom makes troubleshooting easier. Also see Laser-cutting Pneumatics article.
Friction
Check rigid parts (push seals away or remove). If claws do not move by gravity alone: find friction surfaces and grind them, or adjust printer settings (finer detail, lower extrusion etc). If arcs are not circular (check by printing disc): perform XY calibration.
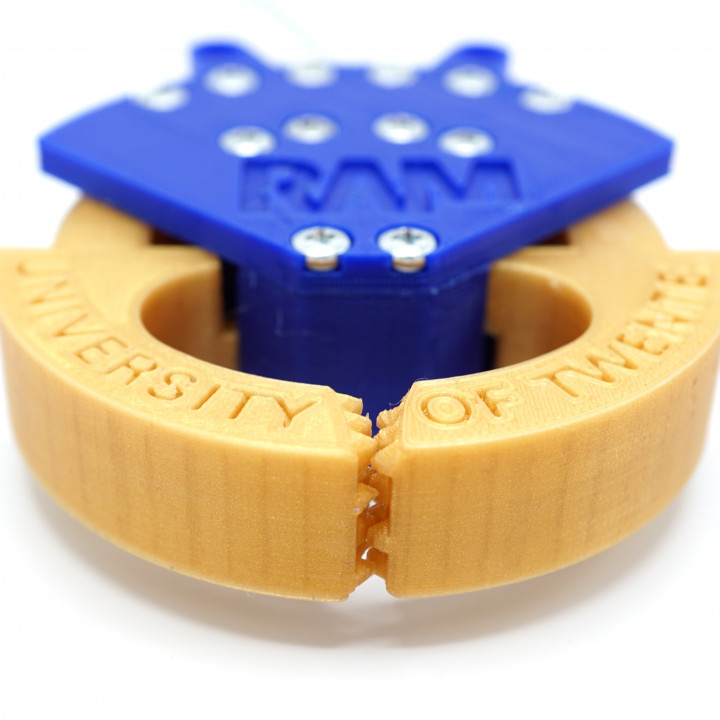
Check part height. Housing should be 16mm high, claws 15.7mm. Inconsistent height could be caused by poor bed adhesion resulting in clamping of parts. Make sure the parts do not get loose from the print bed during printing.
Check seal dimensions. Ideally, 0.2mm larger than cavity width and height. If too large: reduce seal cutting block dimension (set at 99% etc).
Sealant (blue silicone or equivalent) could add excessive friction if not wiped out of the cylinder. Always operate pneumatic gripper a few times at low pressure to clean cylinder walls using the seal. Leftover sealant collected by the seal is normally no problem.
Leakage
Through housing: 3D printed parts are usually porous. Solutions: a) print really 100% solid (at the edge of overextrusion), b) apply imprenating agent such as "waterdichtmaken.nl" for PLA or a dilute ABS+acetone mix for ABS parts, c) any other stuff that fills up the pores (paint? nail varnish? ...)
Through/along top and bottom cover: if first layer not printed 100% solid, channels will be present along which air can escape. Solution: overextrude first layer, either by extrusion factor or by re-calibrating z offset (lower nozzle). Side-effect: brim. Other solution: fill up channels with stuff.
Along walls: too low resolution (e.g. 0.3mm) gives ribbed walls which cannot be sealed off effectively with the seal
Along seals: check seal dimensions, should be at least 0.2mm larger than cavity. If too small: scale seal cut block up by 1% or so.
Between housing parts: seal off with sealant such as blue silicone; tighten screws.
Between housing and air tube: irregular hole or too large hole, or too stiff tube. Solutions: a) use sealant, b) glue tube to housing with e.g. Loctite 770+406.
| Date published | 09/09/2019 |
| Support Free | YES |