COVID Sub Zero Mask


COVID Sub Zero Mask
Published 2020-03-24T01:35:13+00:00
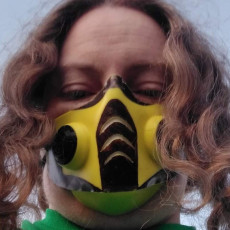
THERMAL FOLDED MASK - SUB ZERO
INSPIRED BY COPPER3D, FULLY REMODELLED.
In the wake of this pandemic sweeping the globe, I find myself with a lot more tinker time than usual. Given the need for medical grade masks being so high at the moment, the thought of 3D printing them is an obvious choice to many. Clearly this mask is not going to offer the kind of protection a certified N95 mask would but its a great way for healthy people to take the burden off the supply AND keep busy!
In combination with 3M furnace filters of a virus/bateria rating you can make a quick and easy sub zero mask, and make your friends laugh and slightly envious.
Wish I could do more but this is the best I can think of for now besides staying home.
Be safe everyone!
Here's a list of stuff you'll need for the build. I'll post a how-to video soon and link it.
NOTE: Didn't have blue filament to properly represent the color scheme but I provided a link if you want to be more true to form.
Reccommended Materials:
3M Furnace Filter (Bacteria/Virus Grade)
https://amzn.to/2QFqB6J
Blue PLA
Black PLA
https://amzn.to/2QHGqtz
3D Printer - Ender 3 (cheap option)
https://amzn.to/2Uts80I
Rubber Bands
https://amzn.to/2WDLfaY


Print at a minimum of 200microns or the resolution of the threads may effect the function. Thread the caps to help maintain the integrity of the threads then use very hot water to bend the mask to fit your face, similar to a cast. If you make a mistake just redip the mask or decals in hot water and form it again. No suport needed for the mask itself, support recommended for the cap unless you wanna torture test and can bridge cleanly.
Made a quick video to demo how to make the filters and form the mask sorry for the vid quality but its just something I did quick.
--------->>>> https://www.youtube.com/watch?v=ncEN8xle4qw <<<<-------------------
| Date published | 24/03/2020 |
| Time to do | 120 - 121 minutes |
| Material Quantity | 50 |
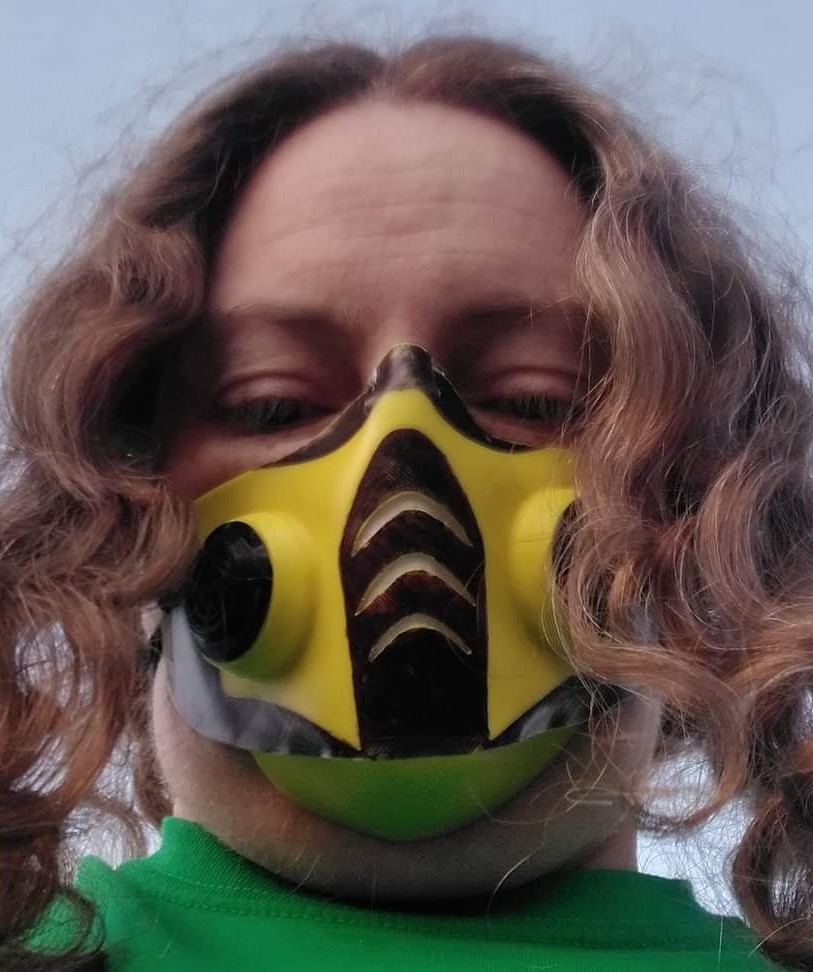
Printed one of these a while back; in yellow, for Scorpion, and printed the caps in black. The black accents were done with Sharpie. I used a Dremel to cut out the front notches/"vents" and use hot-glue to glue a double layer of filter covering those openings, on the inside of the mask. I used a soldering iron and some old print cast-offs to permanently seal the joints where the chin piece folds into the cheek pieces, because the hot-glue joint wasn't holding on one side. I also used some 1/4" wide, stick-on foam gasket on the inside to help with fit and comfort. I used black sash line as a behind-the-neck-over-the-head tie, because I have tonnes of it (from my line of work) and because rubber band behind the ears is painful for me. I didn't realize when I molded it, that I'd done it crooked. Even with the additional openings, between the hot-glue fill at the nose piece, the foam gasket everywhere, and the double layer of filter everywhere; the fit is snug and secure enough that the mask shifts in and out with my breathing. Love this mask!