Print in place Iris "Orb-box"


Print in place Iris "Orb-box"
Published 2018-05-16T14:45:46+00:00
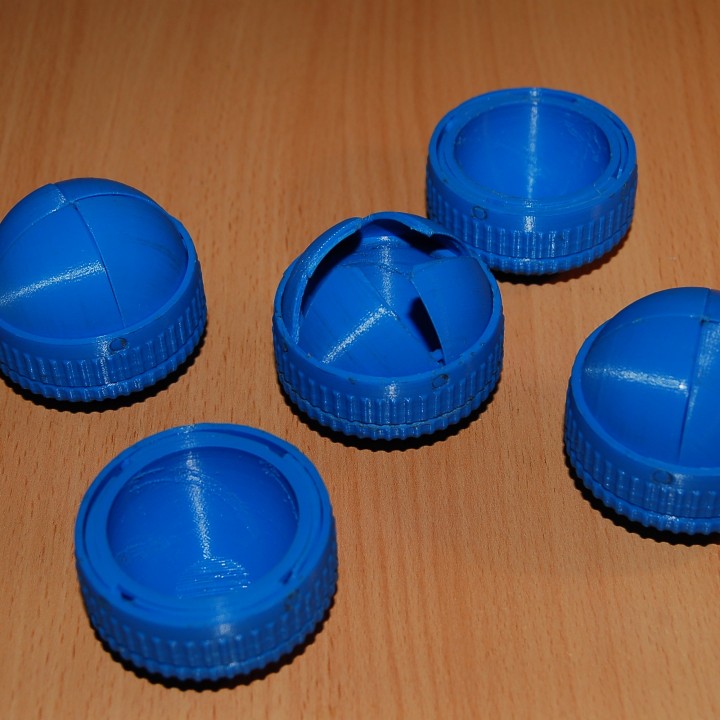
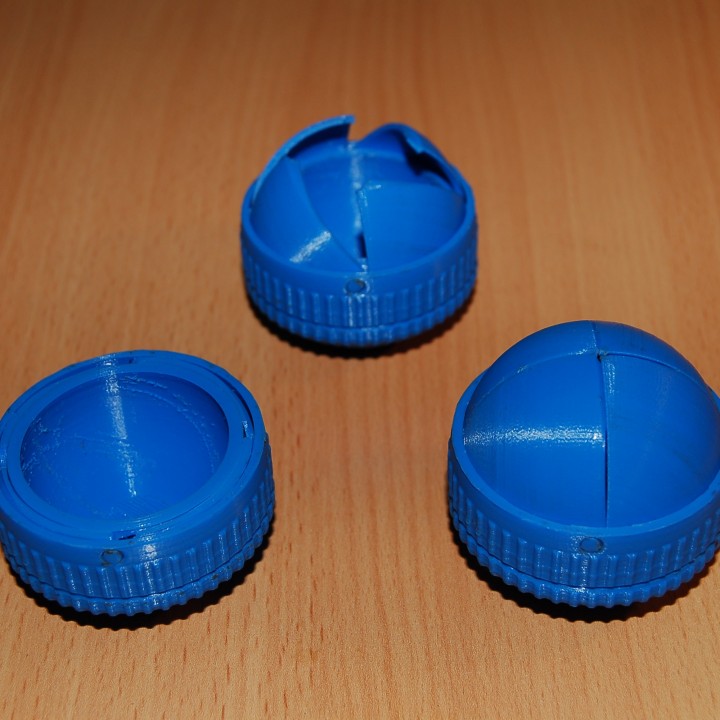
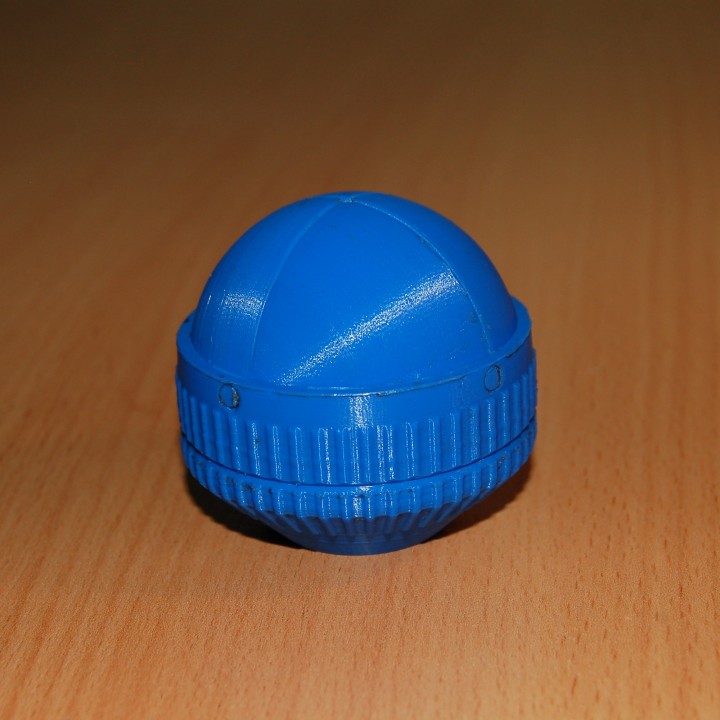
This is a small, print-in-place iris box with no supports required. I also have many other iris box designs which you can find on my profile page.
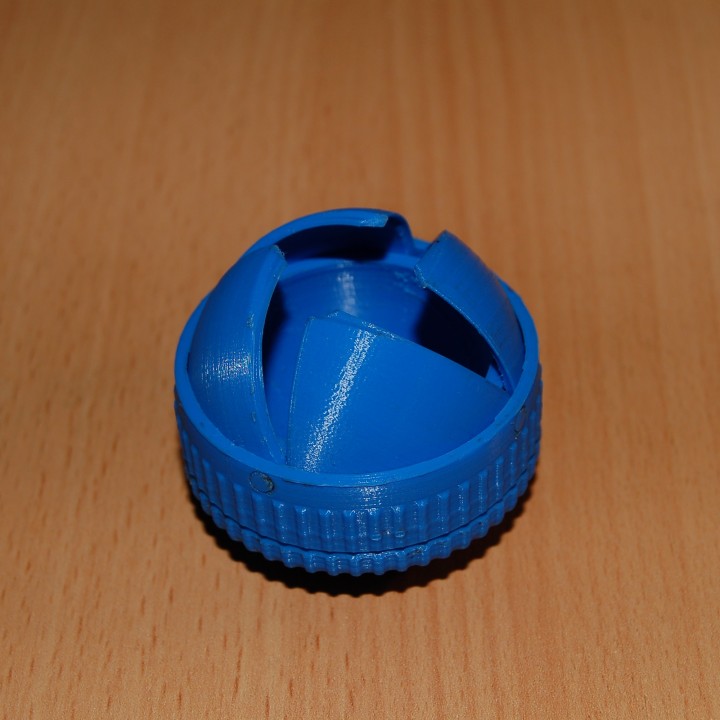
This design is similar to the well known designs of Emmett and Lobo CNC in that it is a print in place iris box, spherical in shape with four 'petals'. It differs from these designs in that it prints upside down, with the base facing upwards. The shape of the opening is also different and covers almost an entire hemisphere; hence the name Orb-box.
It is quite challenging to print however, probably more than the other designs. For this reason I have included a test file 'Orb-box test' which has all of the challenging print in place features included on it. If you can print the test file and free up the three parts, then you should be able to print this box design.
The general default tolerances on this design are 0.3mm (sometimes 0.2mm) and if the parts are fusing then try upscaling the test file, and then also the actual box by the same amount, until it works adequately. I also recommend turning down your extrusion multiplier slightly. A high resolution e.g. 0.1mm layer height is also recommended for higher dimensional accuracy. I also recommend a material which is generally low friction; for me my PLA works just fine.
'Loosening up' the box
Once you have printed the box, you will need to do the following in order to get it functioning (caution, this process will require using a sharp implement such as a craft knife so be very careful when doing this):
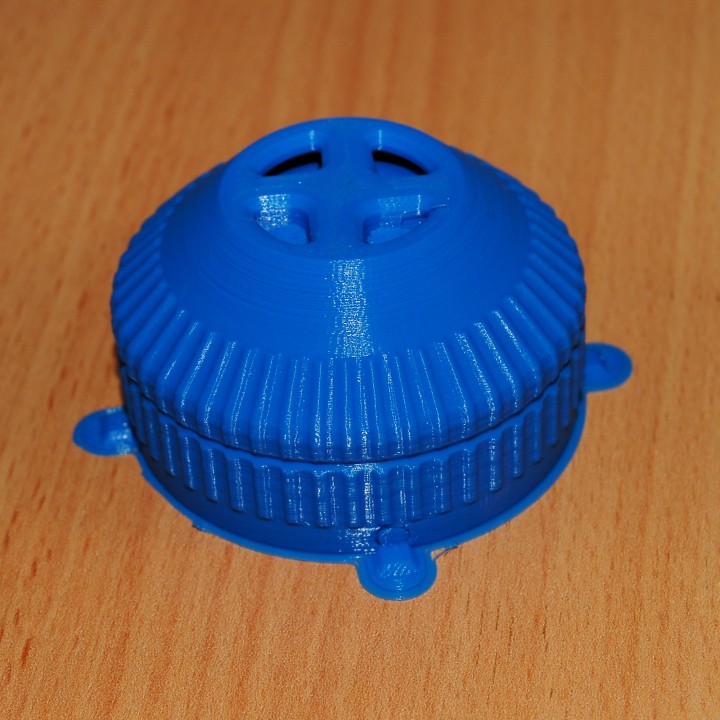
Break away the four built in hinge supports around the box perimeter and trim any brim around the base
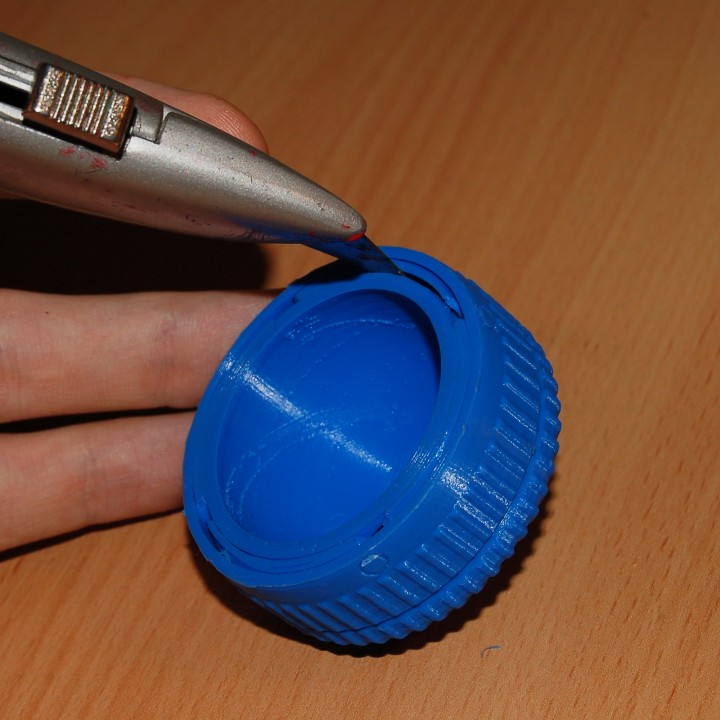
Some fusing will likely occur on the first layer of the box, use a craft knife to separate the 'petals' from the outer and inner box walls but be careful not to cut through the four hinge pins on the outer side of the doors.
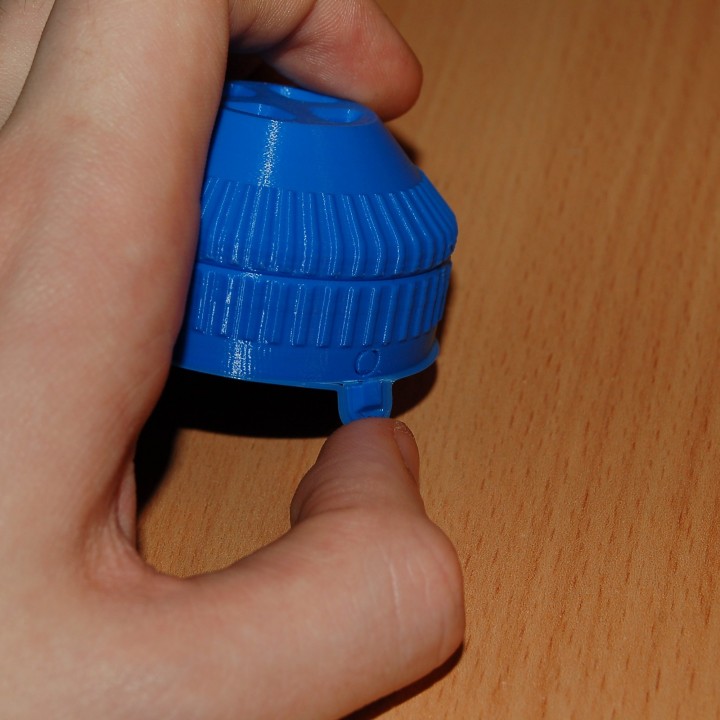
Use a thin implement to lever the corners of the 'petals' through the four holes in the base of the box as shown. You should hear a click as the print in place pins break away from the body of the box. The steep overhangs on this part of the doors may also cause a little fusing with the body, so you should be able to loosen them as well if this has happened.
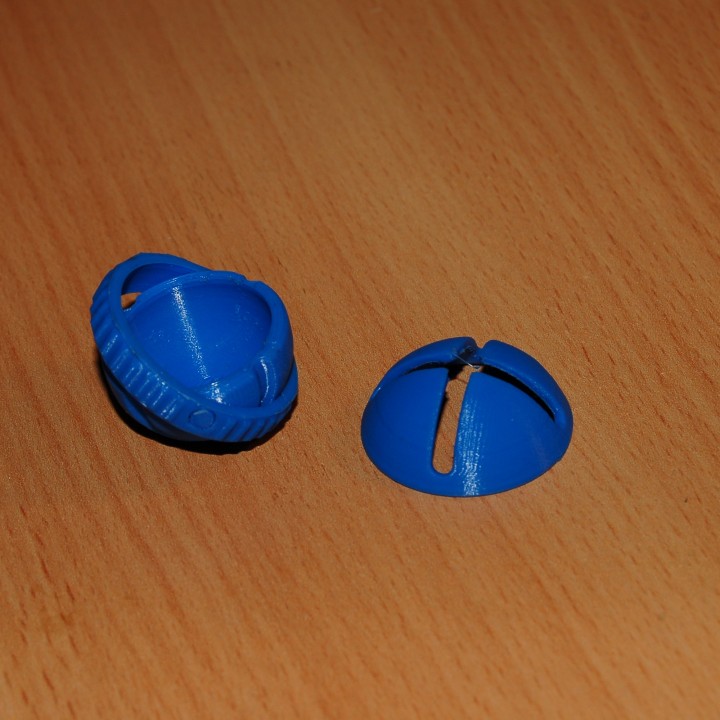
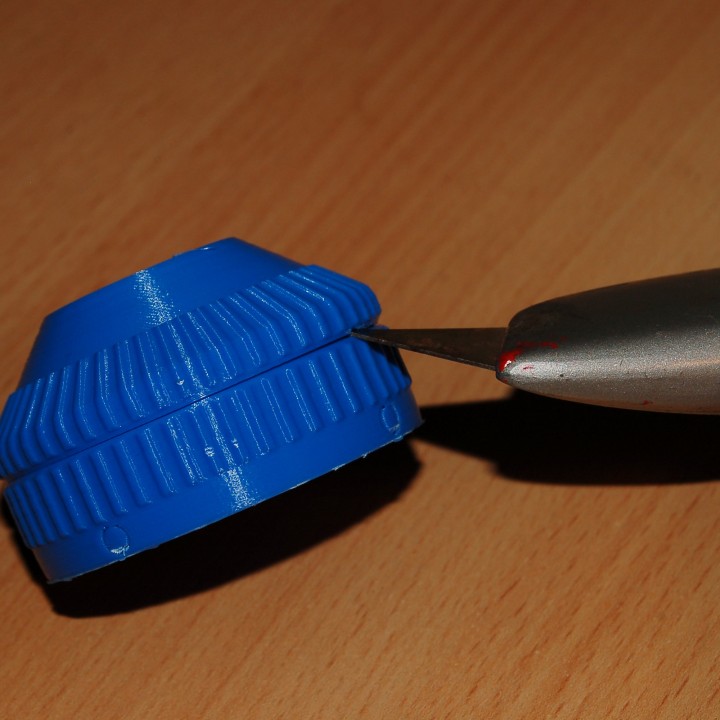
In order to separate the opening collar from the rest of the box, slide a craft knife through the notch around the perimeter while levering it apart slightly as shown. You should hear a few clicks as print in place features break away. An 0.2mm gap is left between these parts (at default scale) during printing so they should come apart relatively easily. If it cannot be split apart easily, then you have to use a saw lightly on this notch until it can be separated with a craft knife as shown. Scaling up the model to increase the included printing gap, will stop it fusing if this occurs.
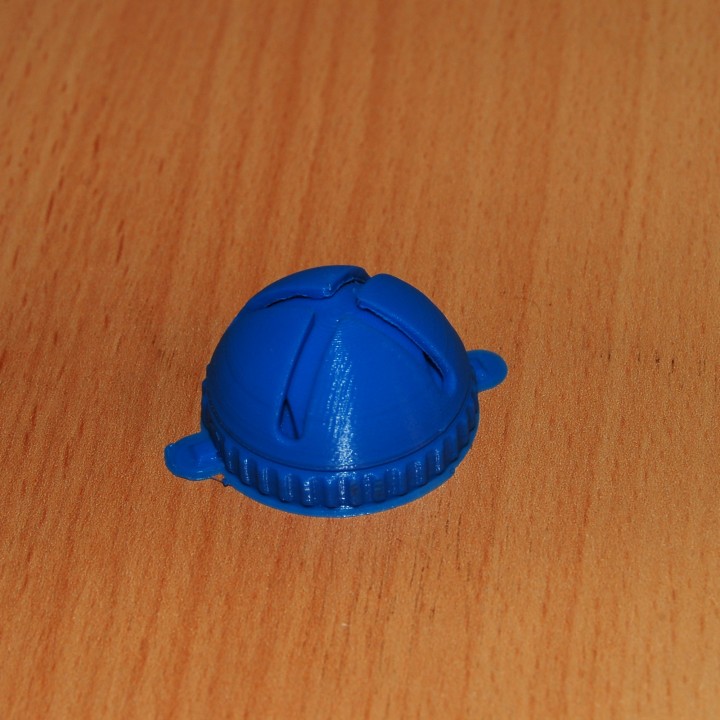
Now to starting turning the collar back and forth to try and loosen it up. The box closes by twisting the upper collar anti-clockwise (this can be reversed by mirroring the object in your slicer) while holding the base stationary. To loosen it up initially, I twist on the box firmly, and then pull each of the doors upwards out of the body slightly. I repeat this process until the box is mostly closed, then I try working it the opposite direction. For me it required a fair amount of working the box backwards and forwards (about 30 minutes) until it started working smoothly. A little lubricant e.g. silicon lubricant will help significantly but generally isn't required.
Hopefully your box is now working! Let me know if you're having any difficulties with this design and I'll be happy to help :).


| Date published | 16/05/2018 |
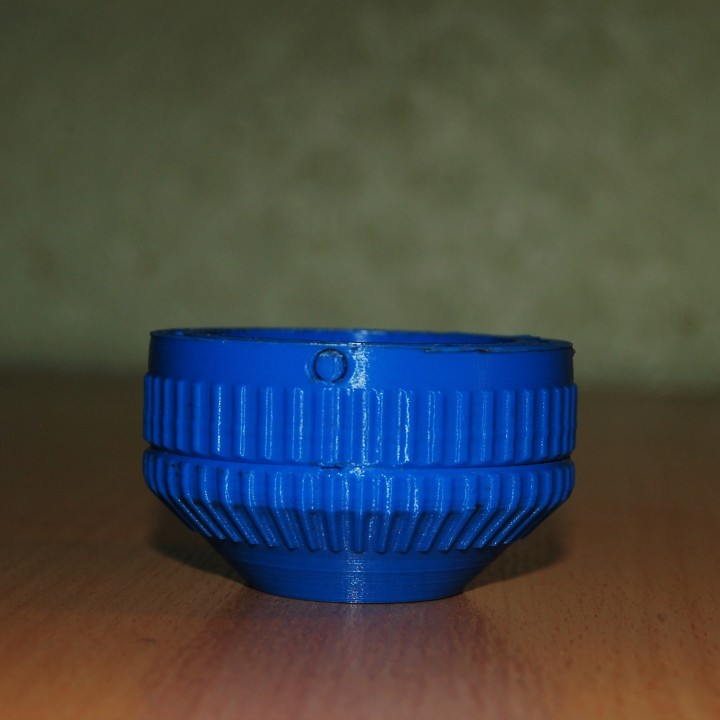
| Dimensions | 50mm x 50mm x 50mm |
| Technology | FDM |
| Complexity | Easy |
| Support Free | YES |