Loading
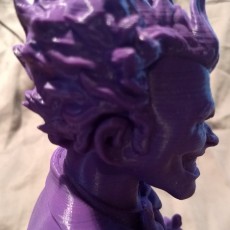
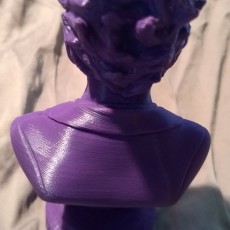
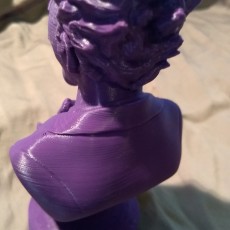
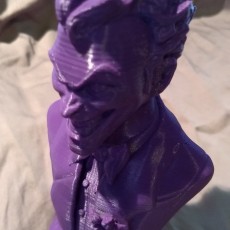
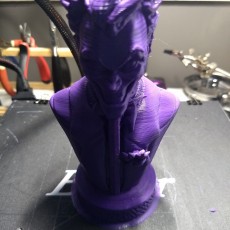
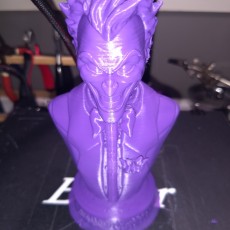
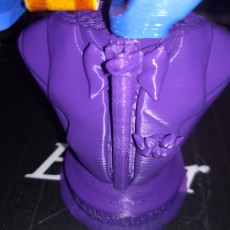
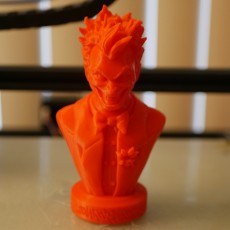
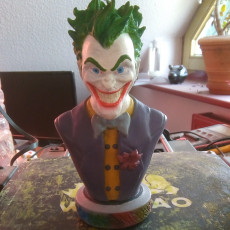
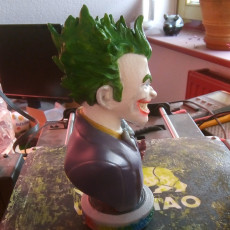
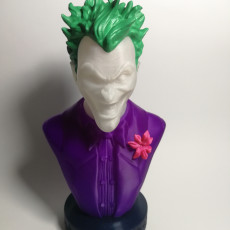
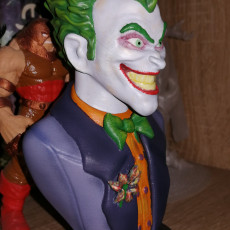
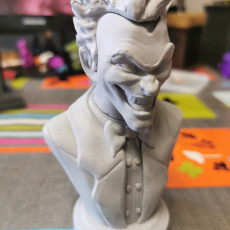
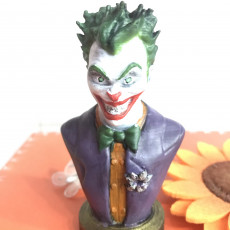
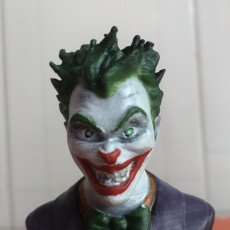
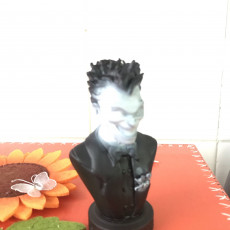
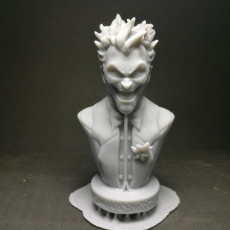
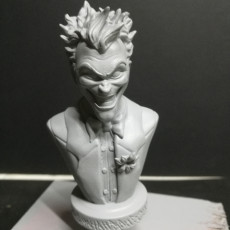
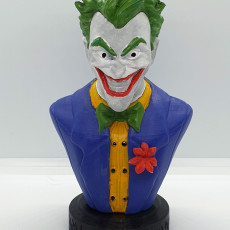
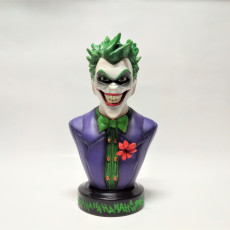
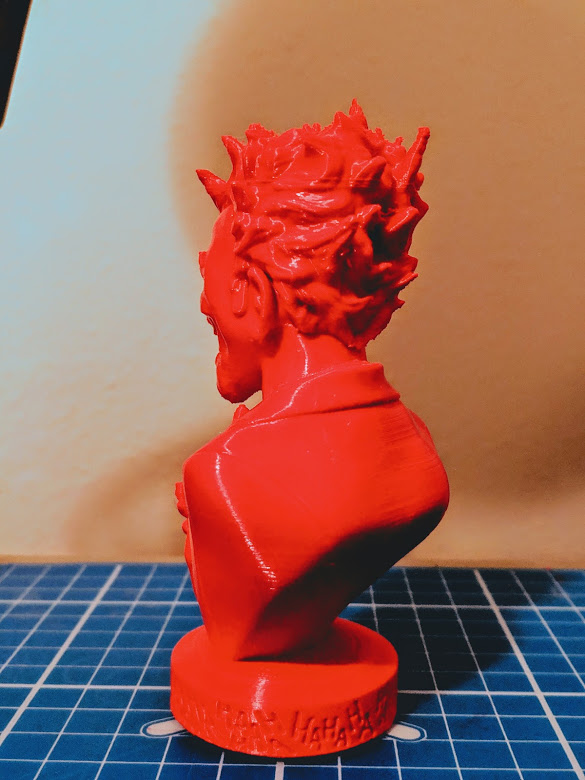
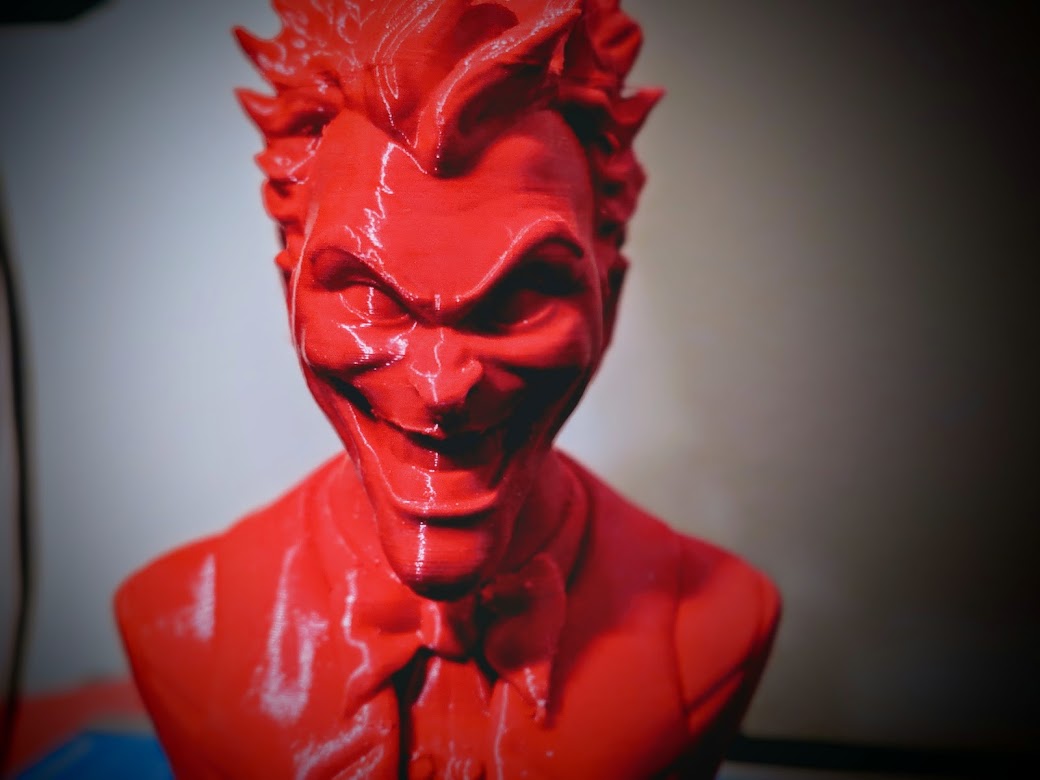
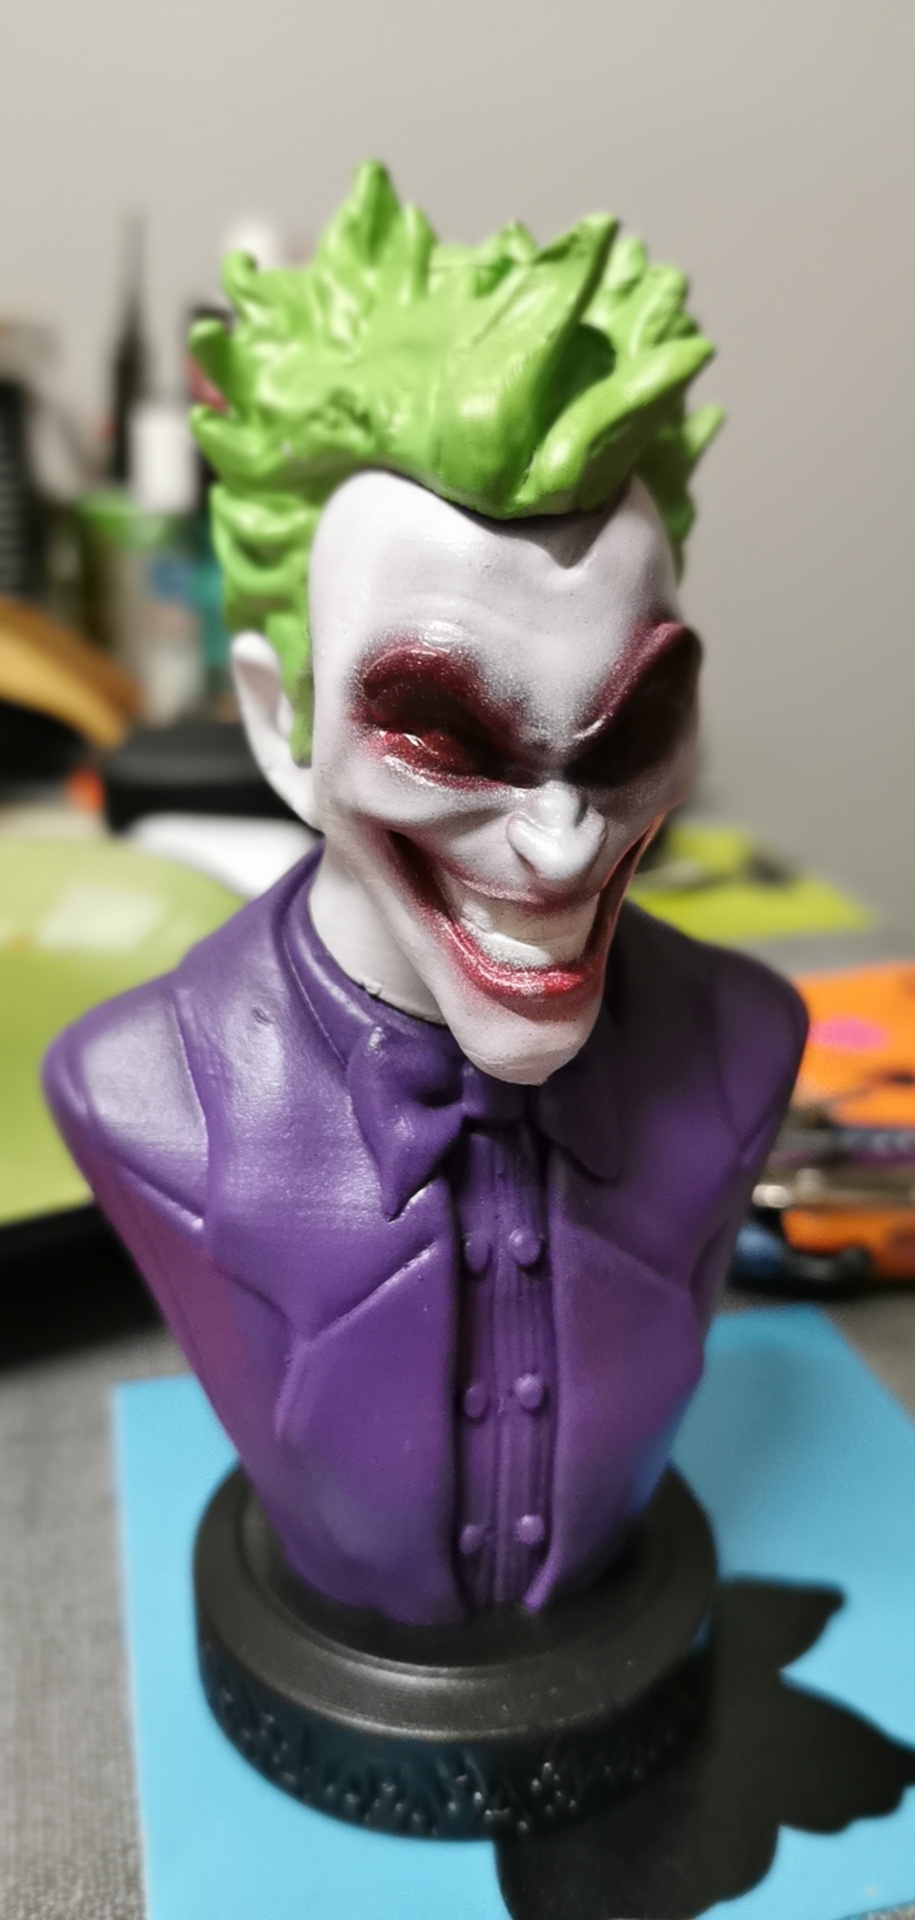
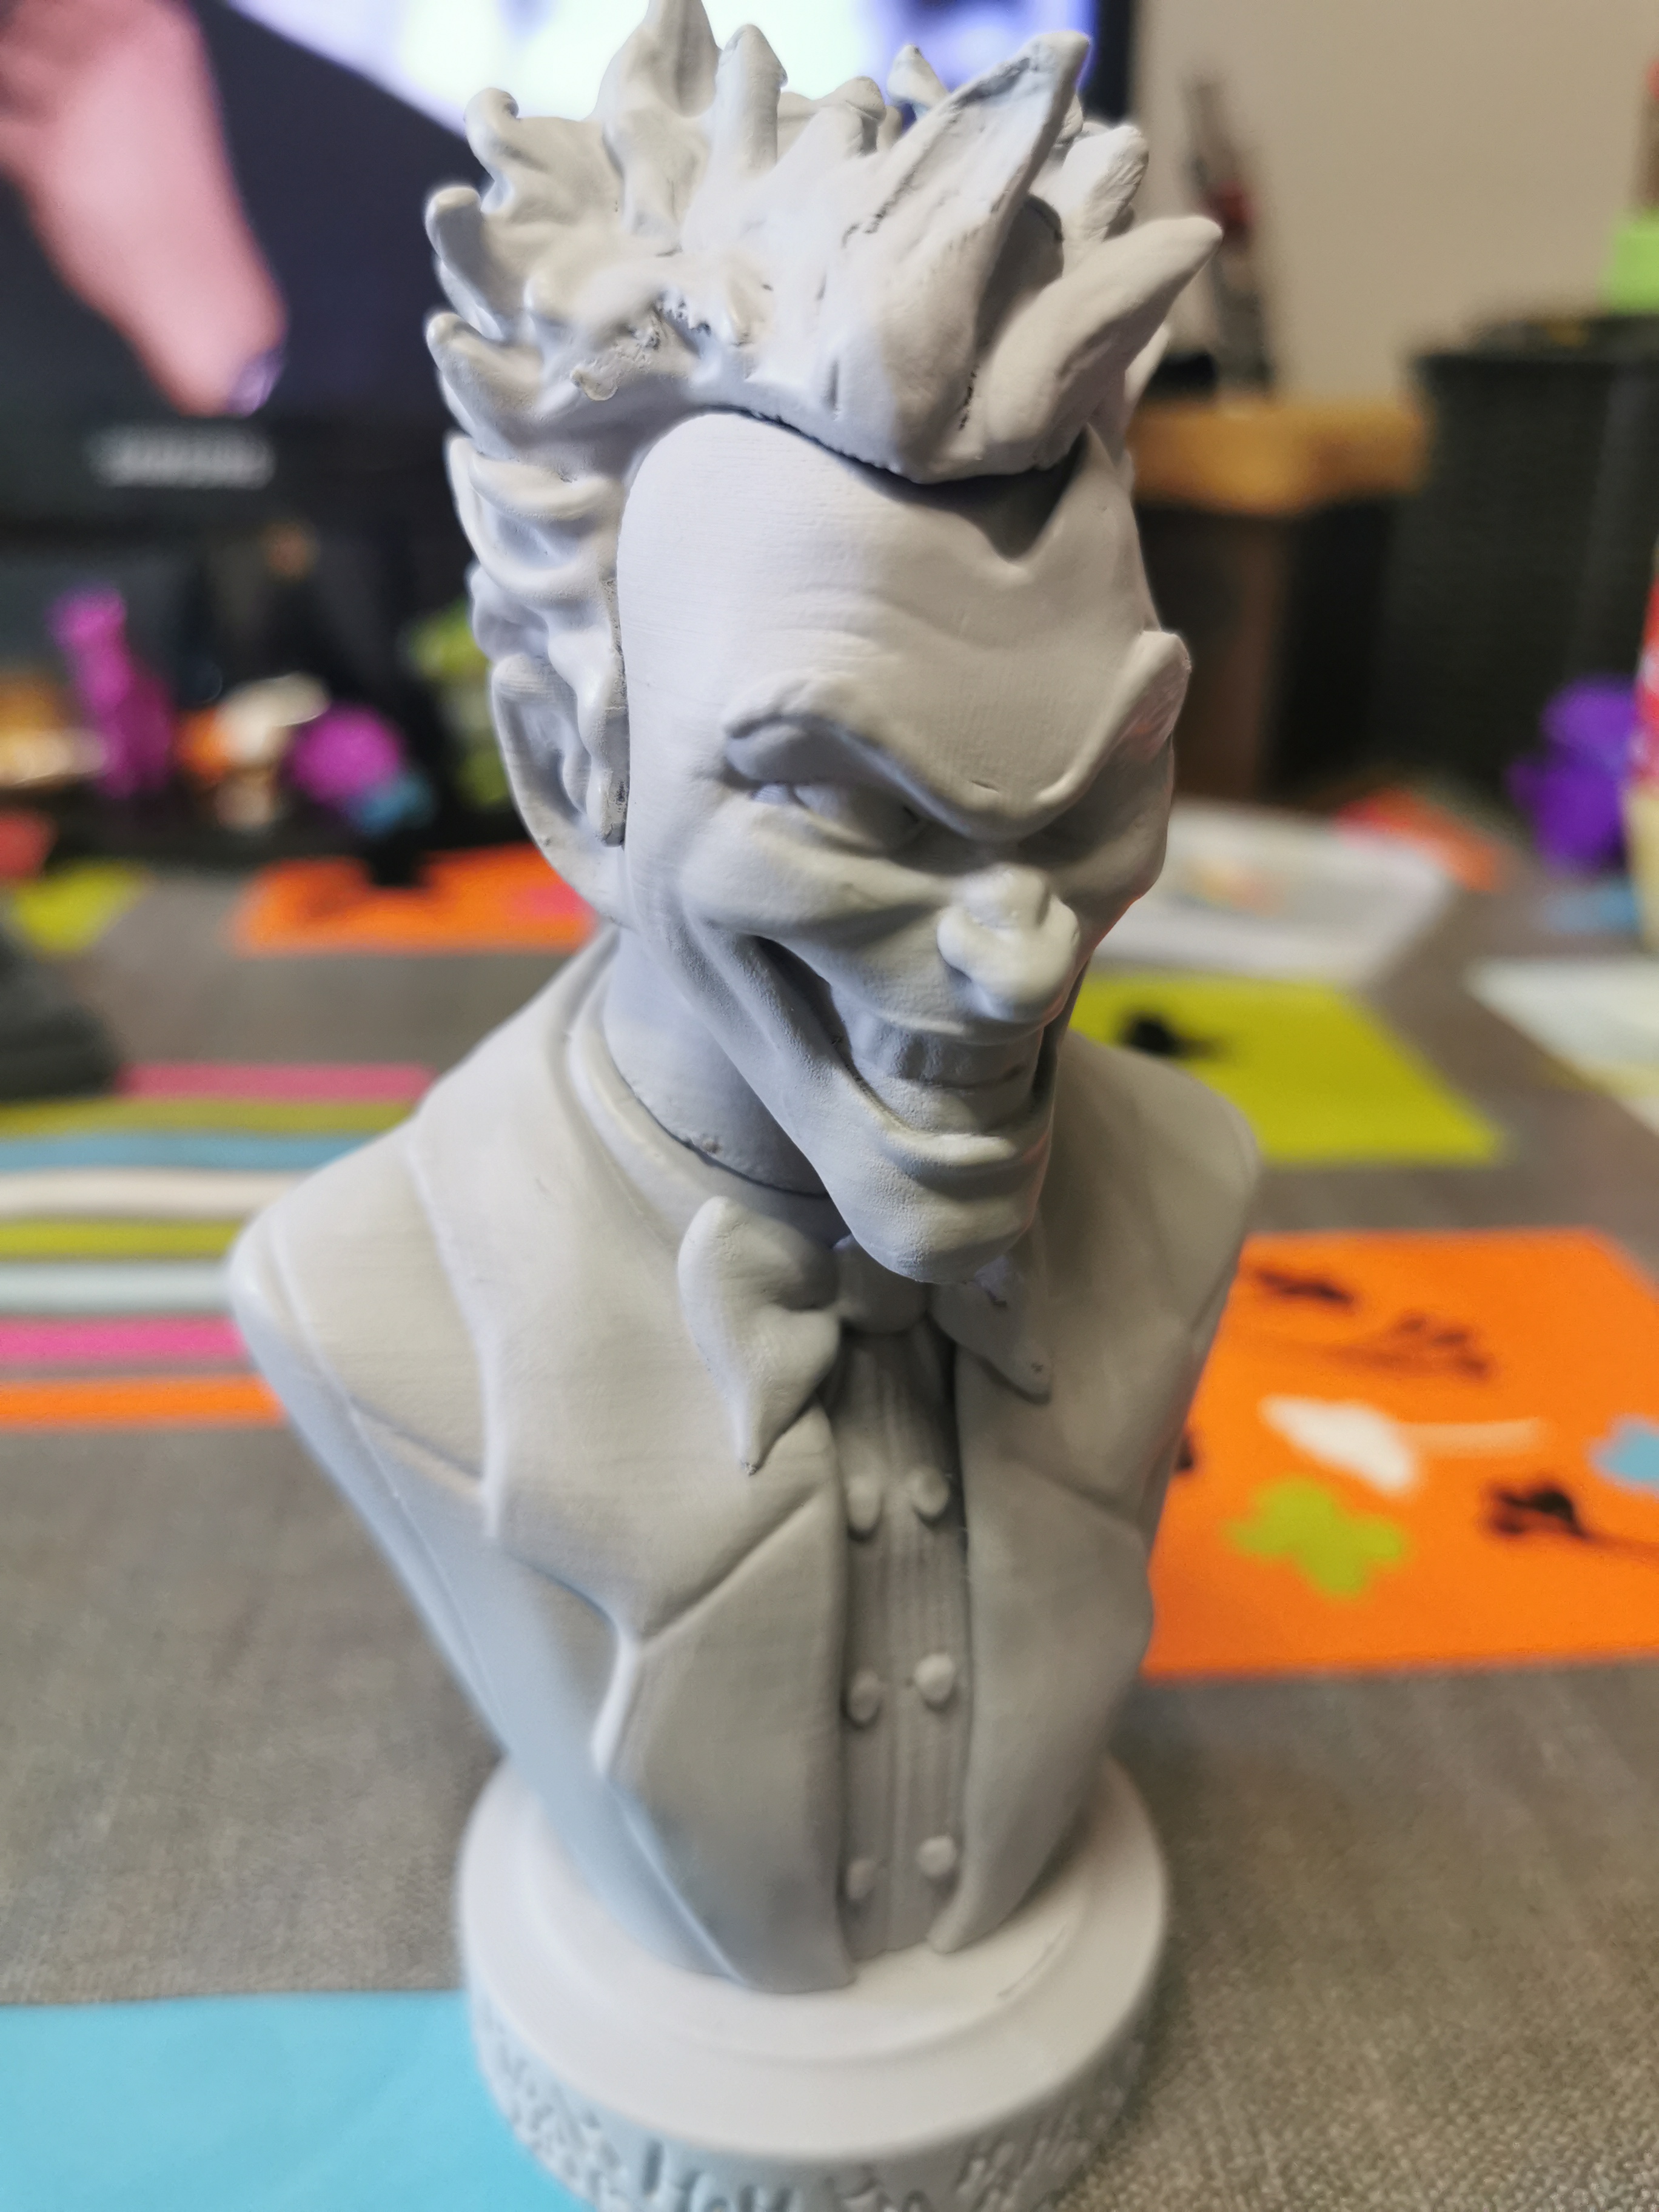
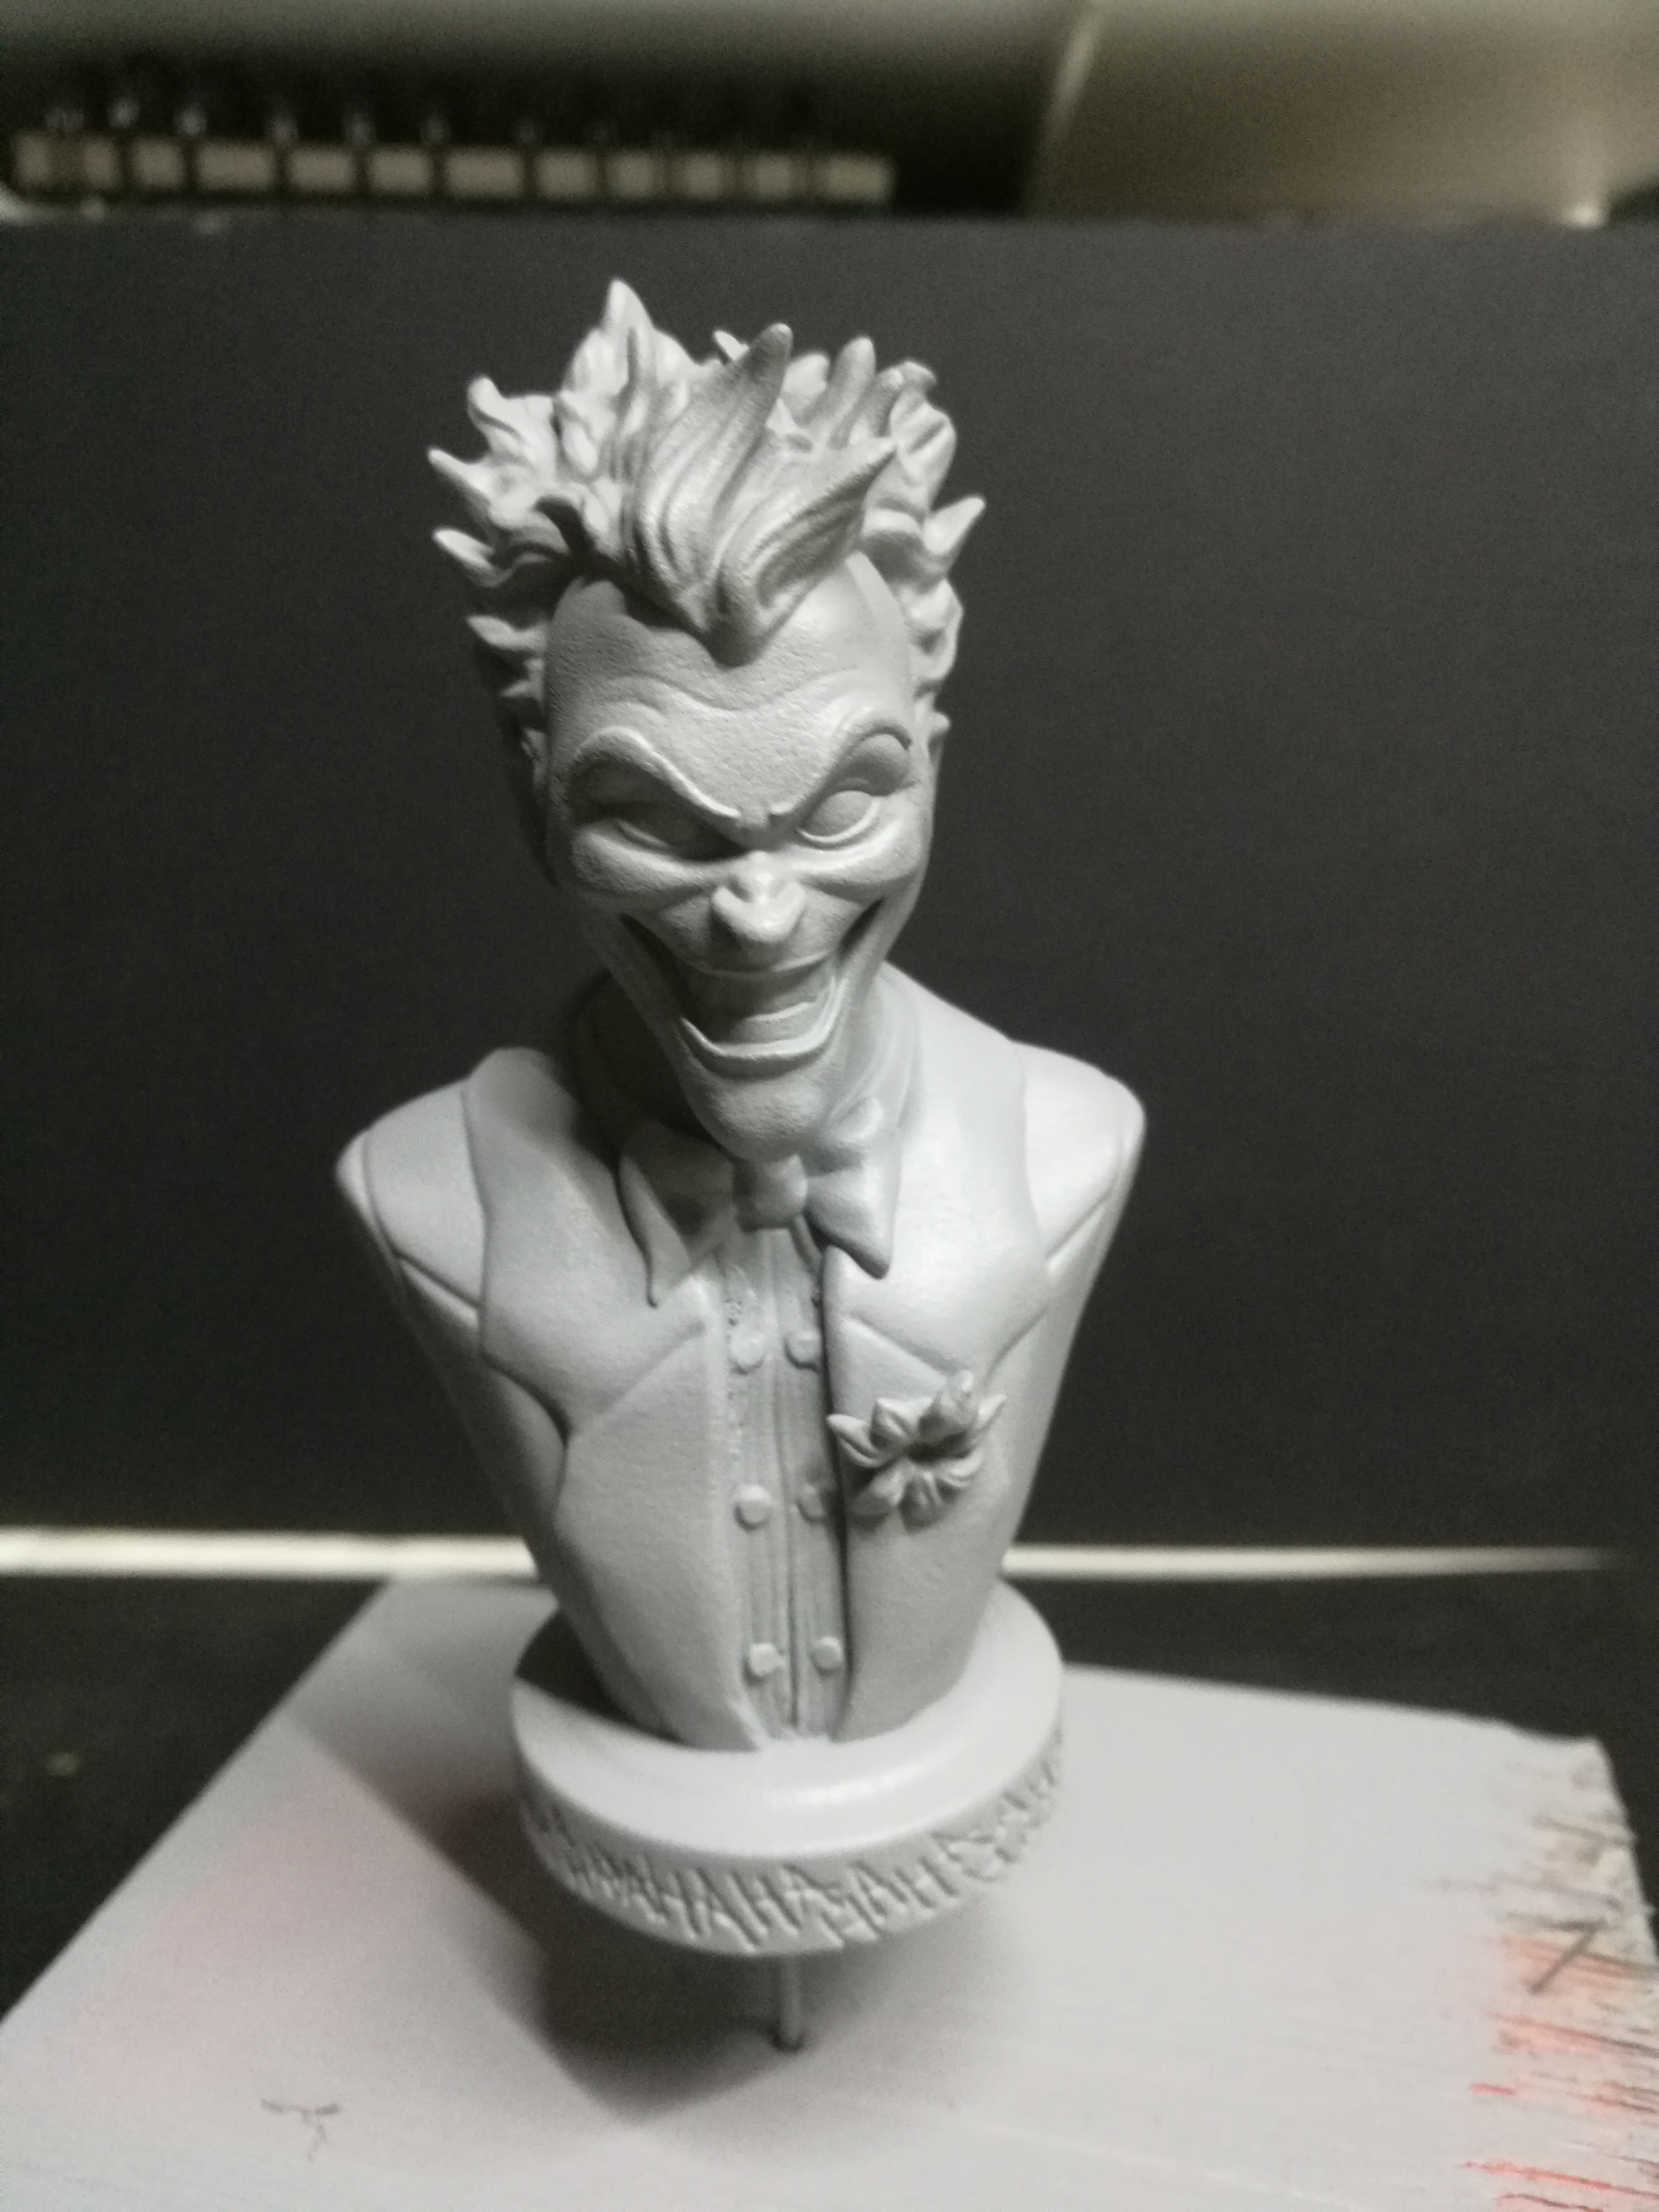
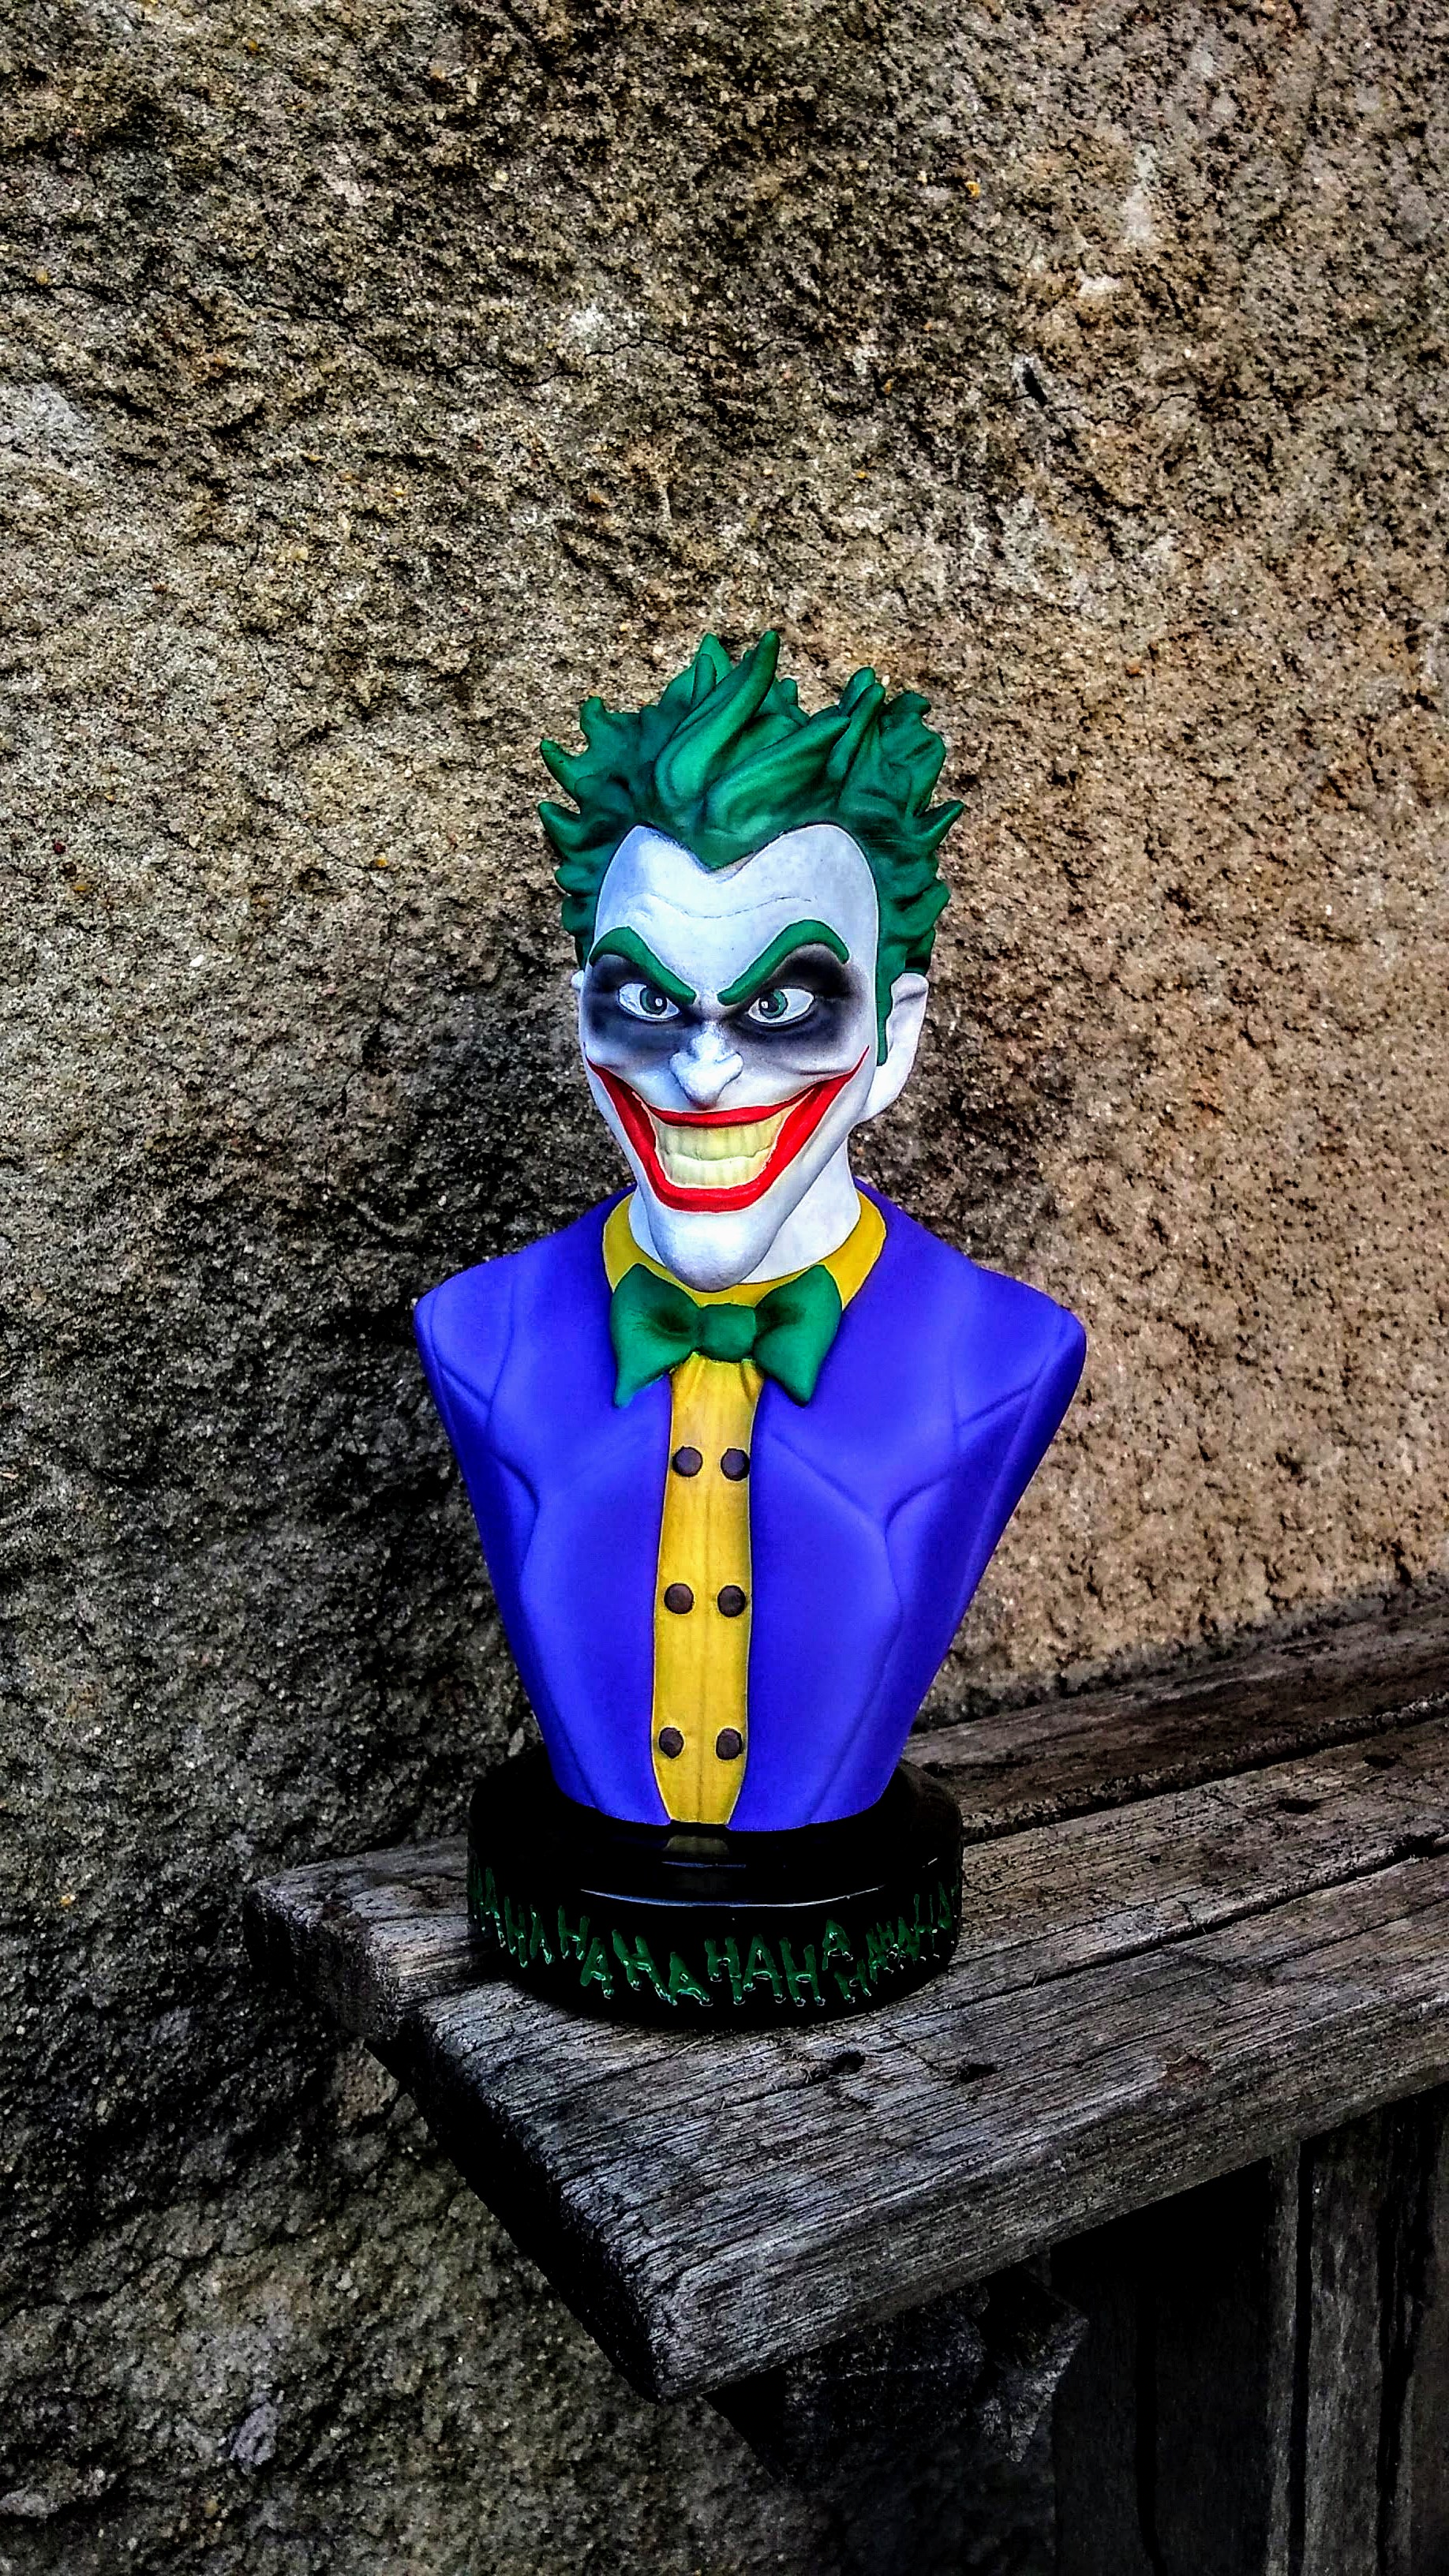
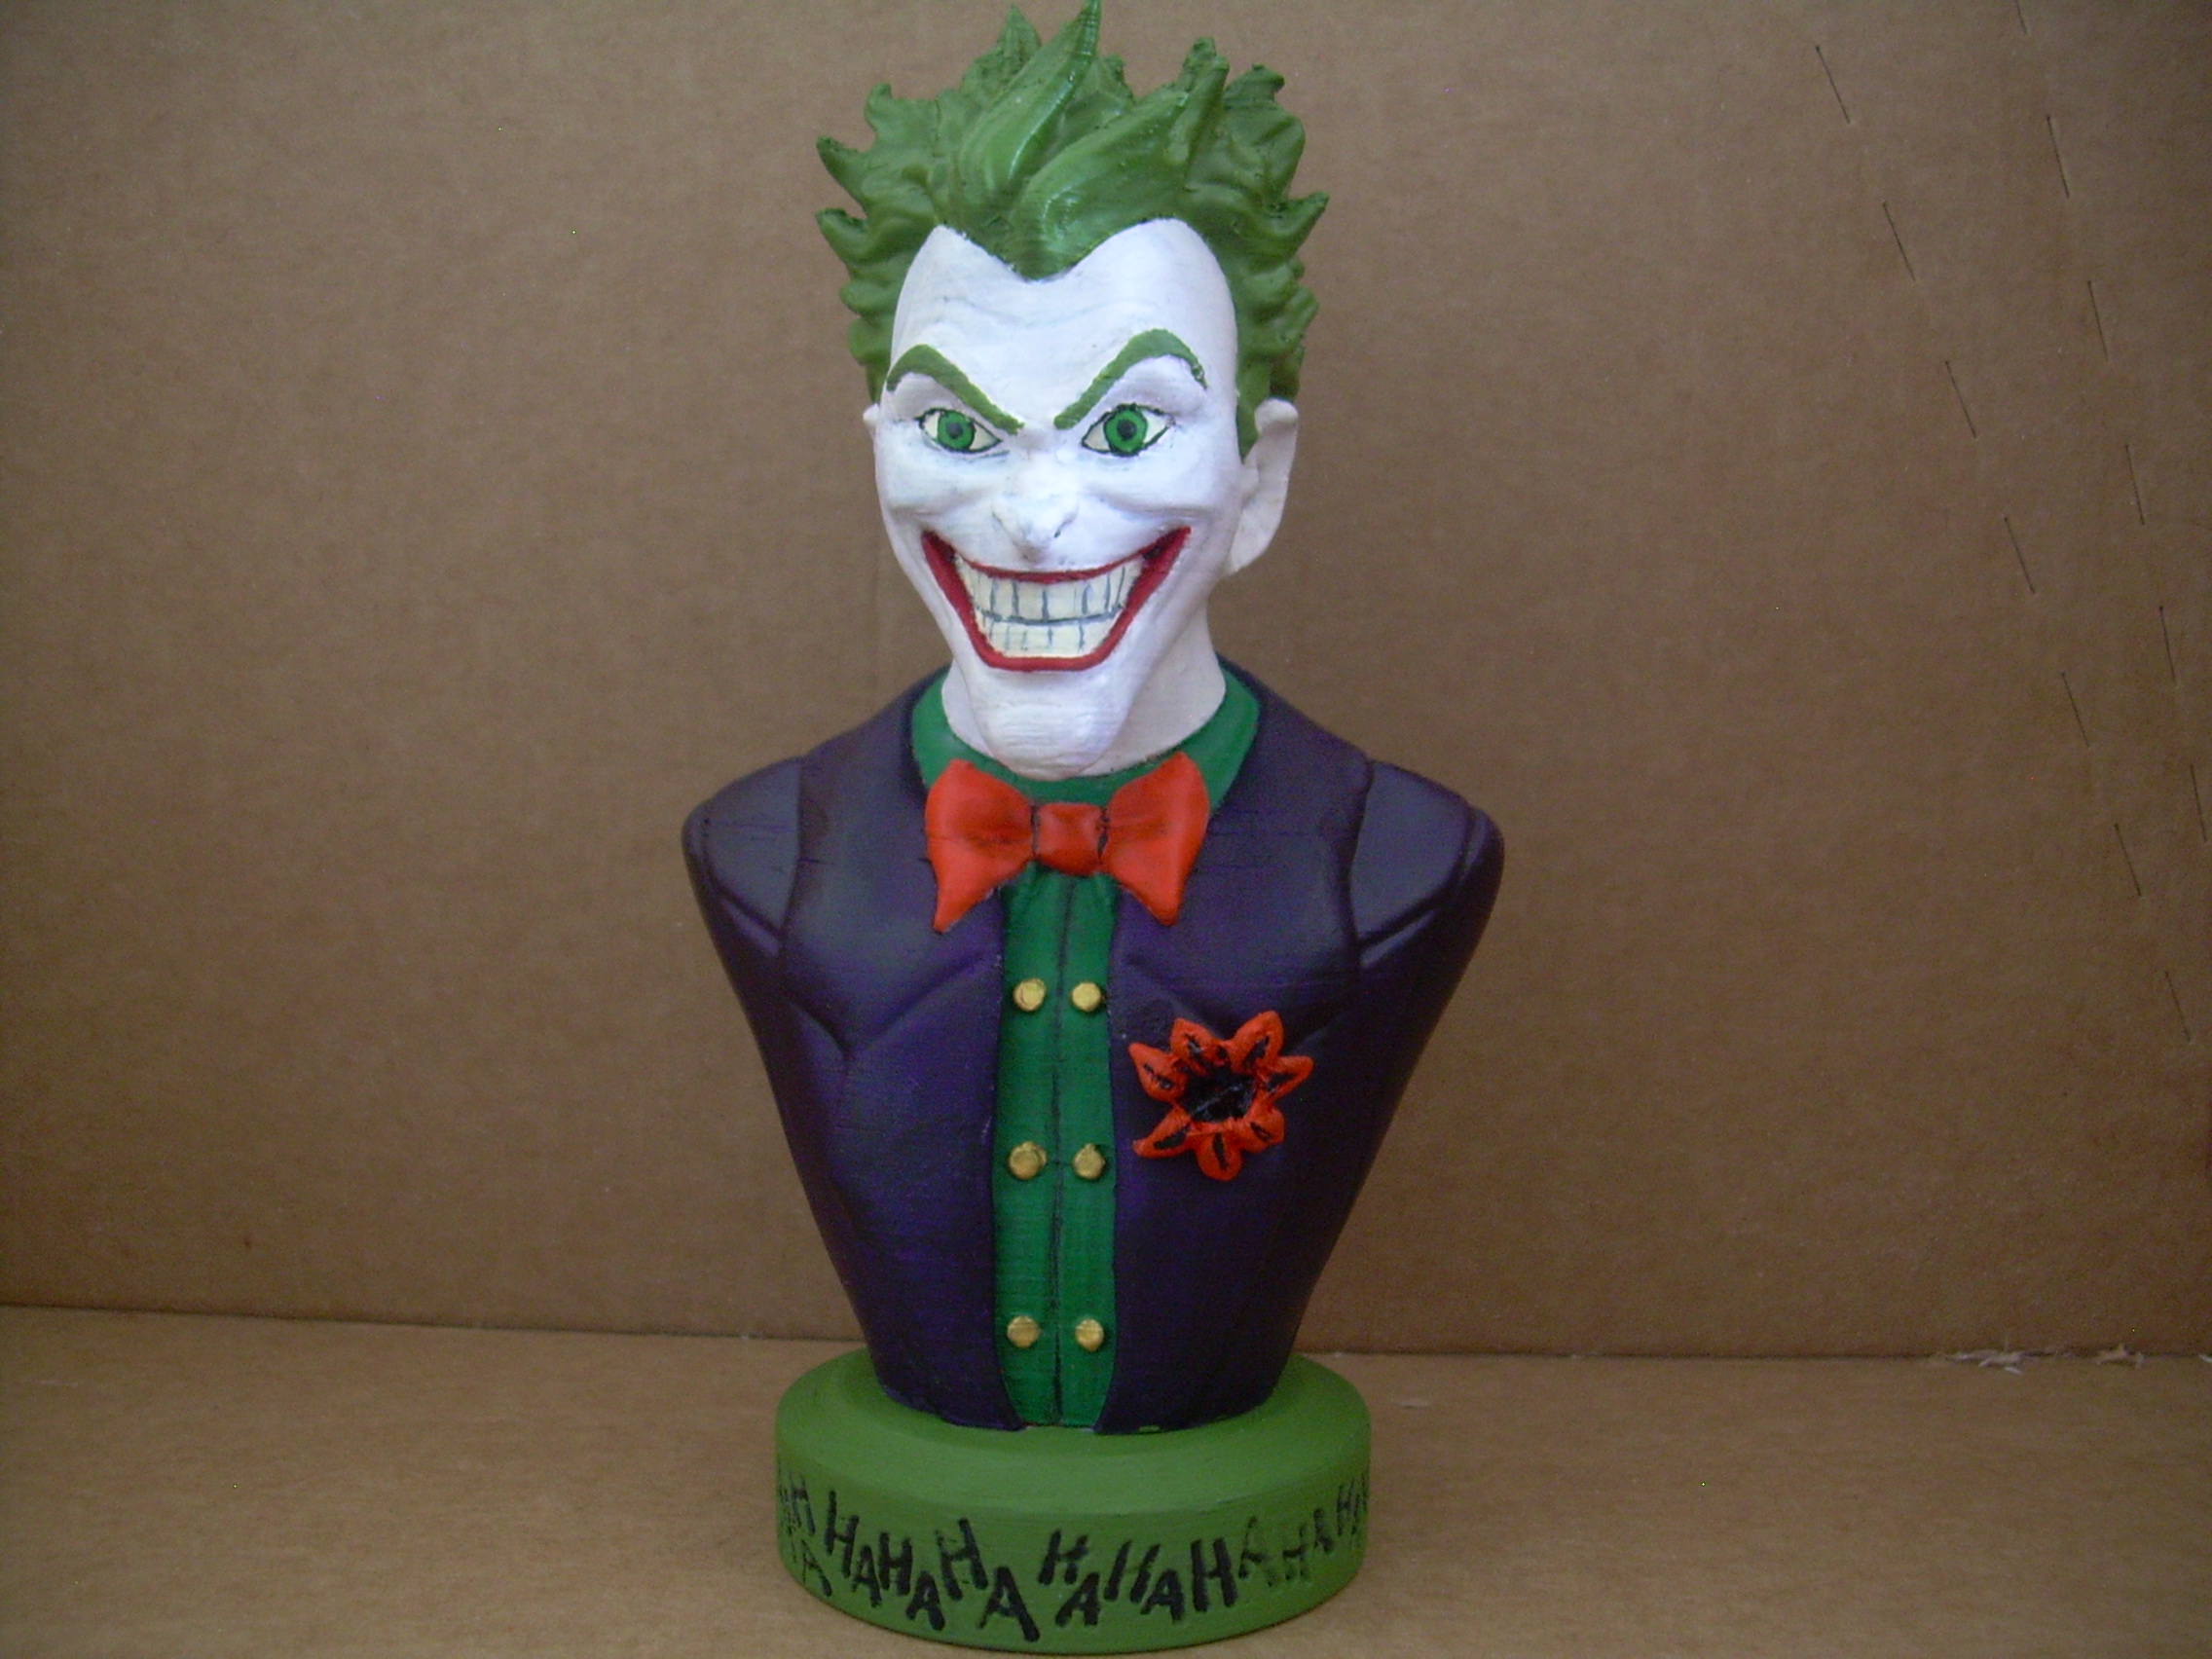
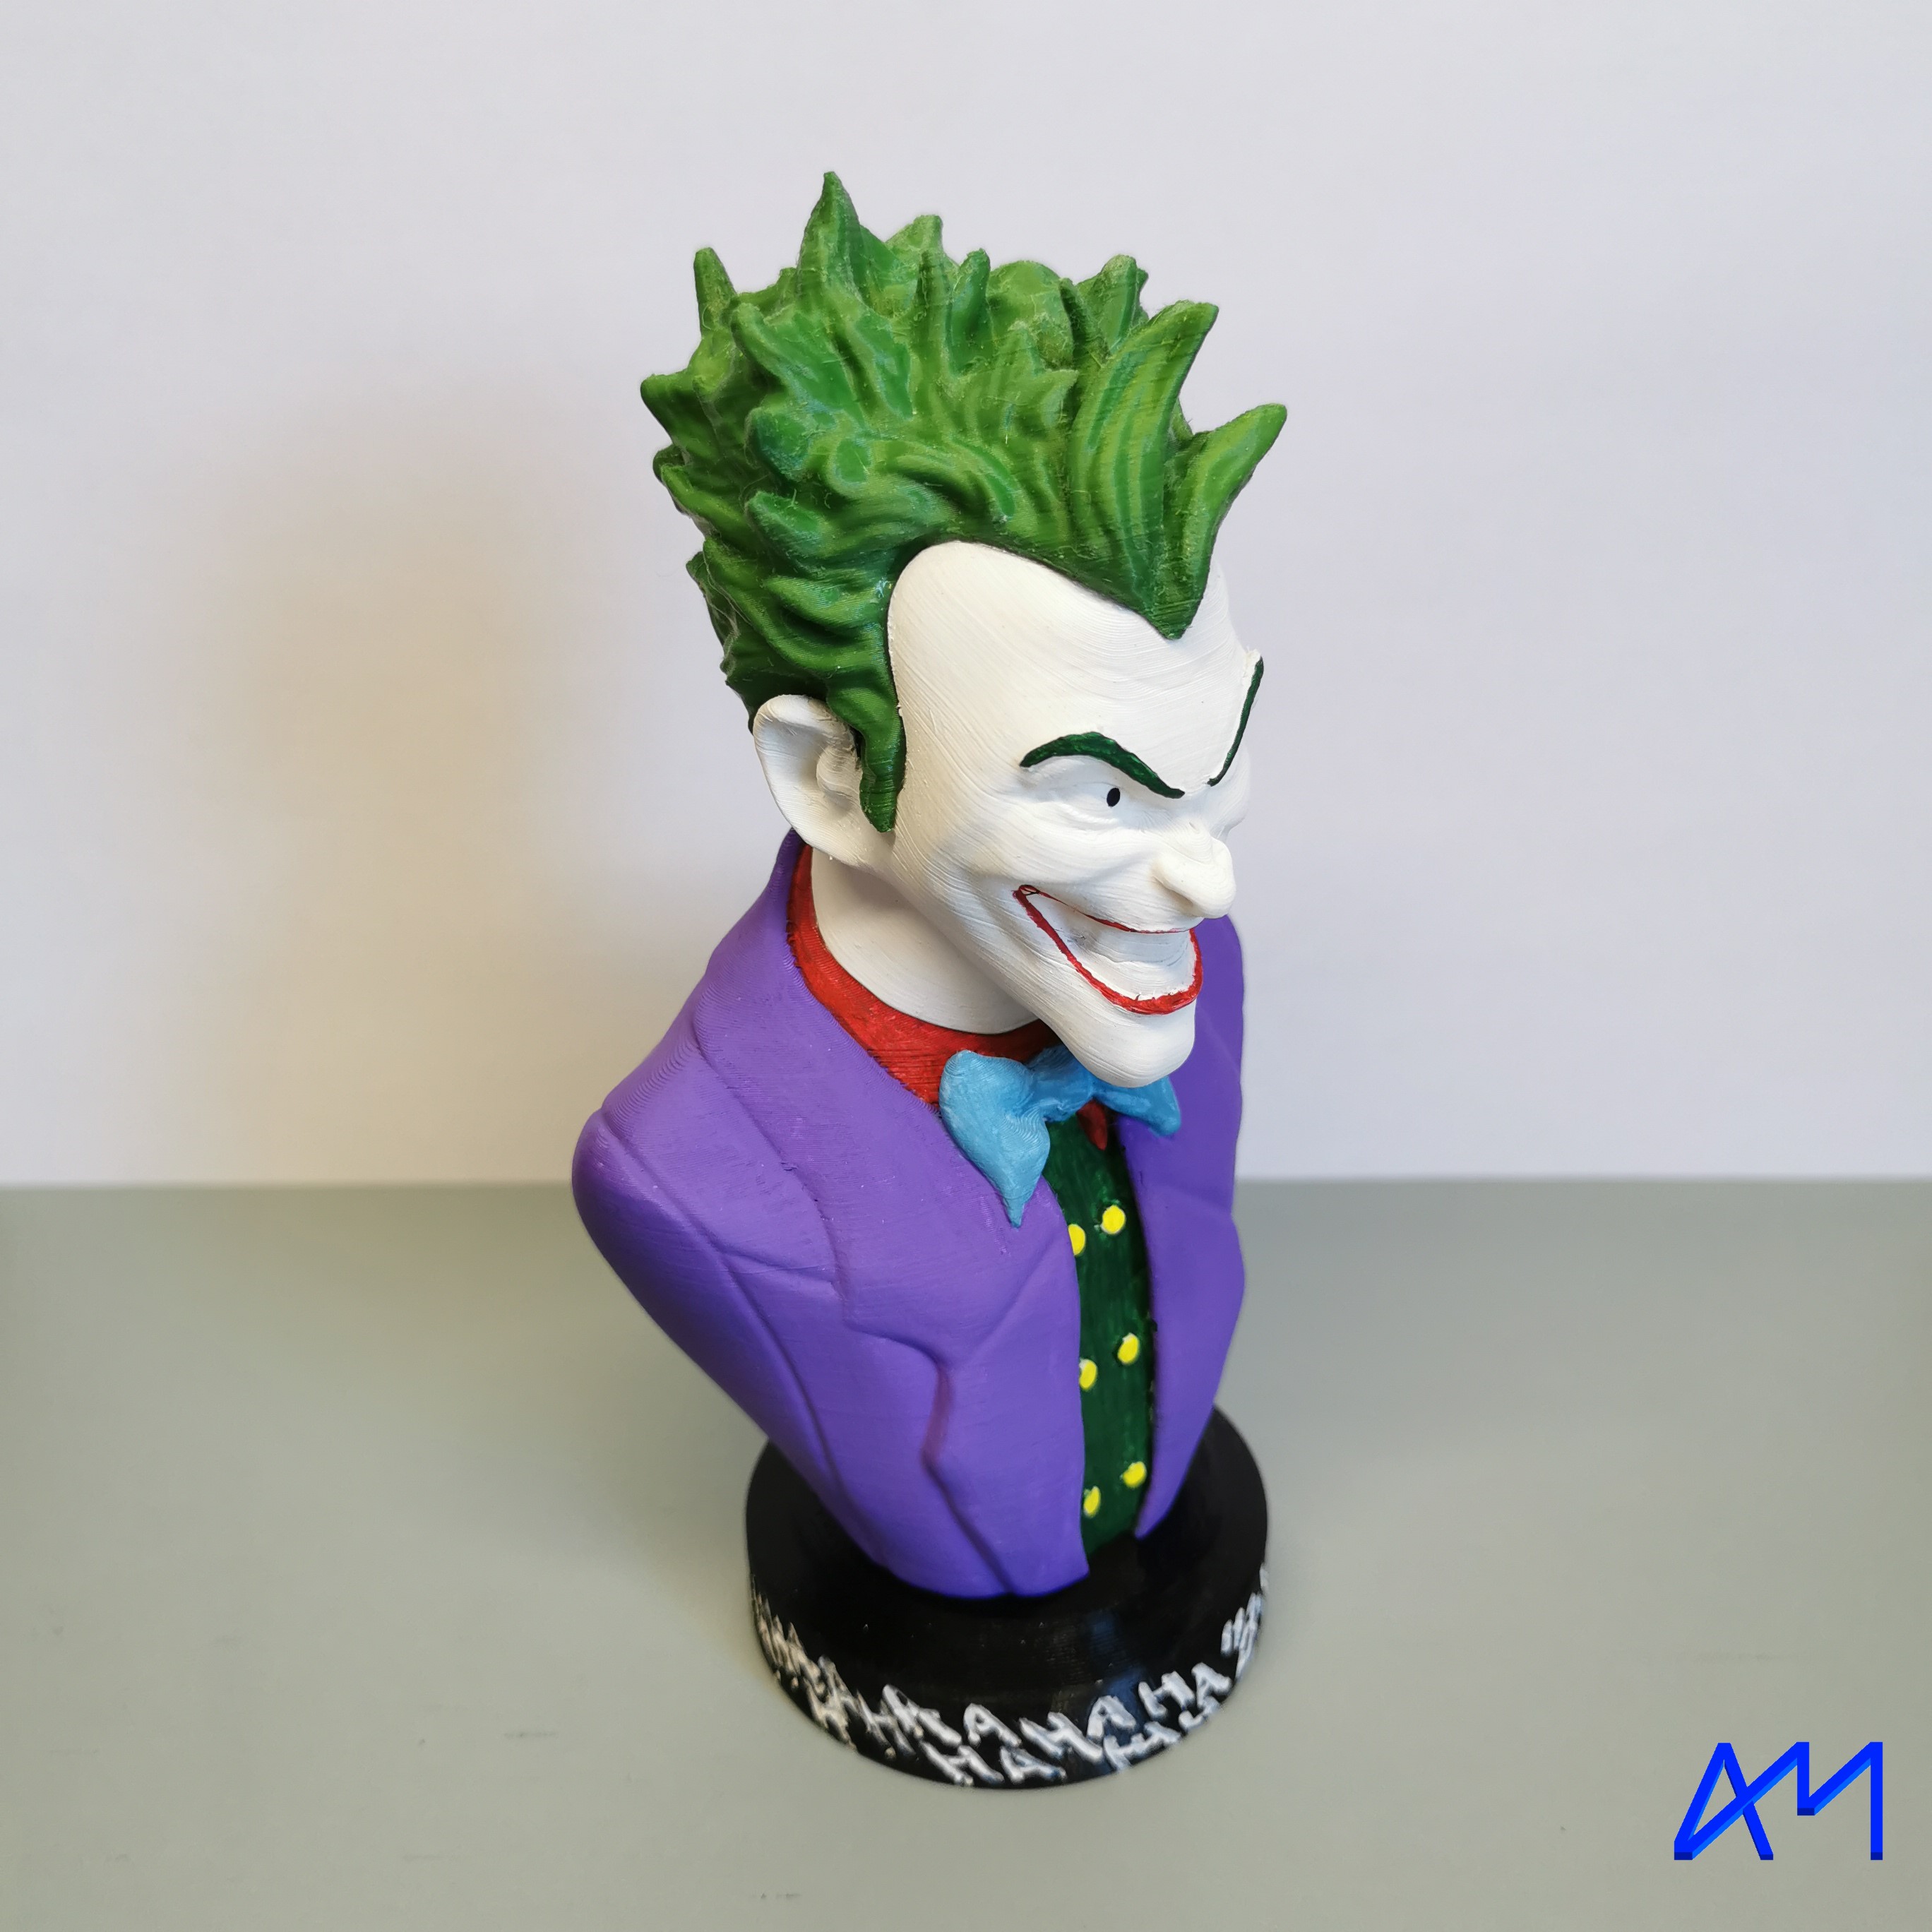
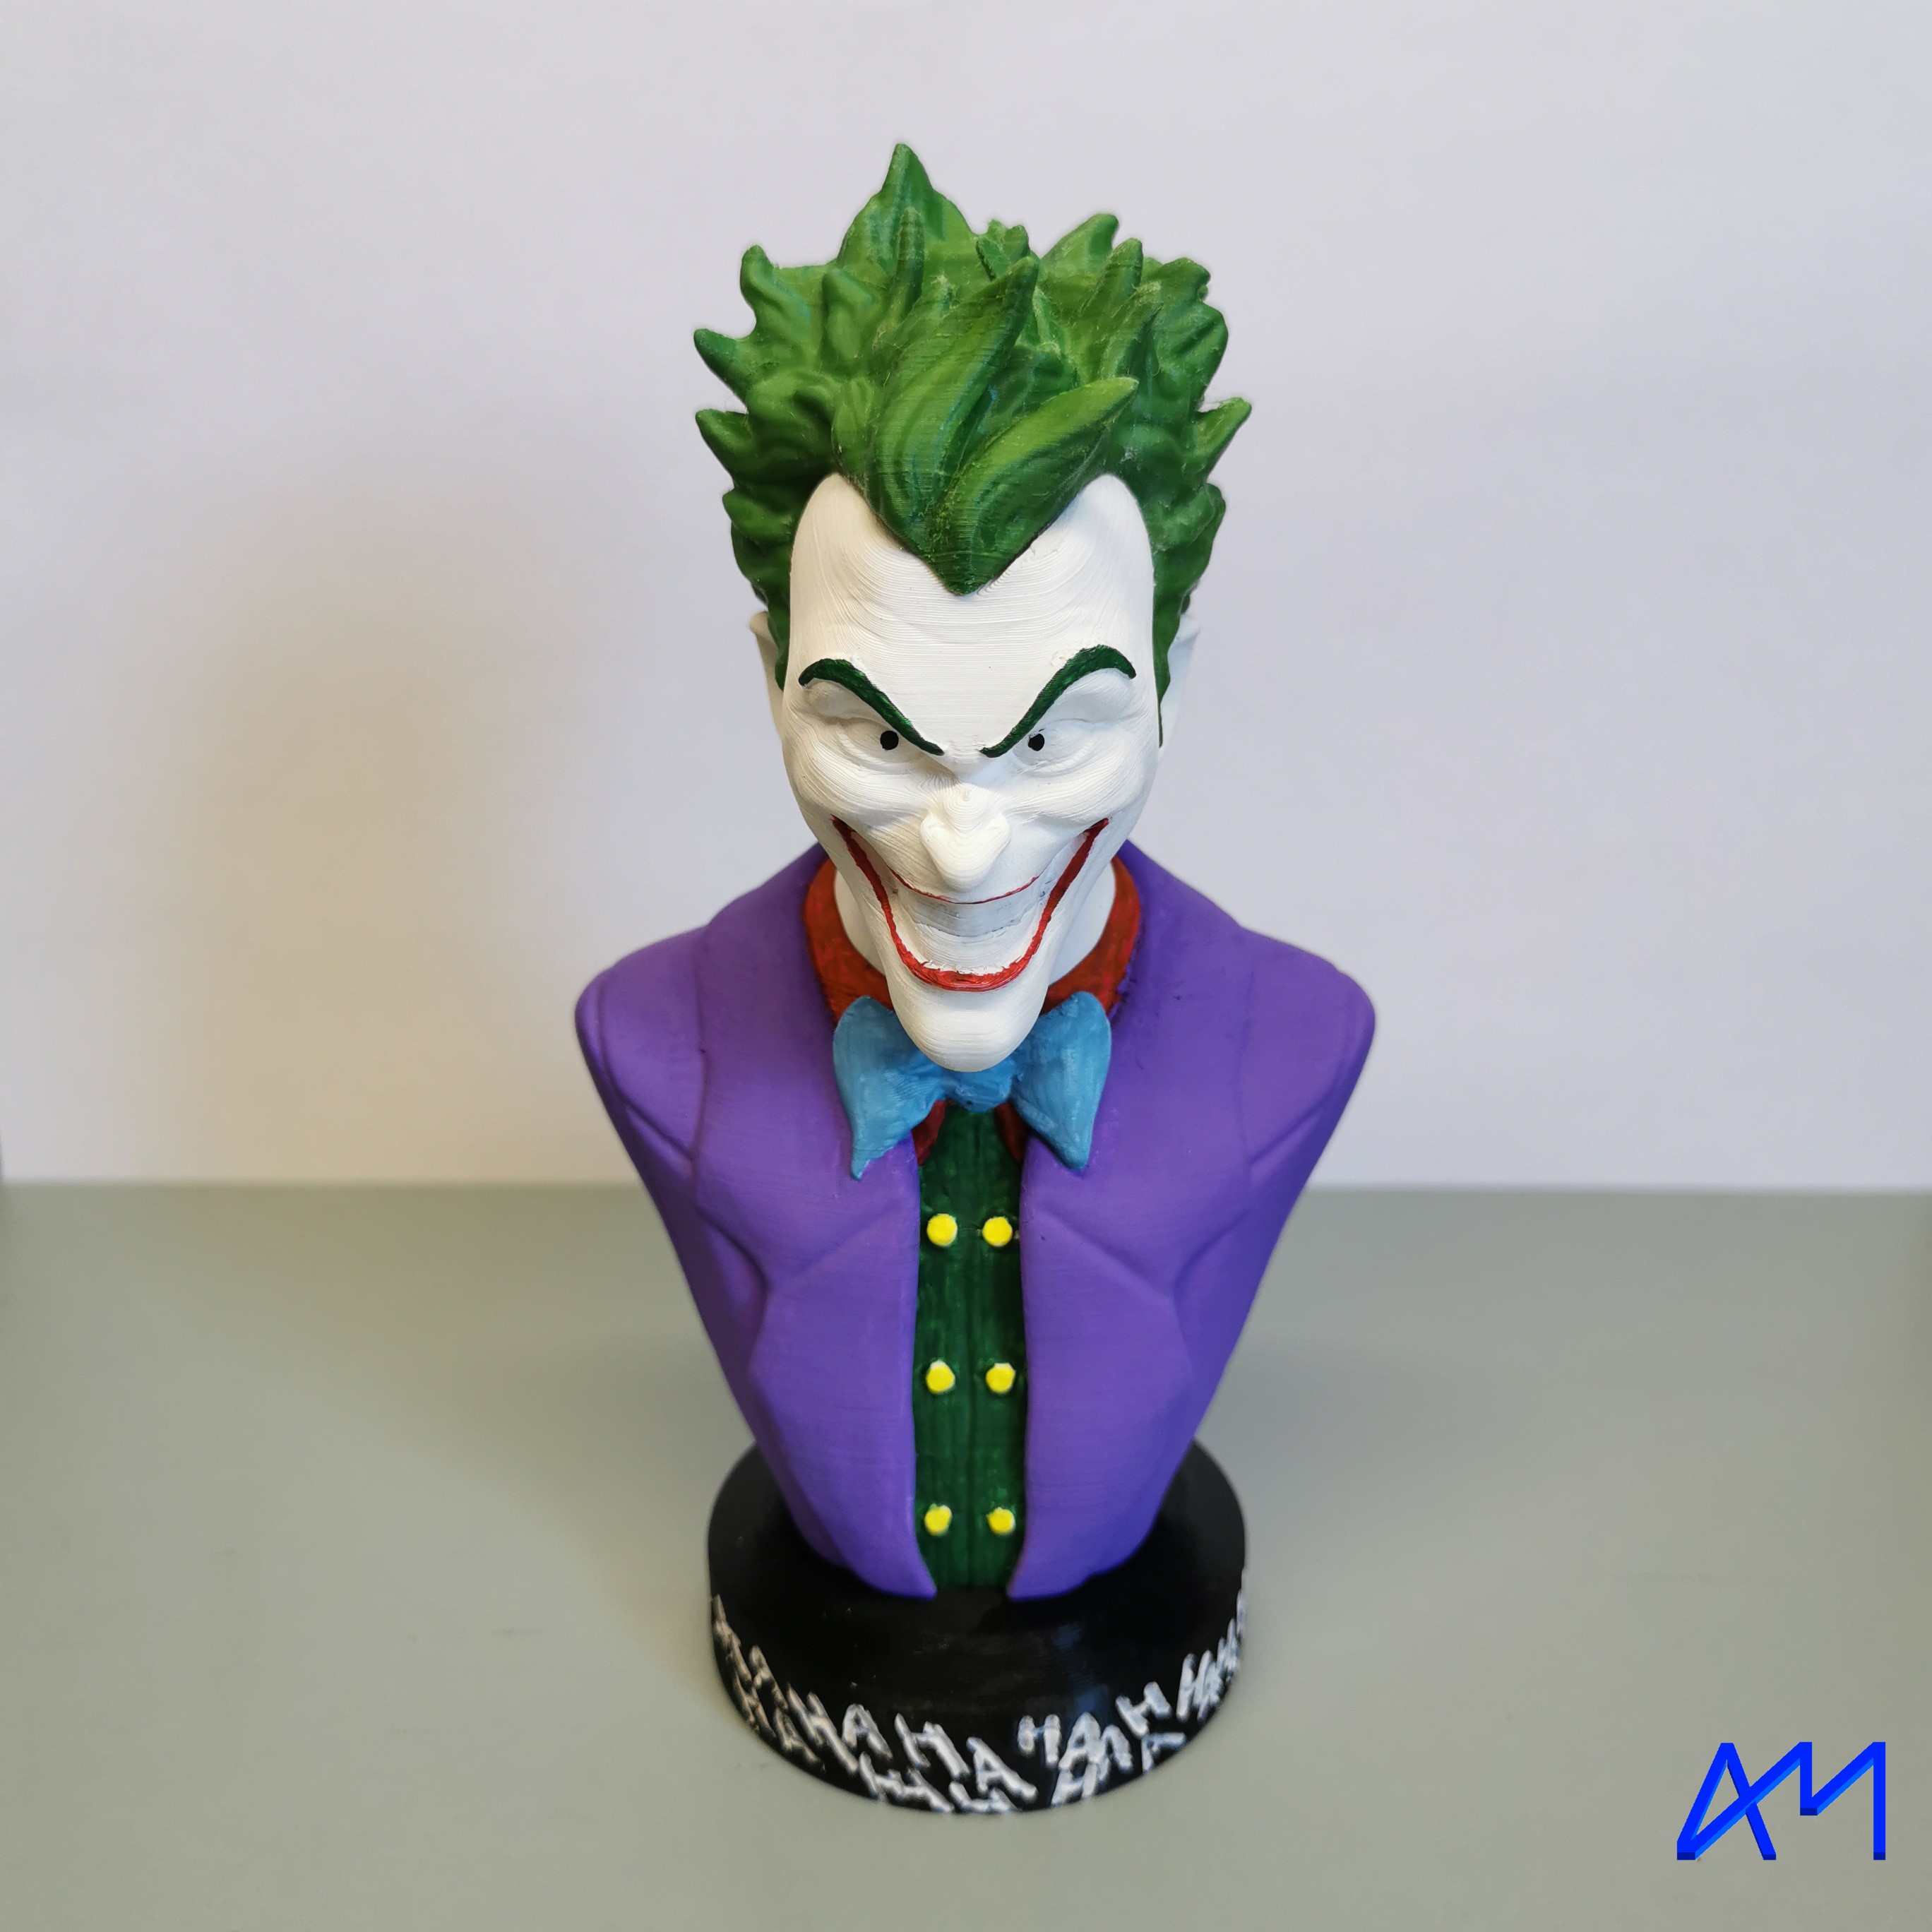
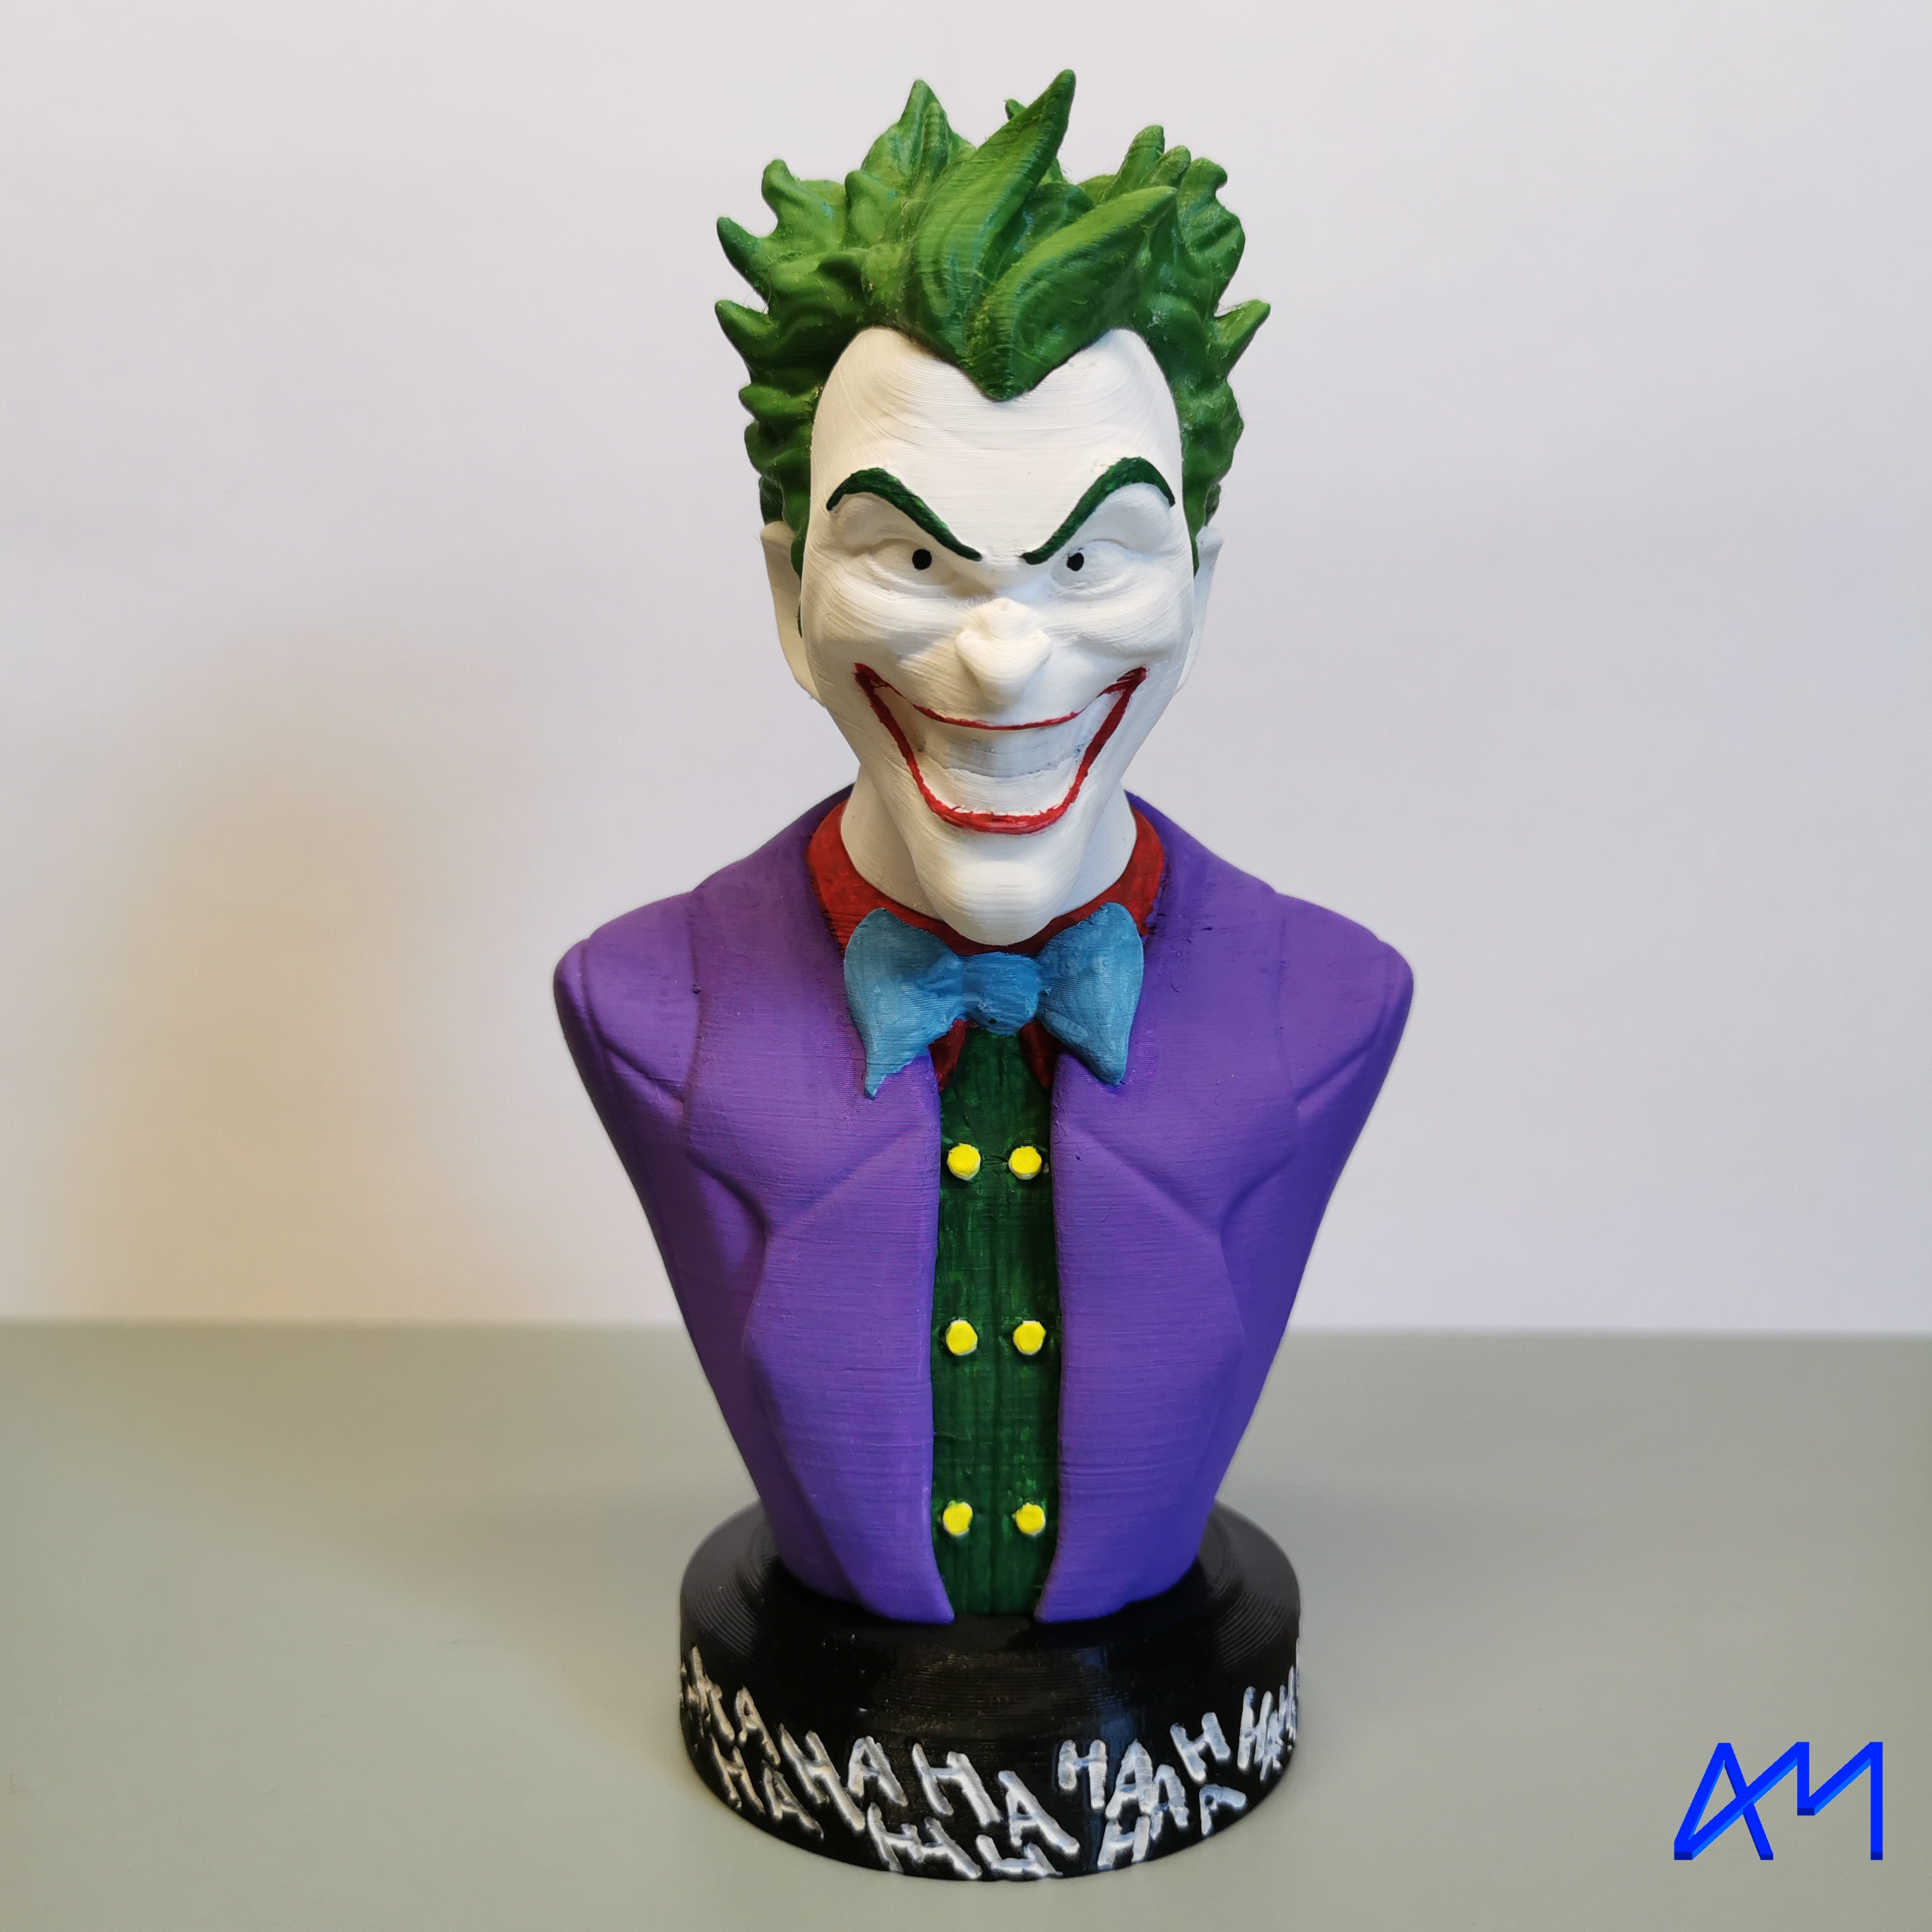
Joker bust
Published 2018-12-18T10:10:02+00:00


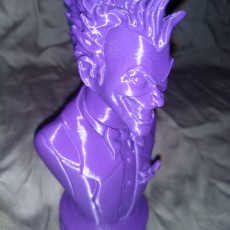
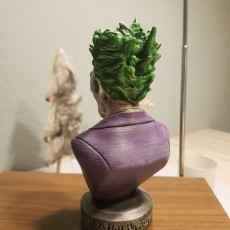
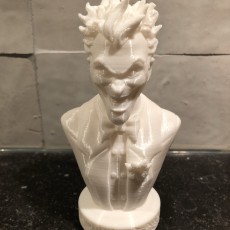
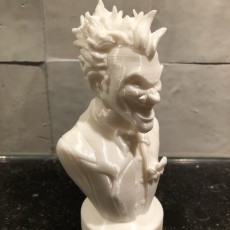
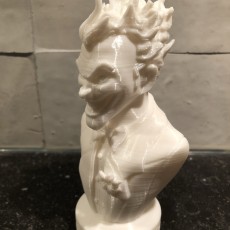
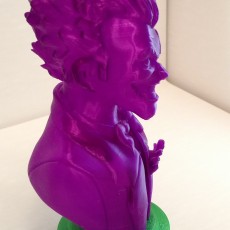
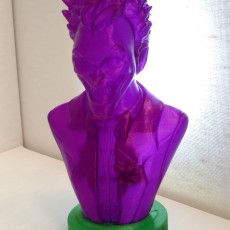
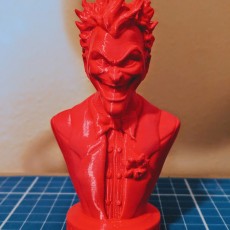
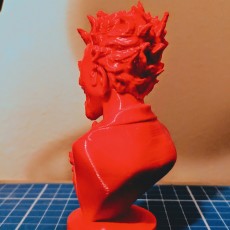
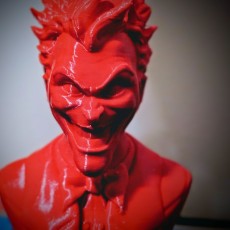
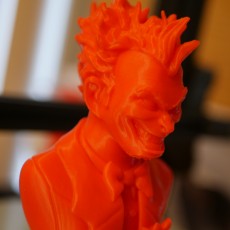
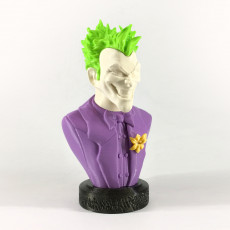
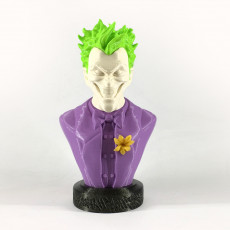
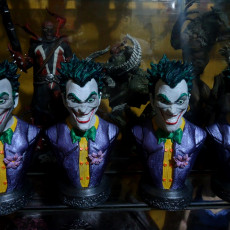
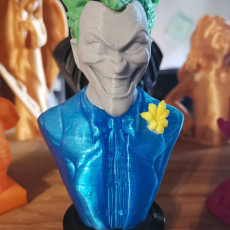
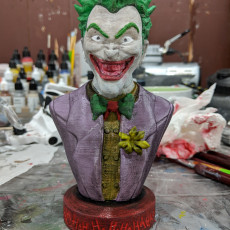

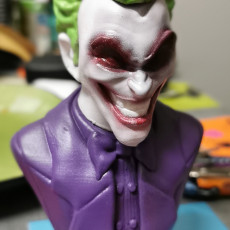
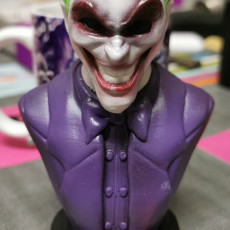

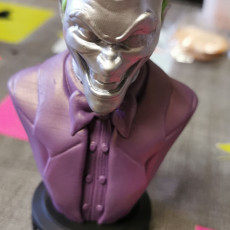


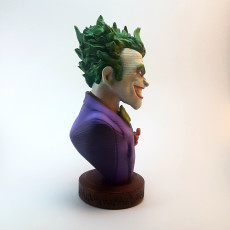


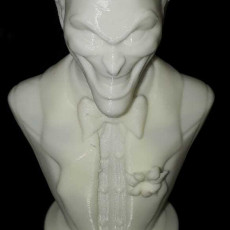

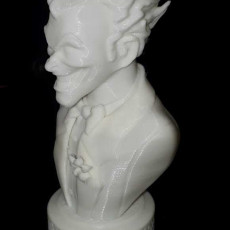


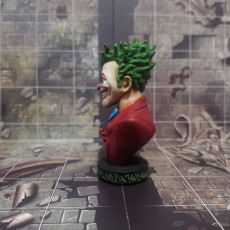

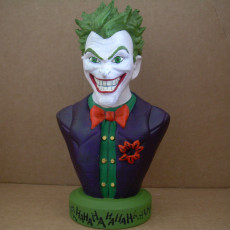
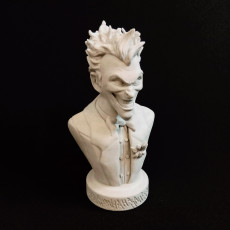

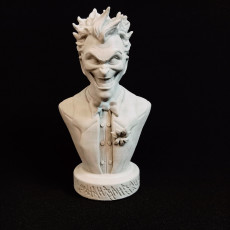
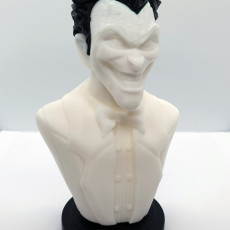

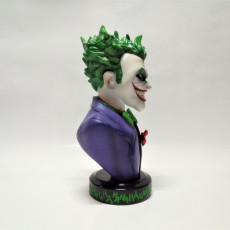
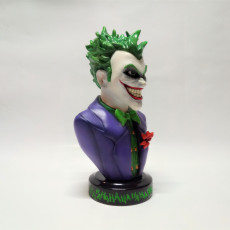
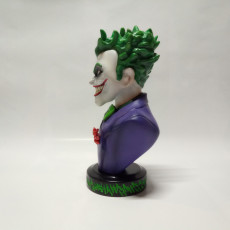


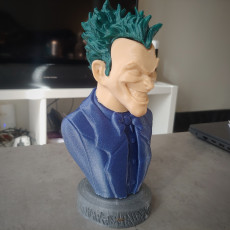

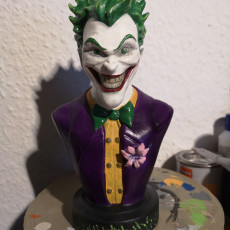
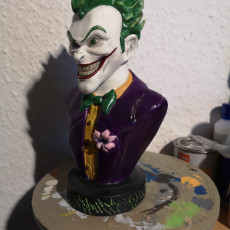

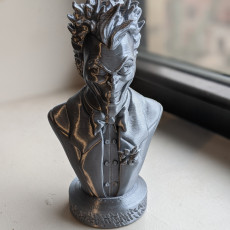

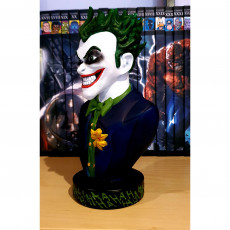


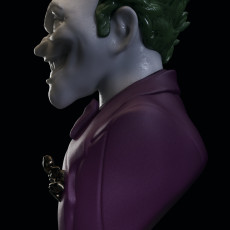
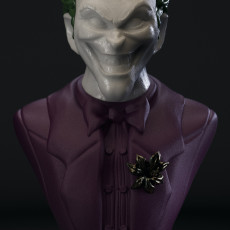
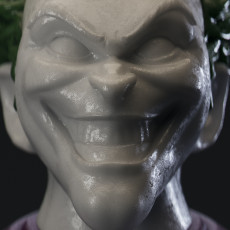


Joker bust
Published 2018-12-18T10:10:02+00:00
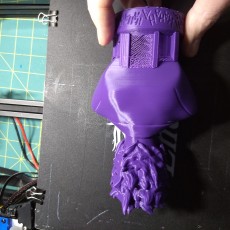
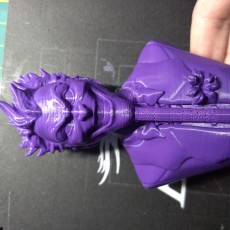
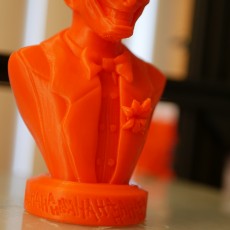
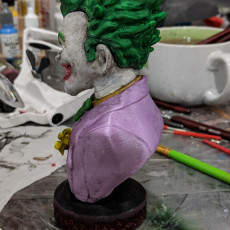
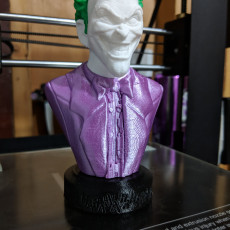
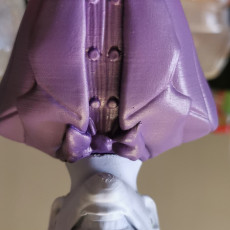
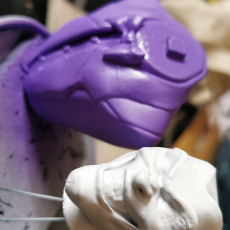
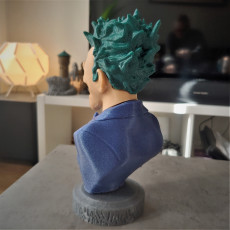
Model is now available in parts thanks to Kaspars Butlers
Check out my other stuff here!
Timelapse of this model is HERE.
I do some cool videos on my youtube channel and some special models for my Patreon page.
What's up with you, how's life?
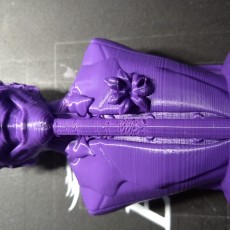
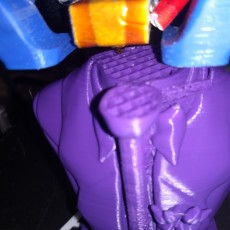
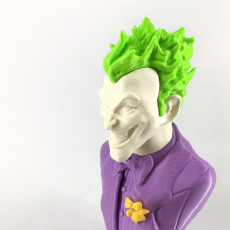
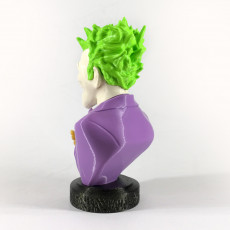
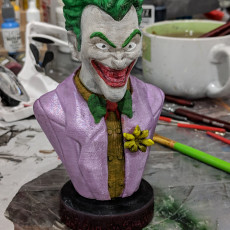
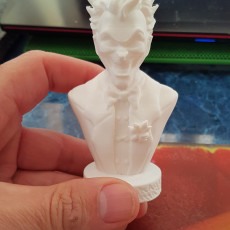
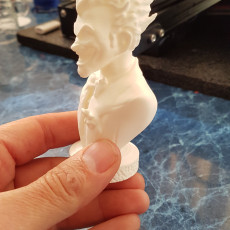
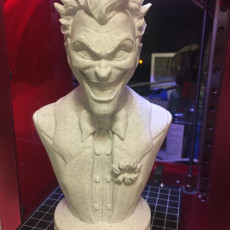
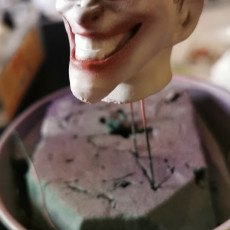
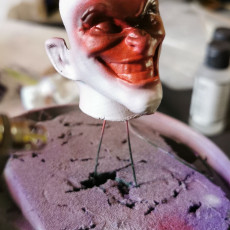
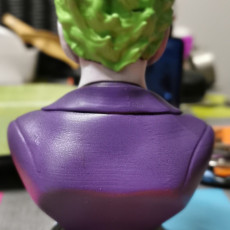
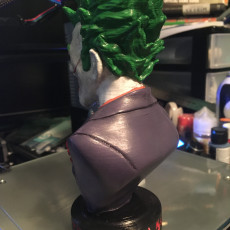
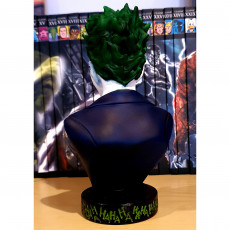
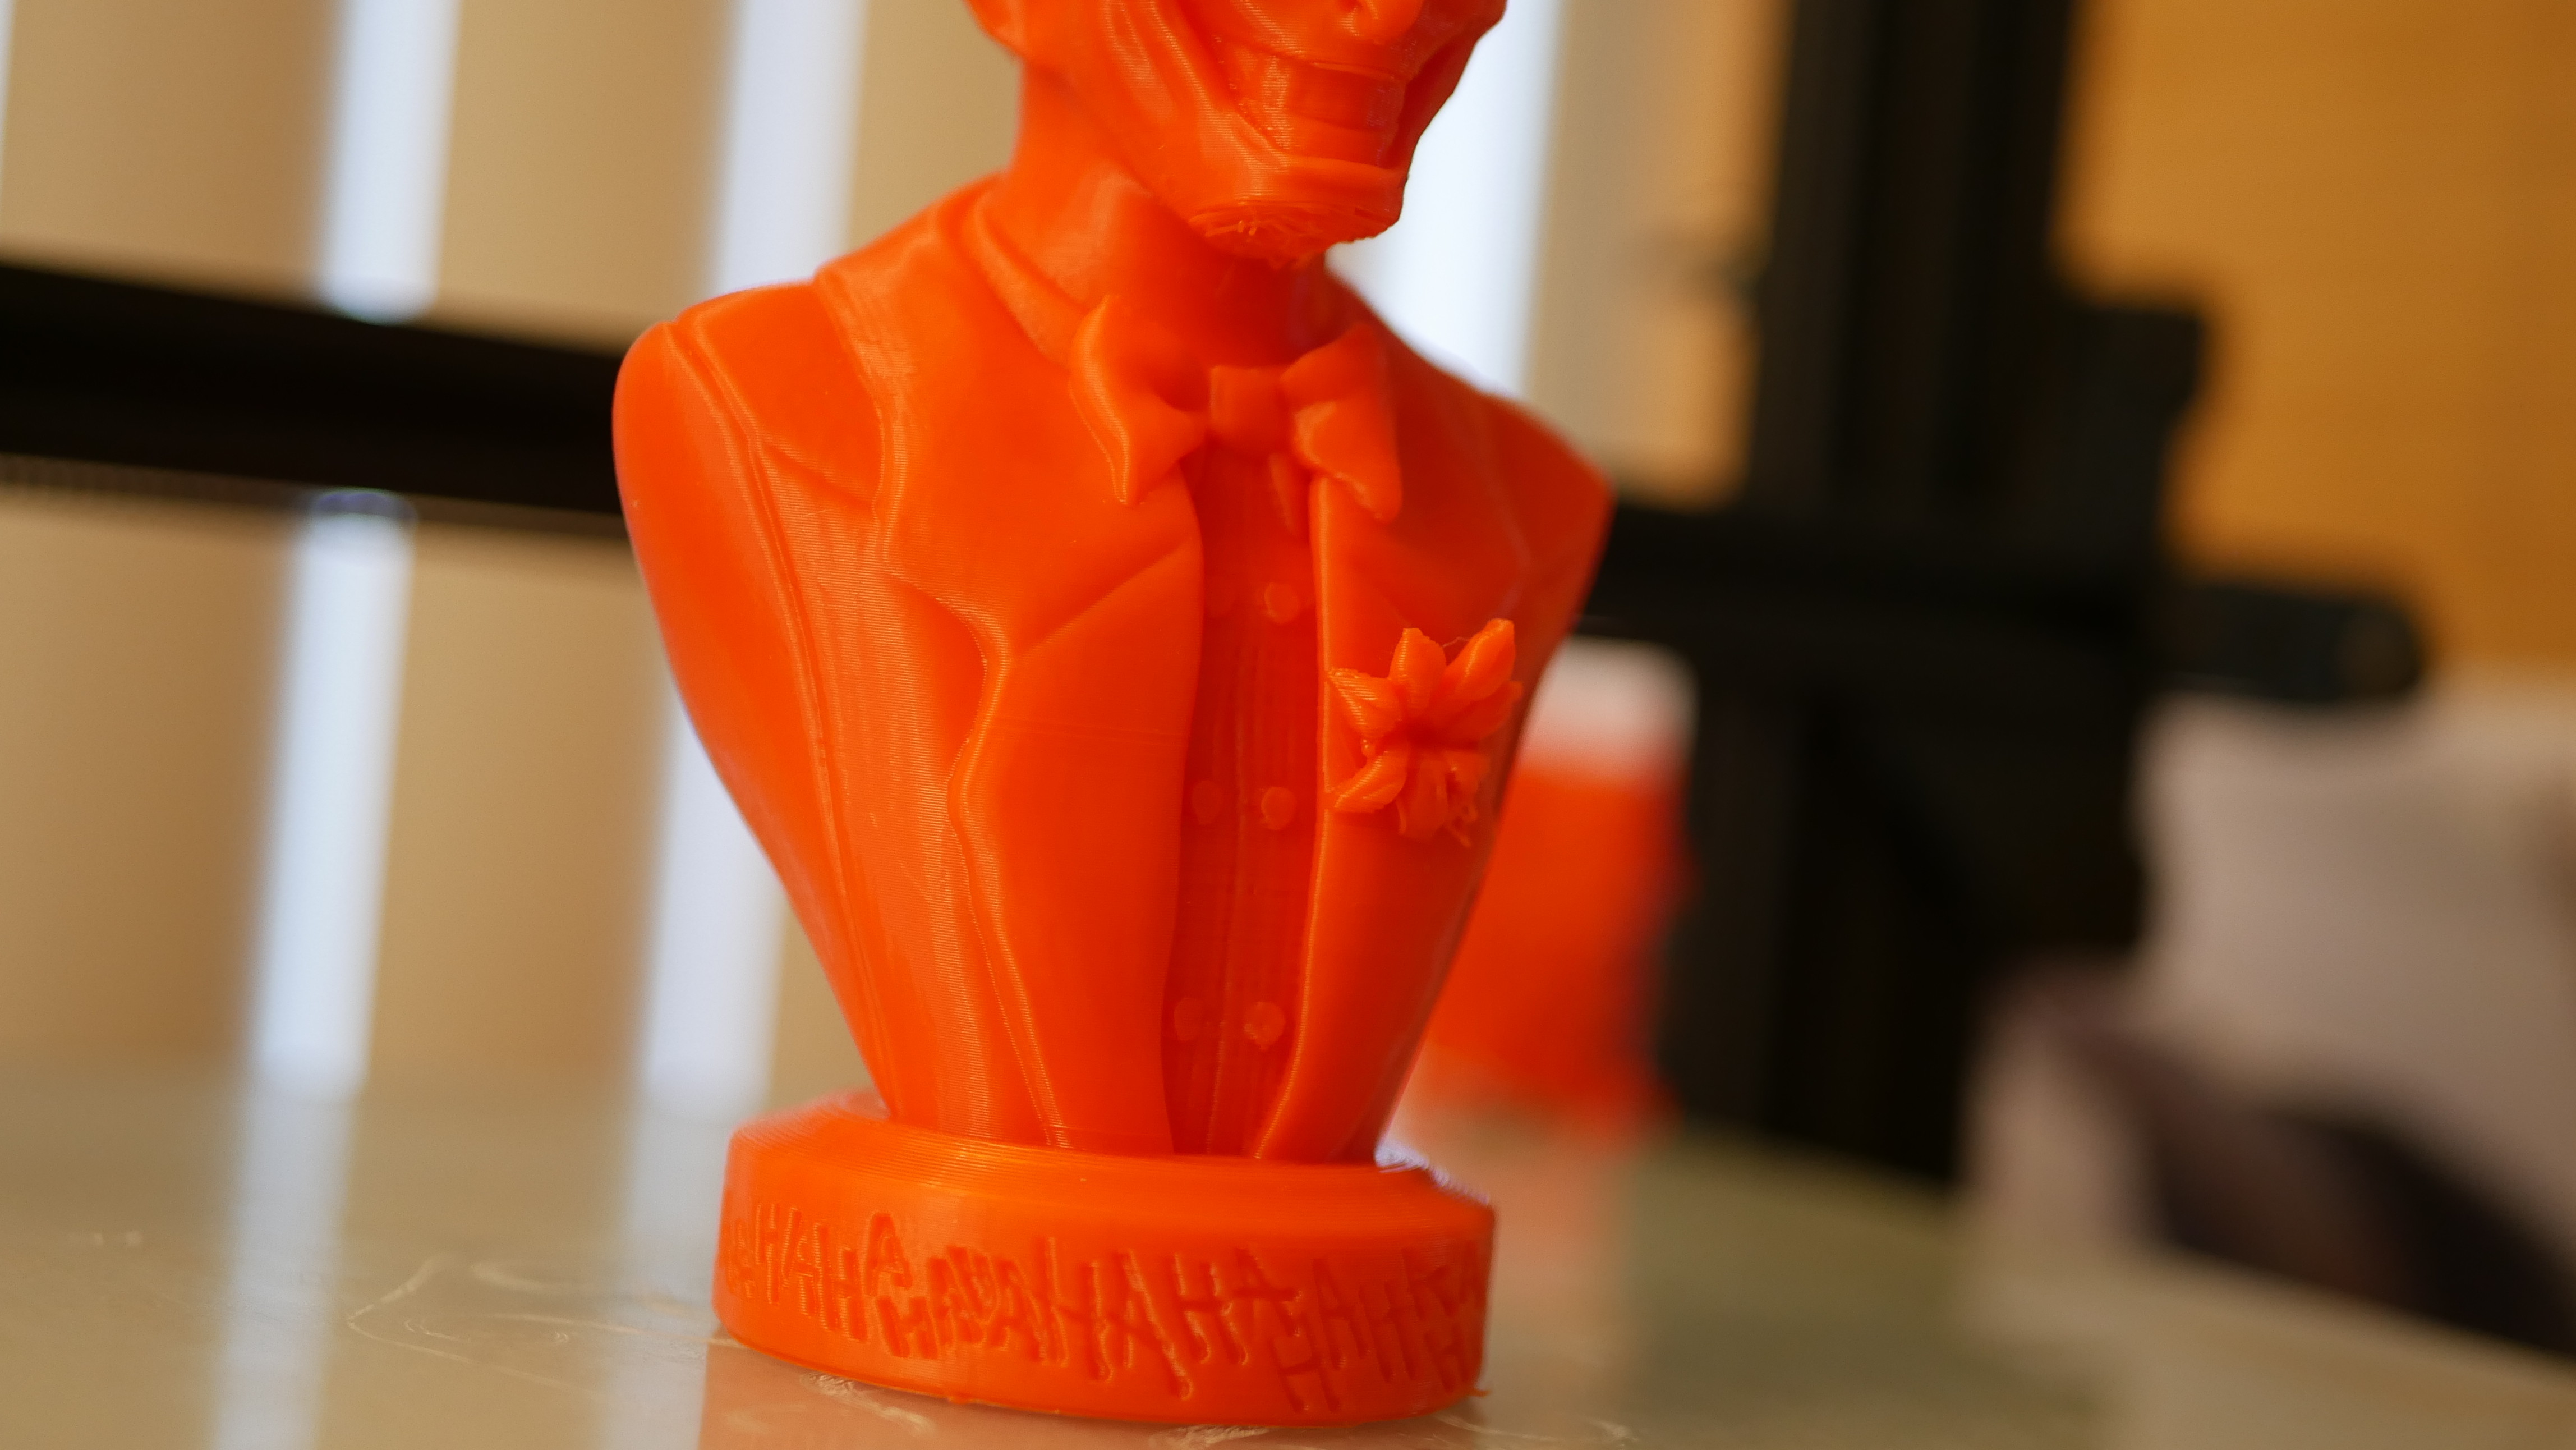
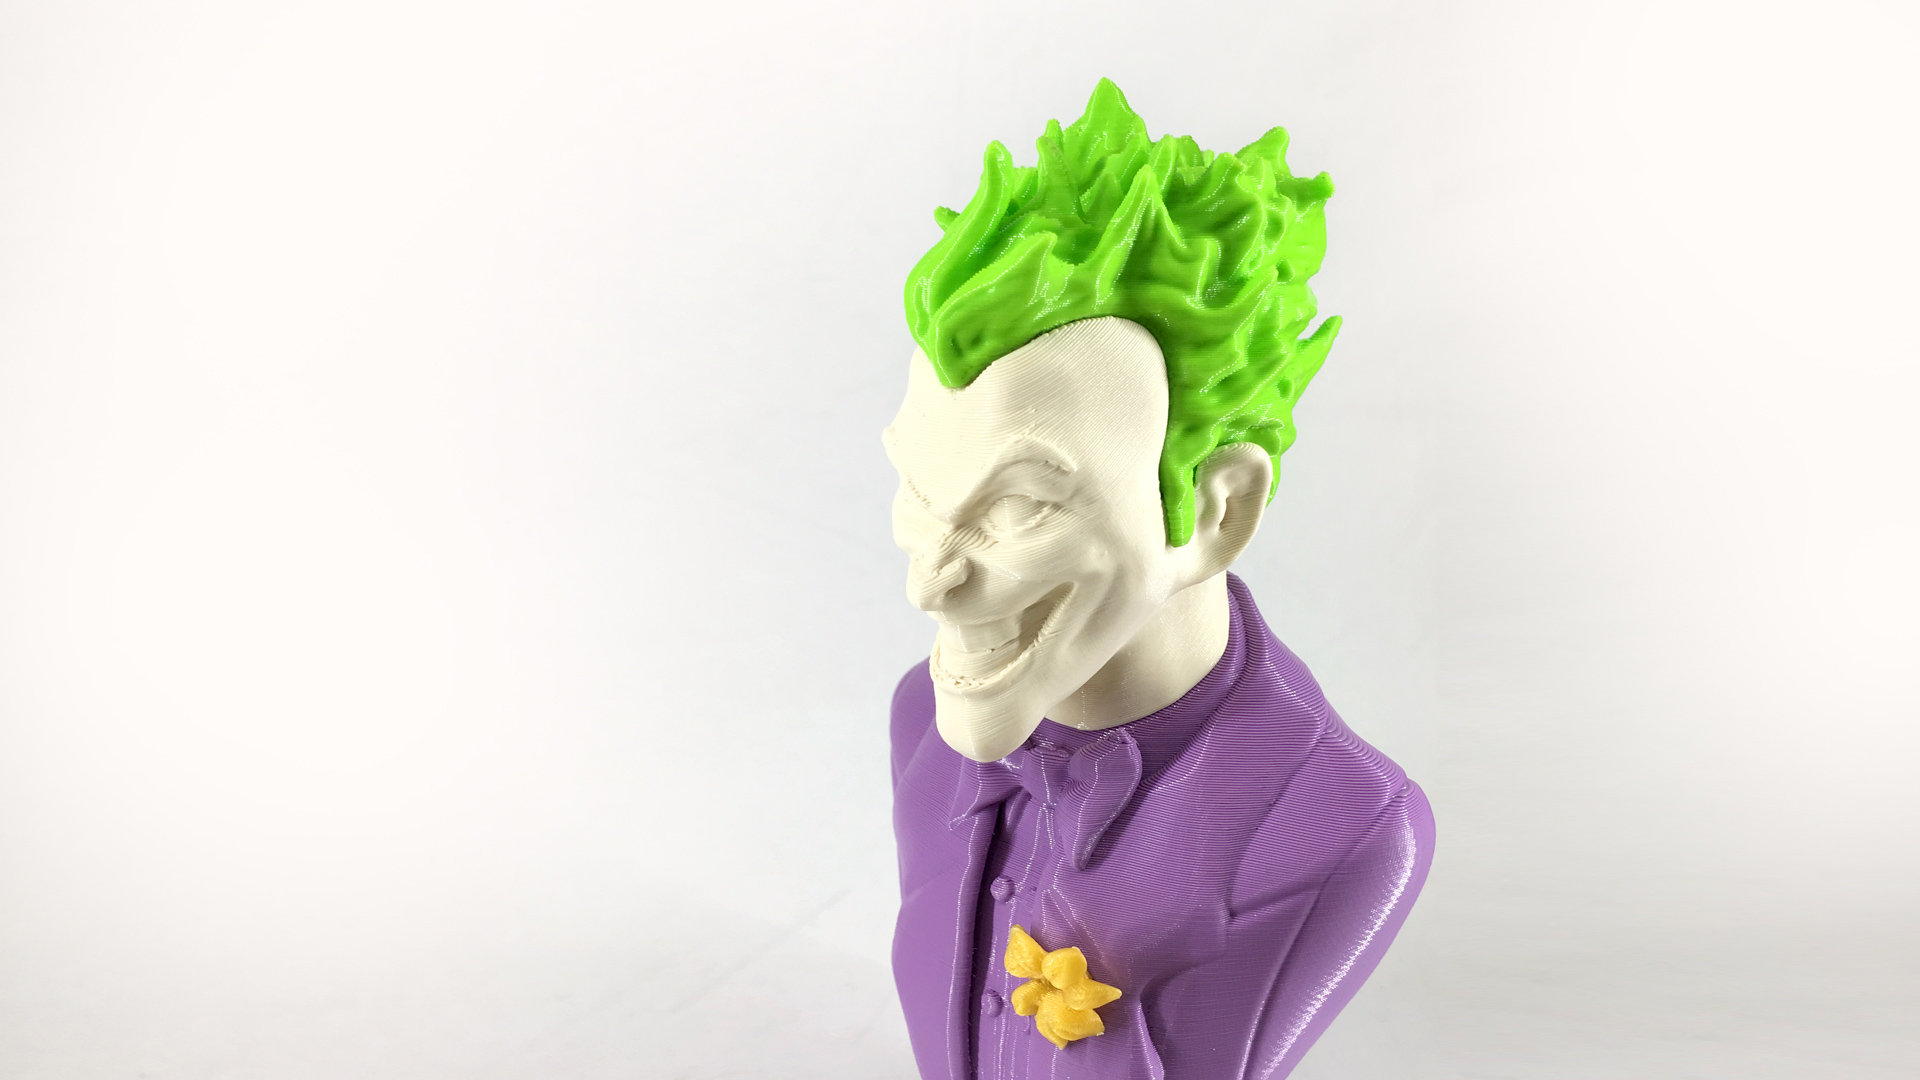
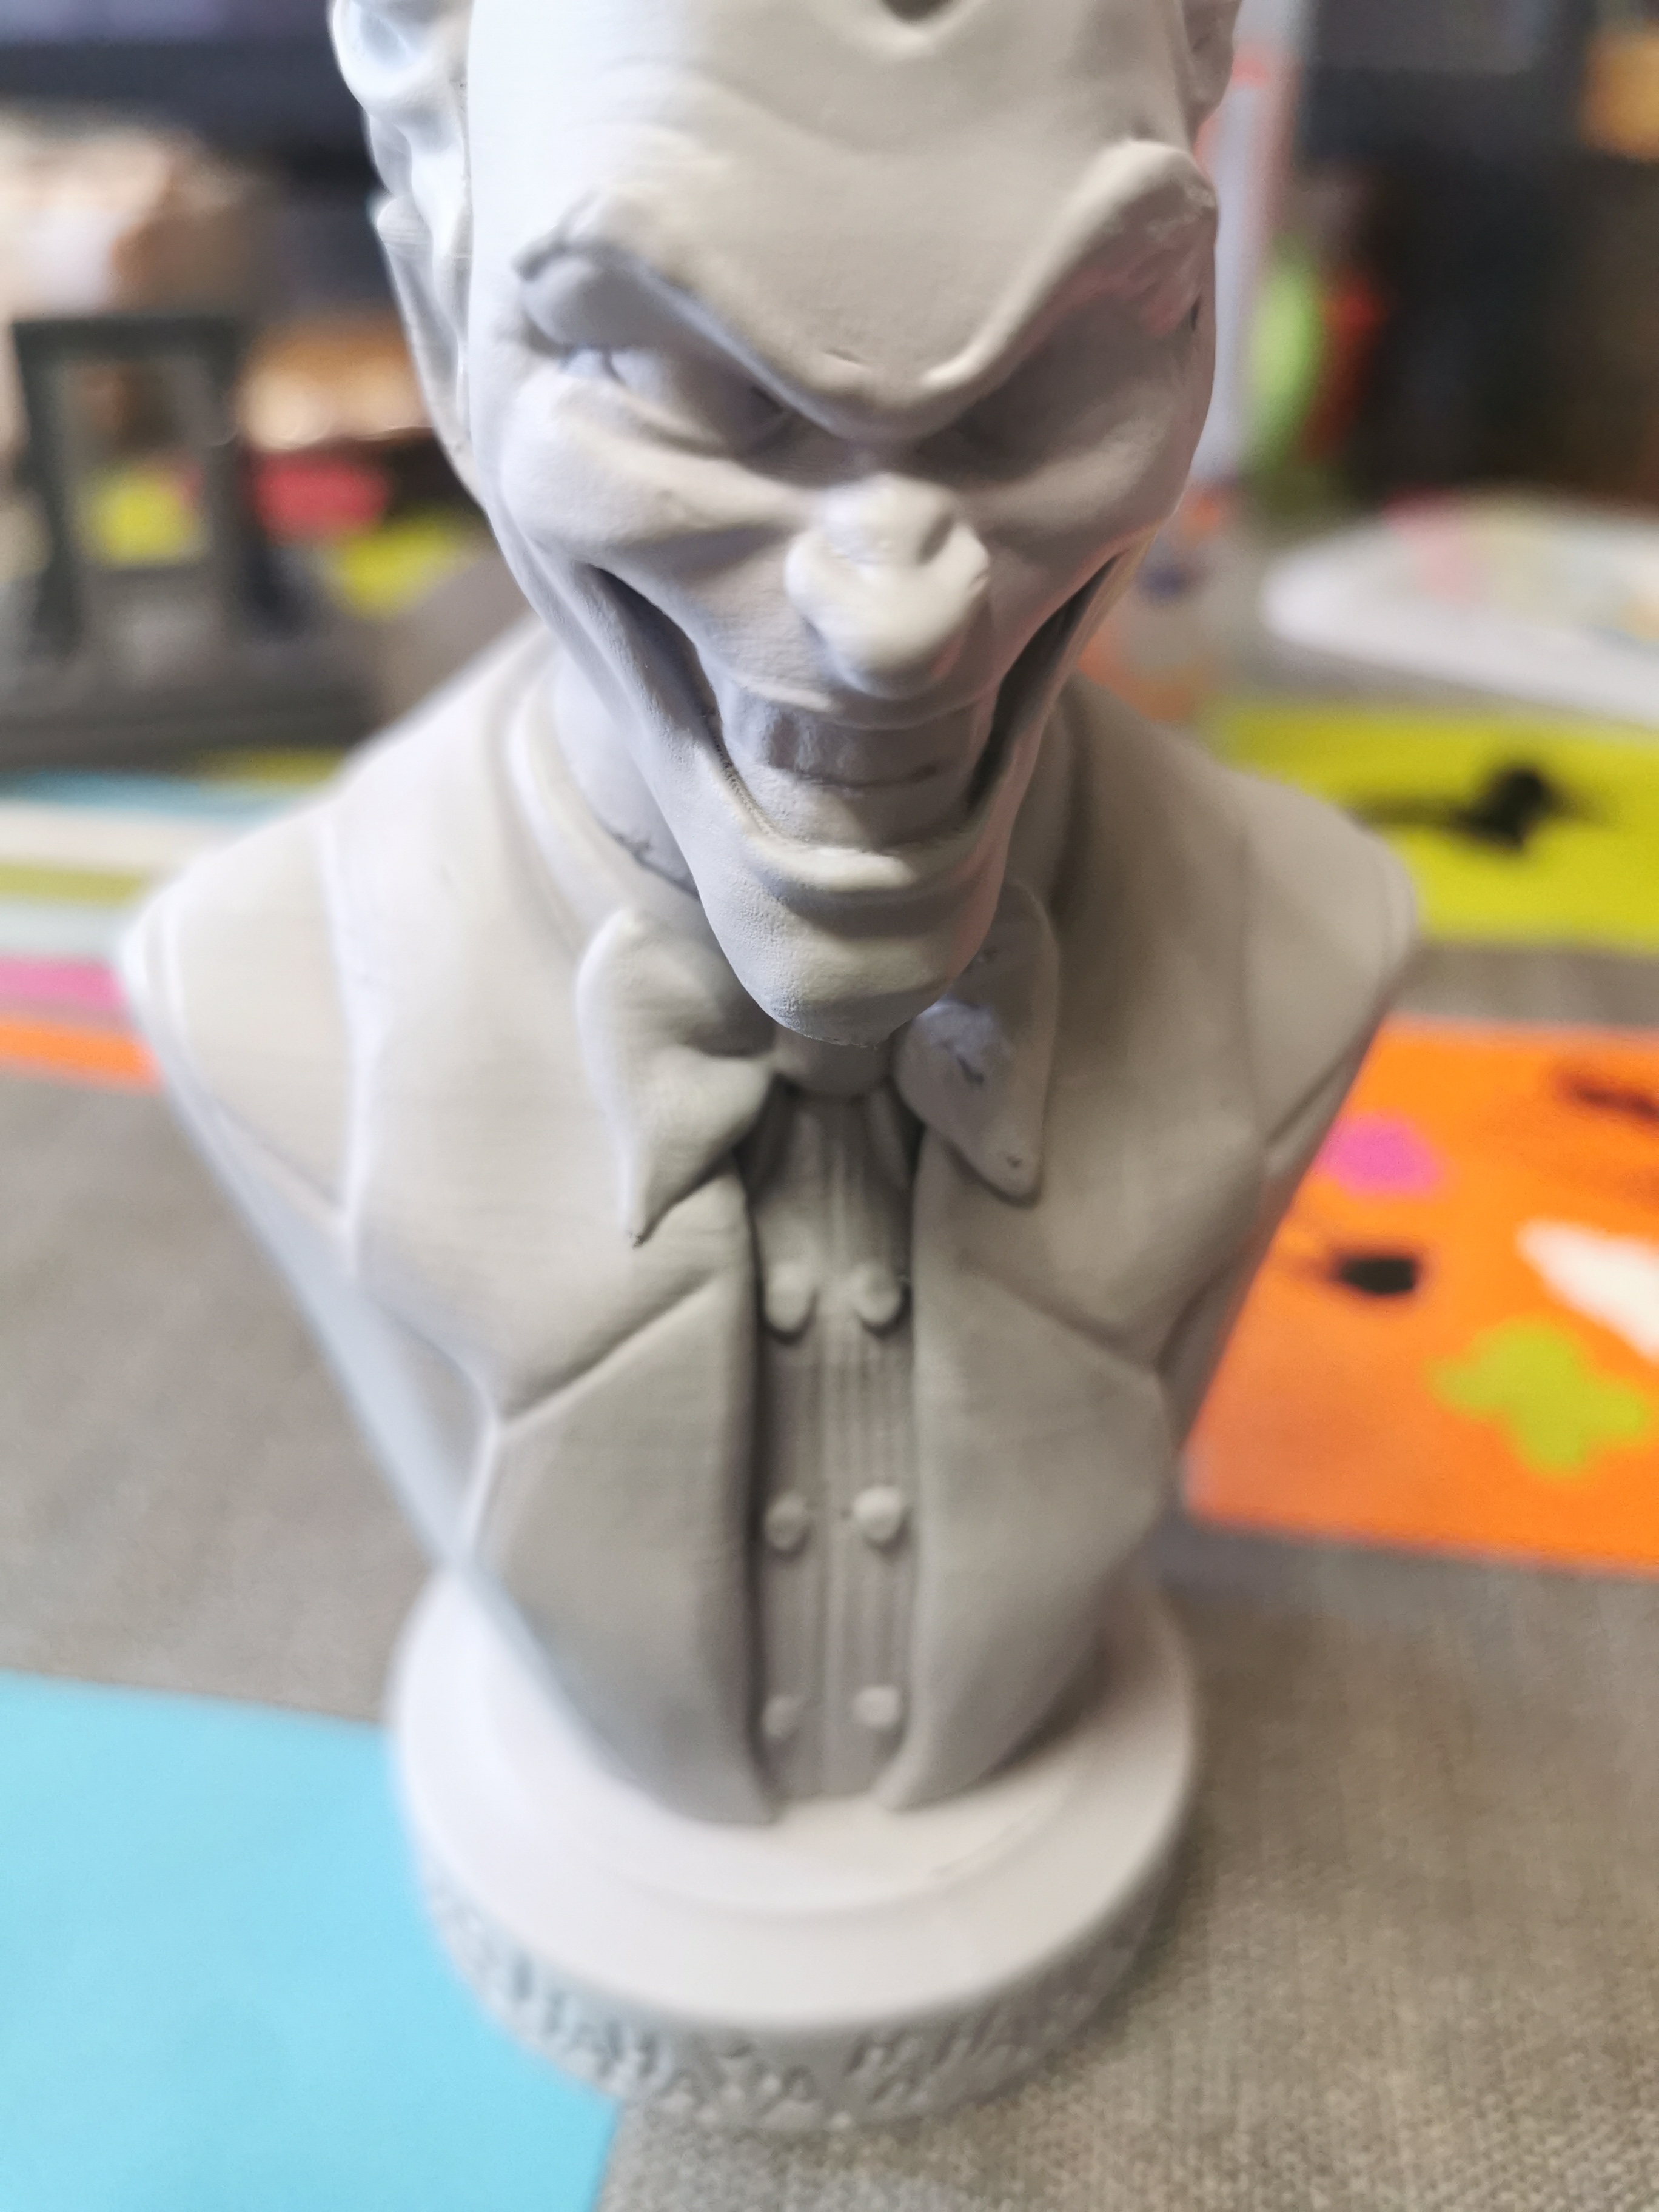
Btw this model needs a little bit of custom support under the chin.
Happy printing and send some pics! Yes, you!


| Date published | 18/12/2018 |


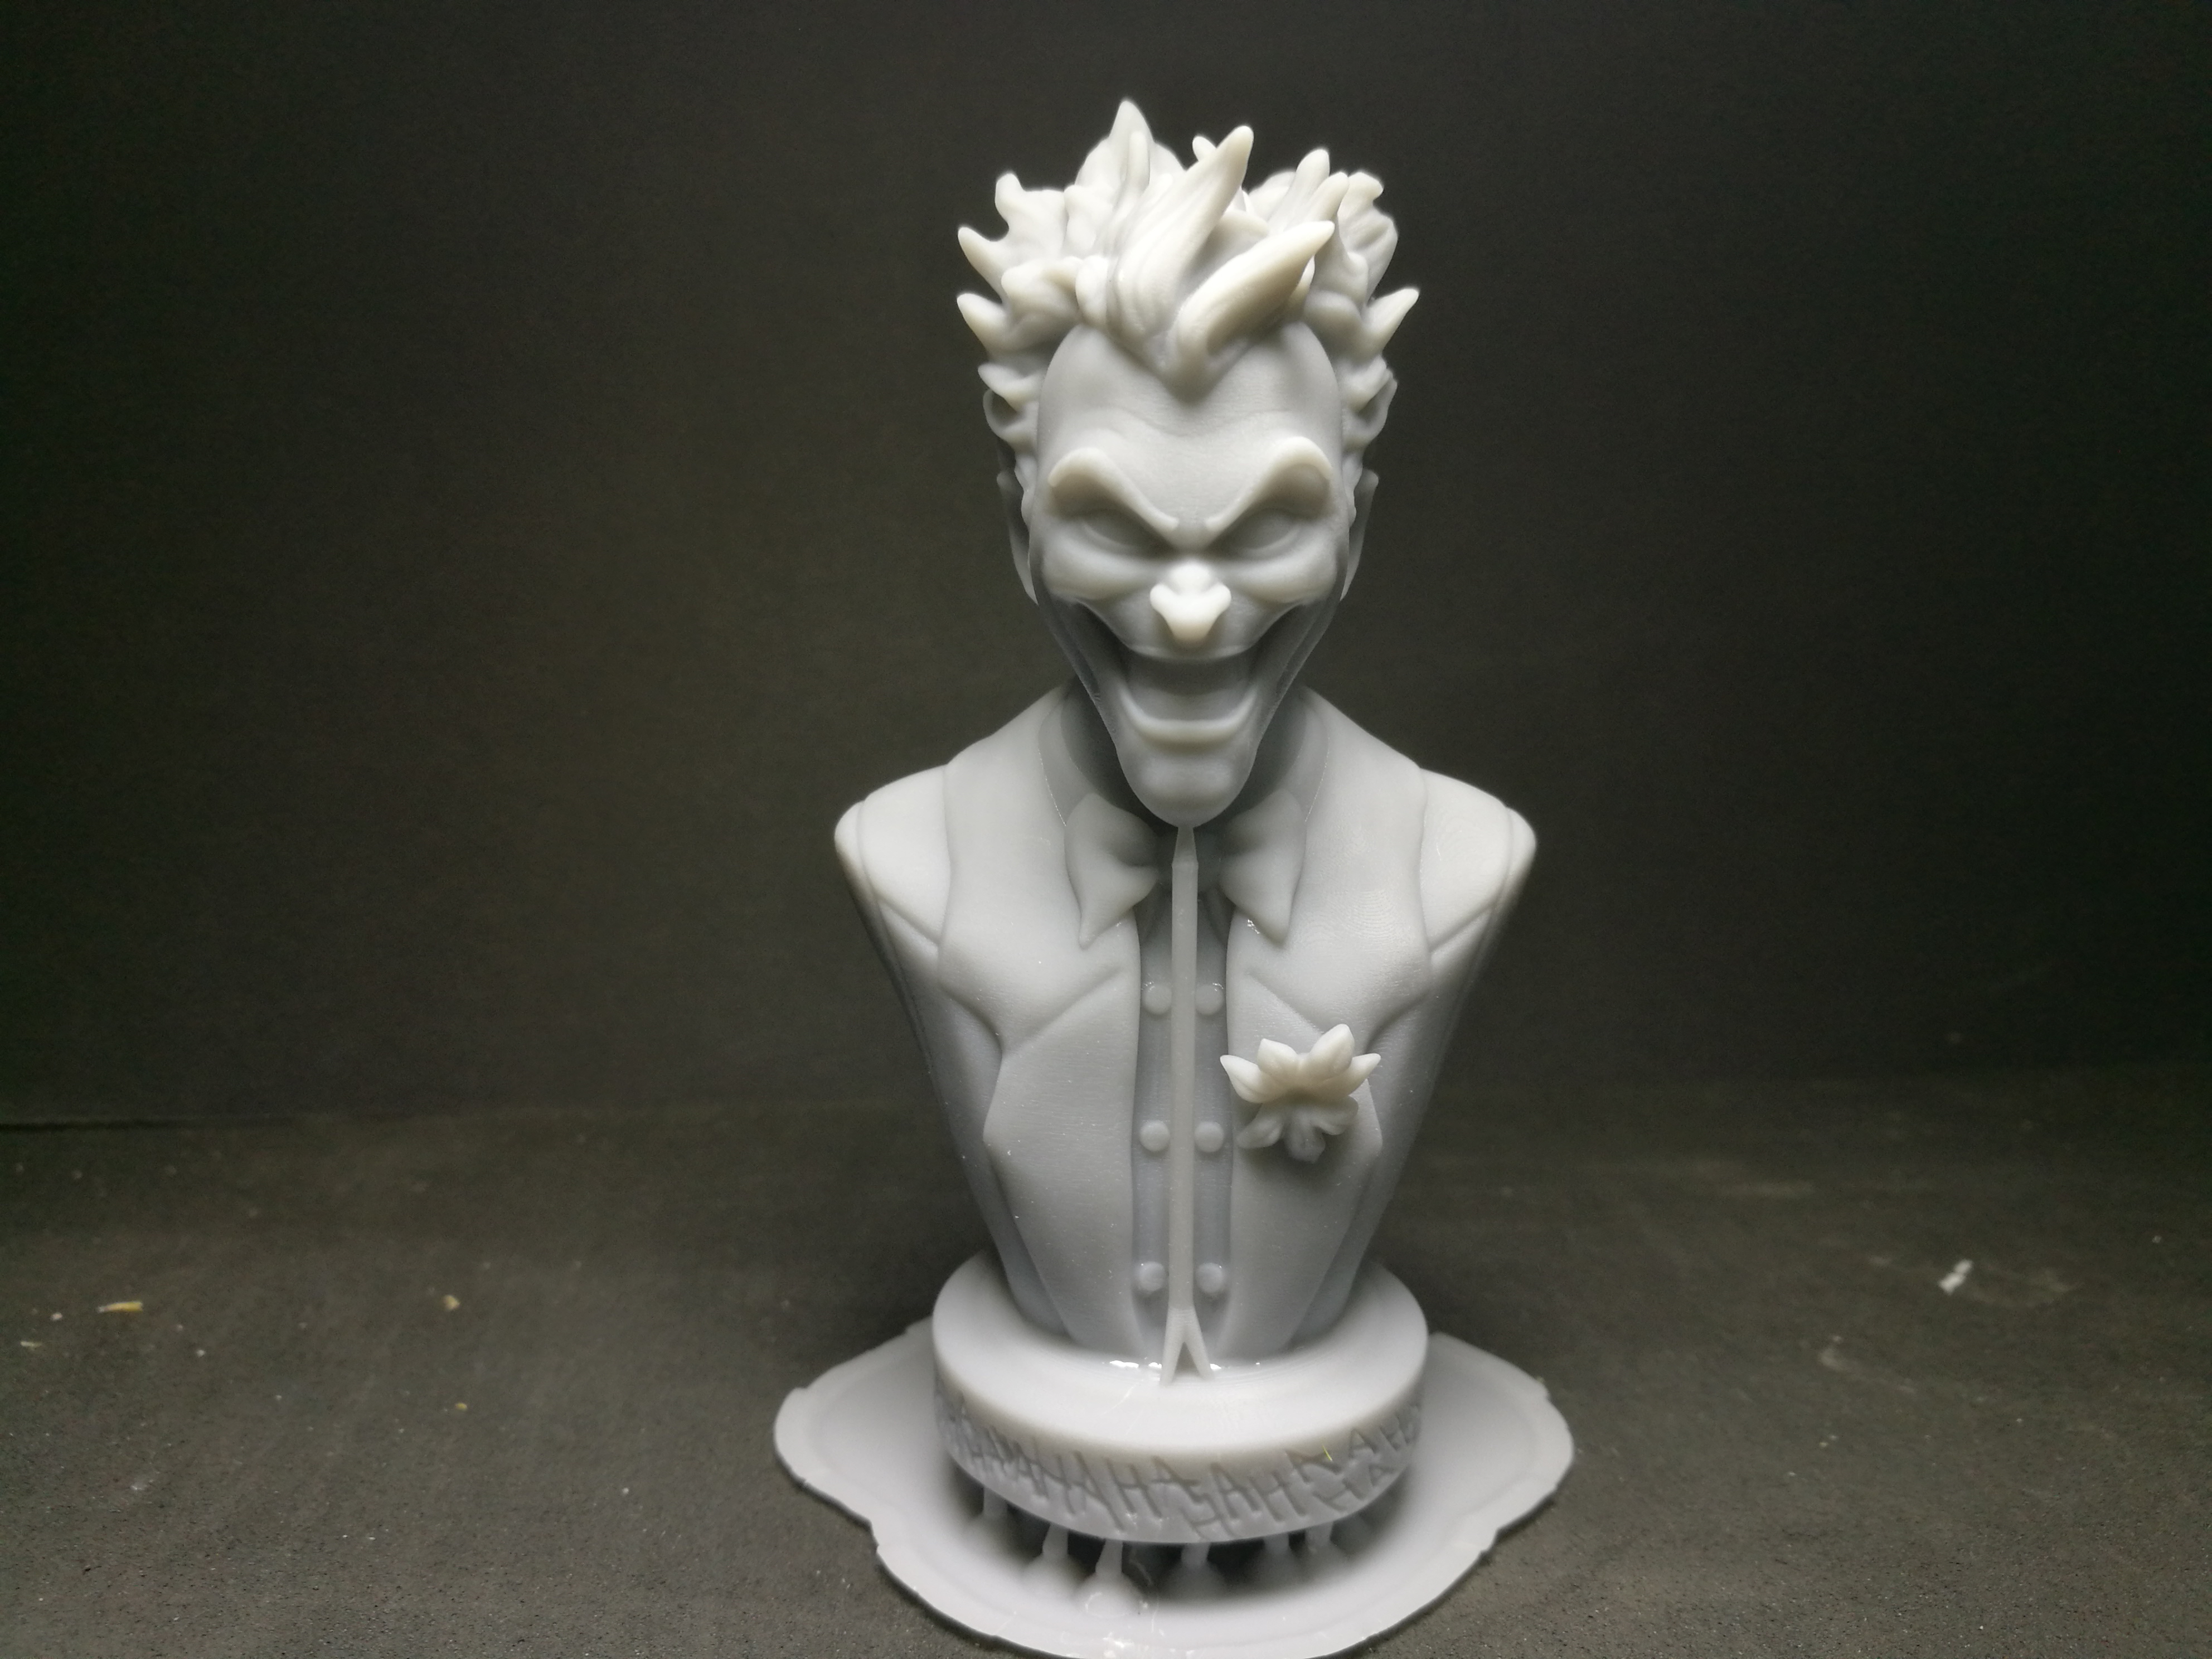


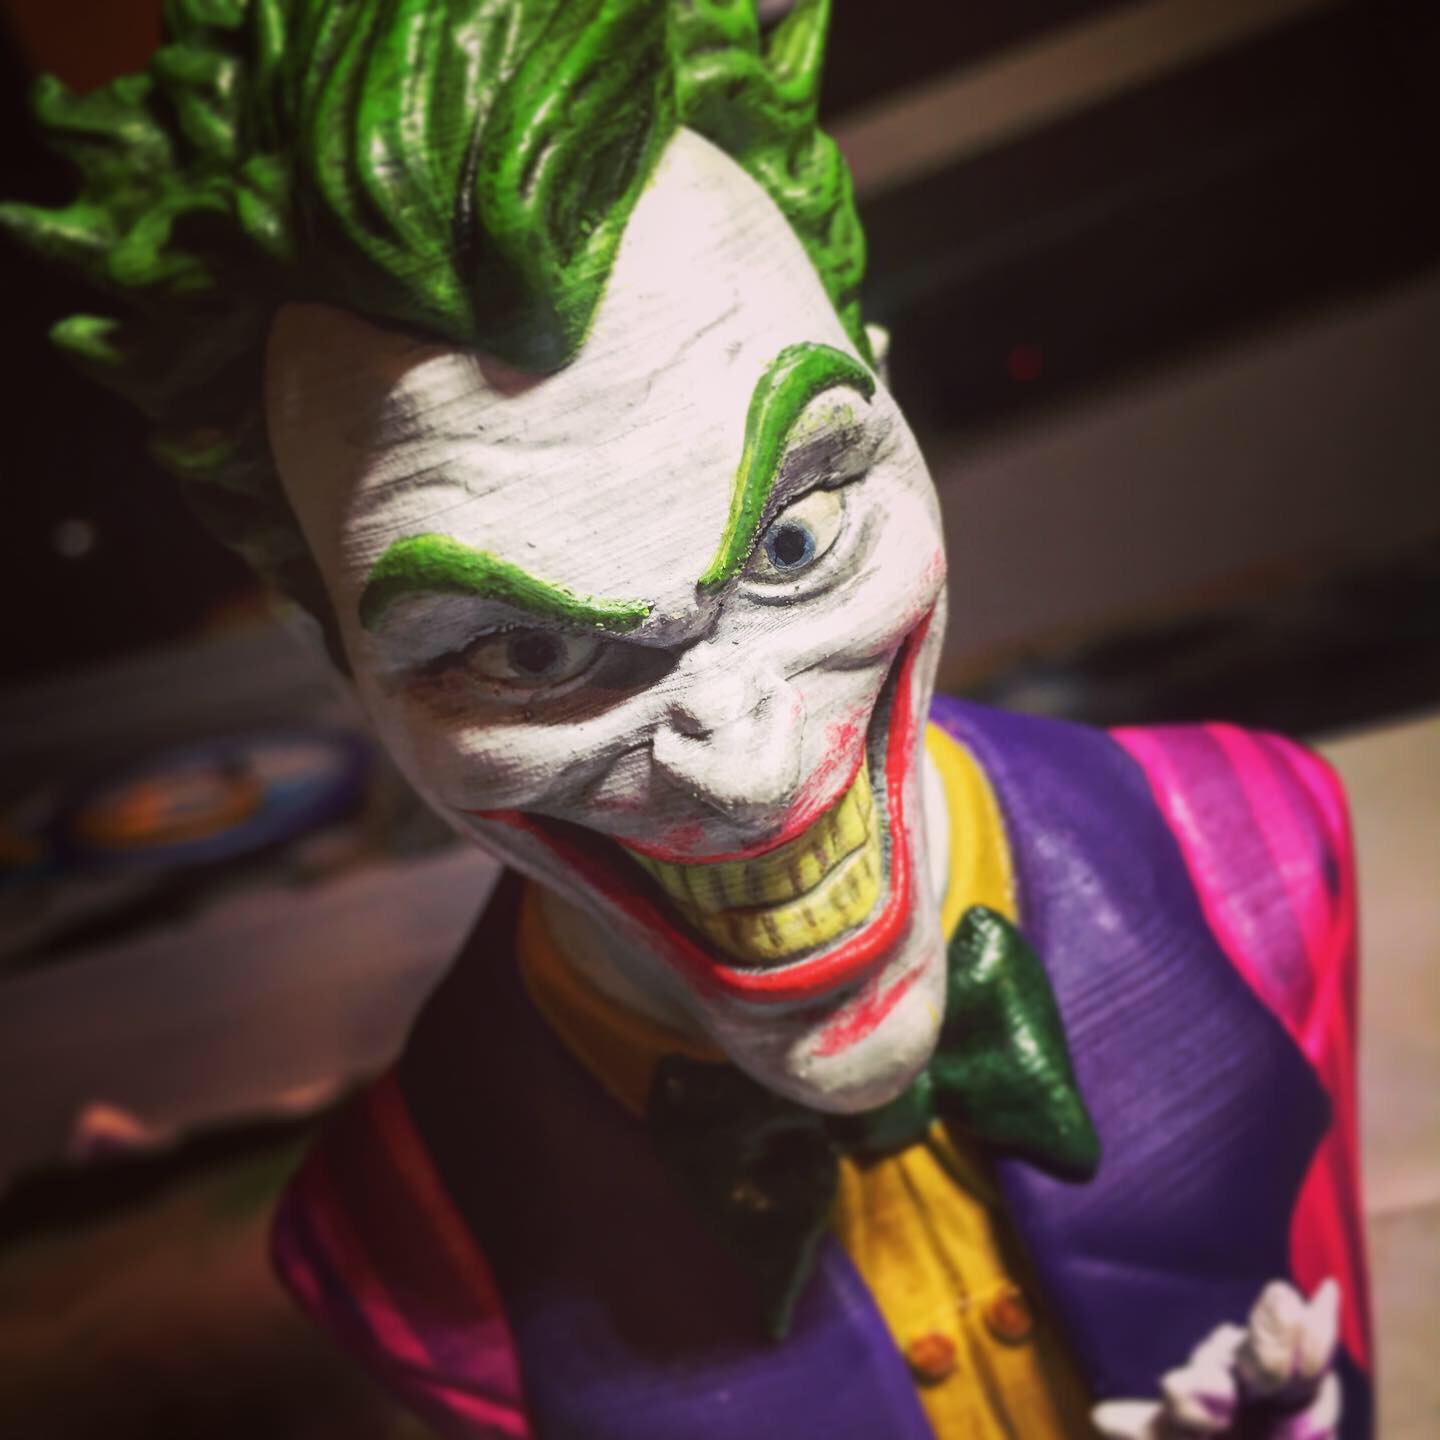


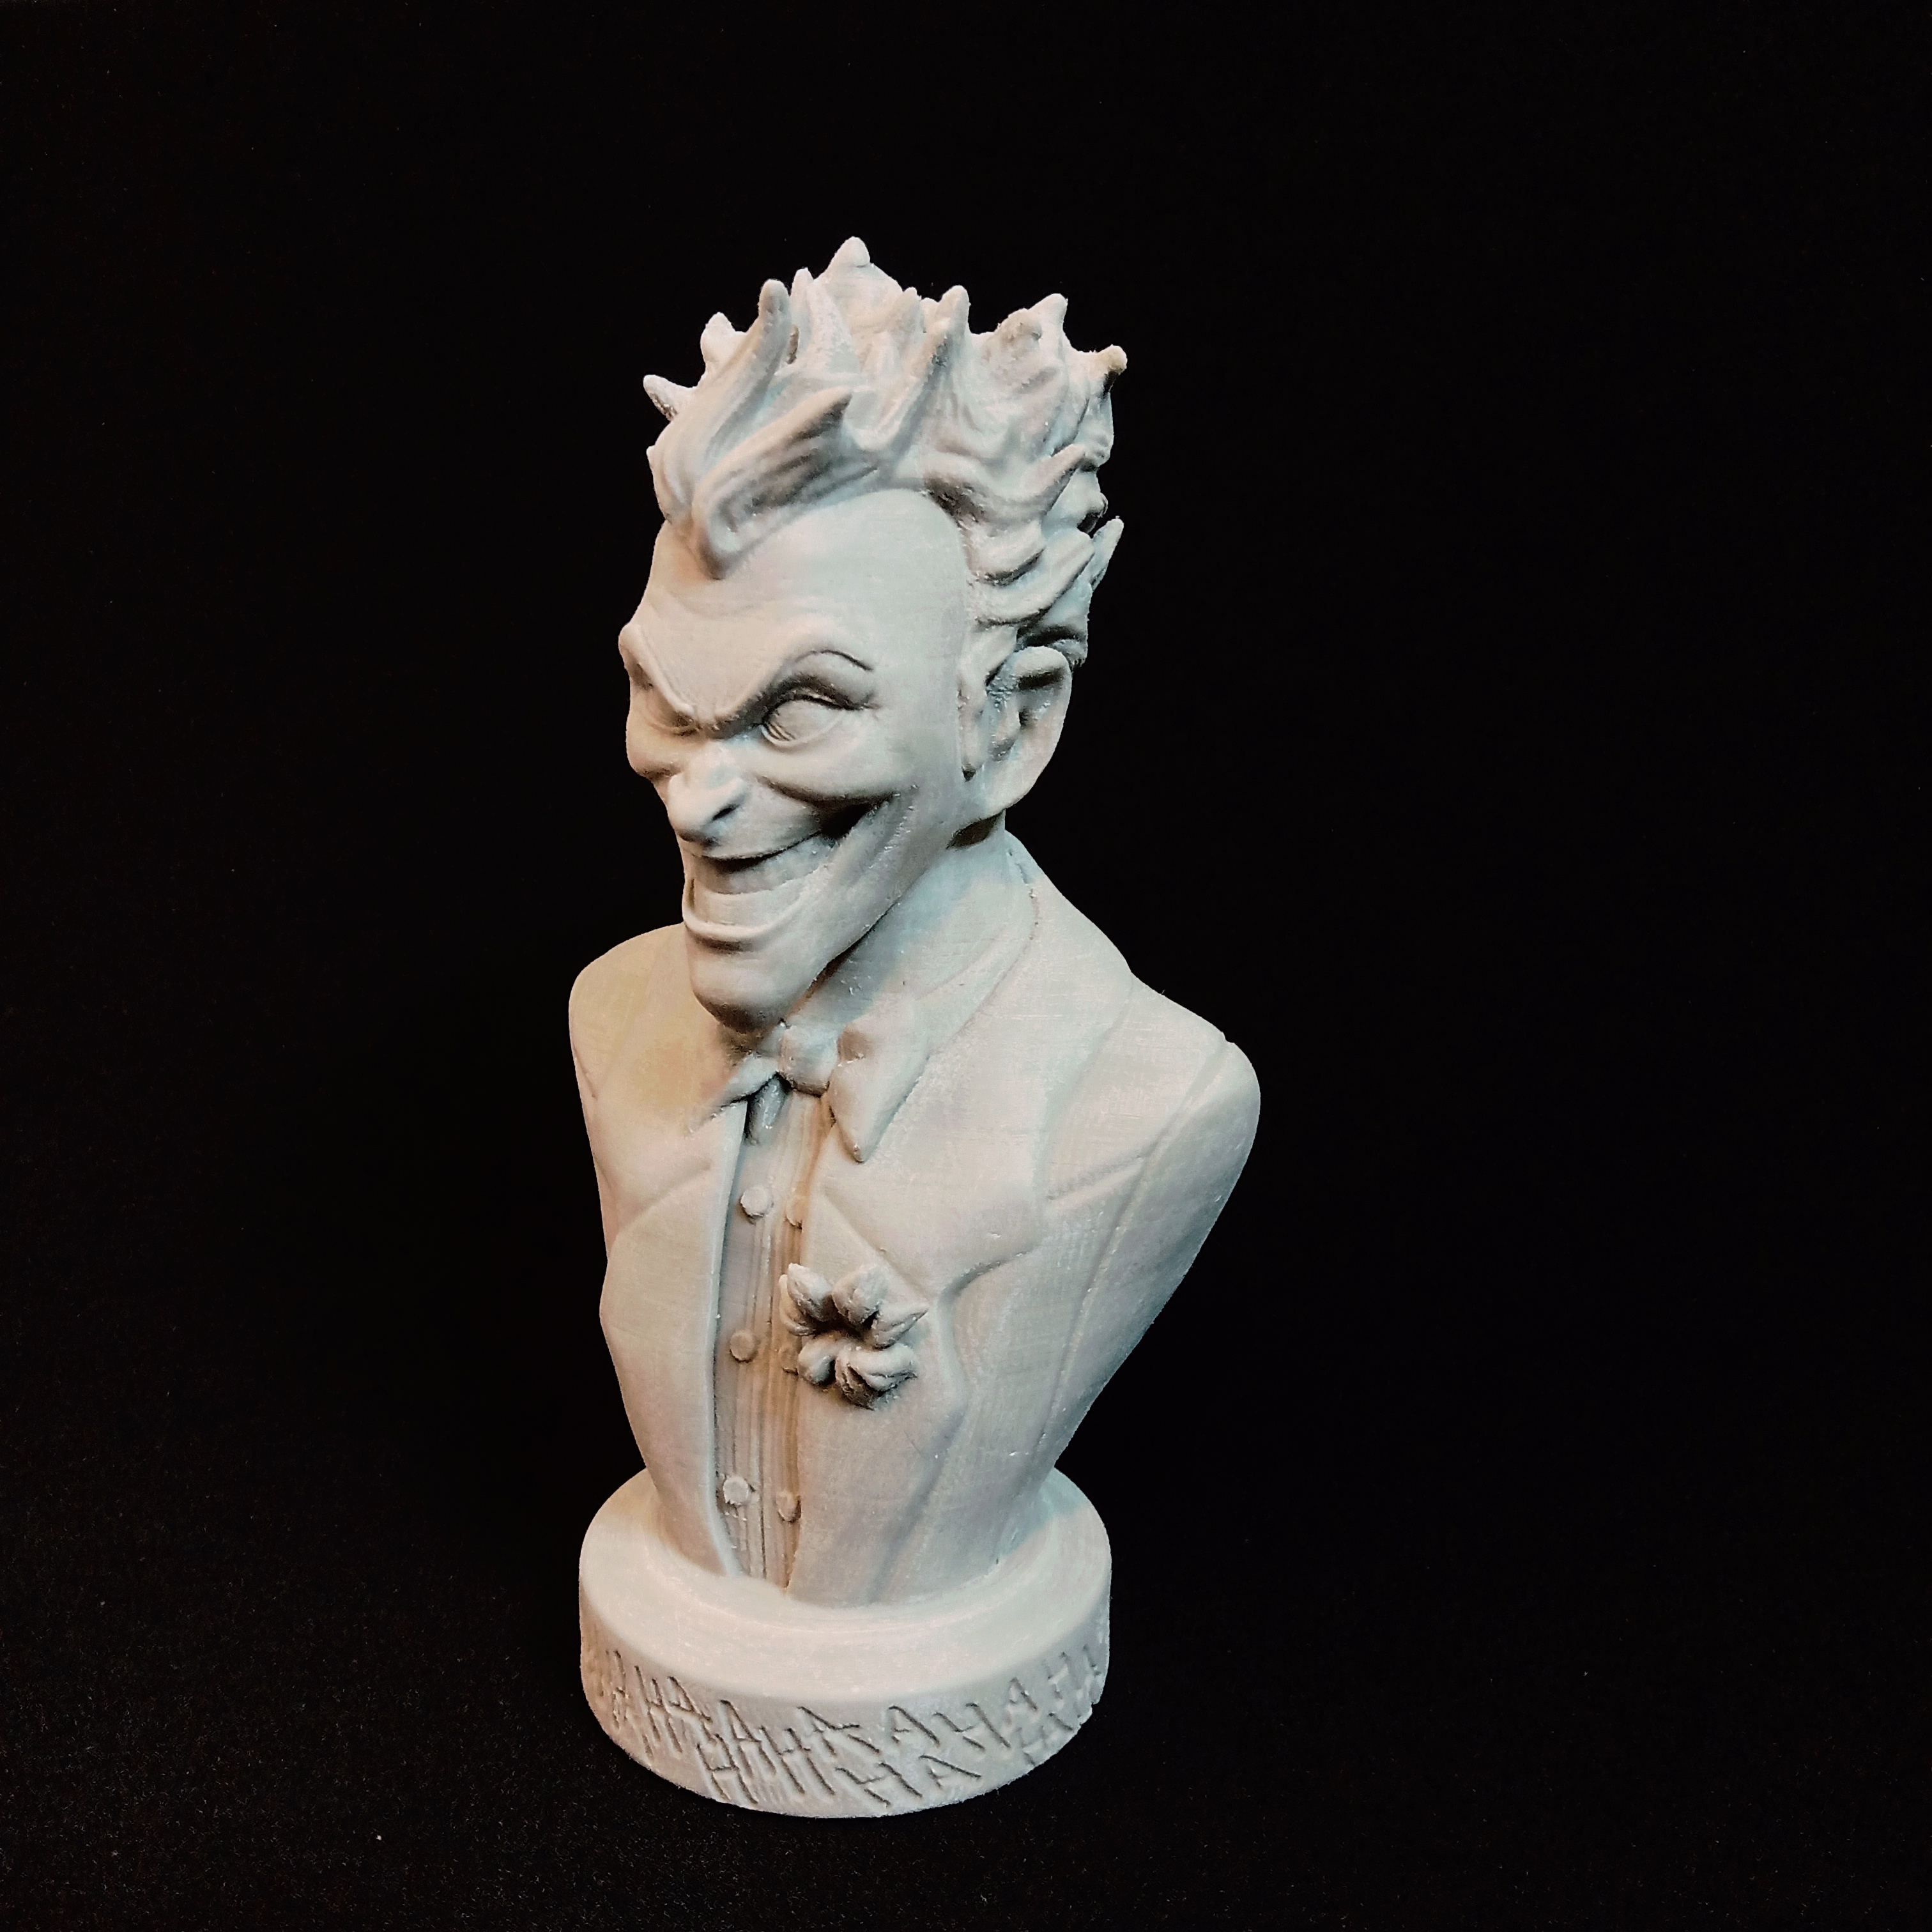


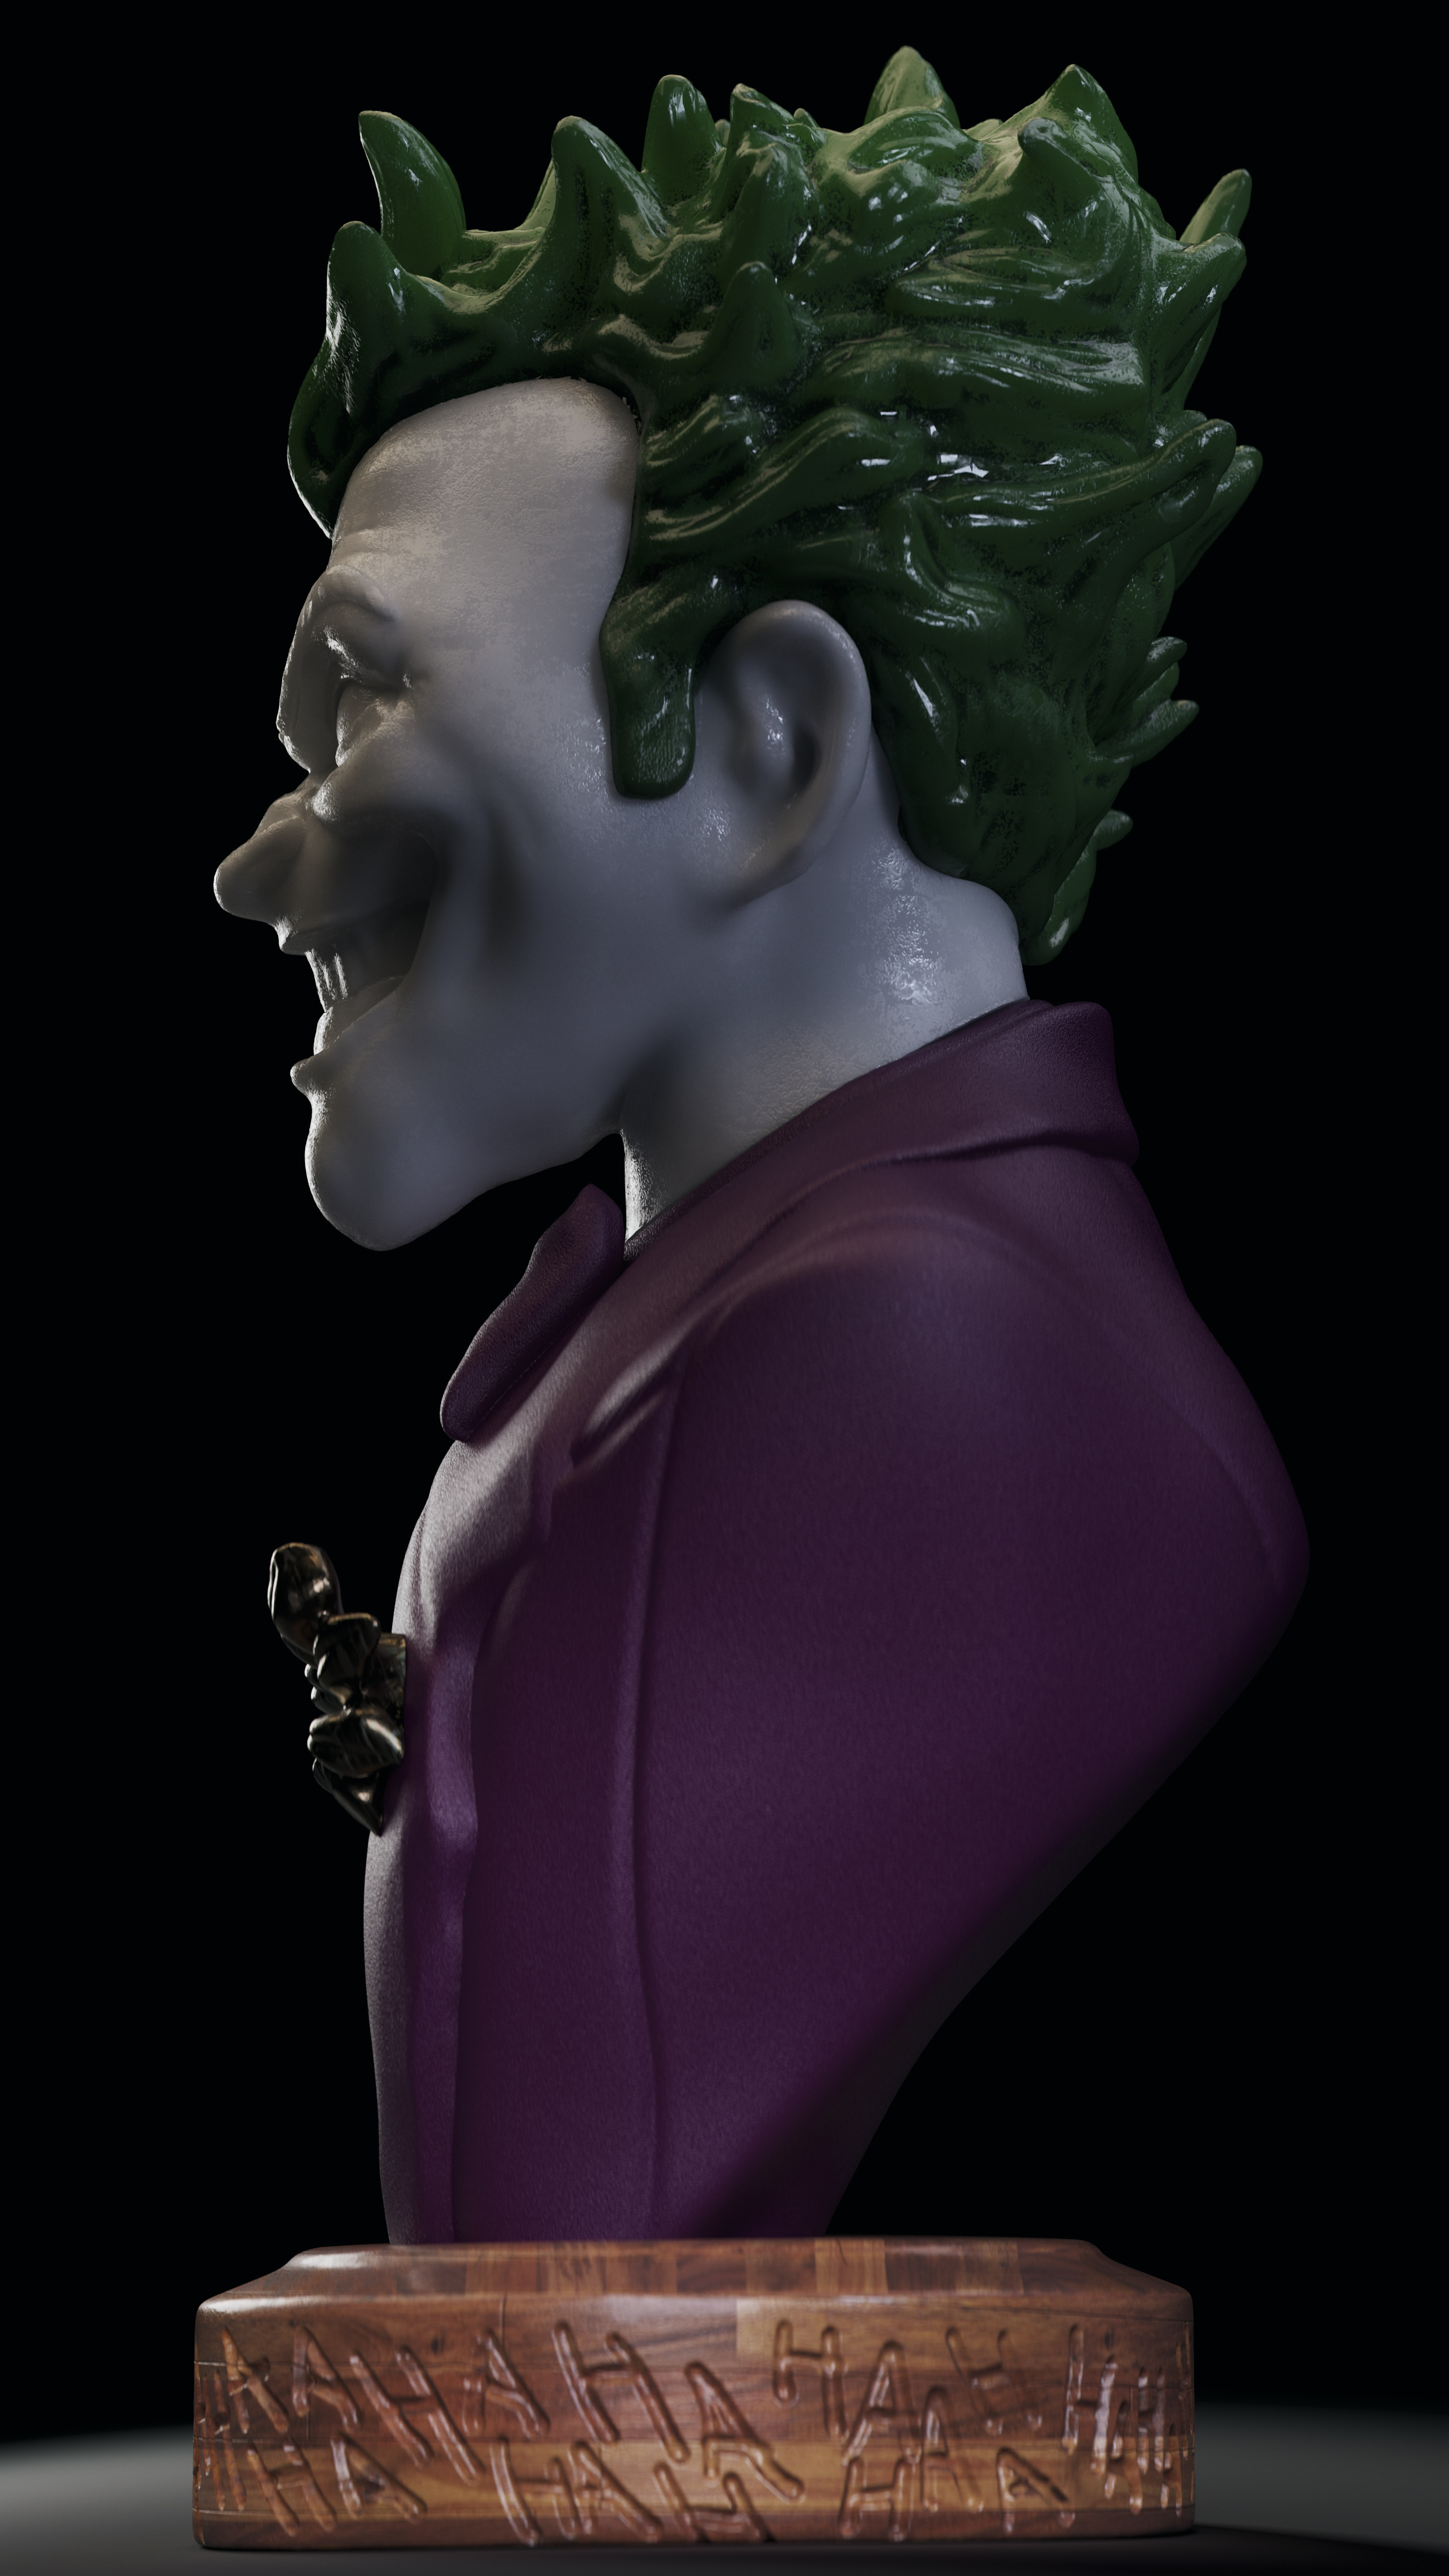


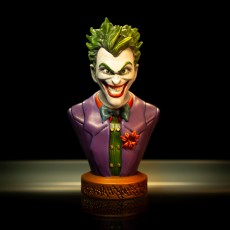
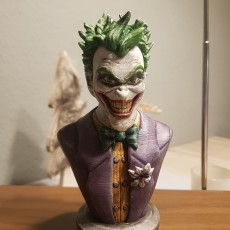
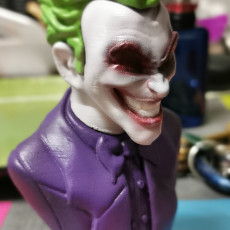
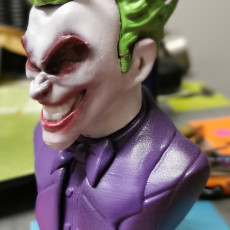
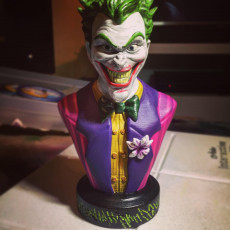
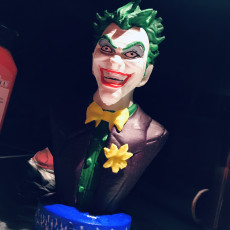
Thanks for an amazing model! Printed on a Form2 at 50 microns with Grey V4 Resin. Painted with Vellejo paints.
Nice its a christmas gift!
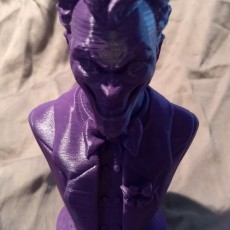
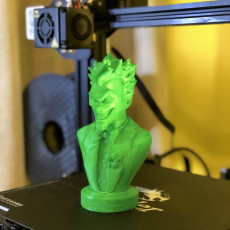
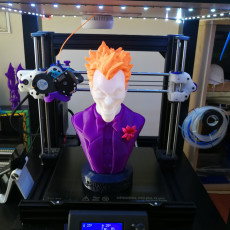
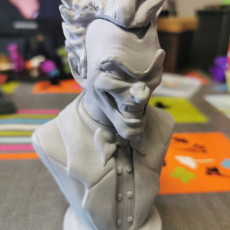
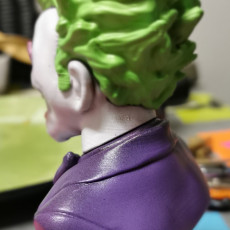
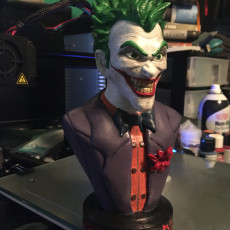
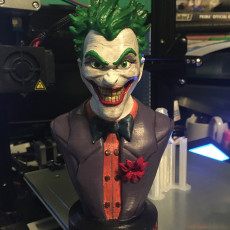
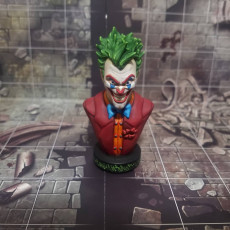
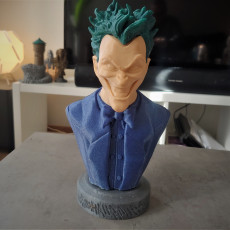
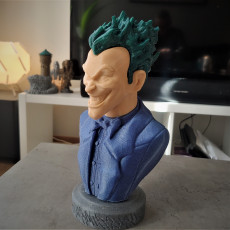
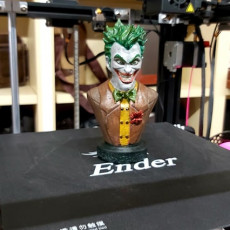
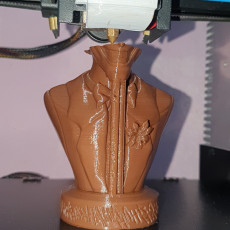
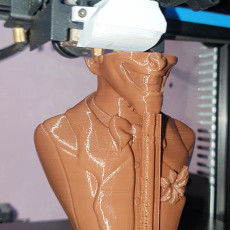
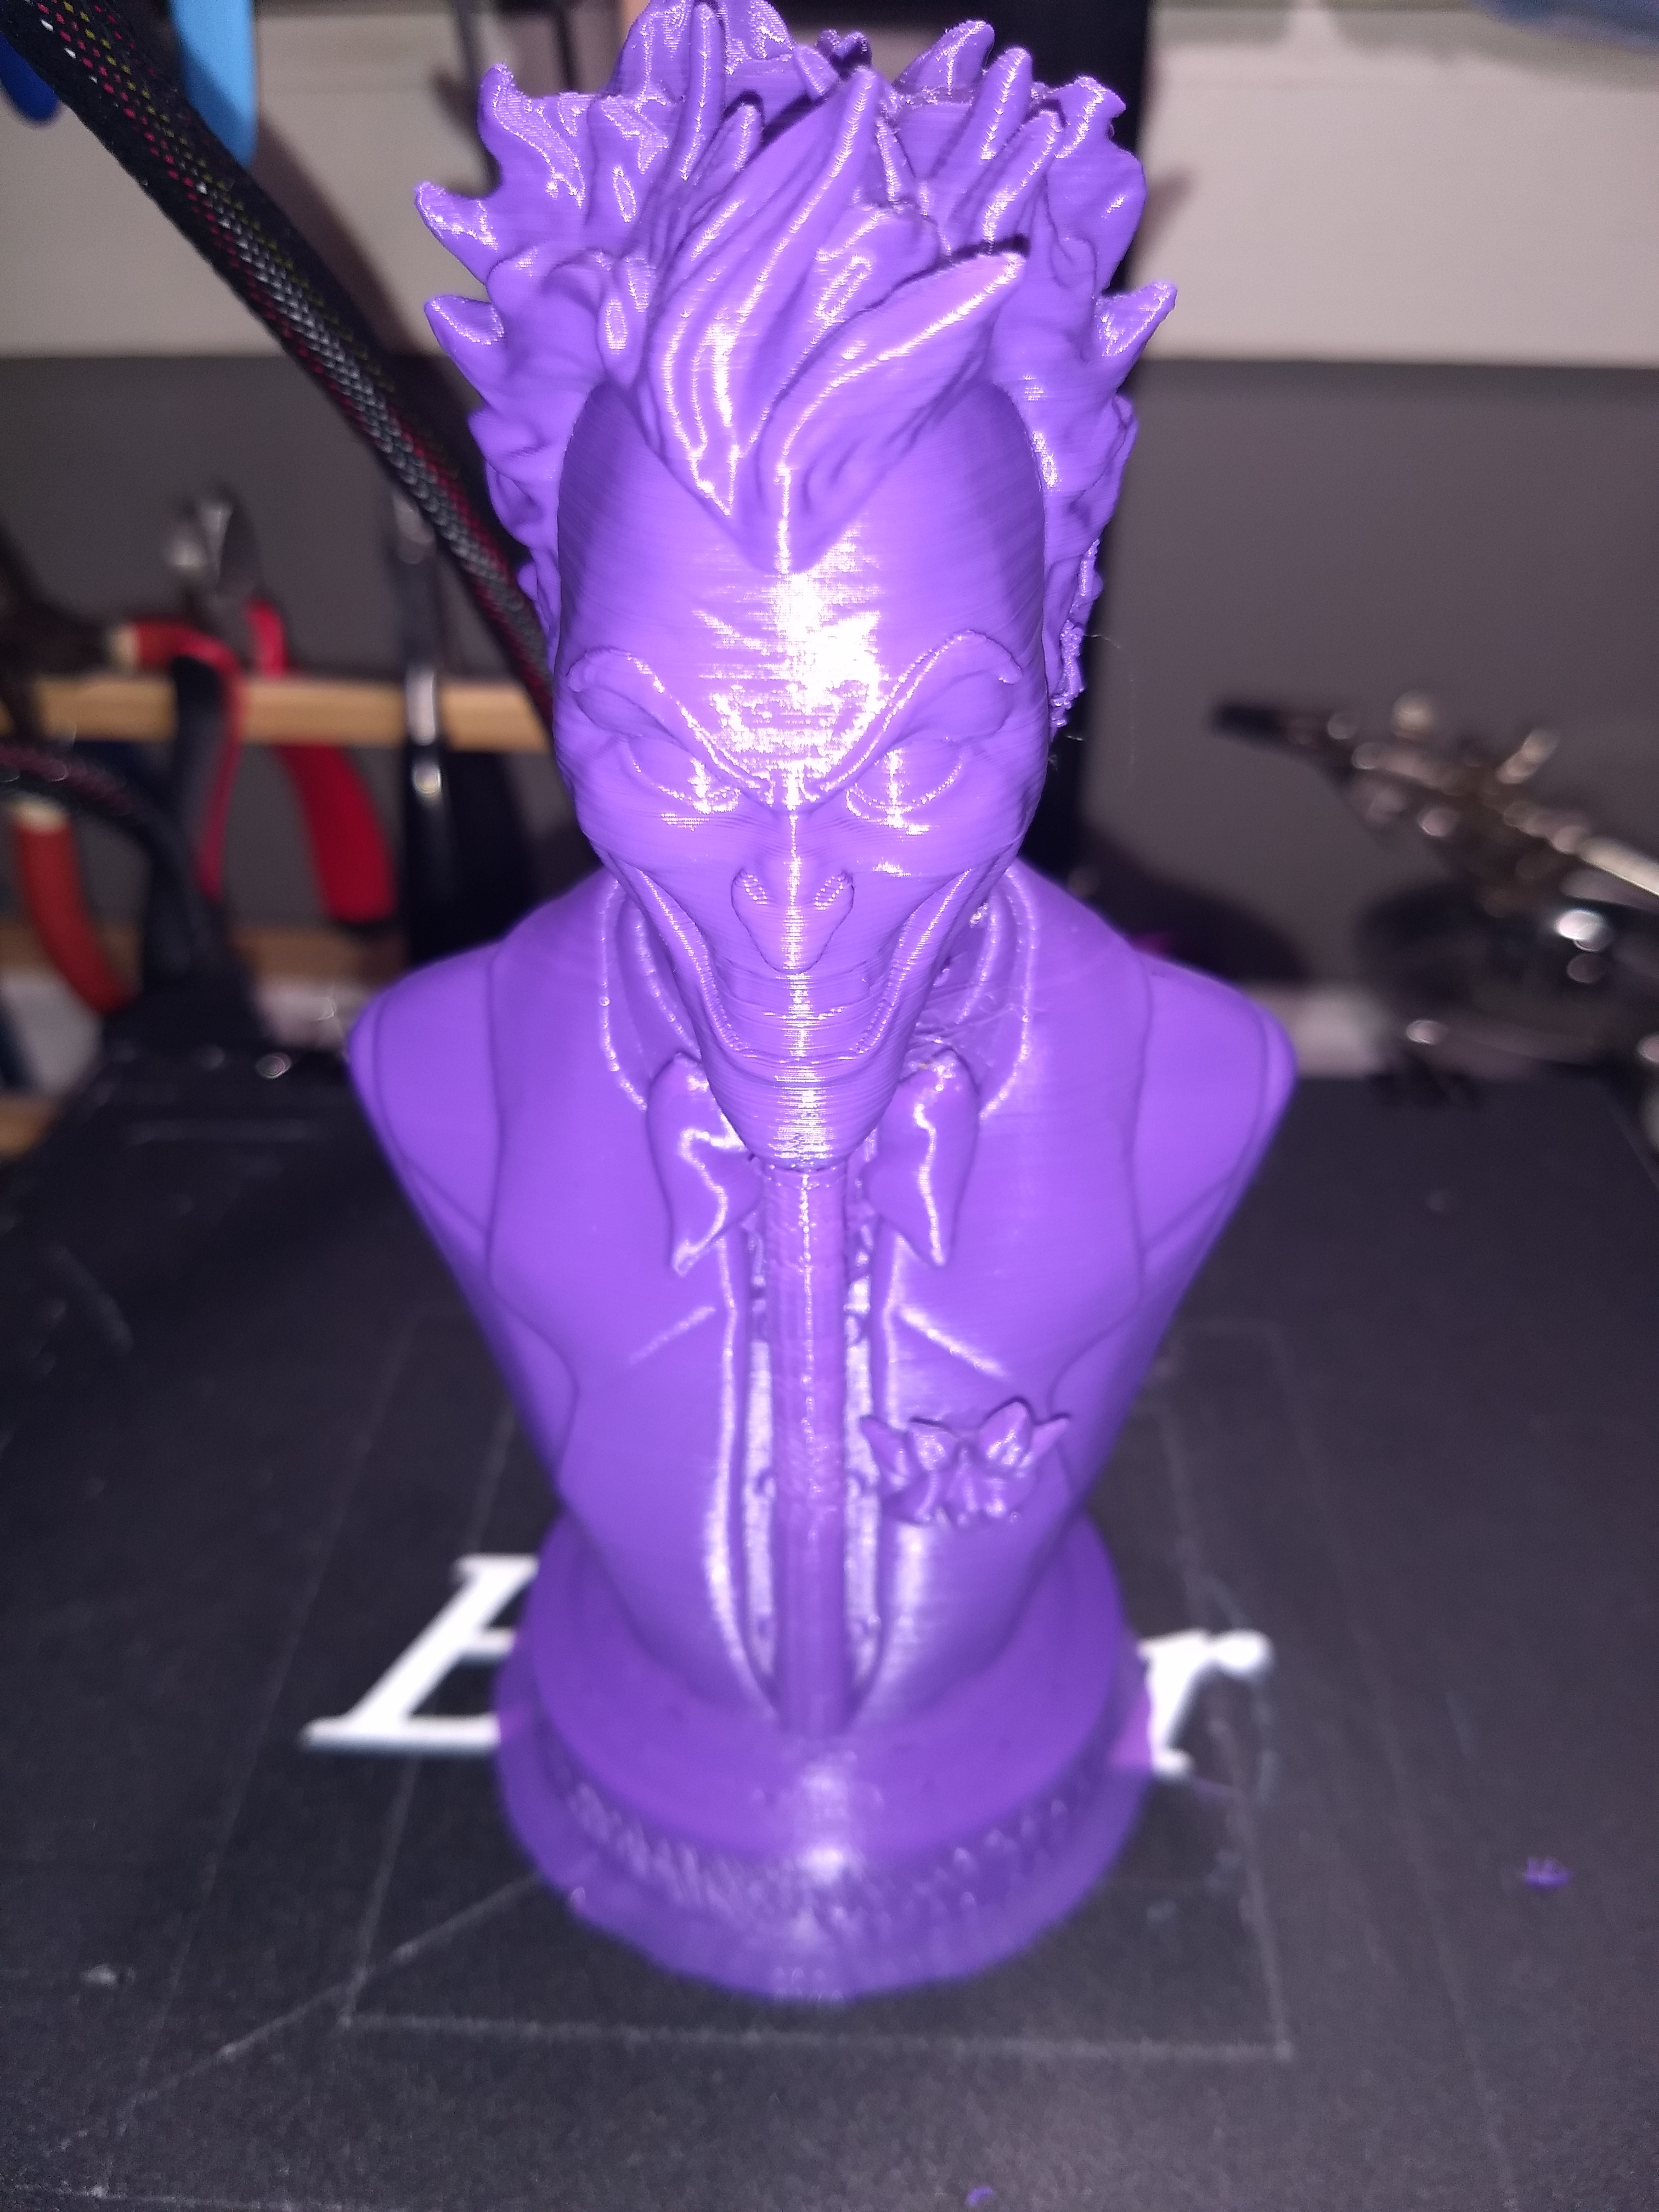
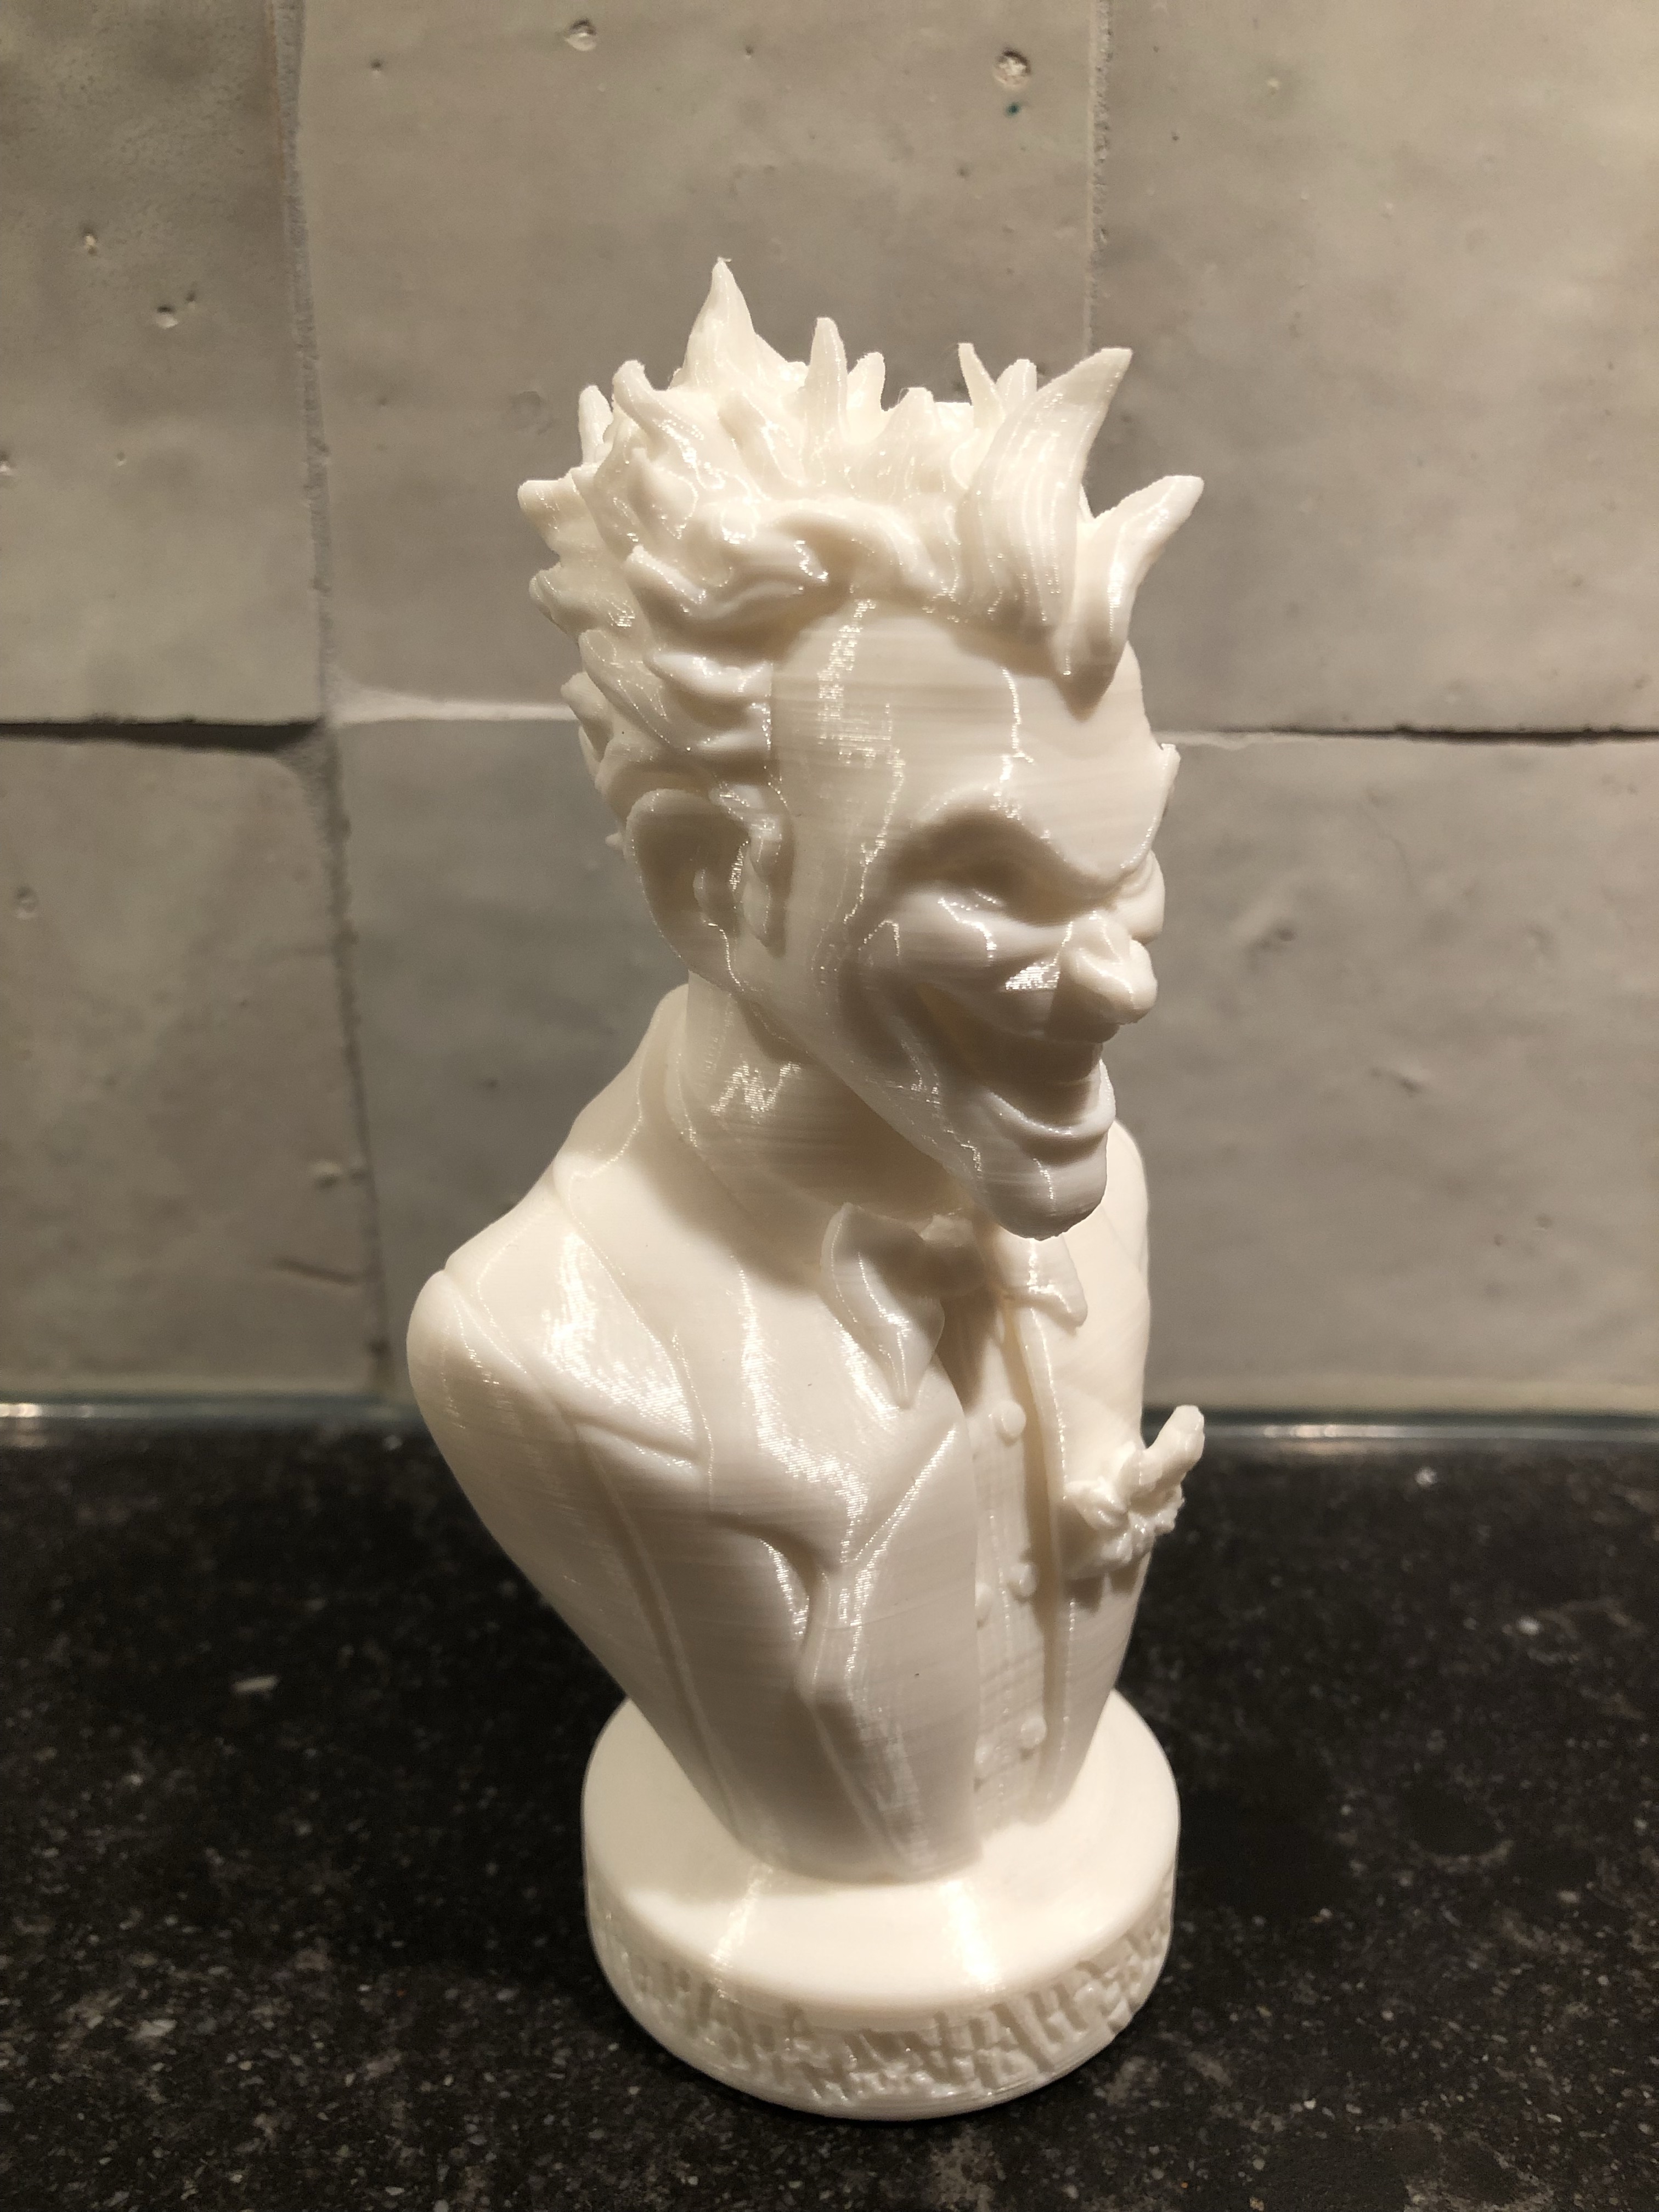
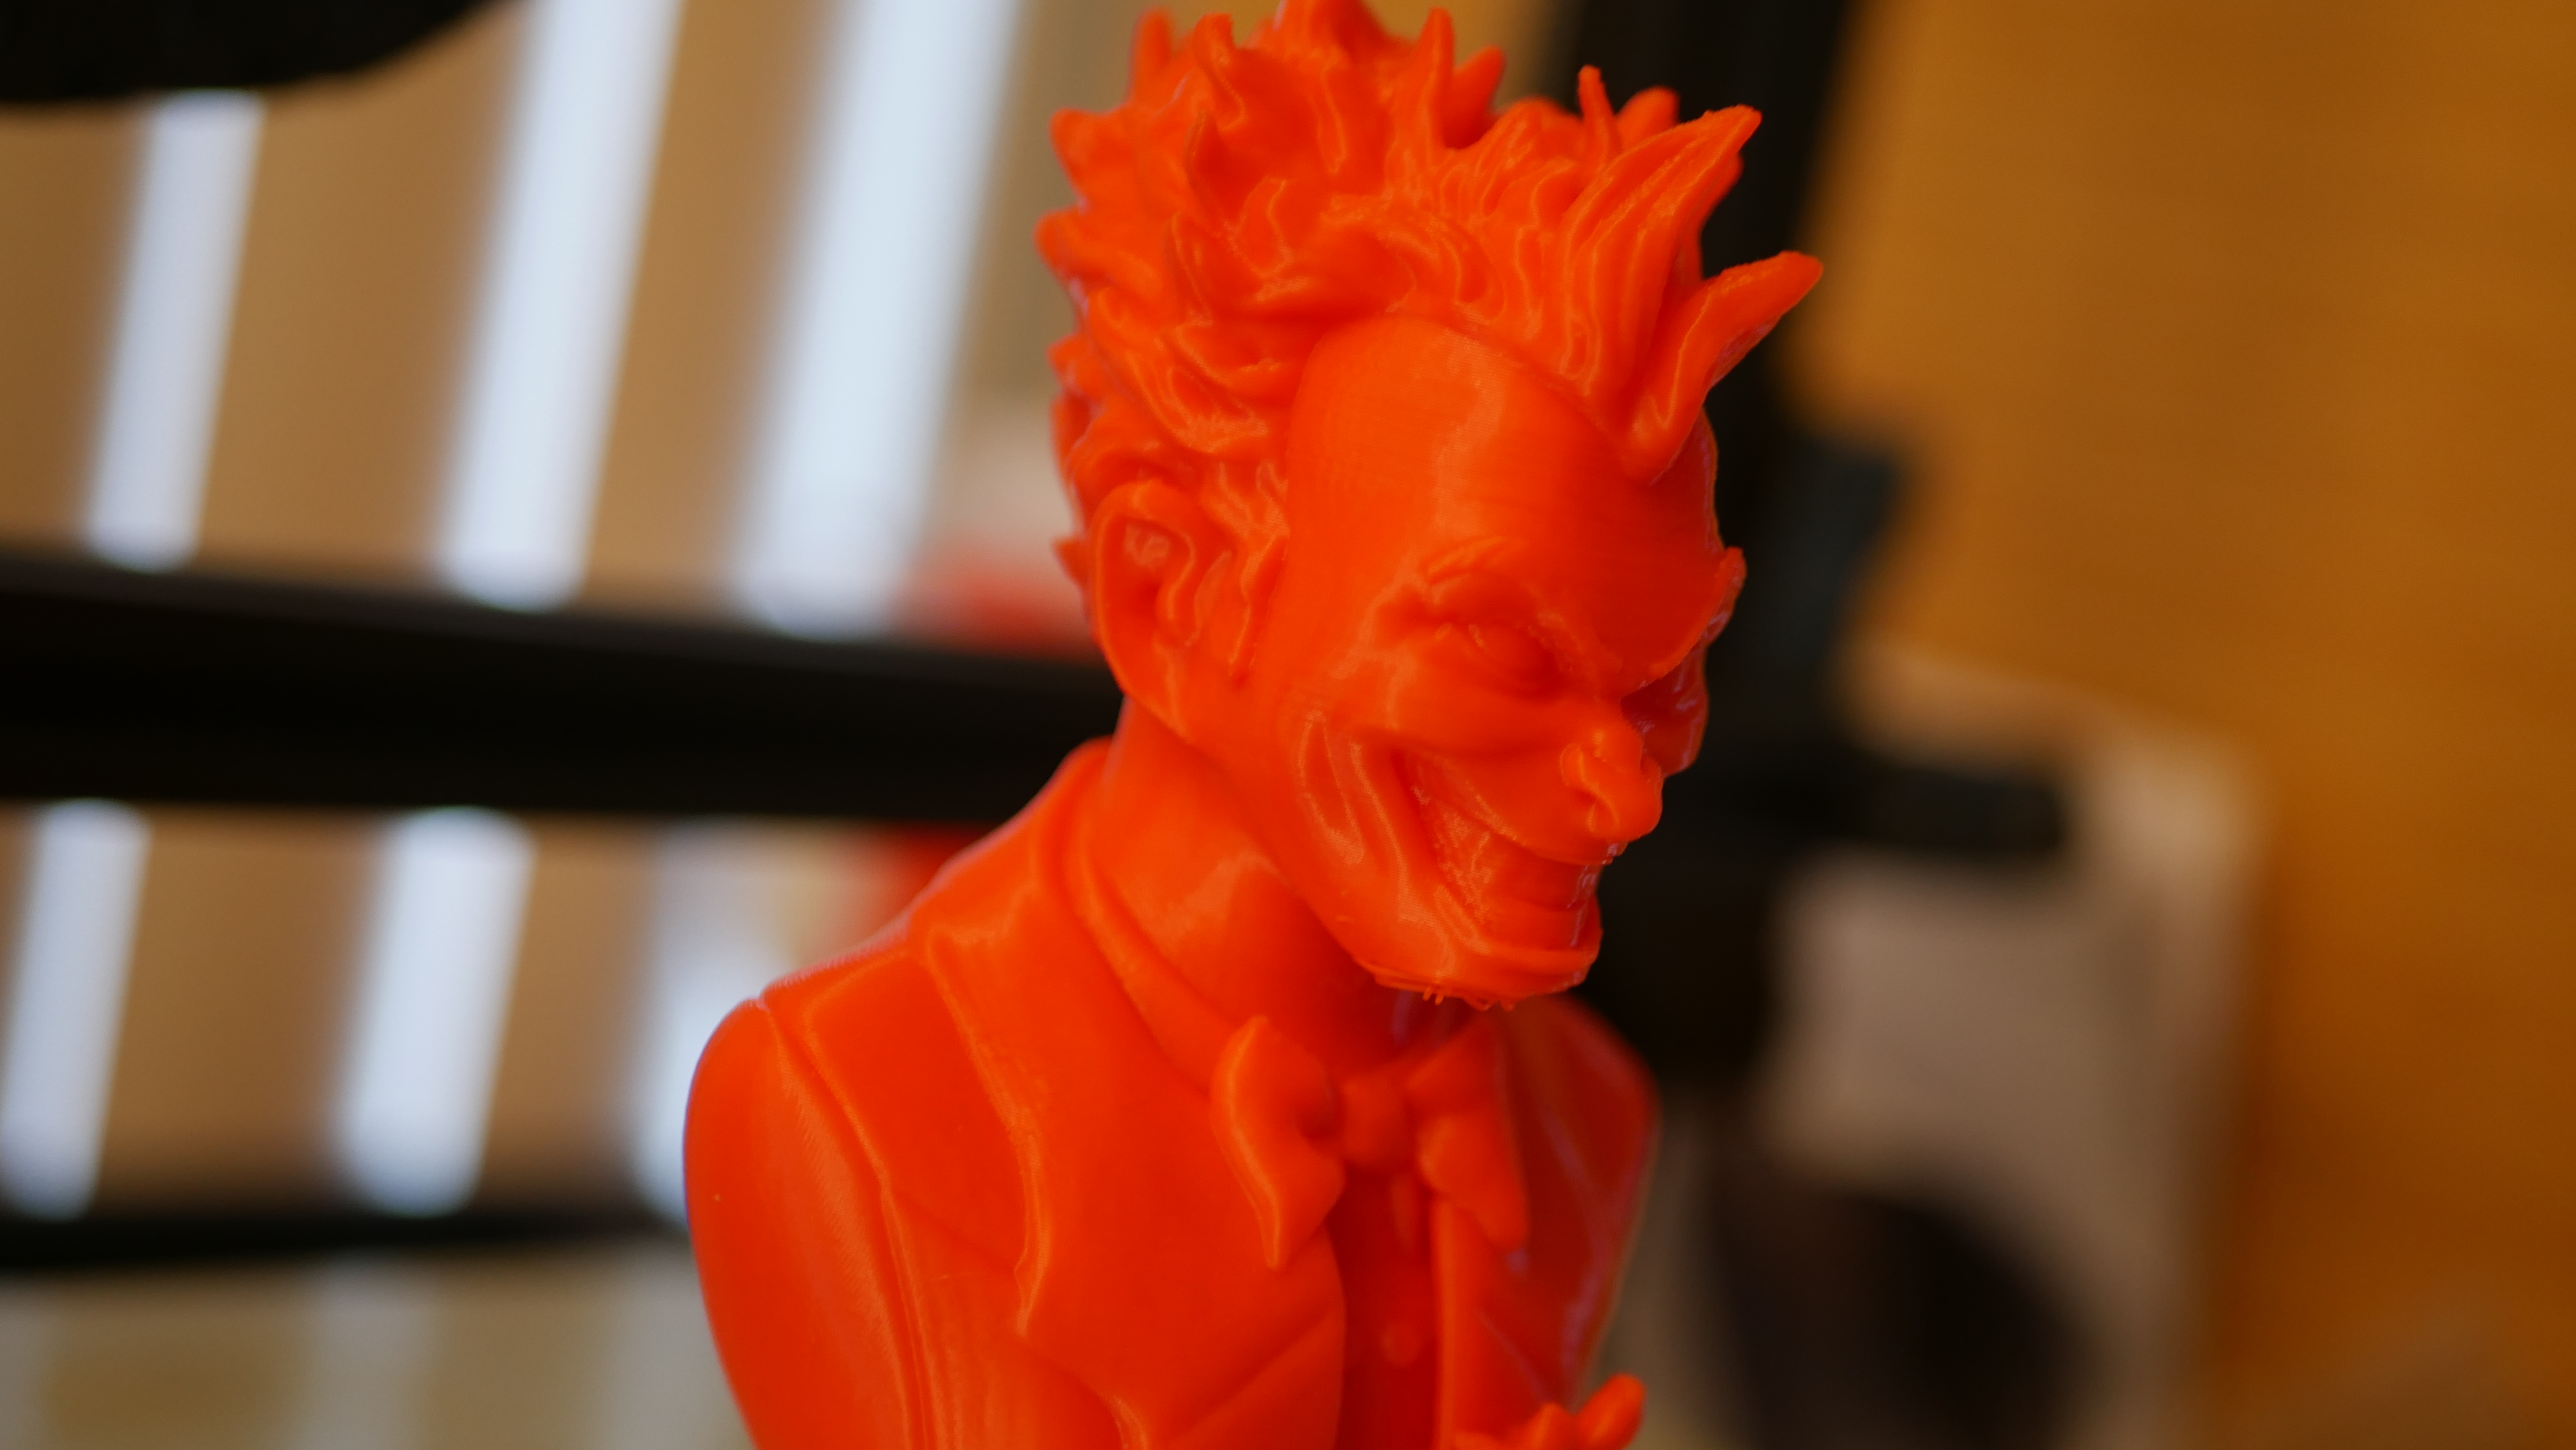
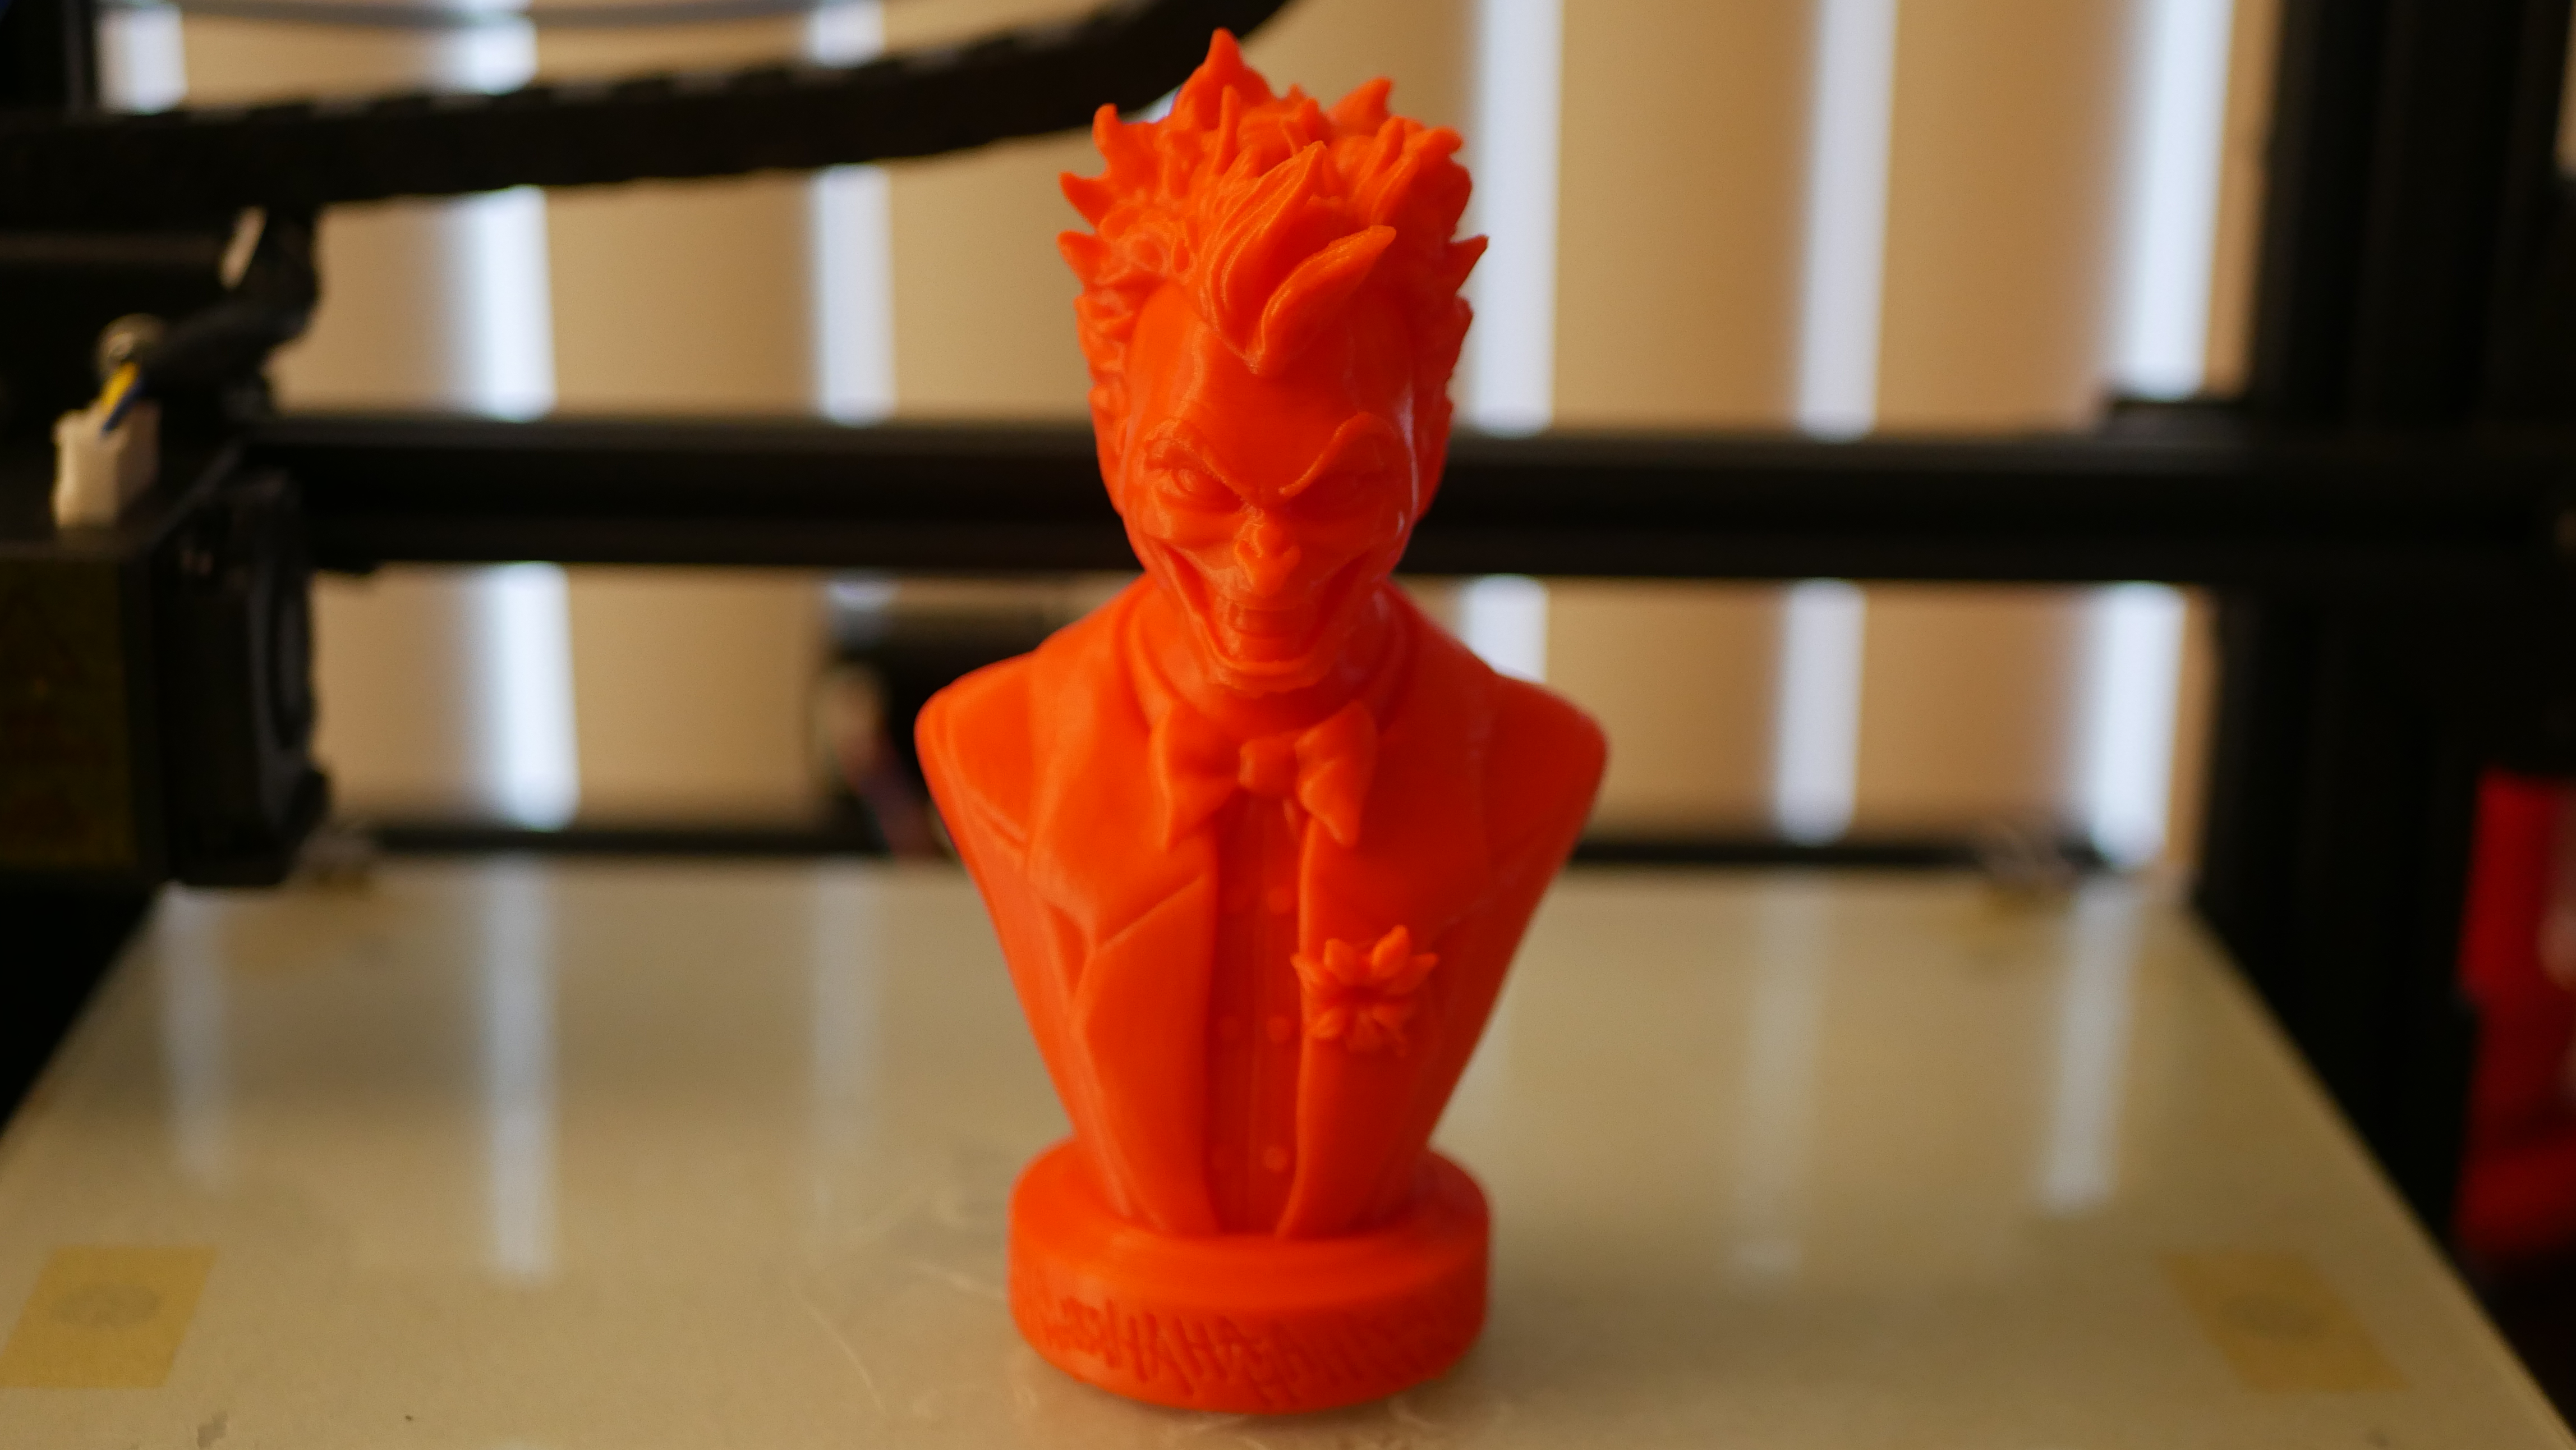
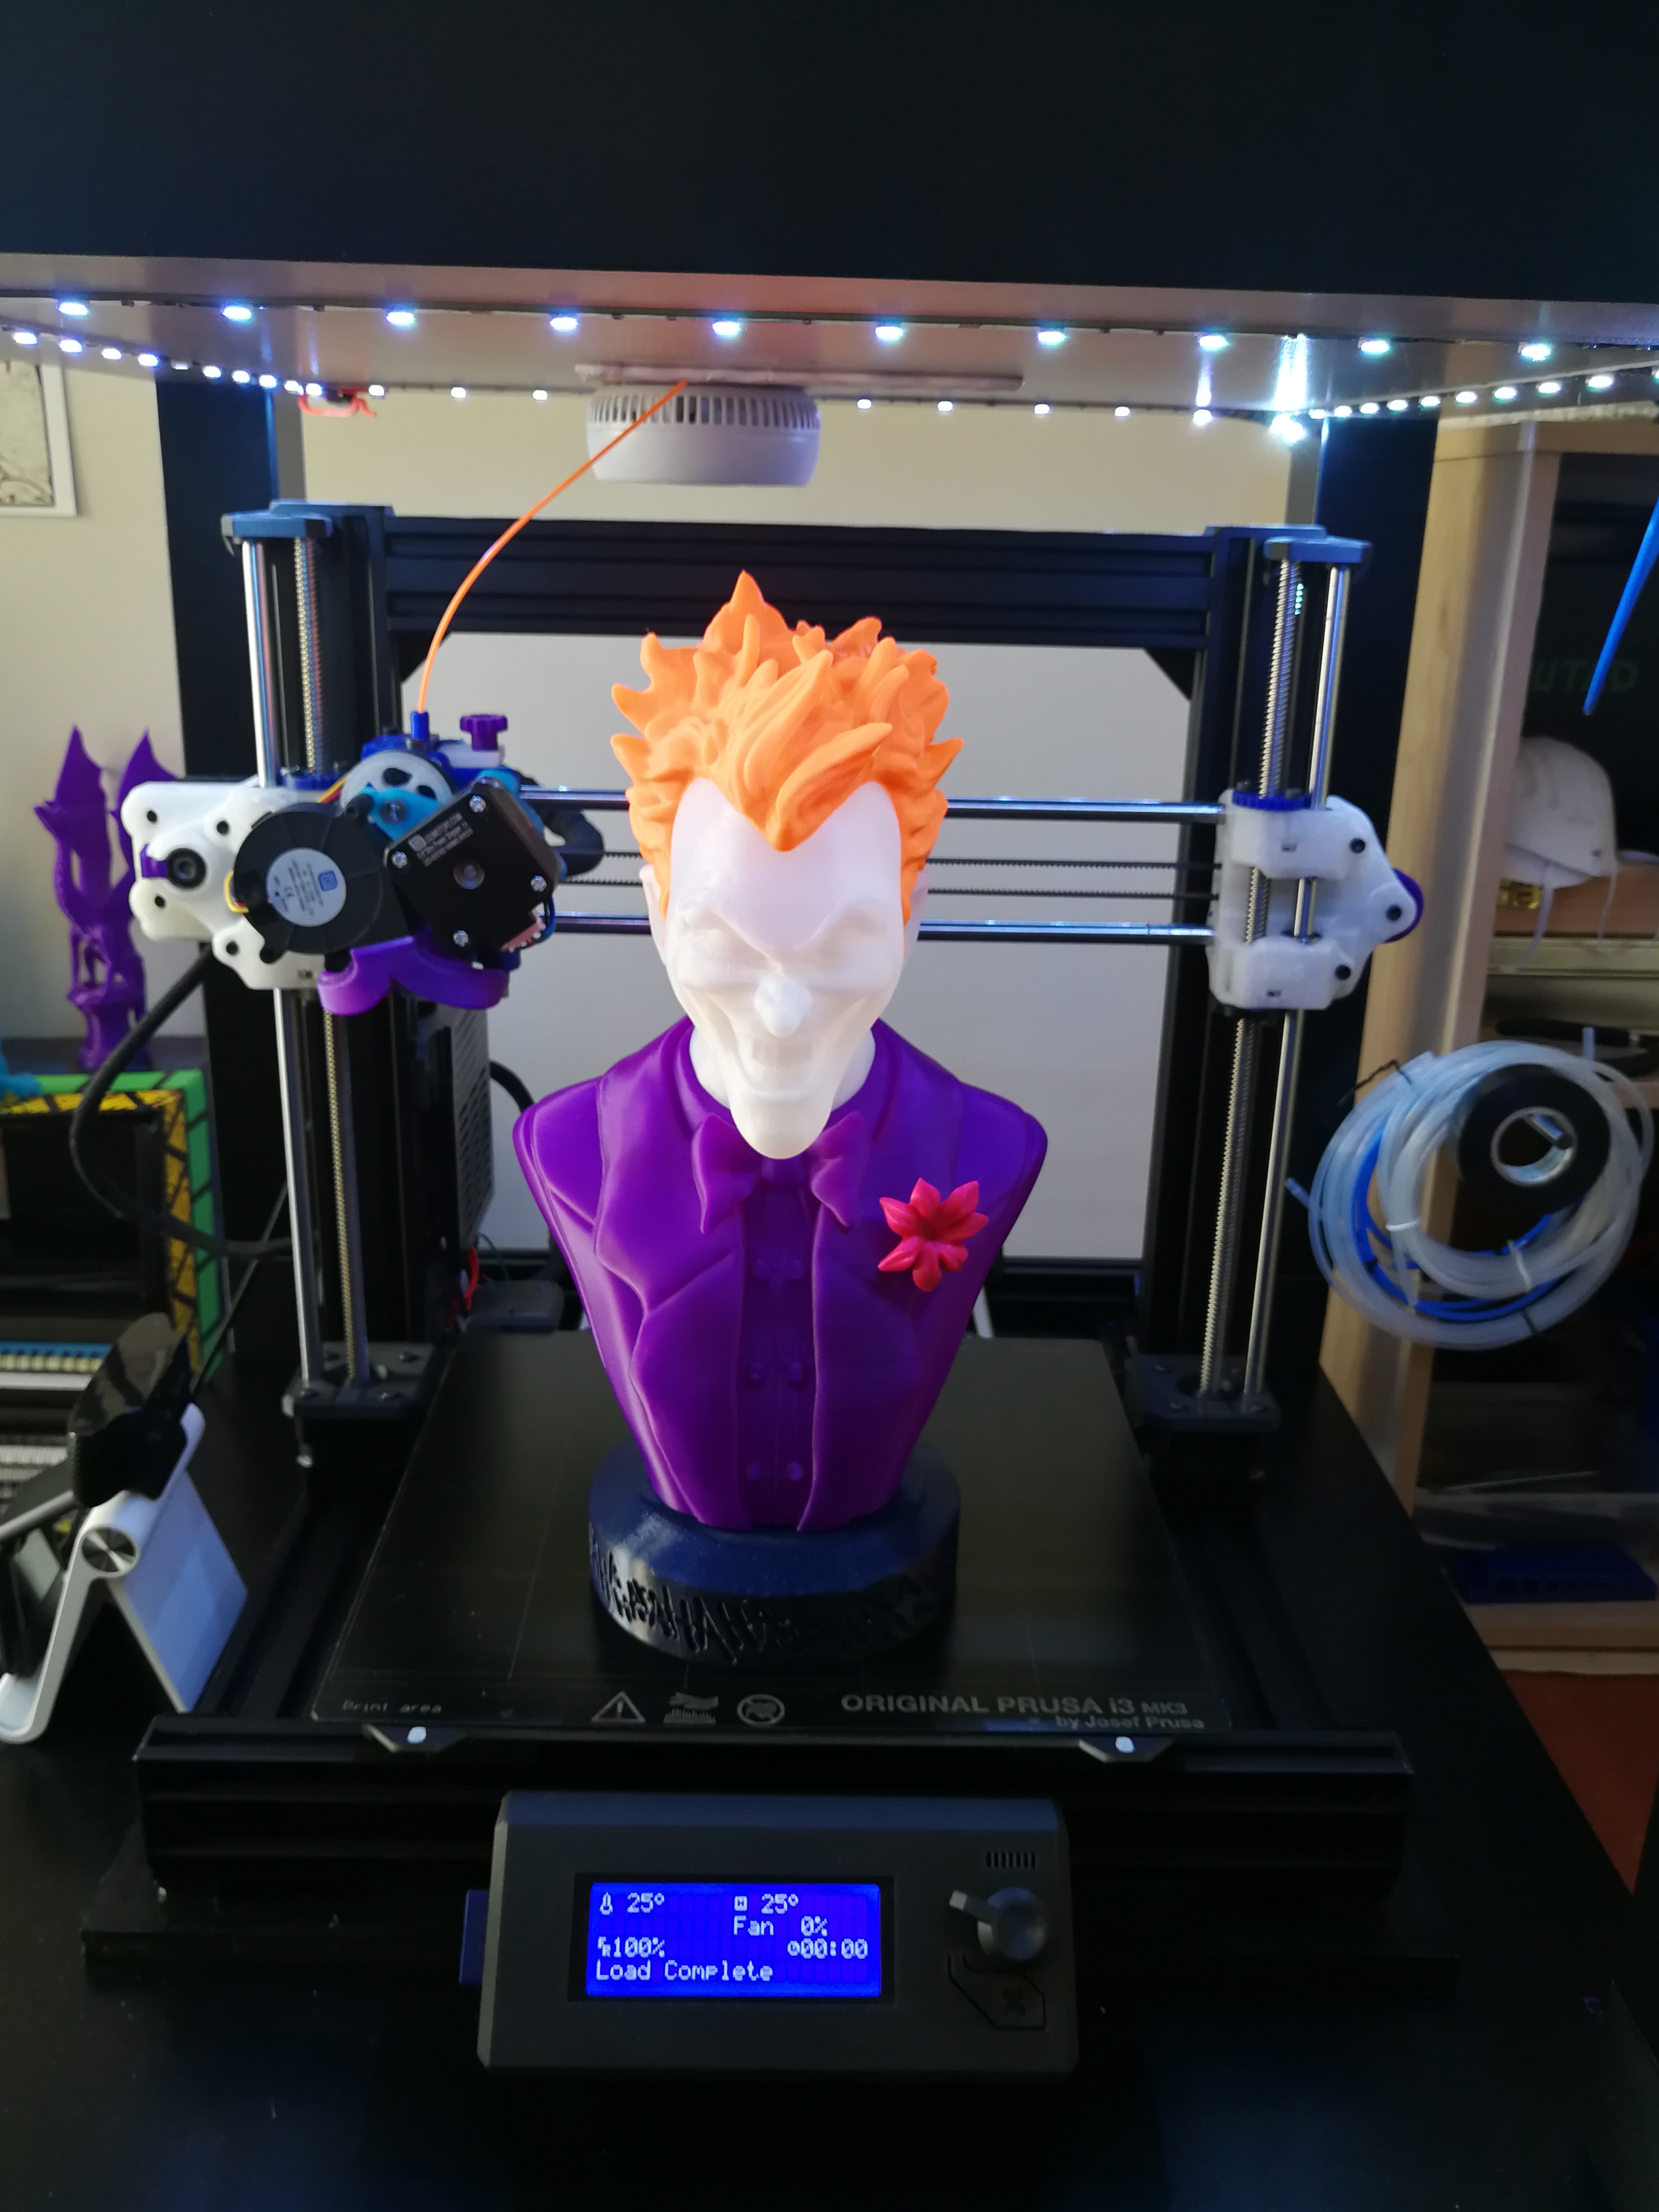
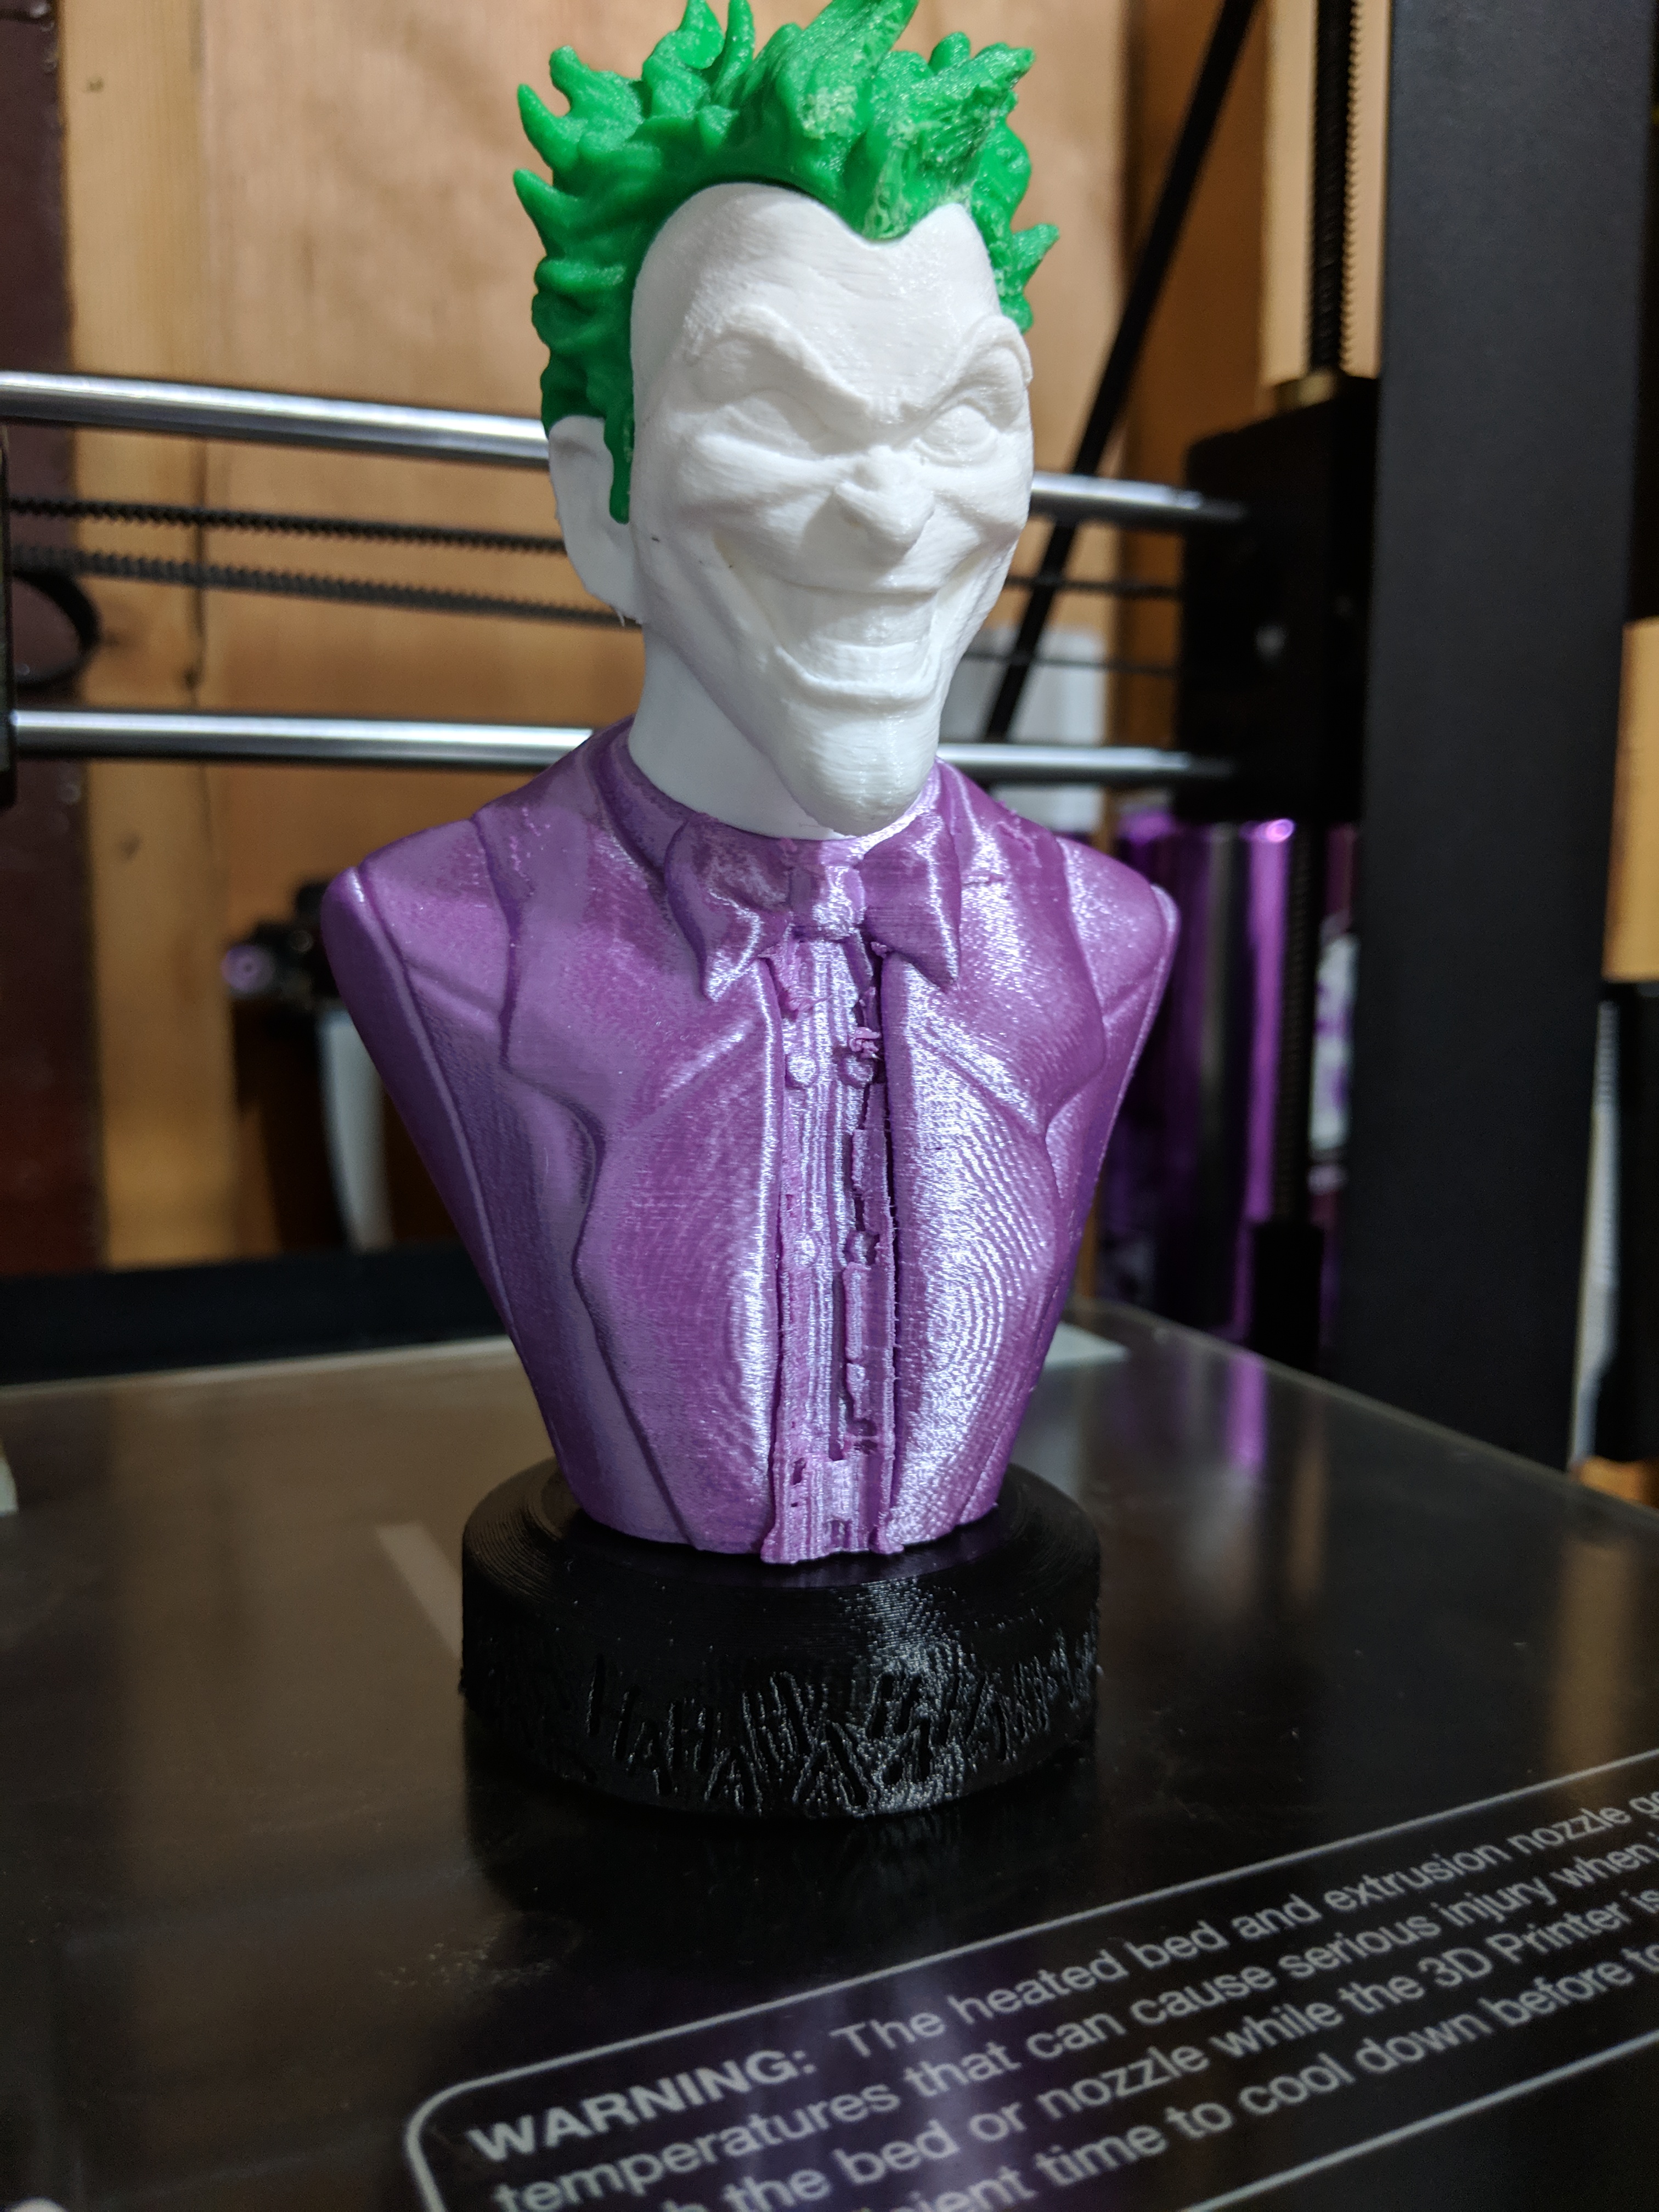
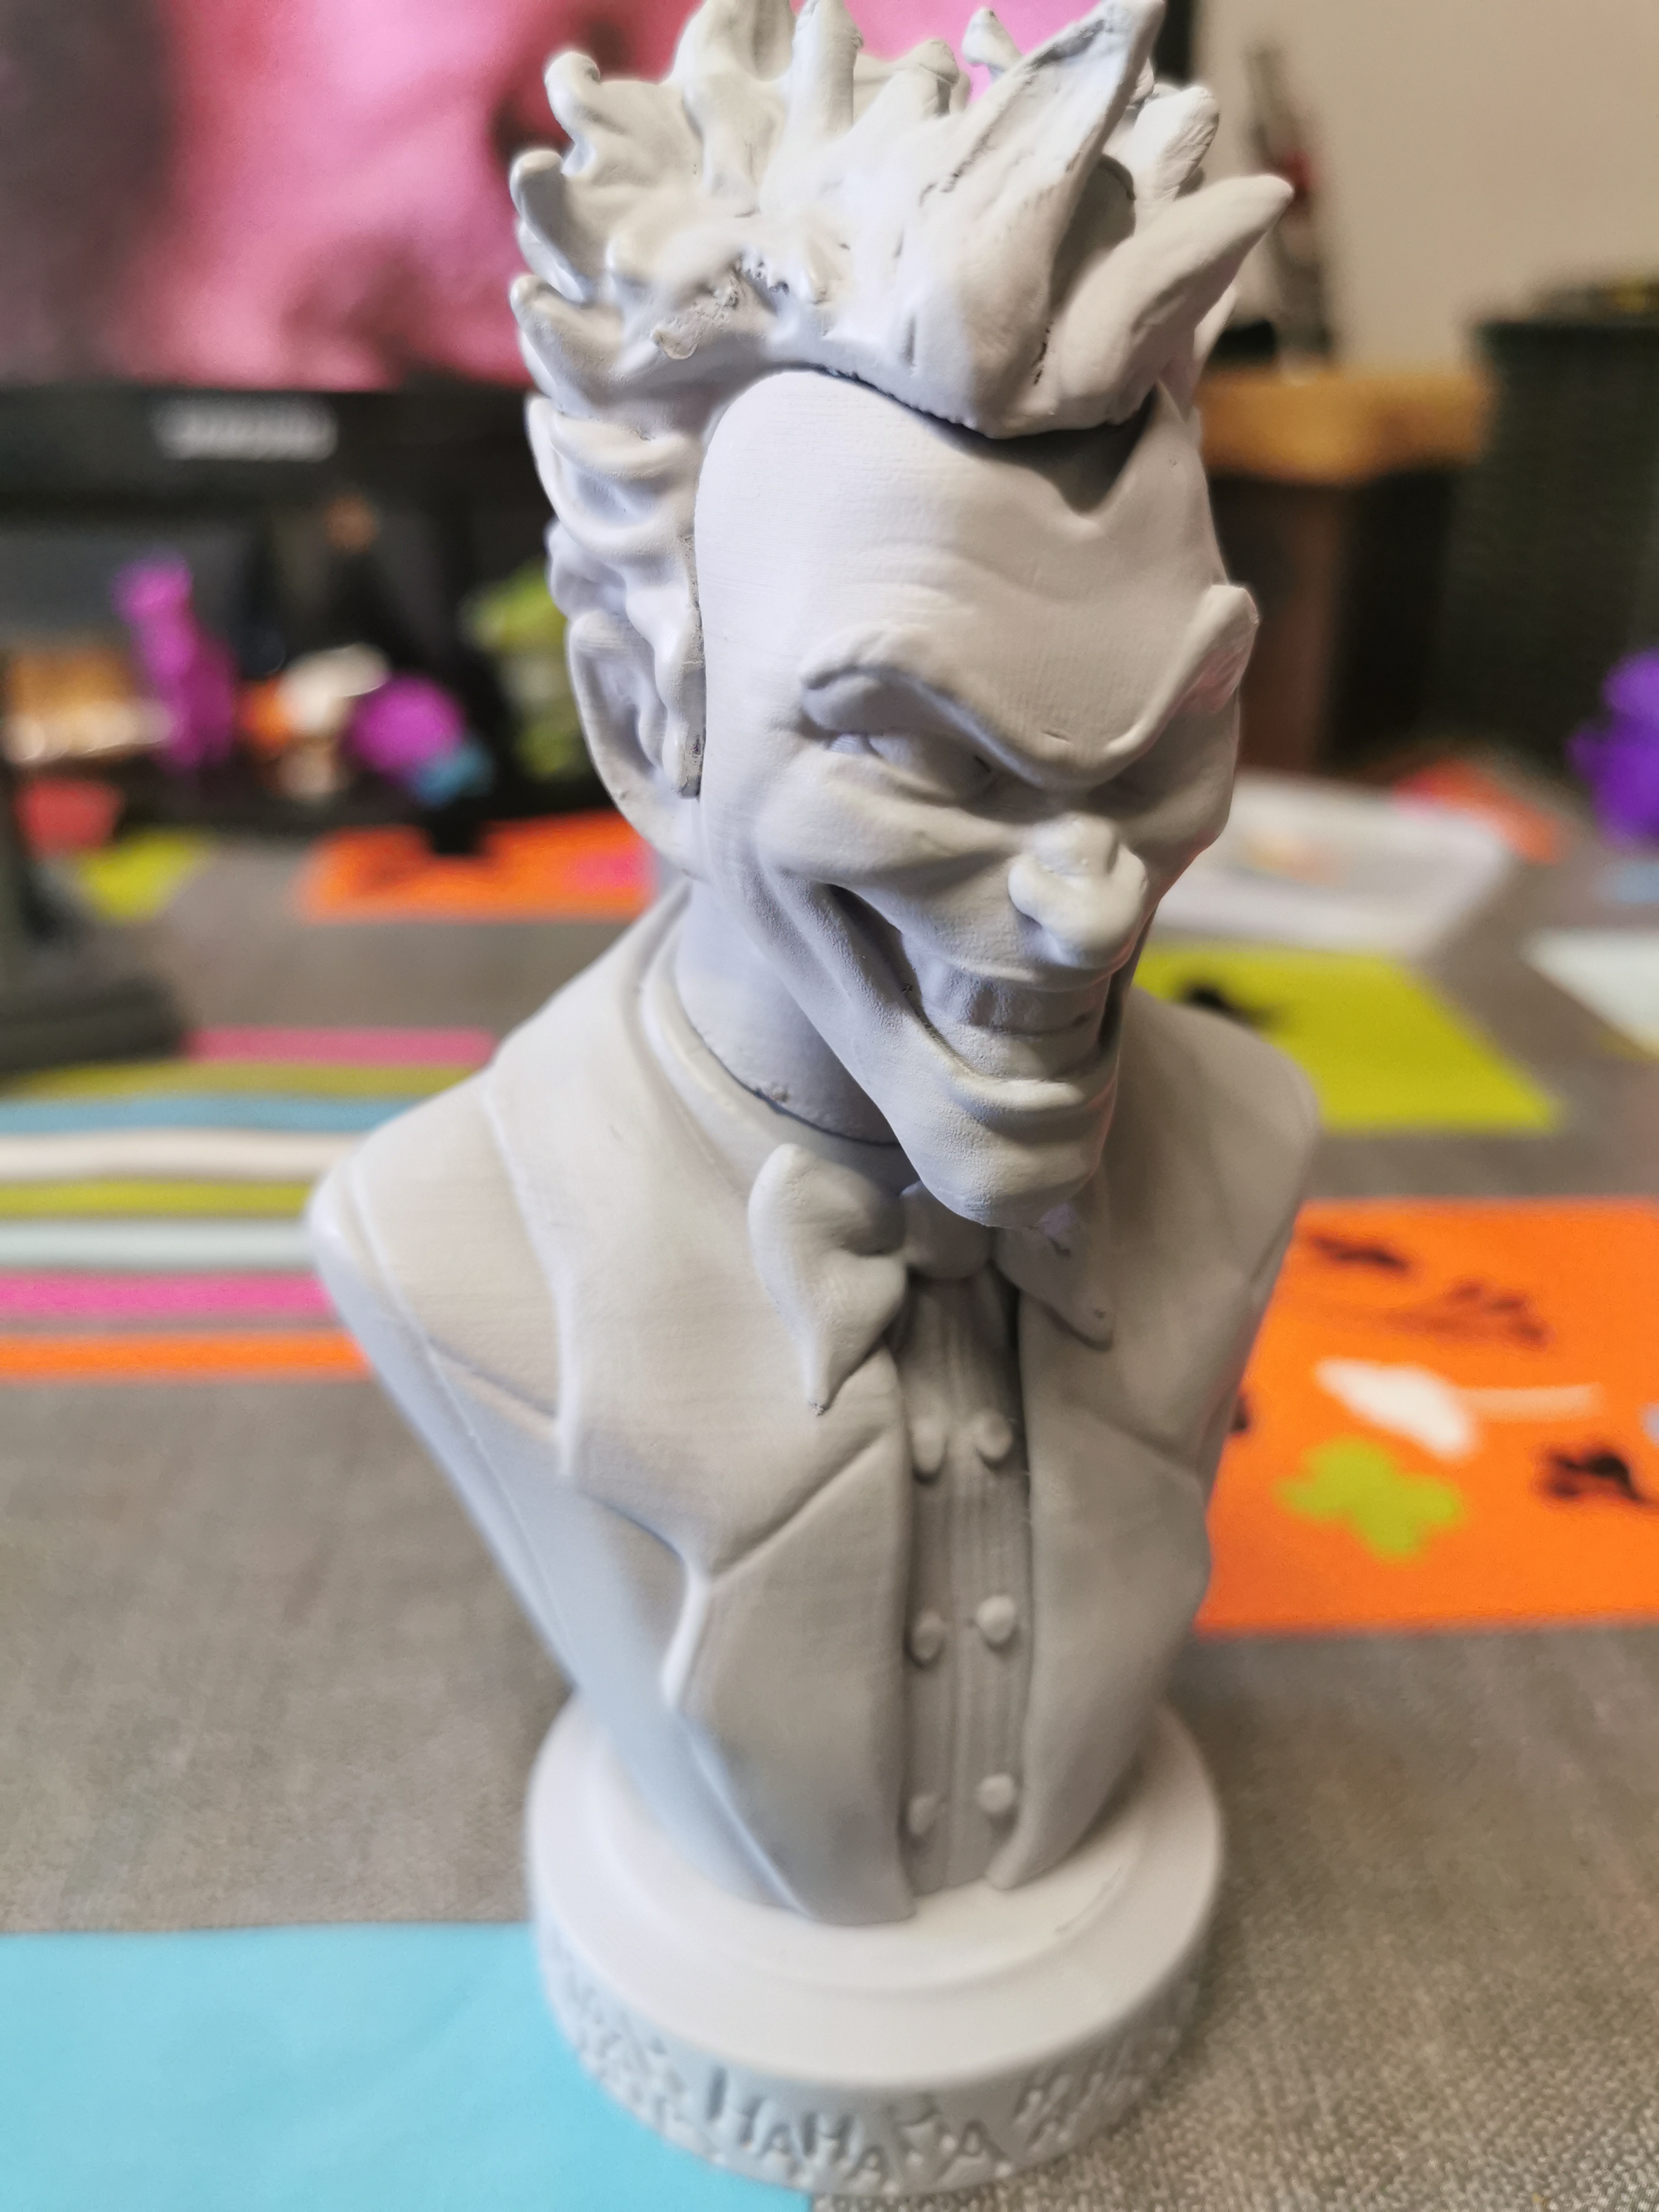
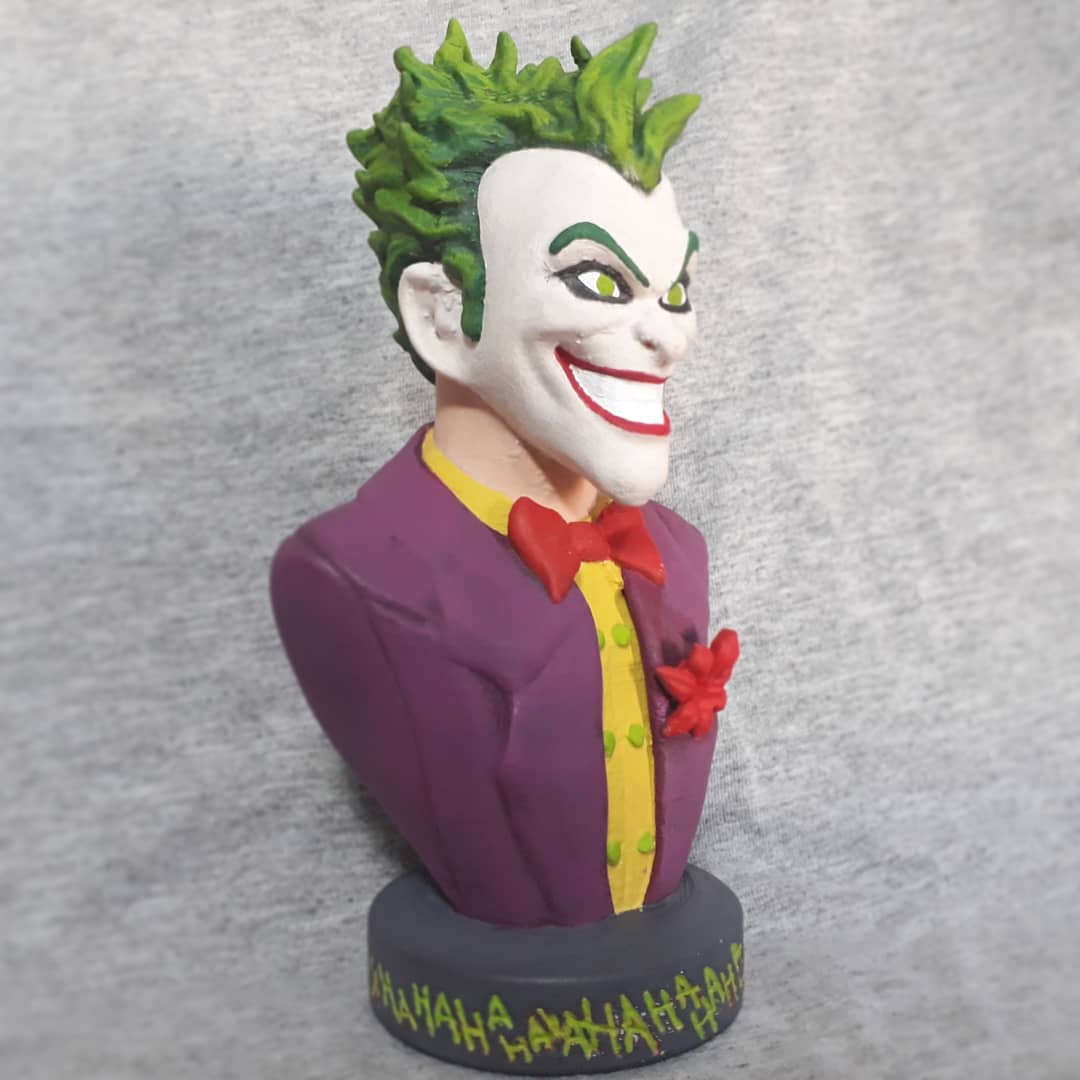
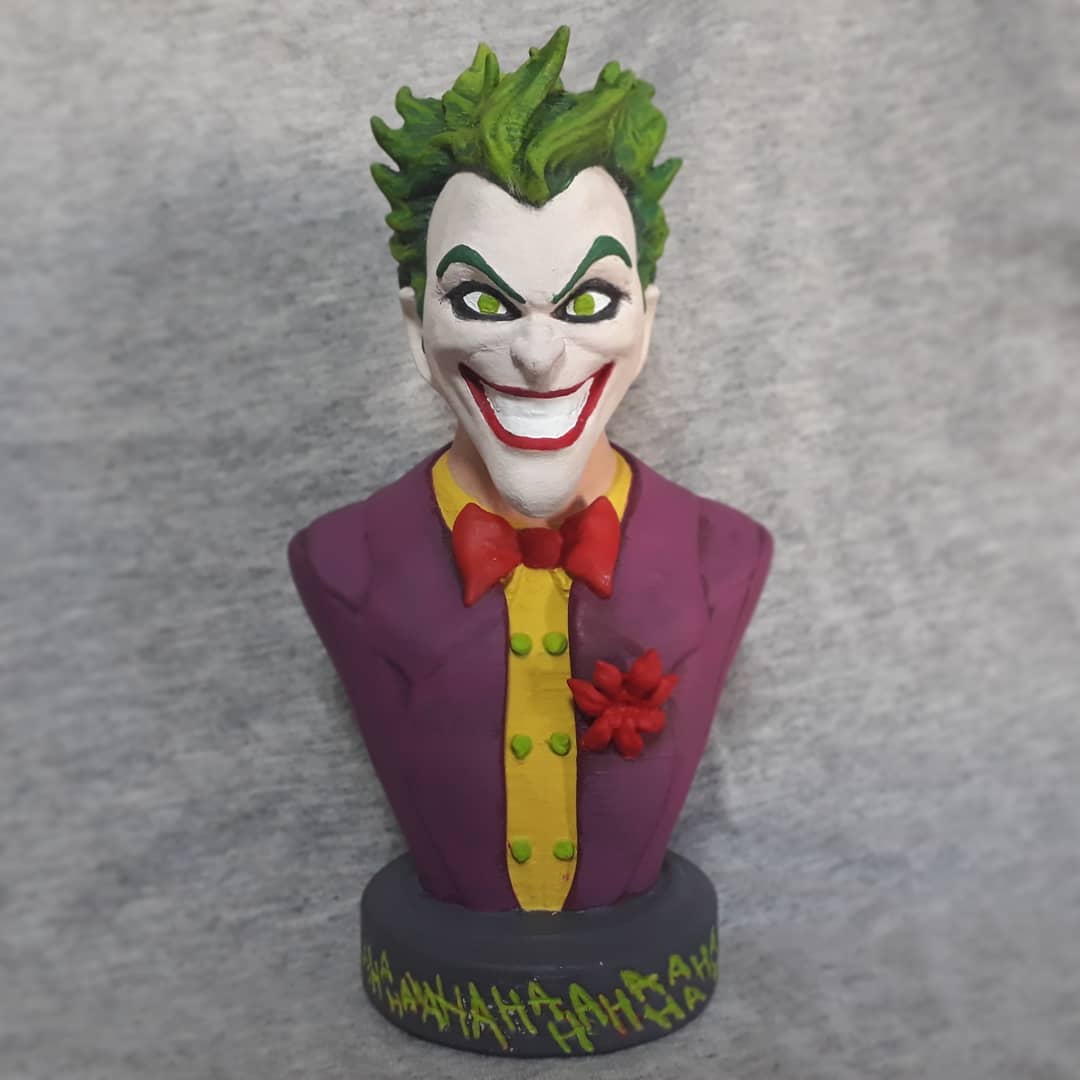
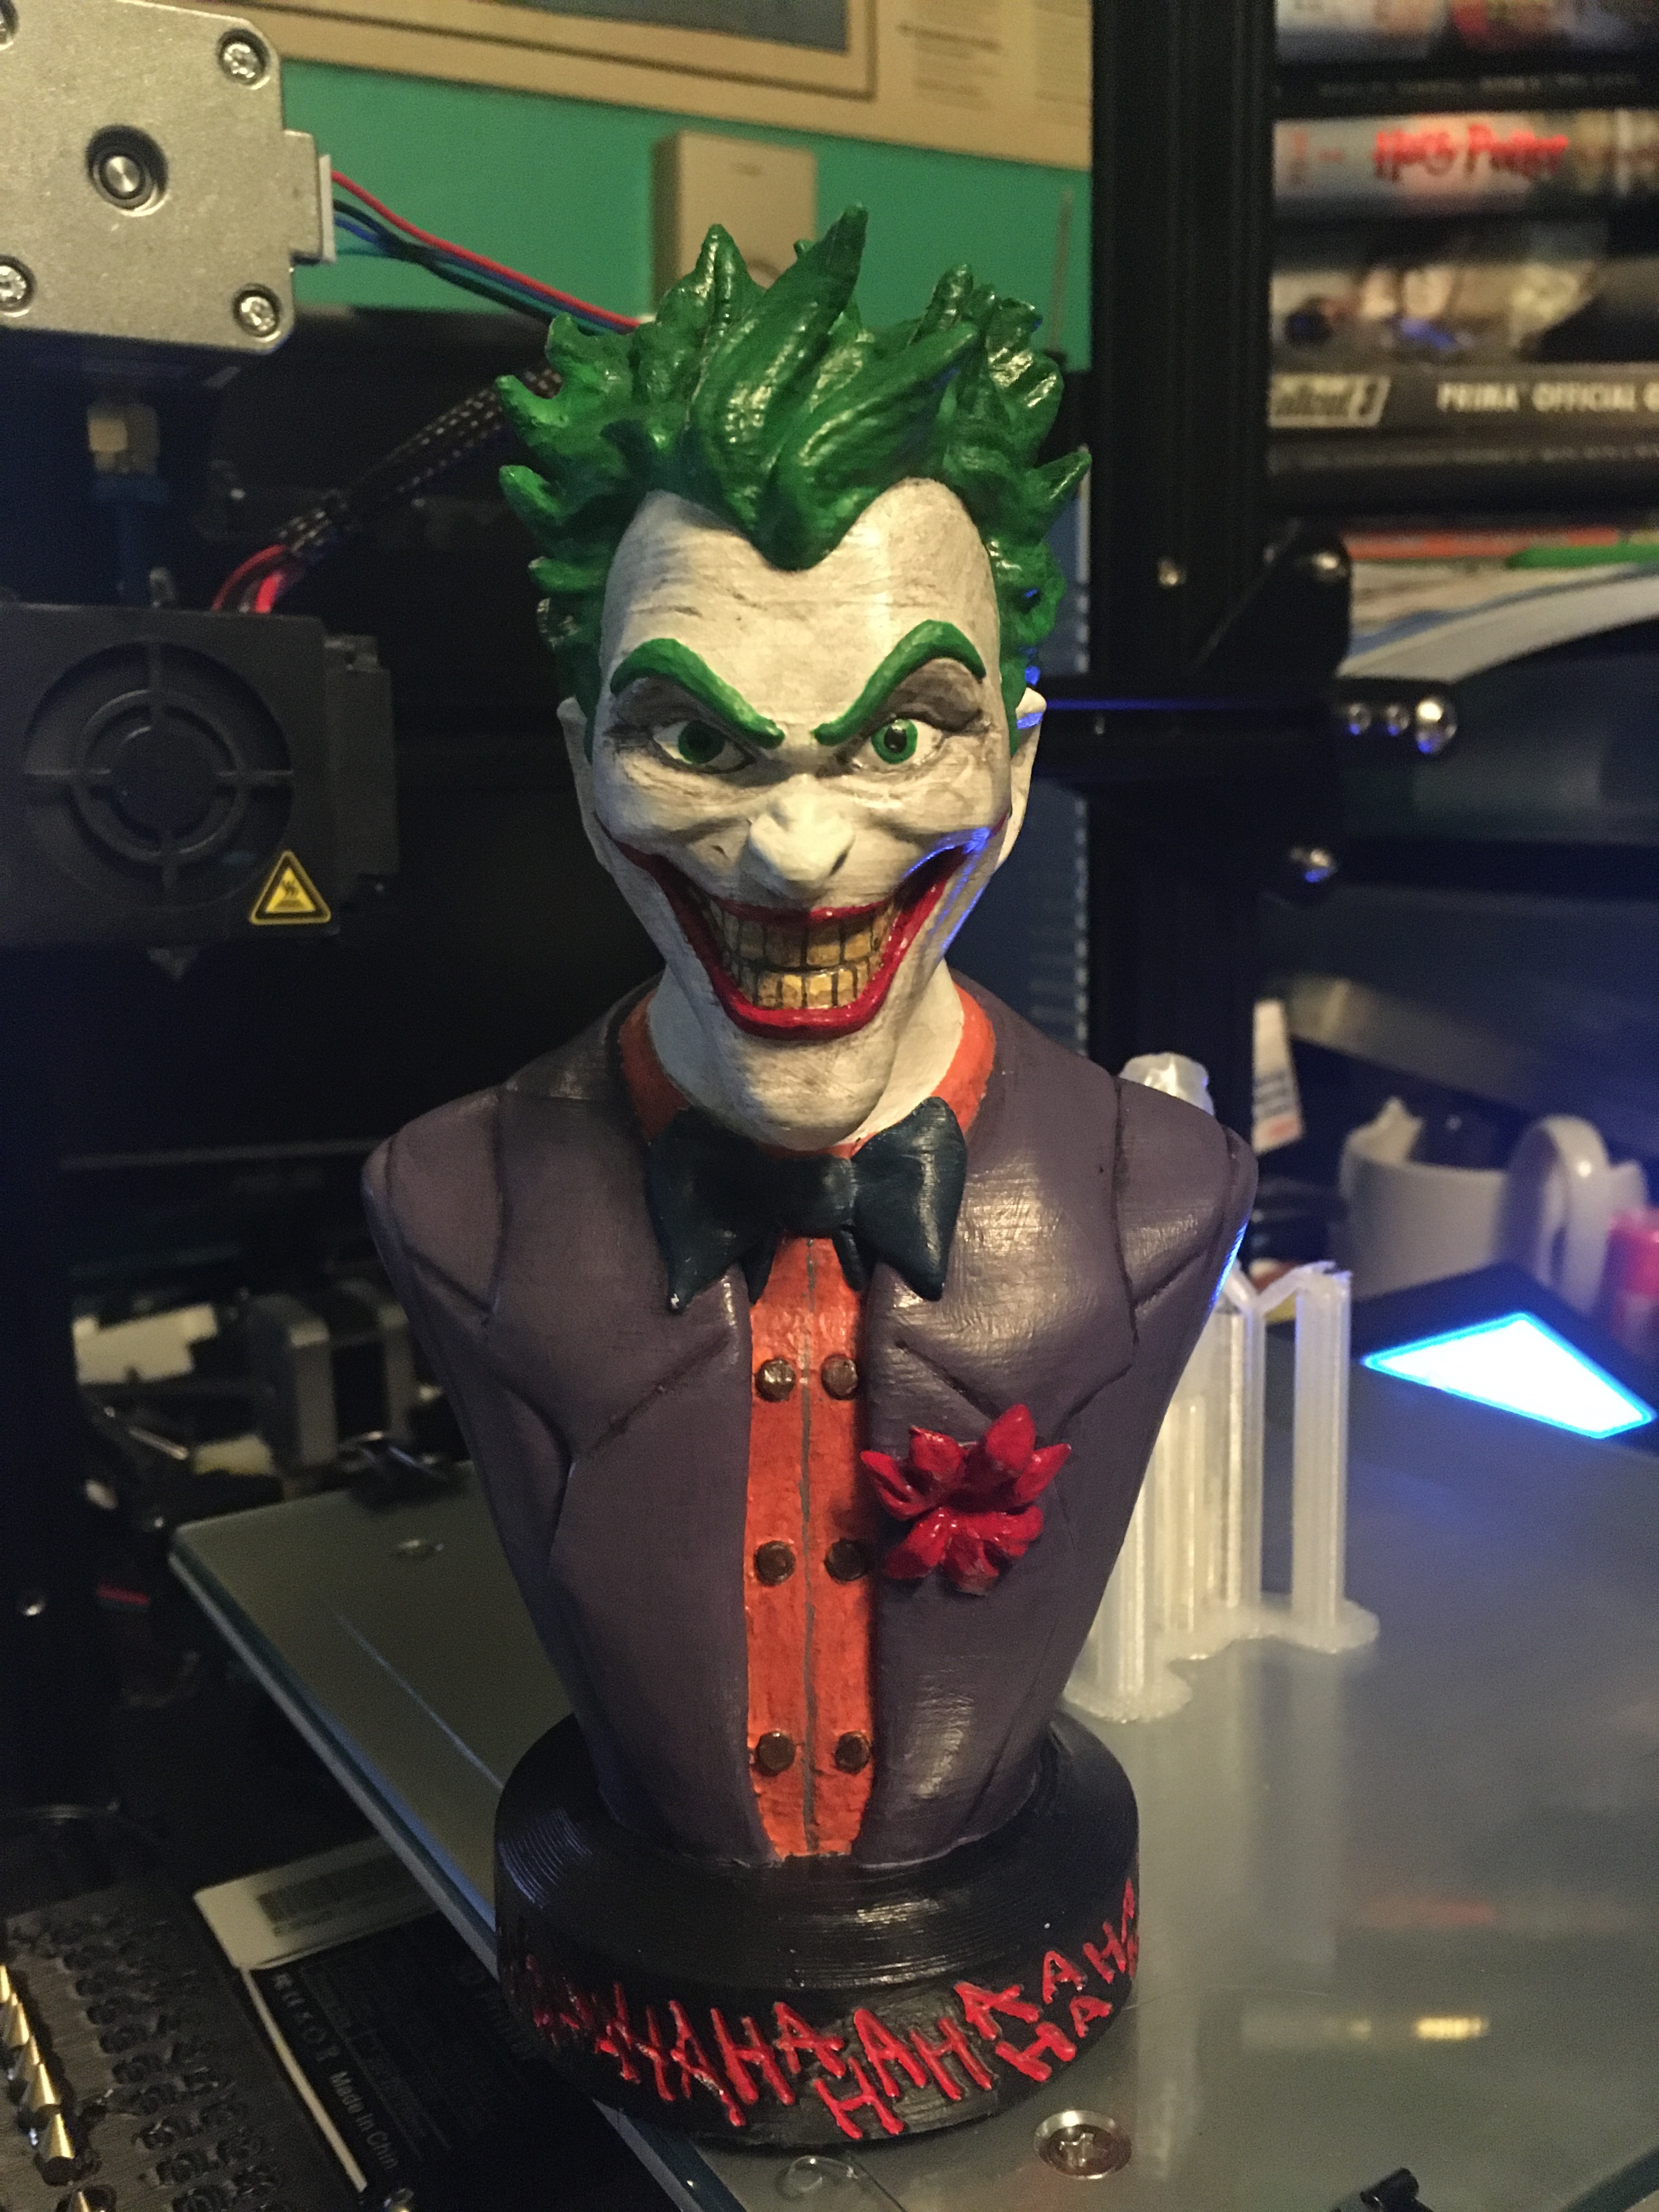
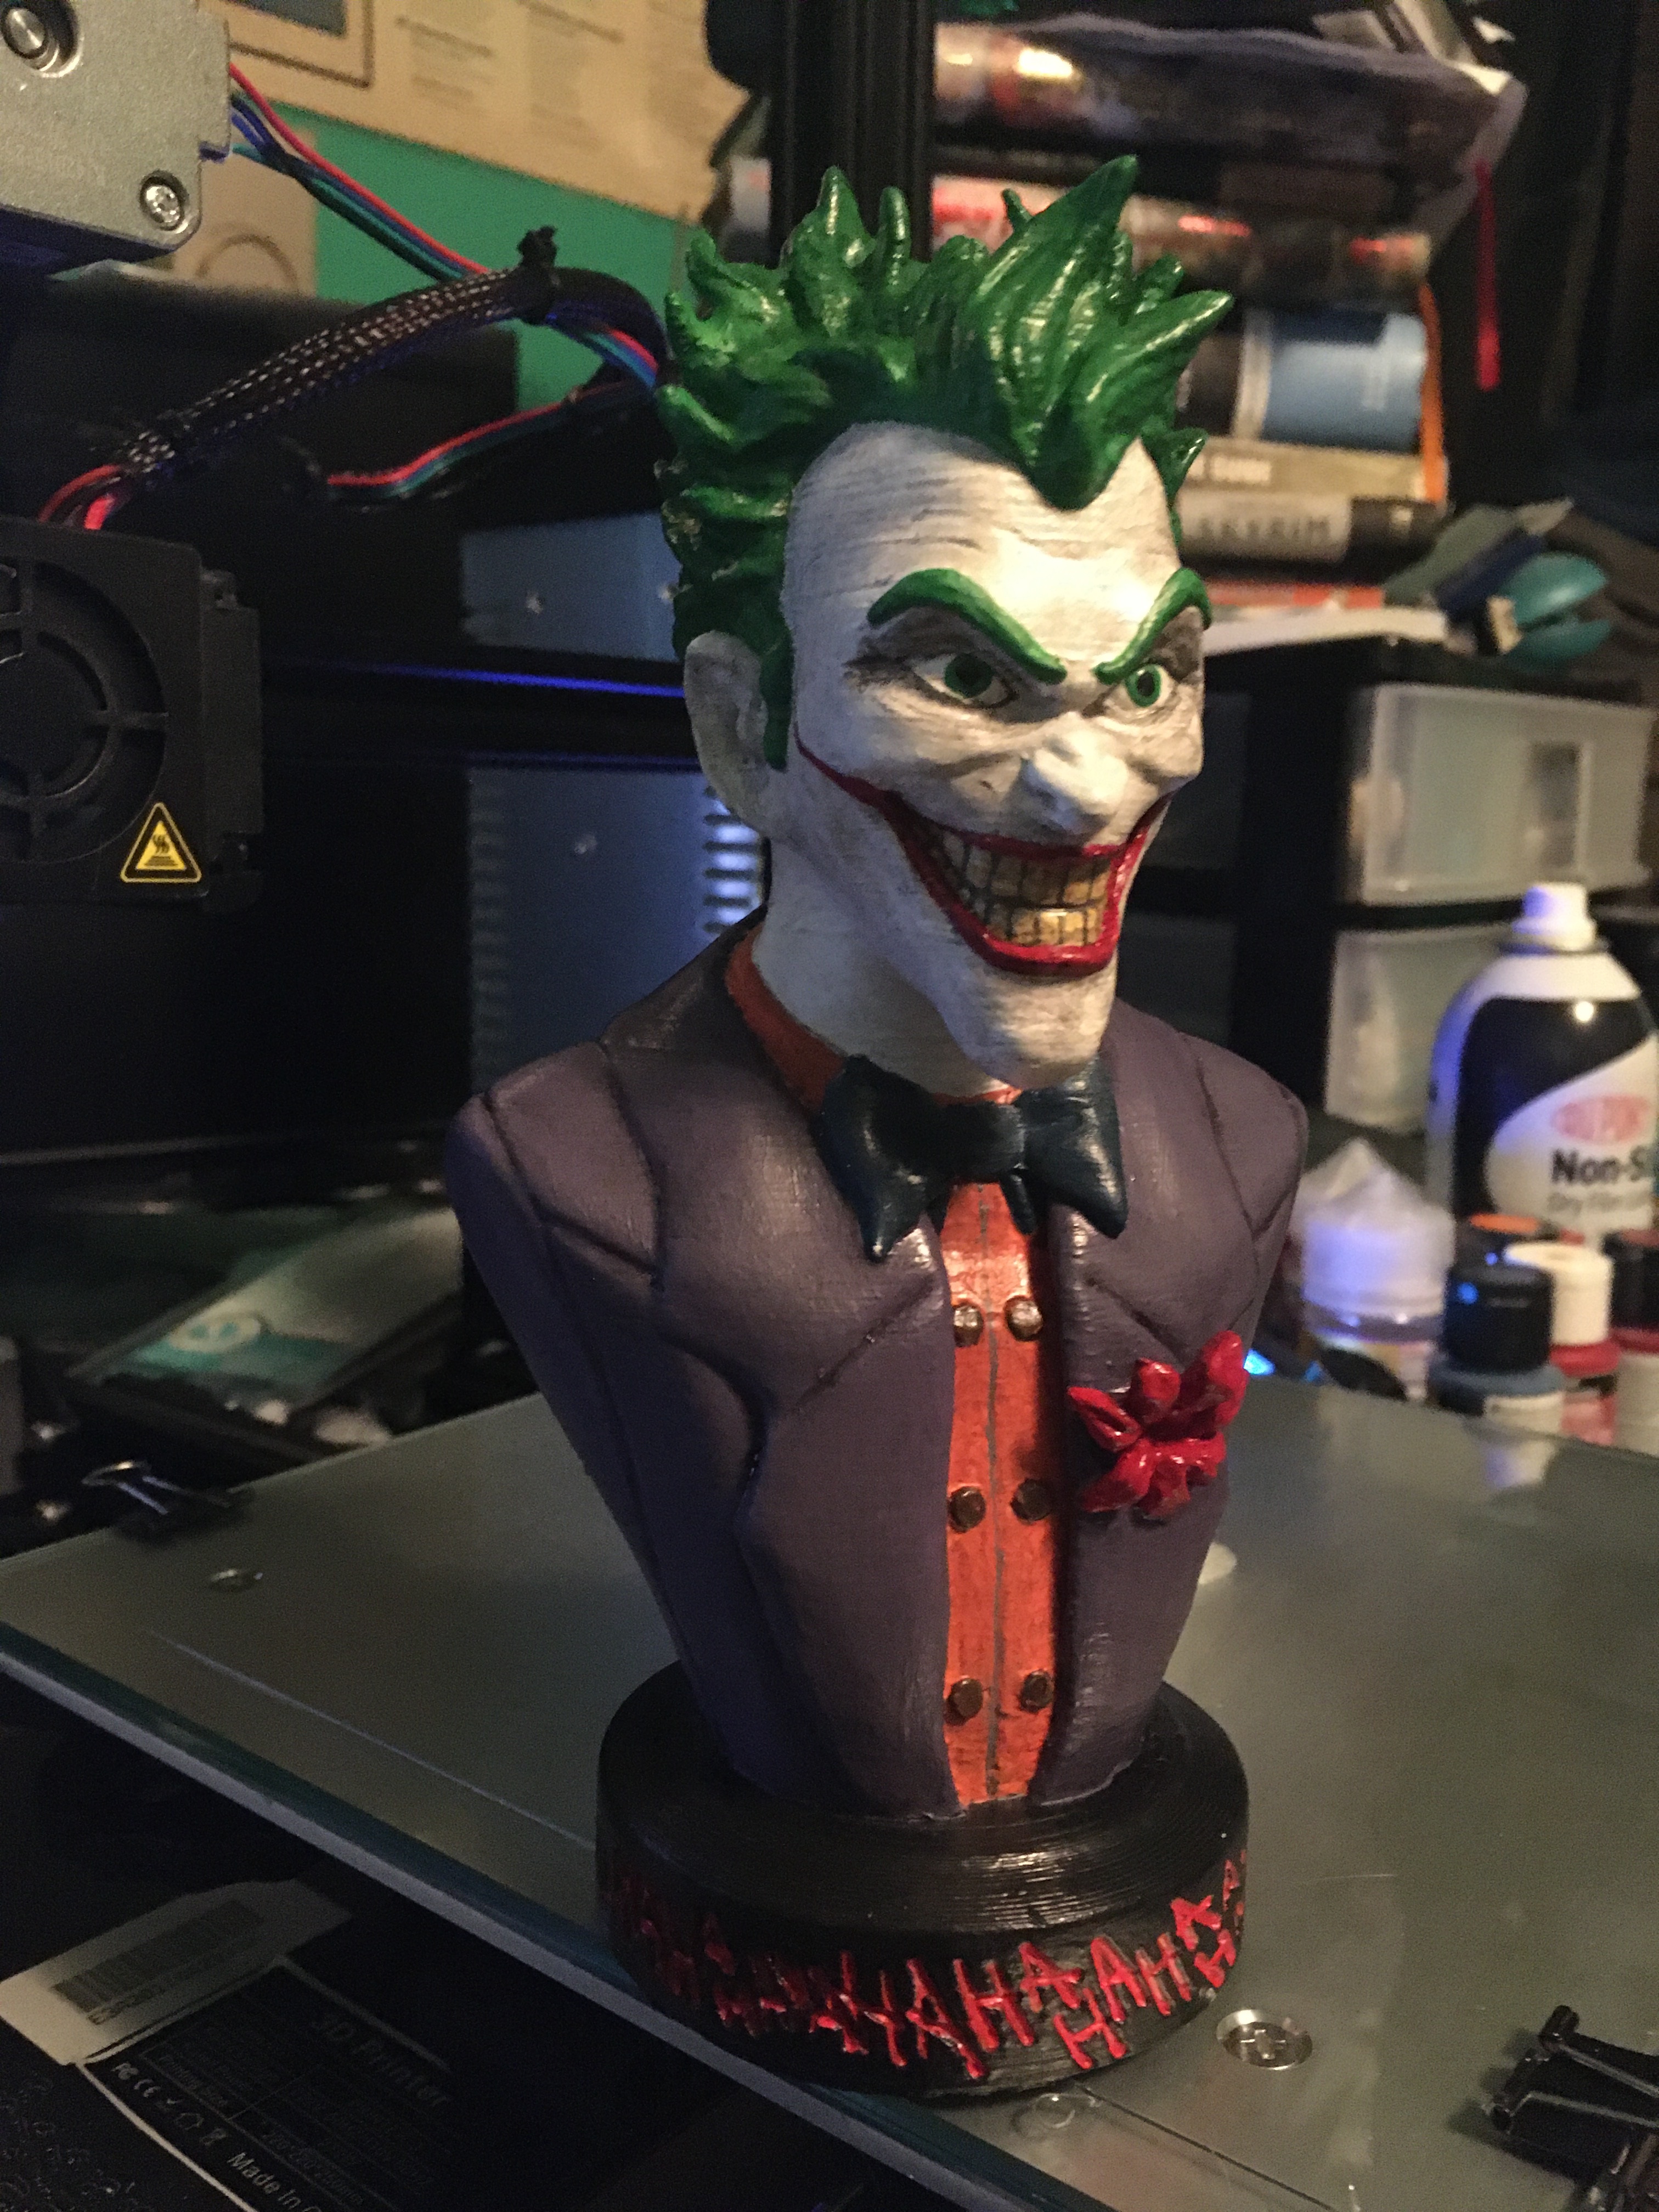
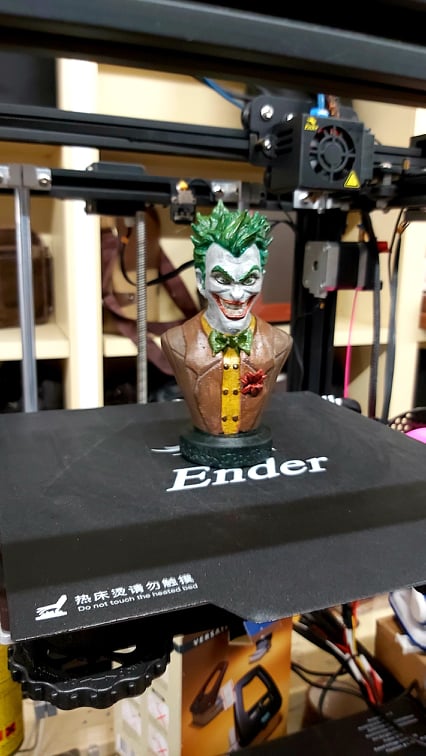
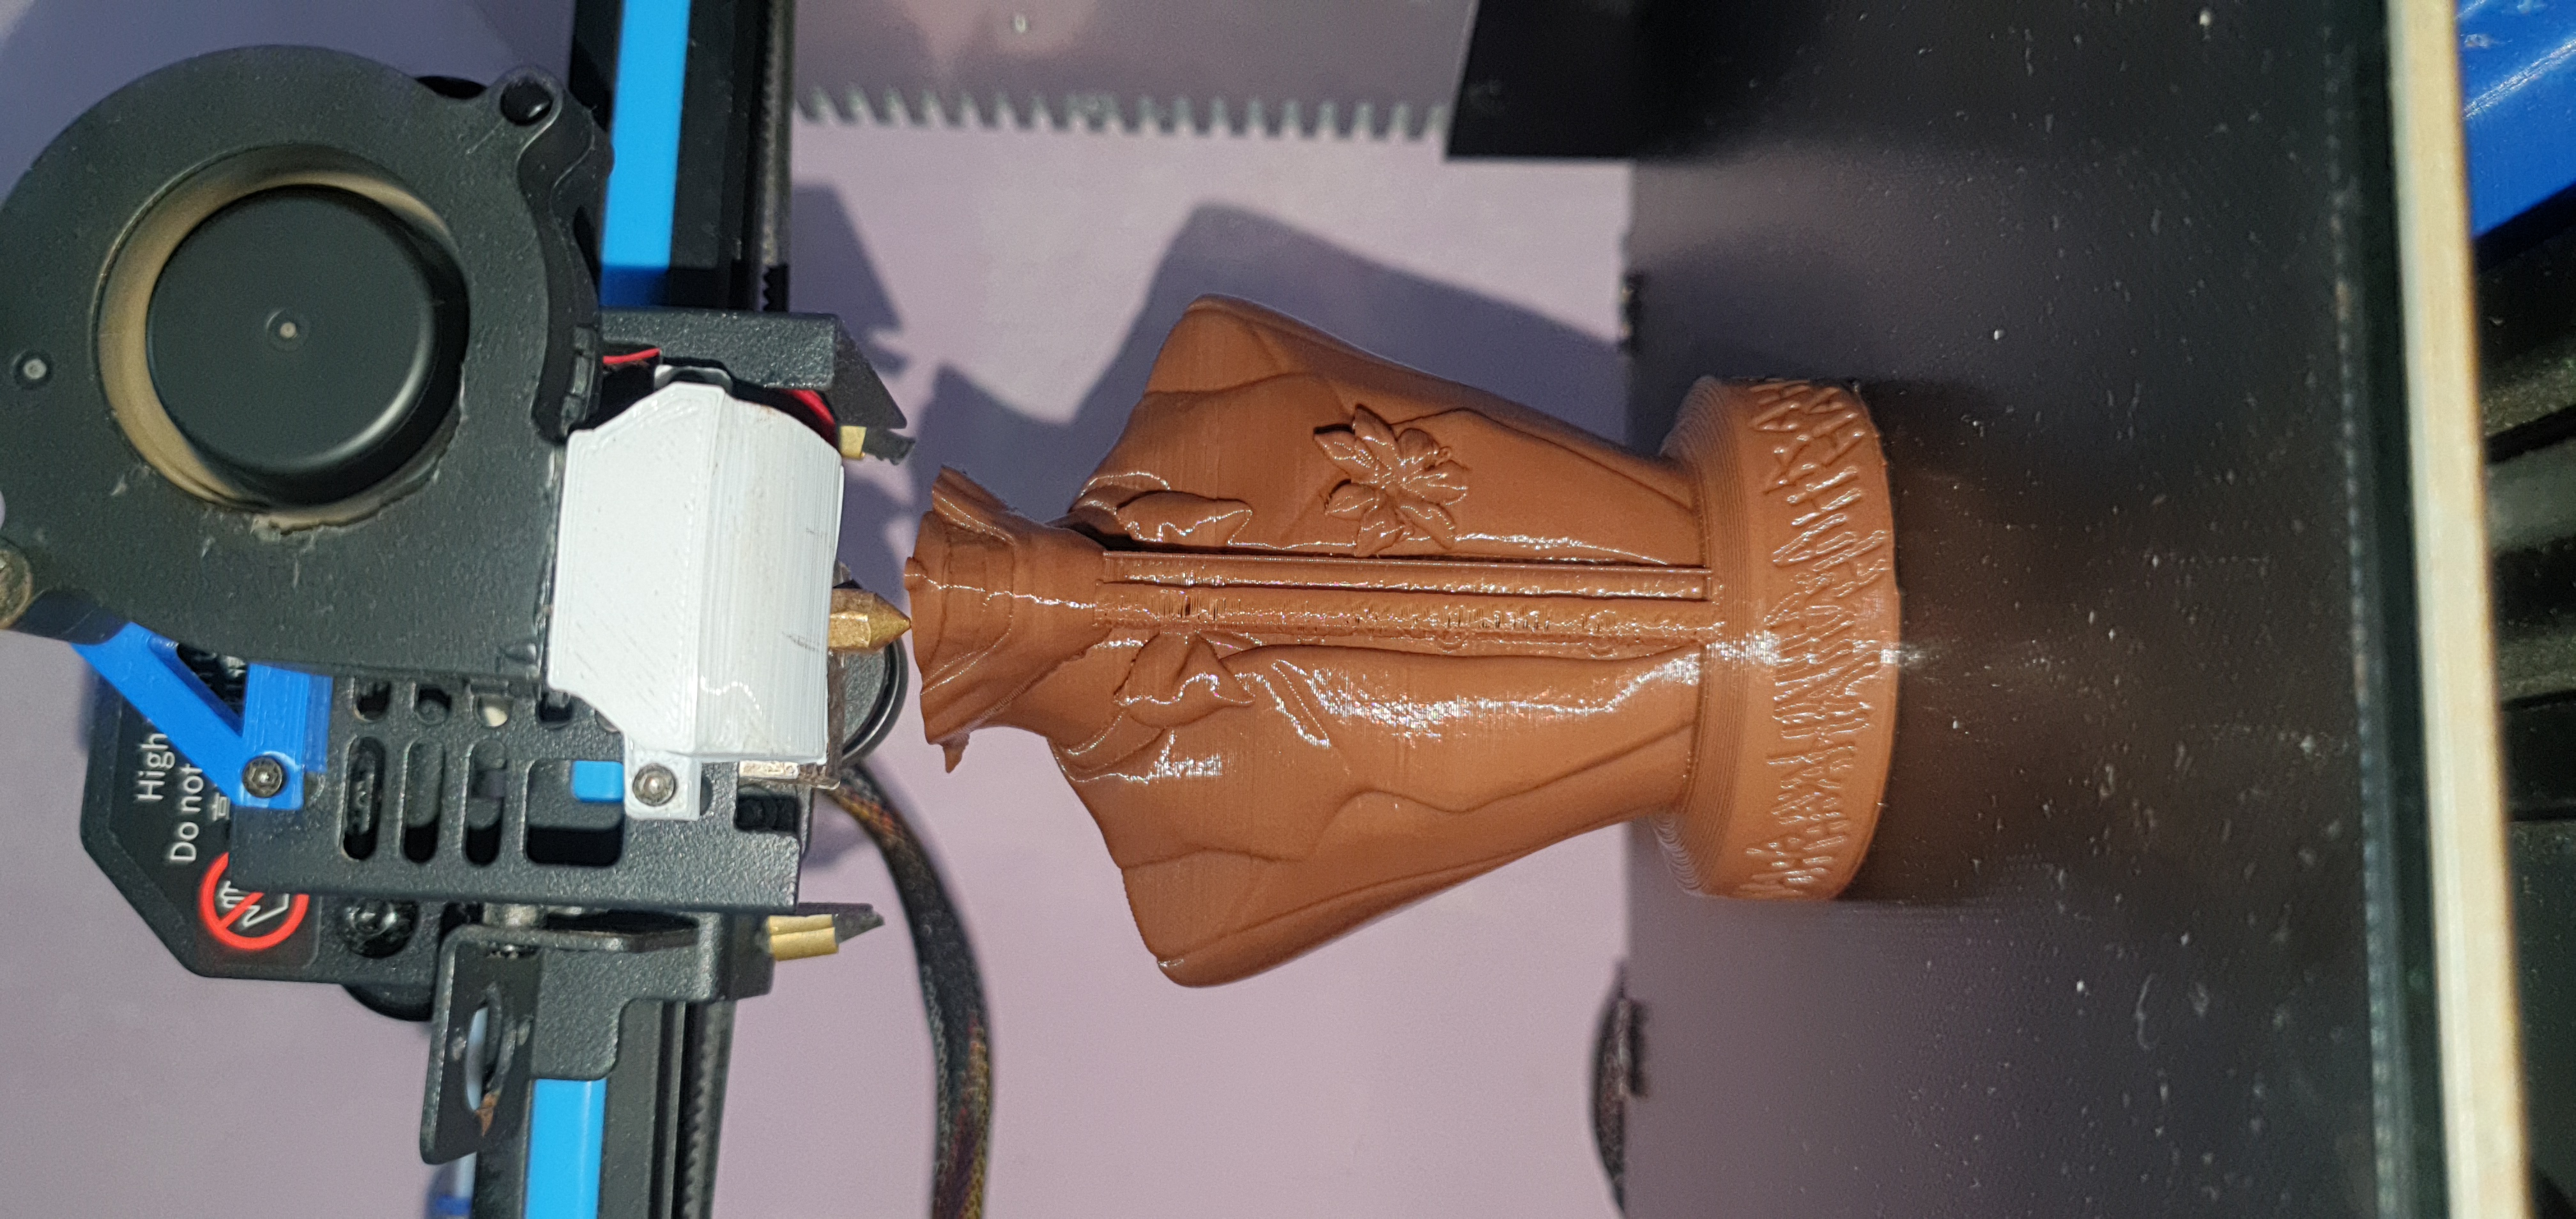
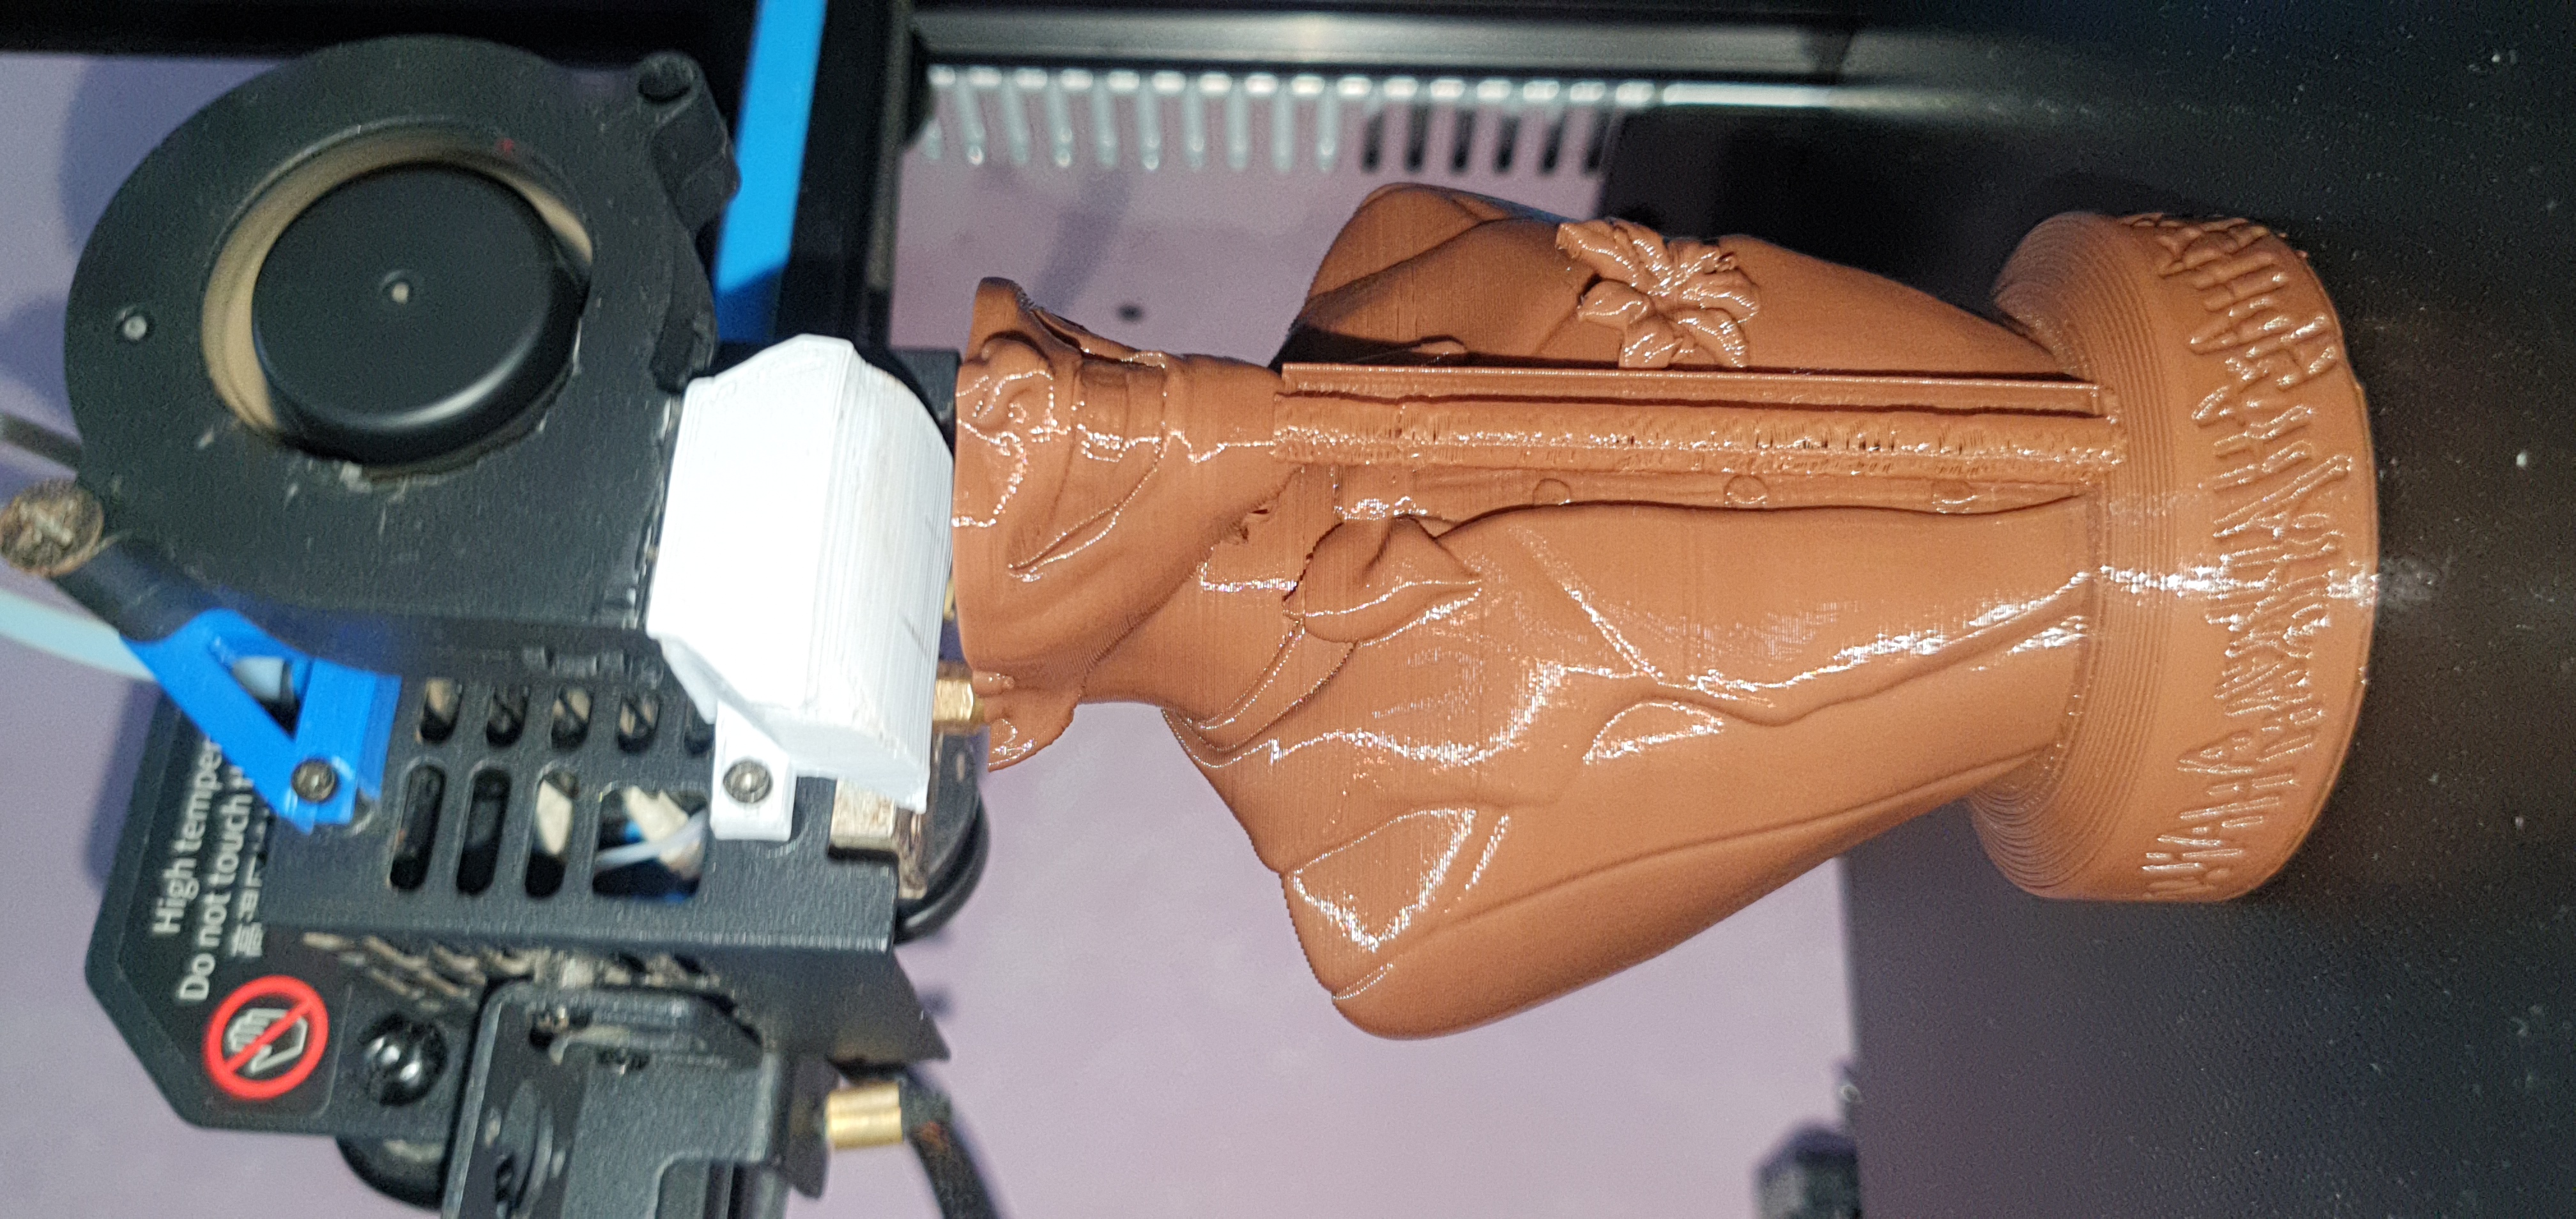
Printed the Joker bust on the Creality Ender 3 at 0.2 layer height.
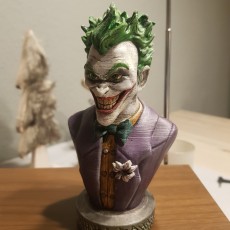
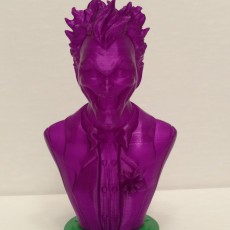
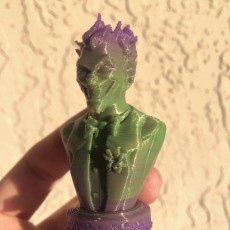
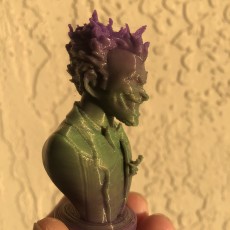
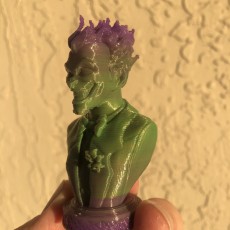
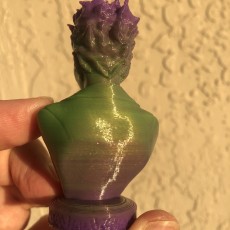
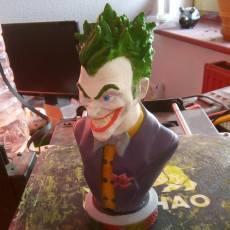
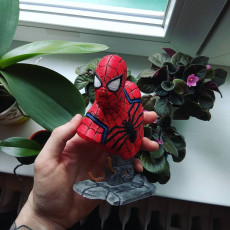
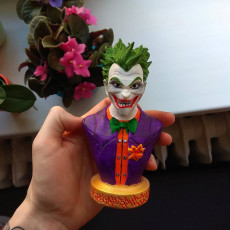
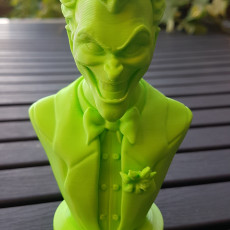
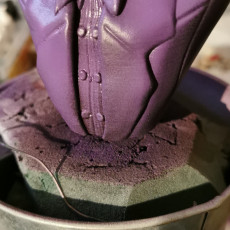
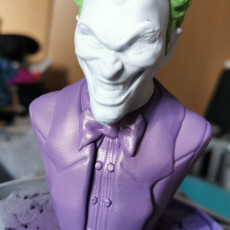
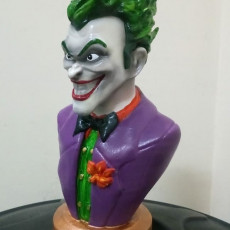
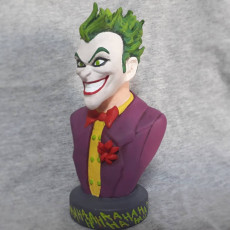
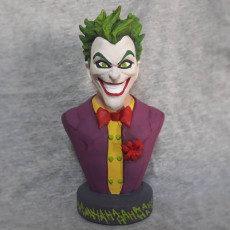
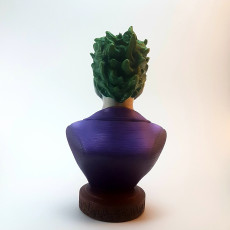
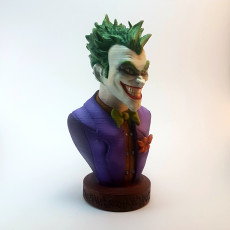
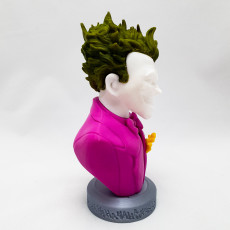
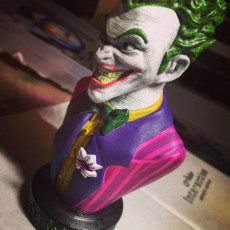
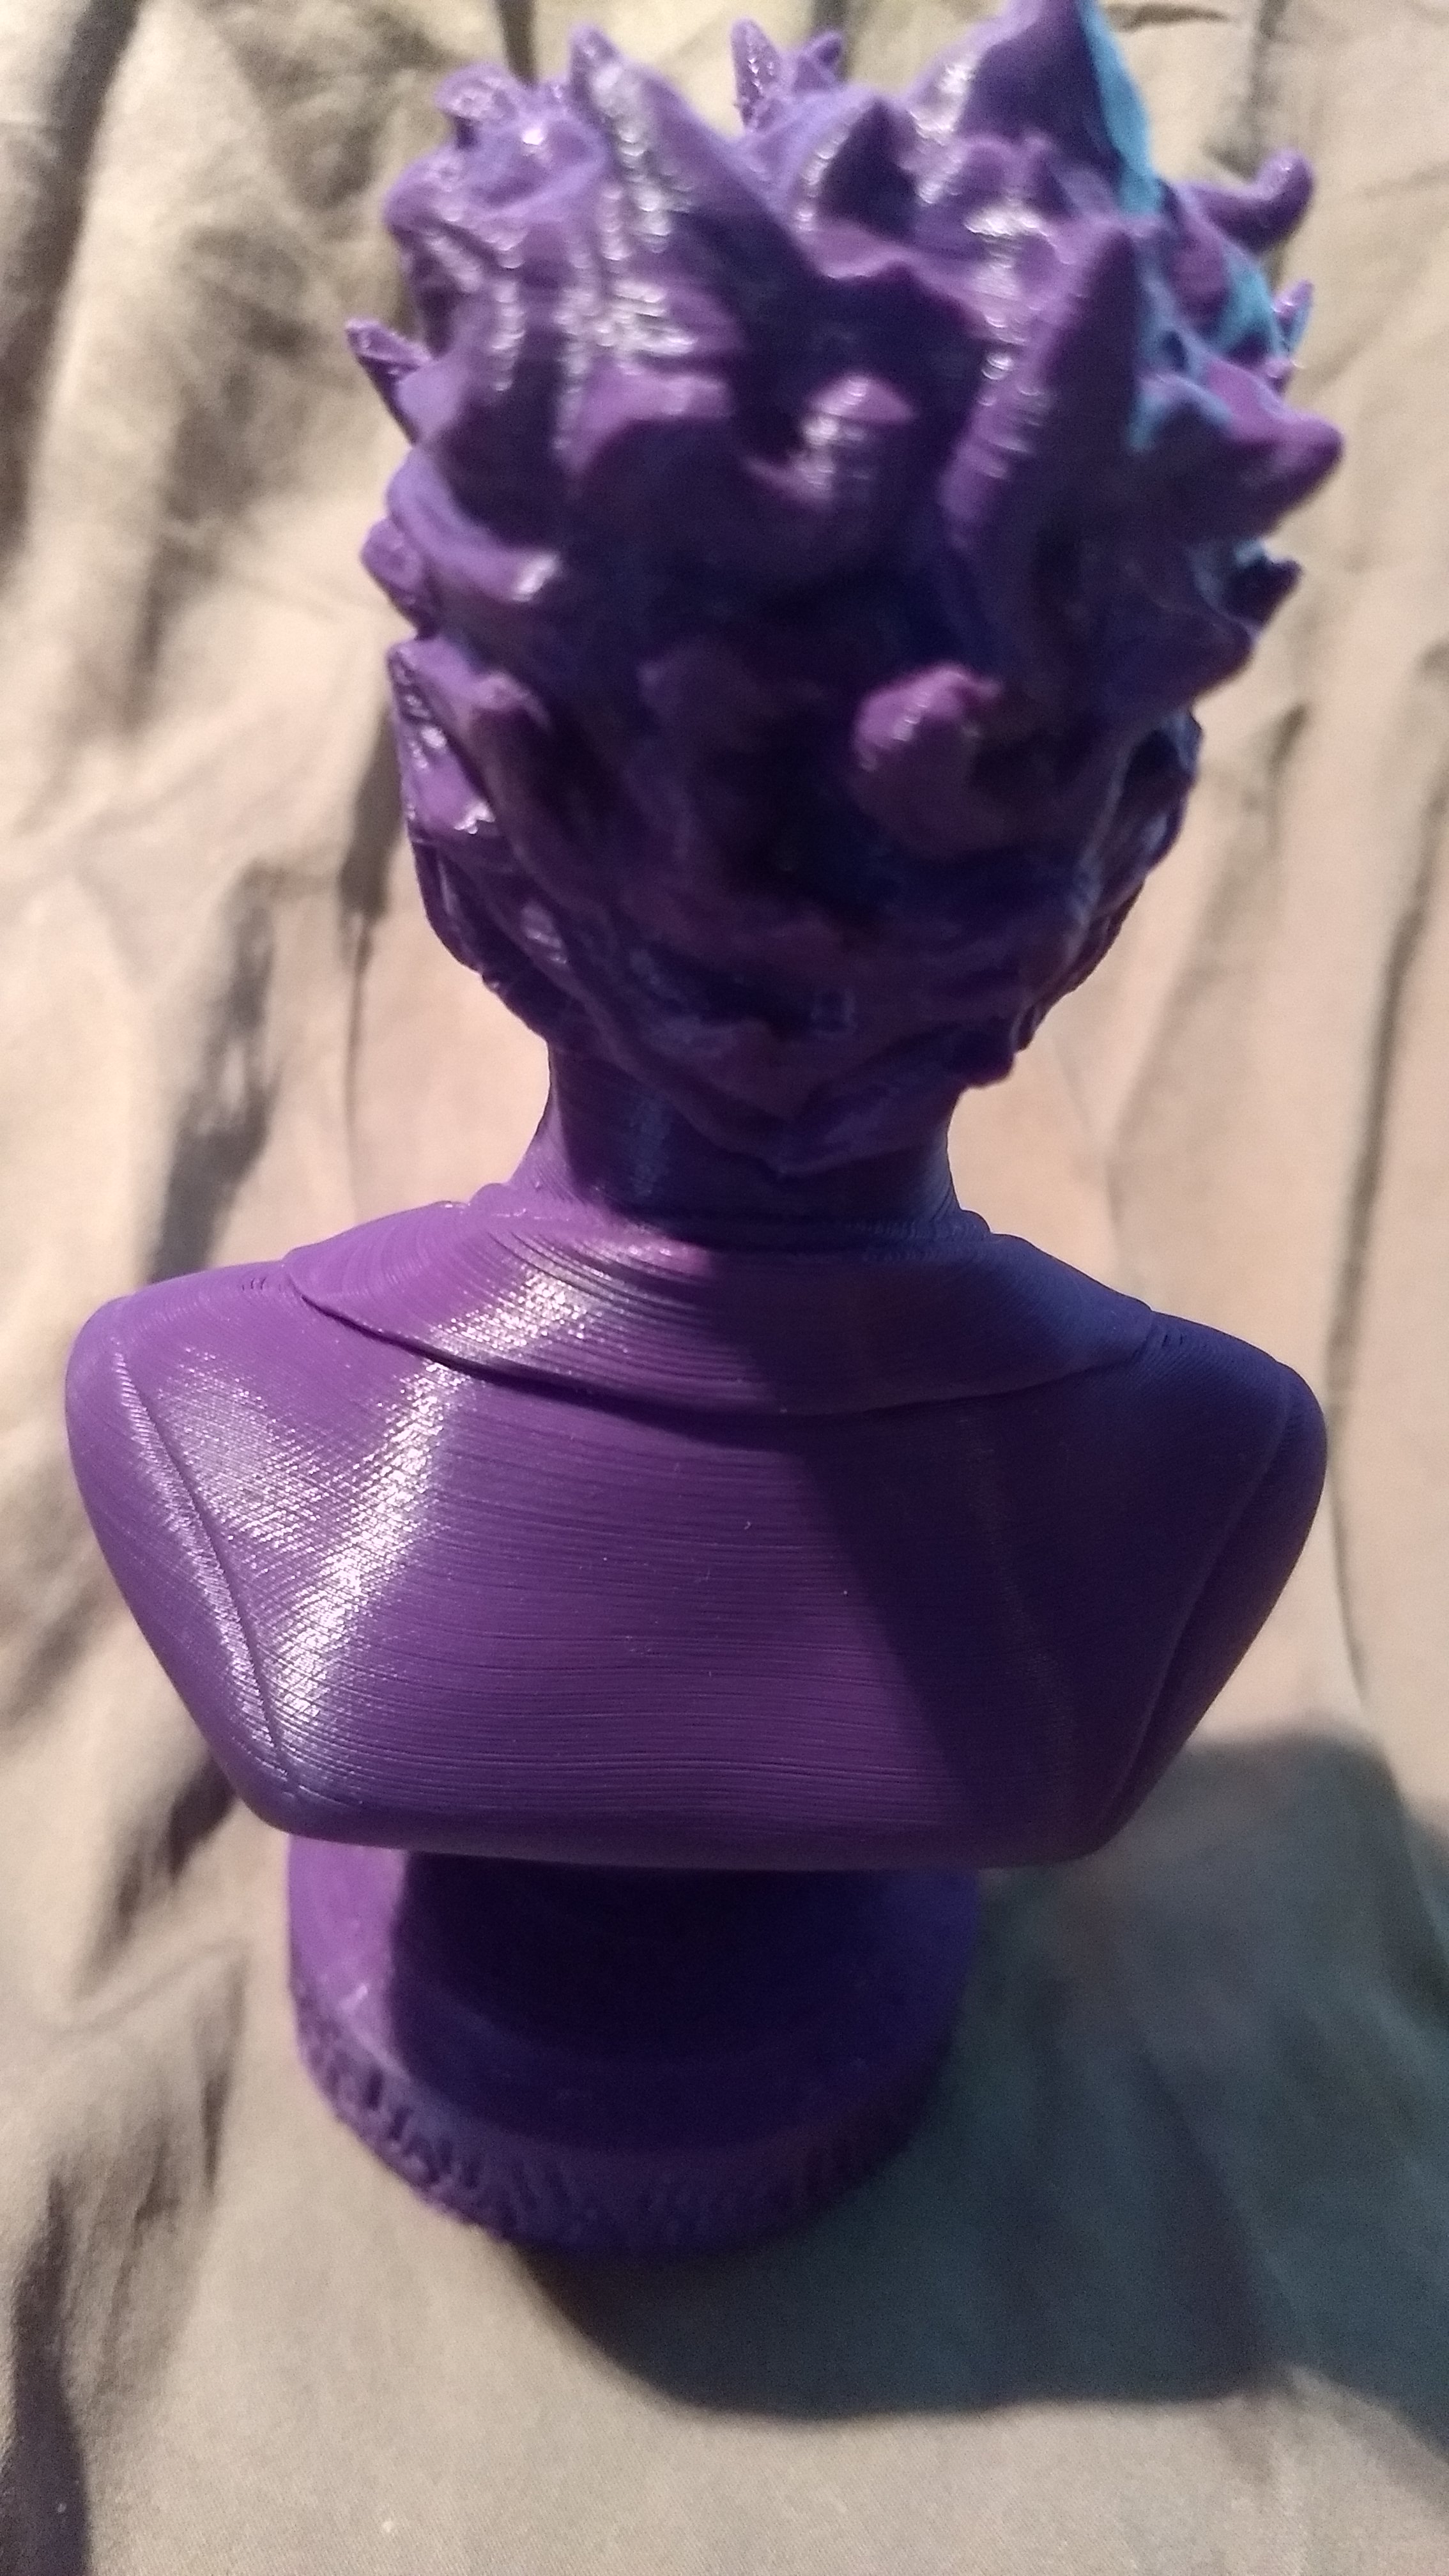
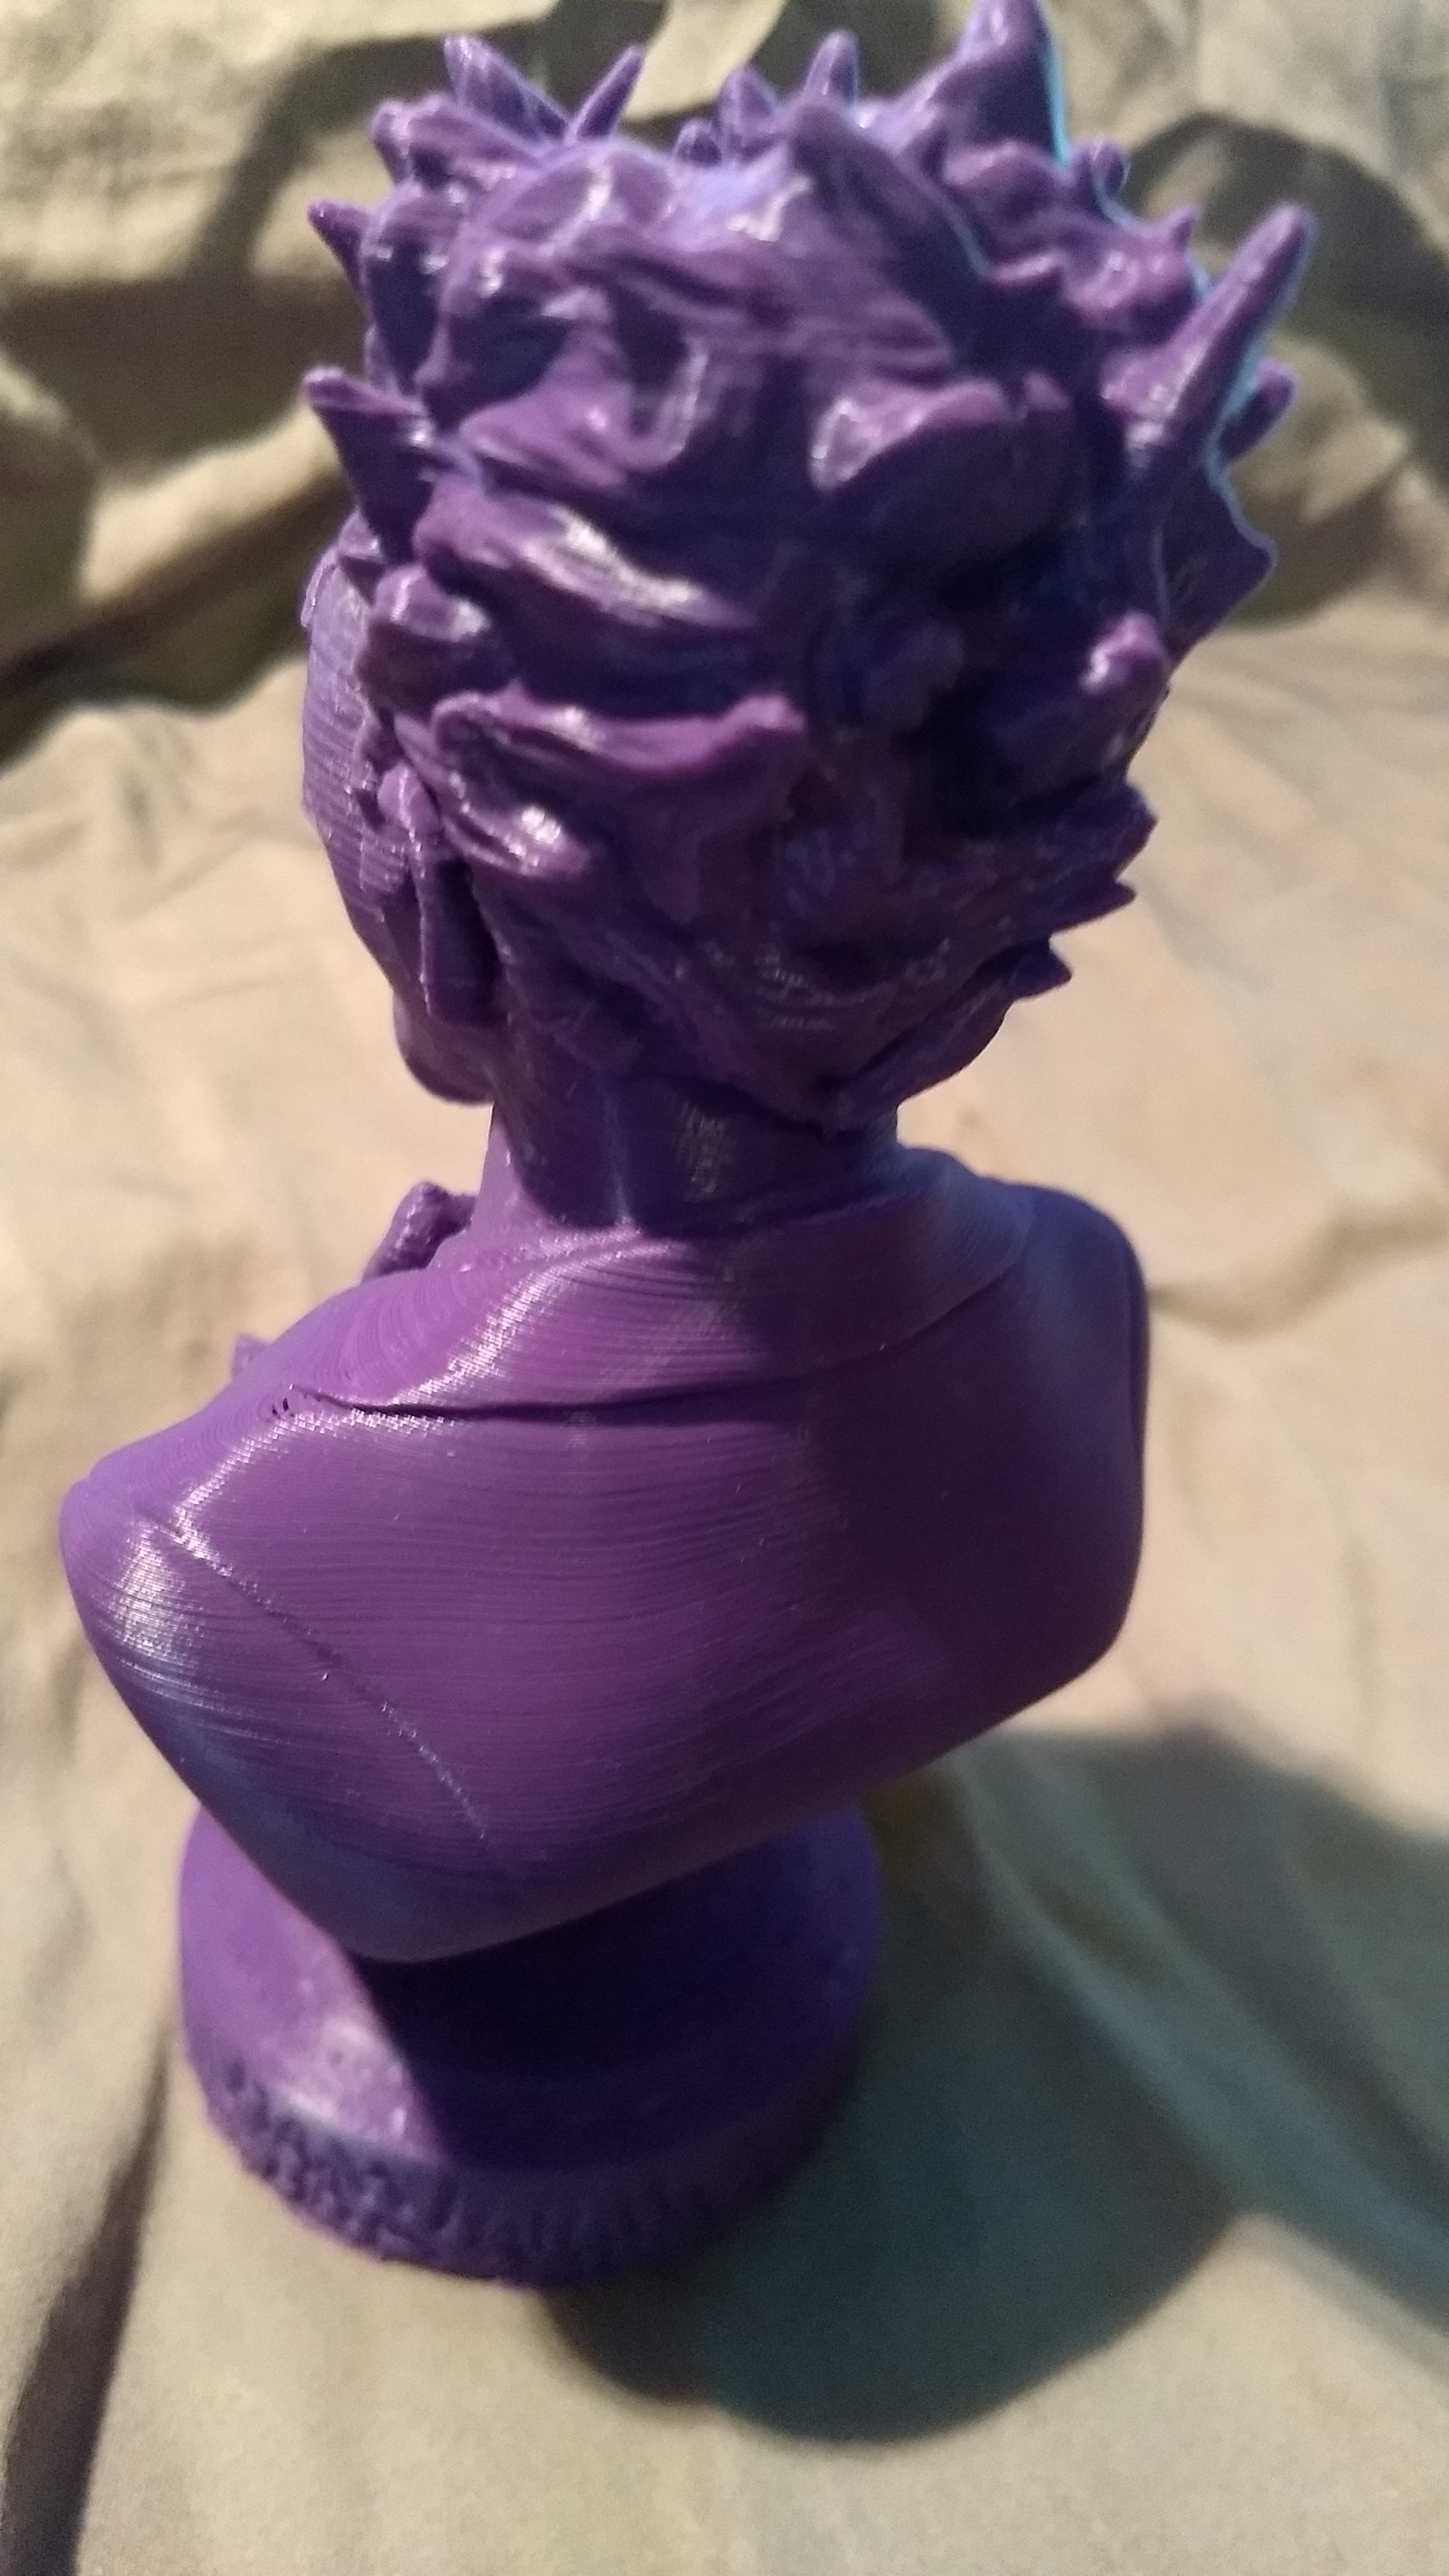
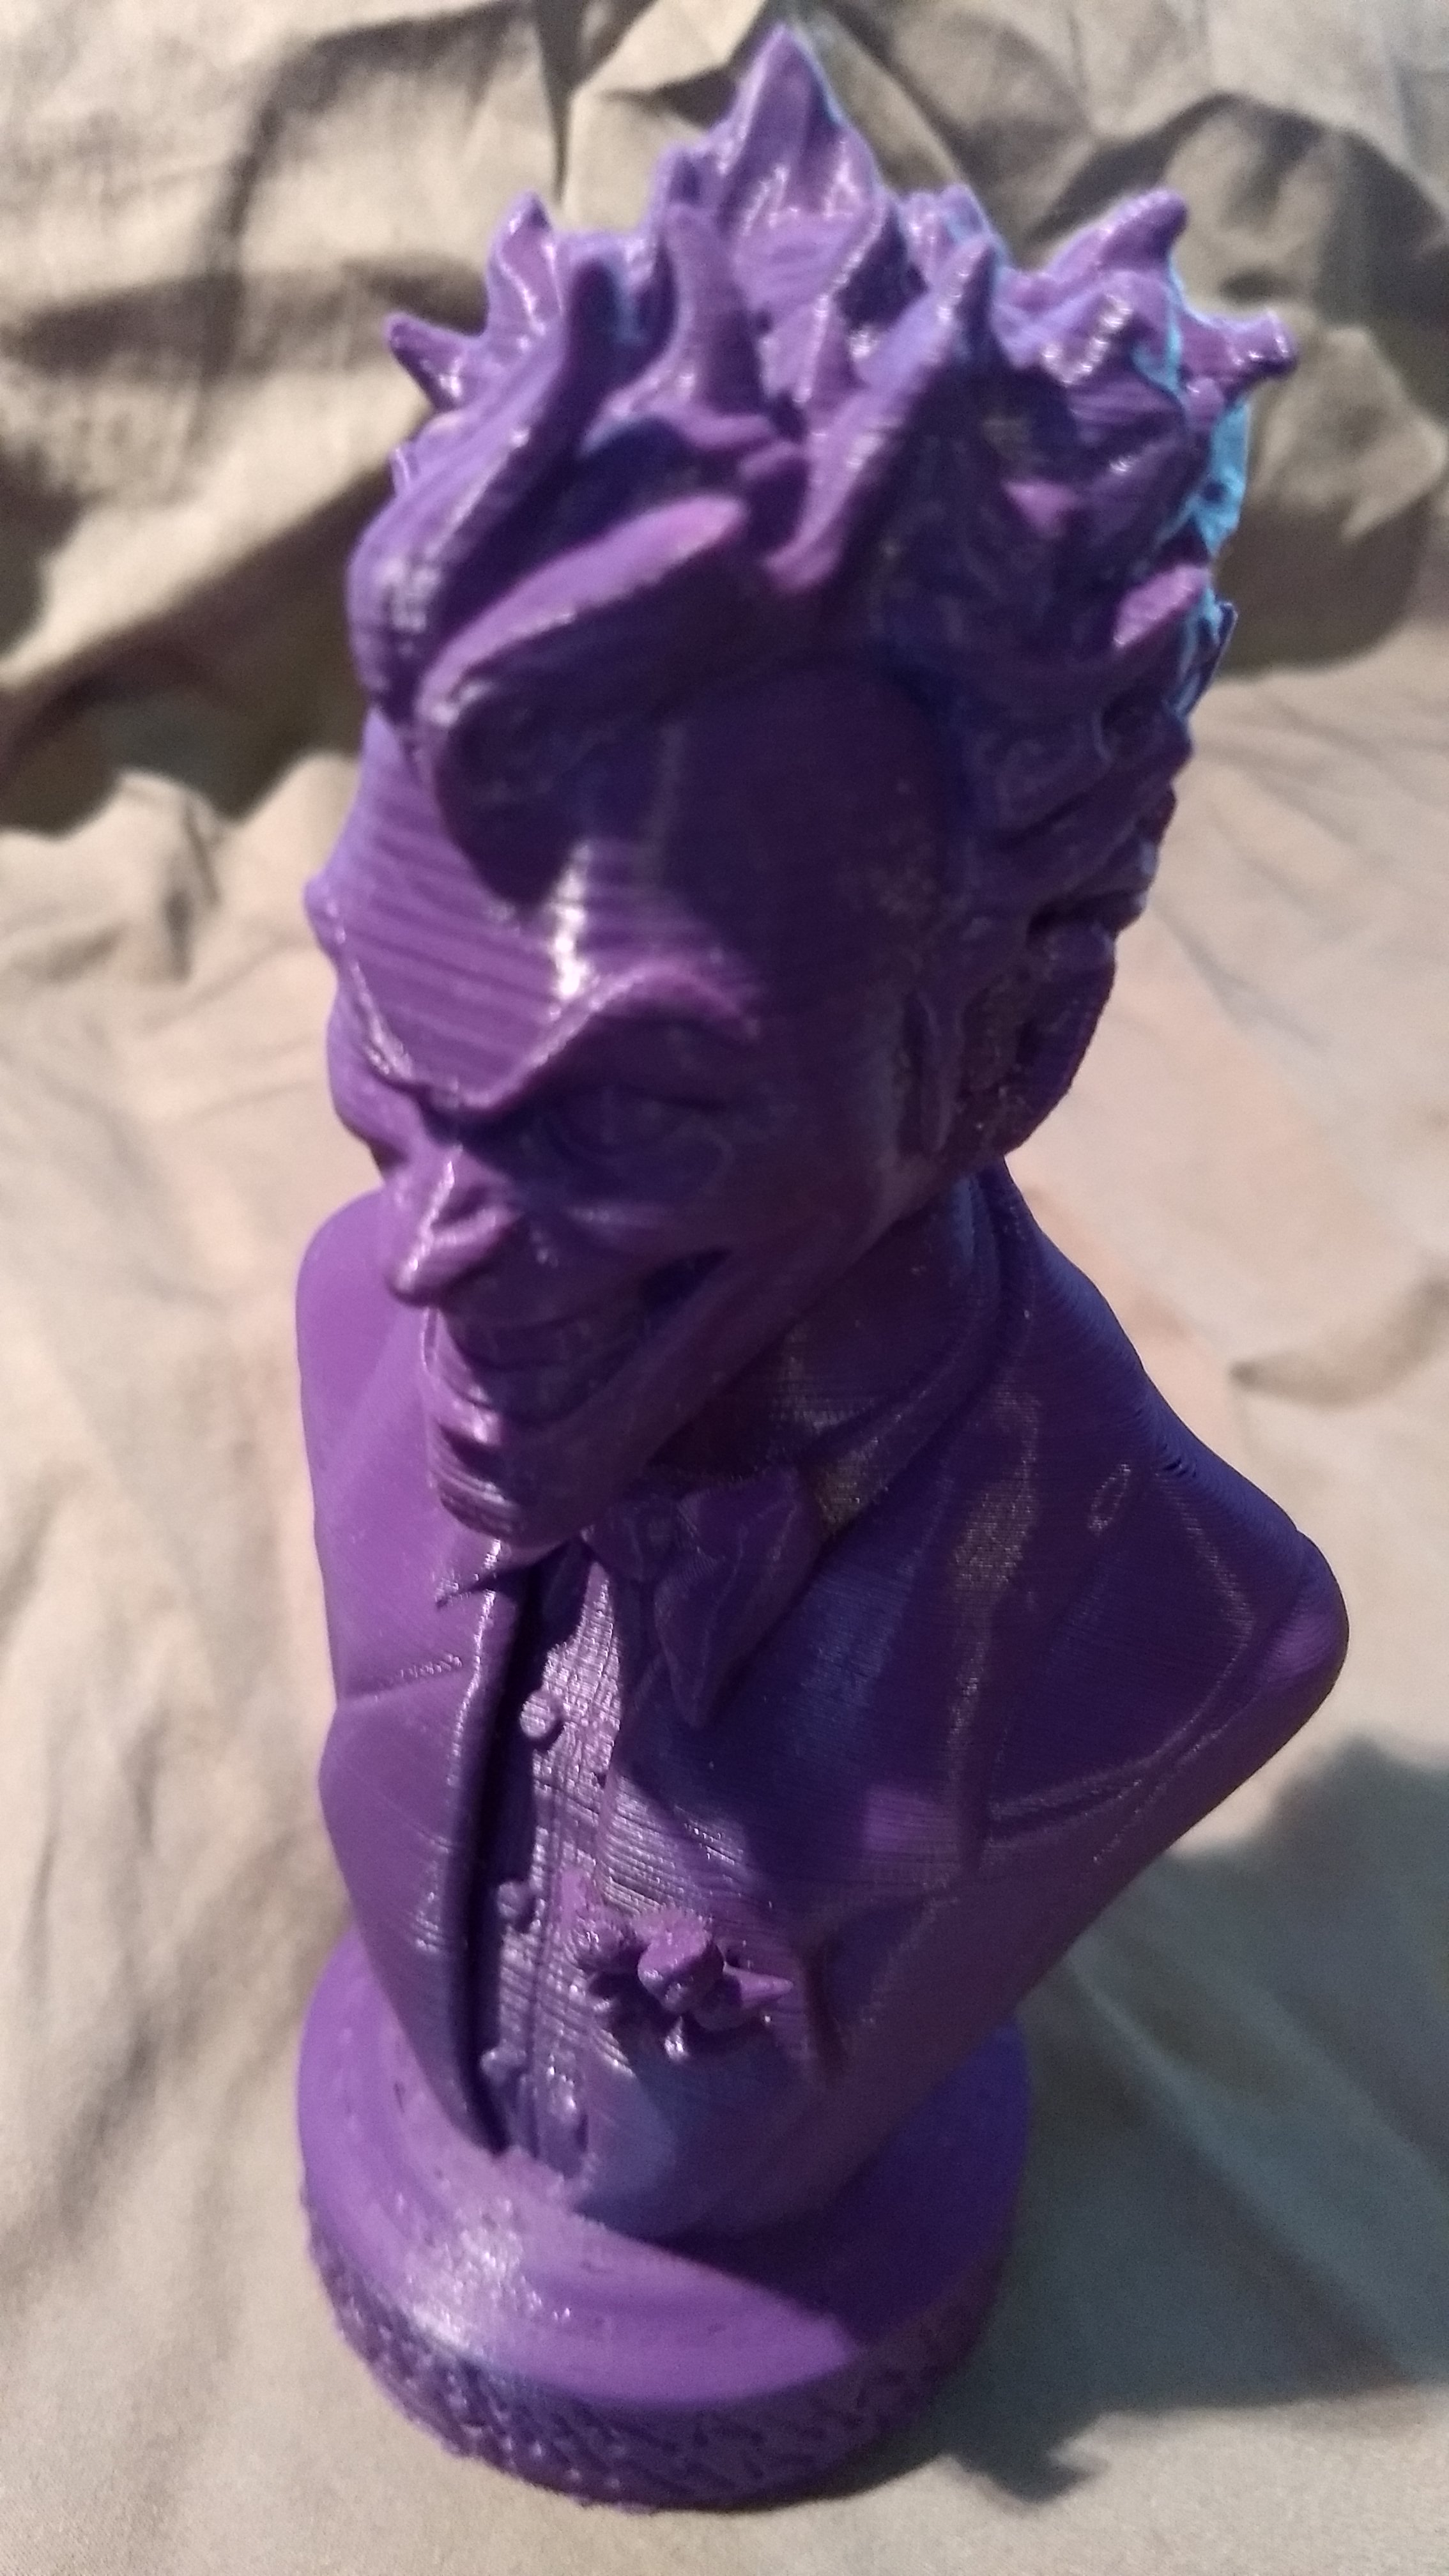
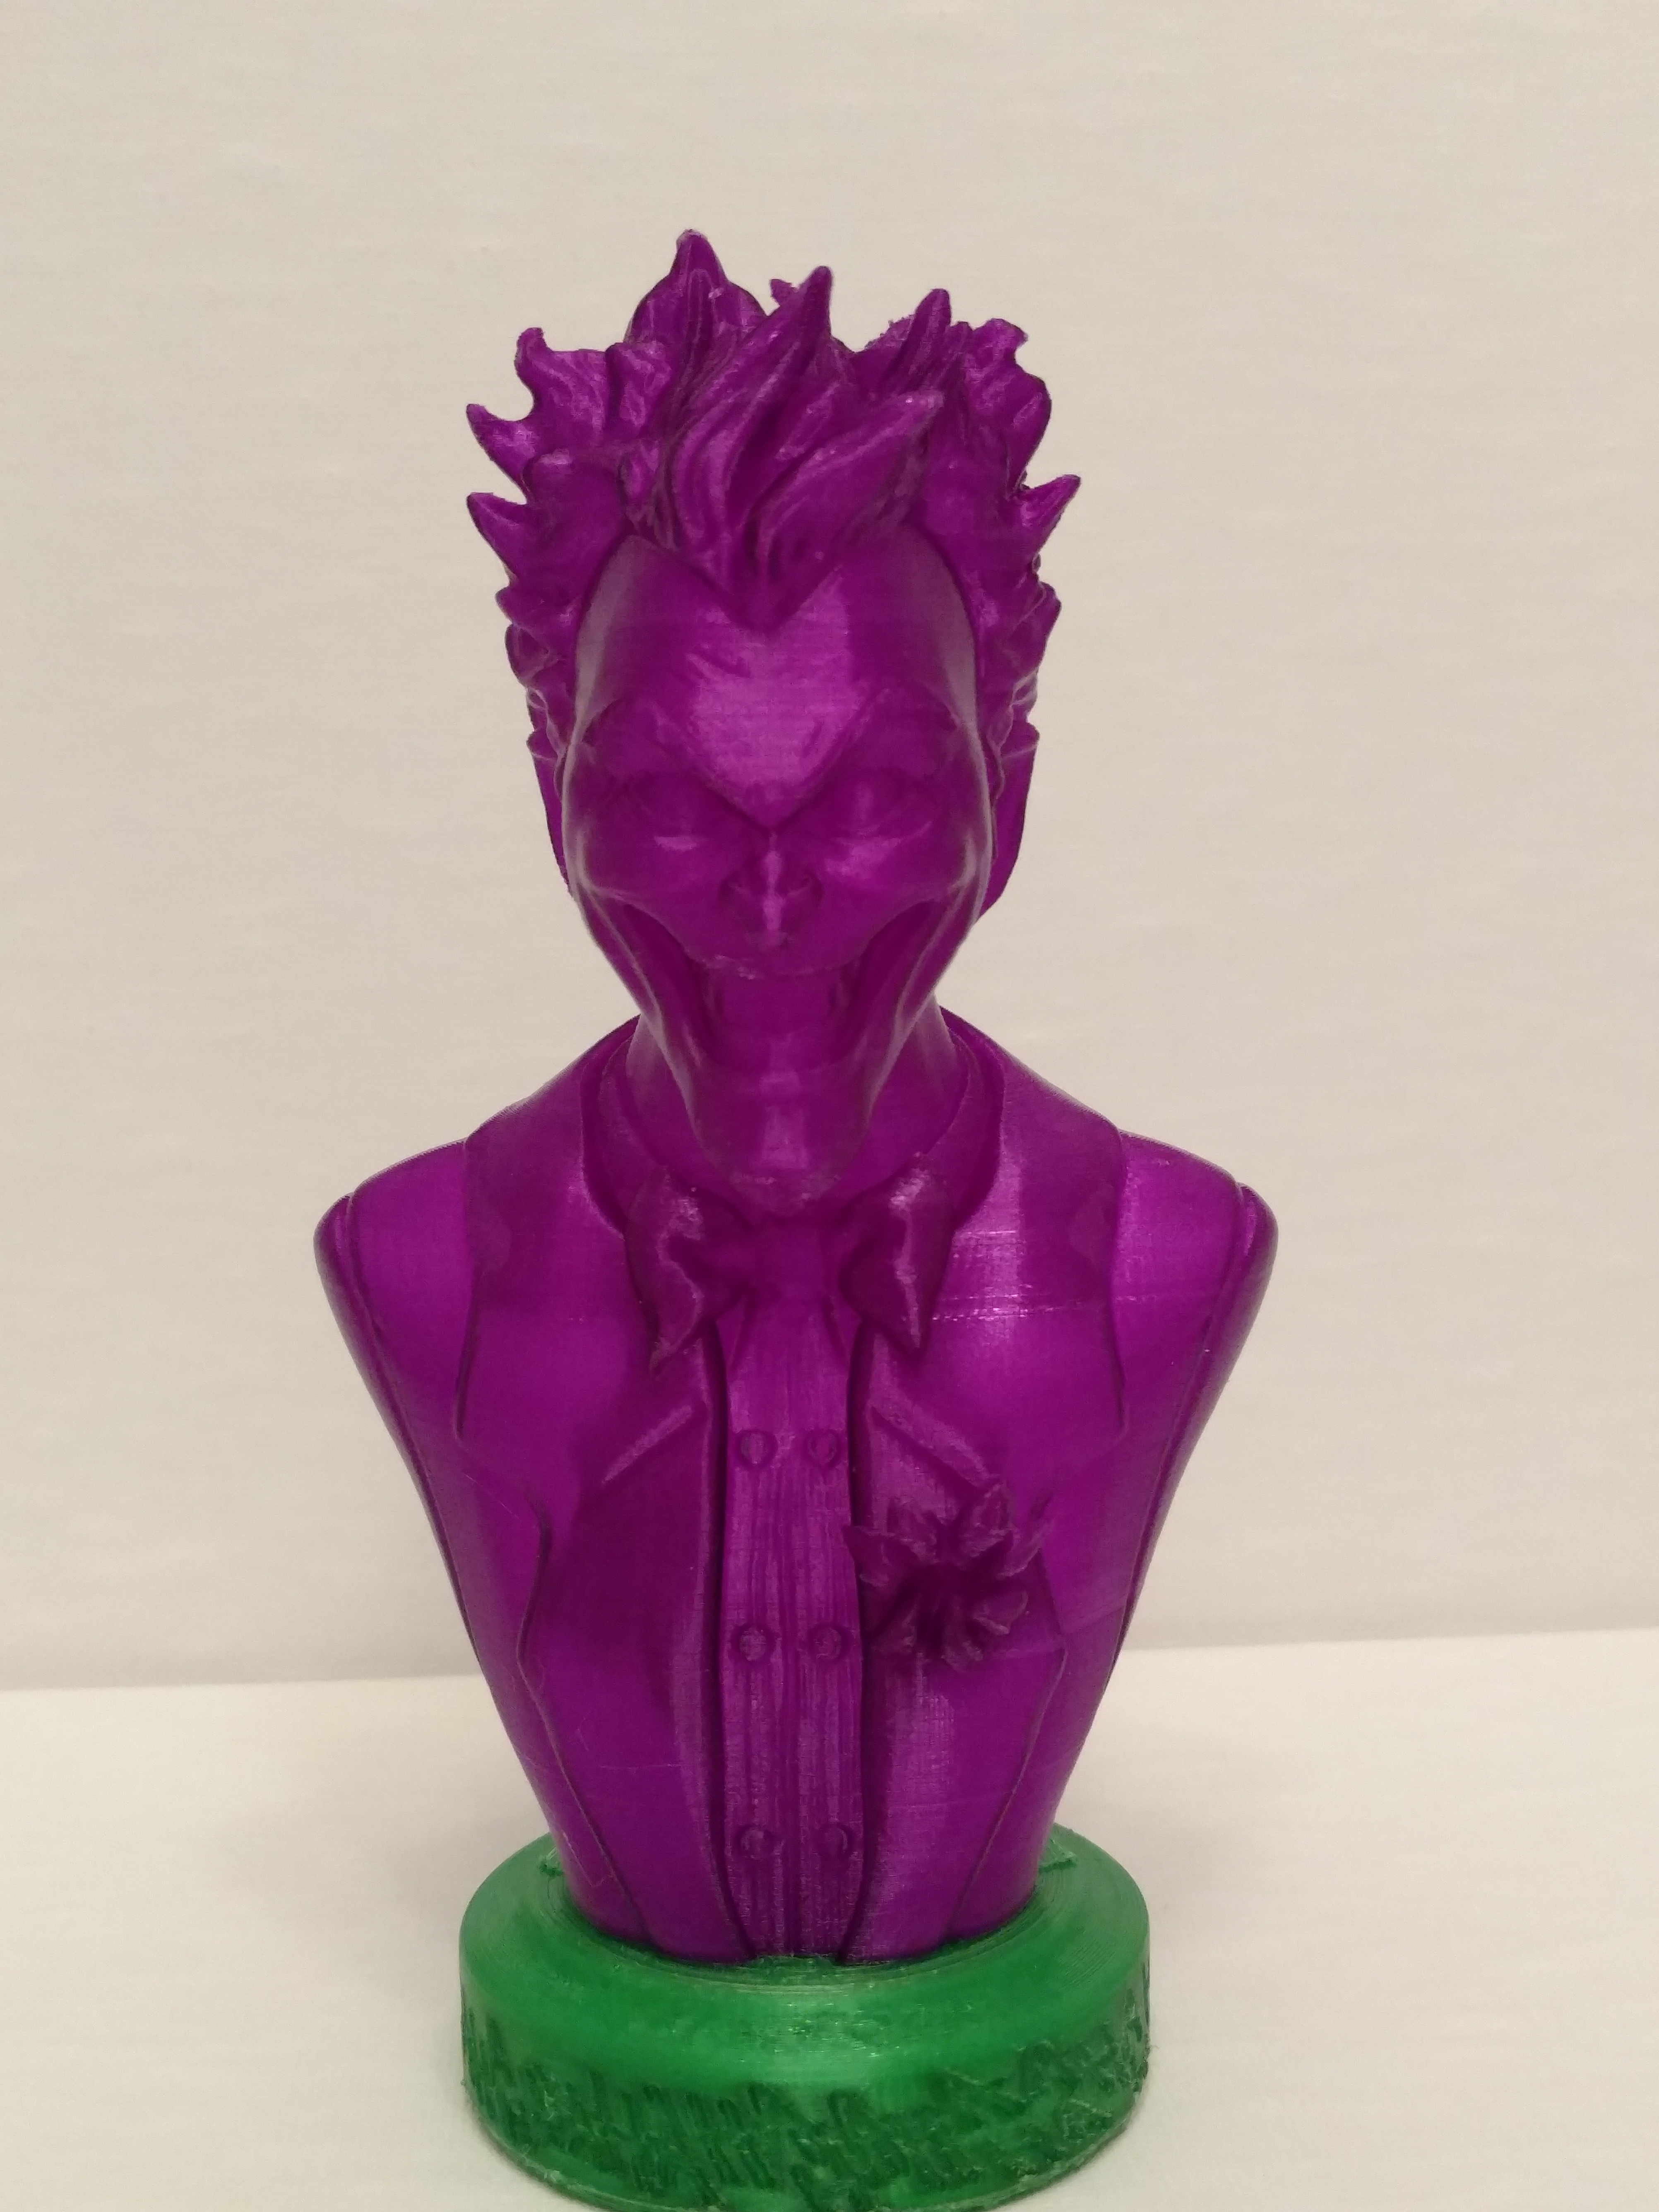
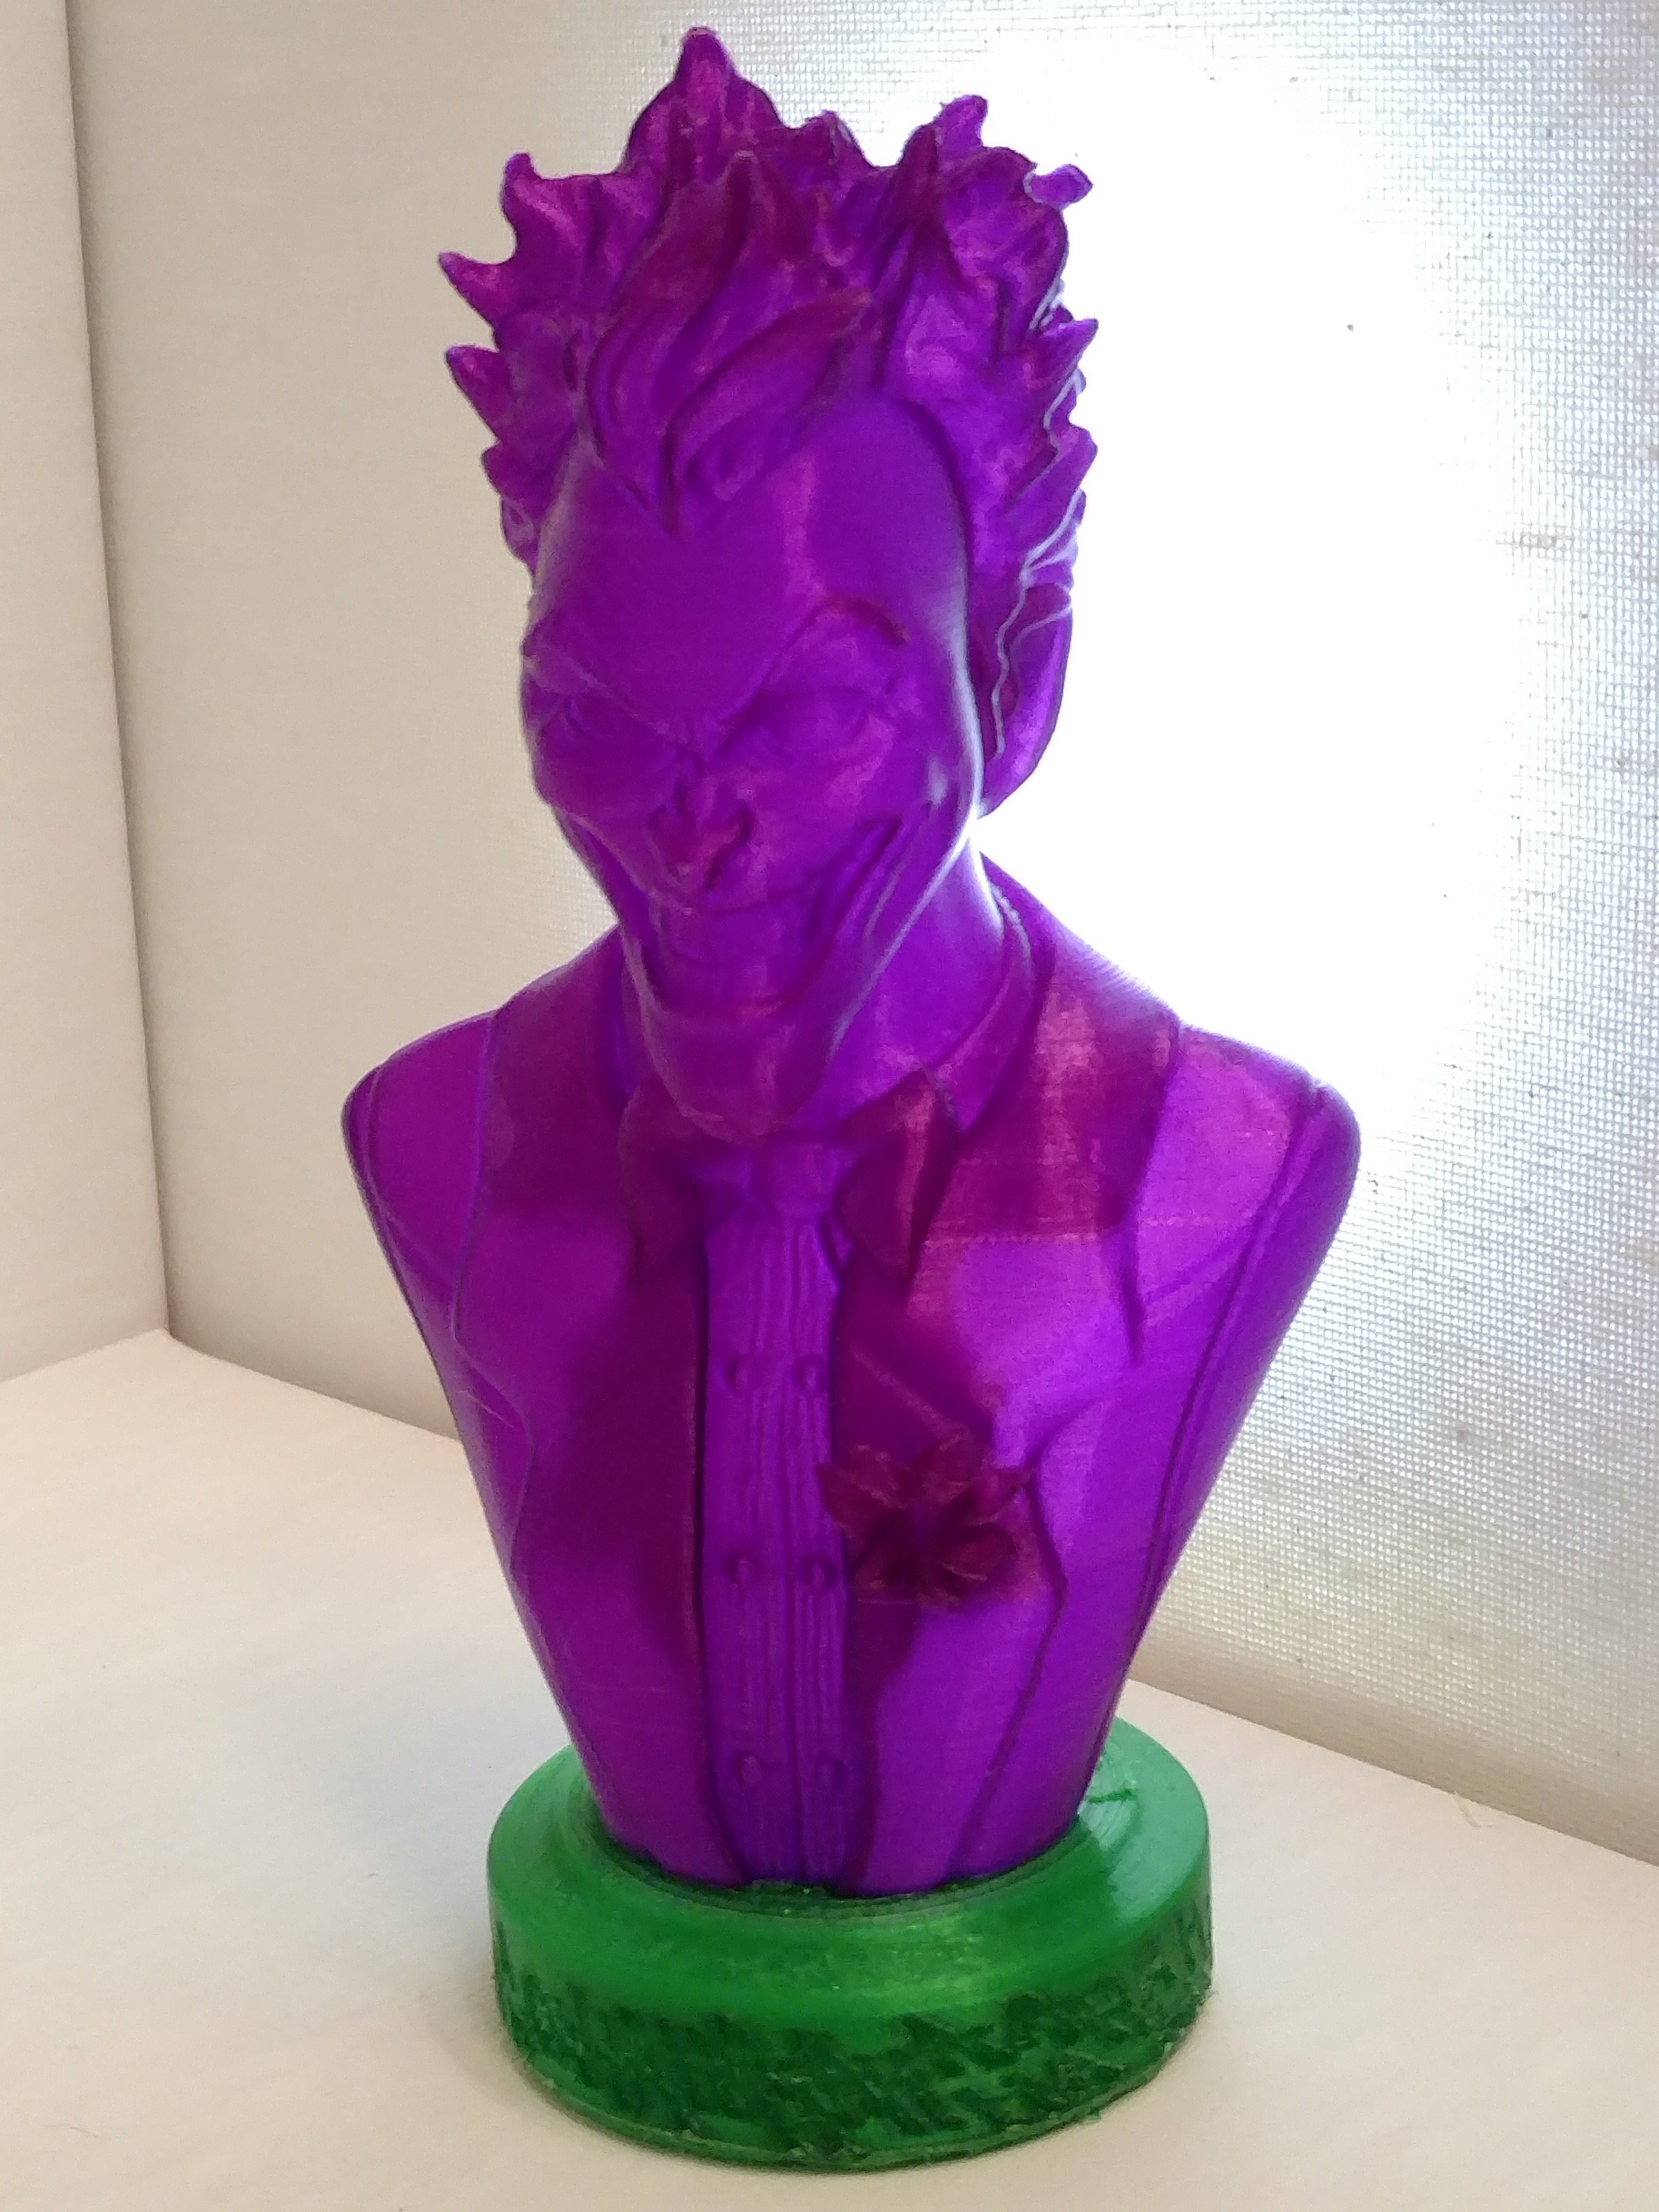
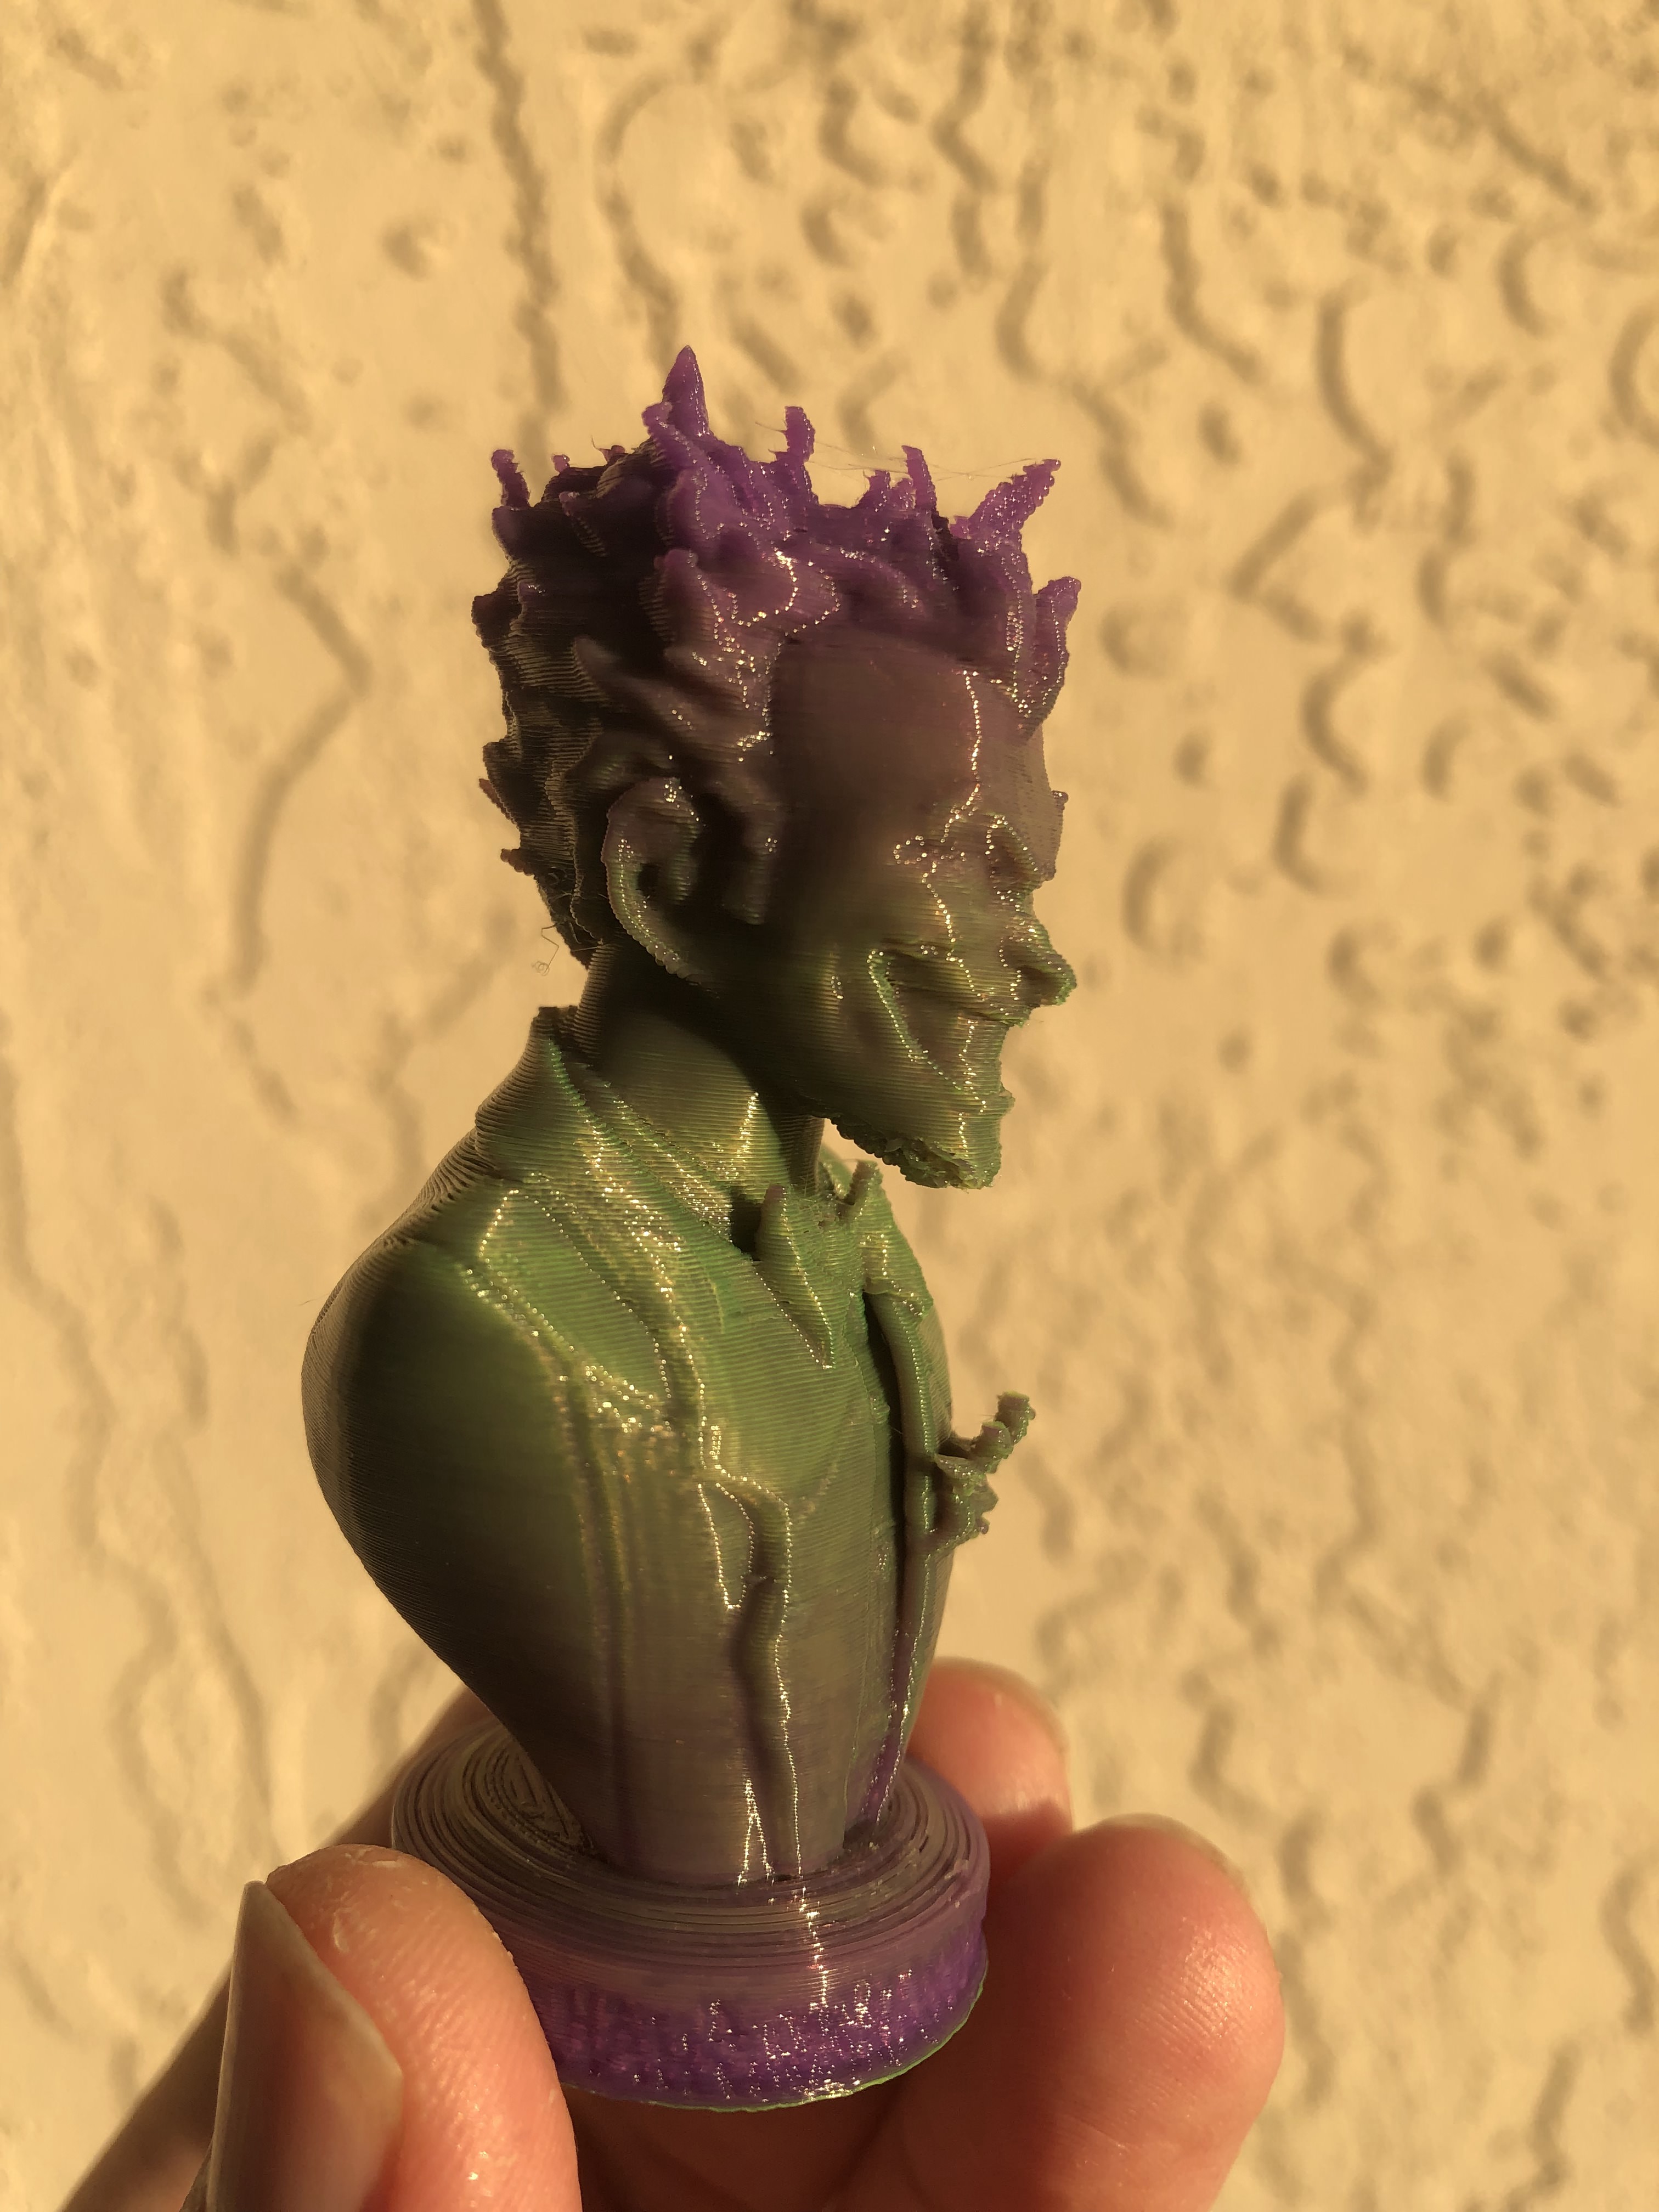
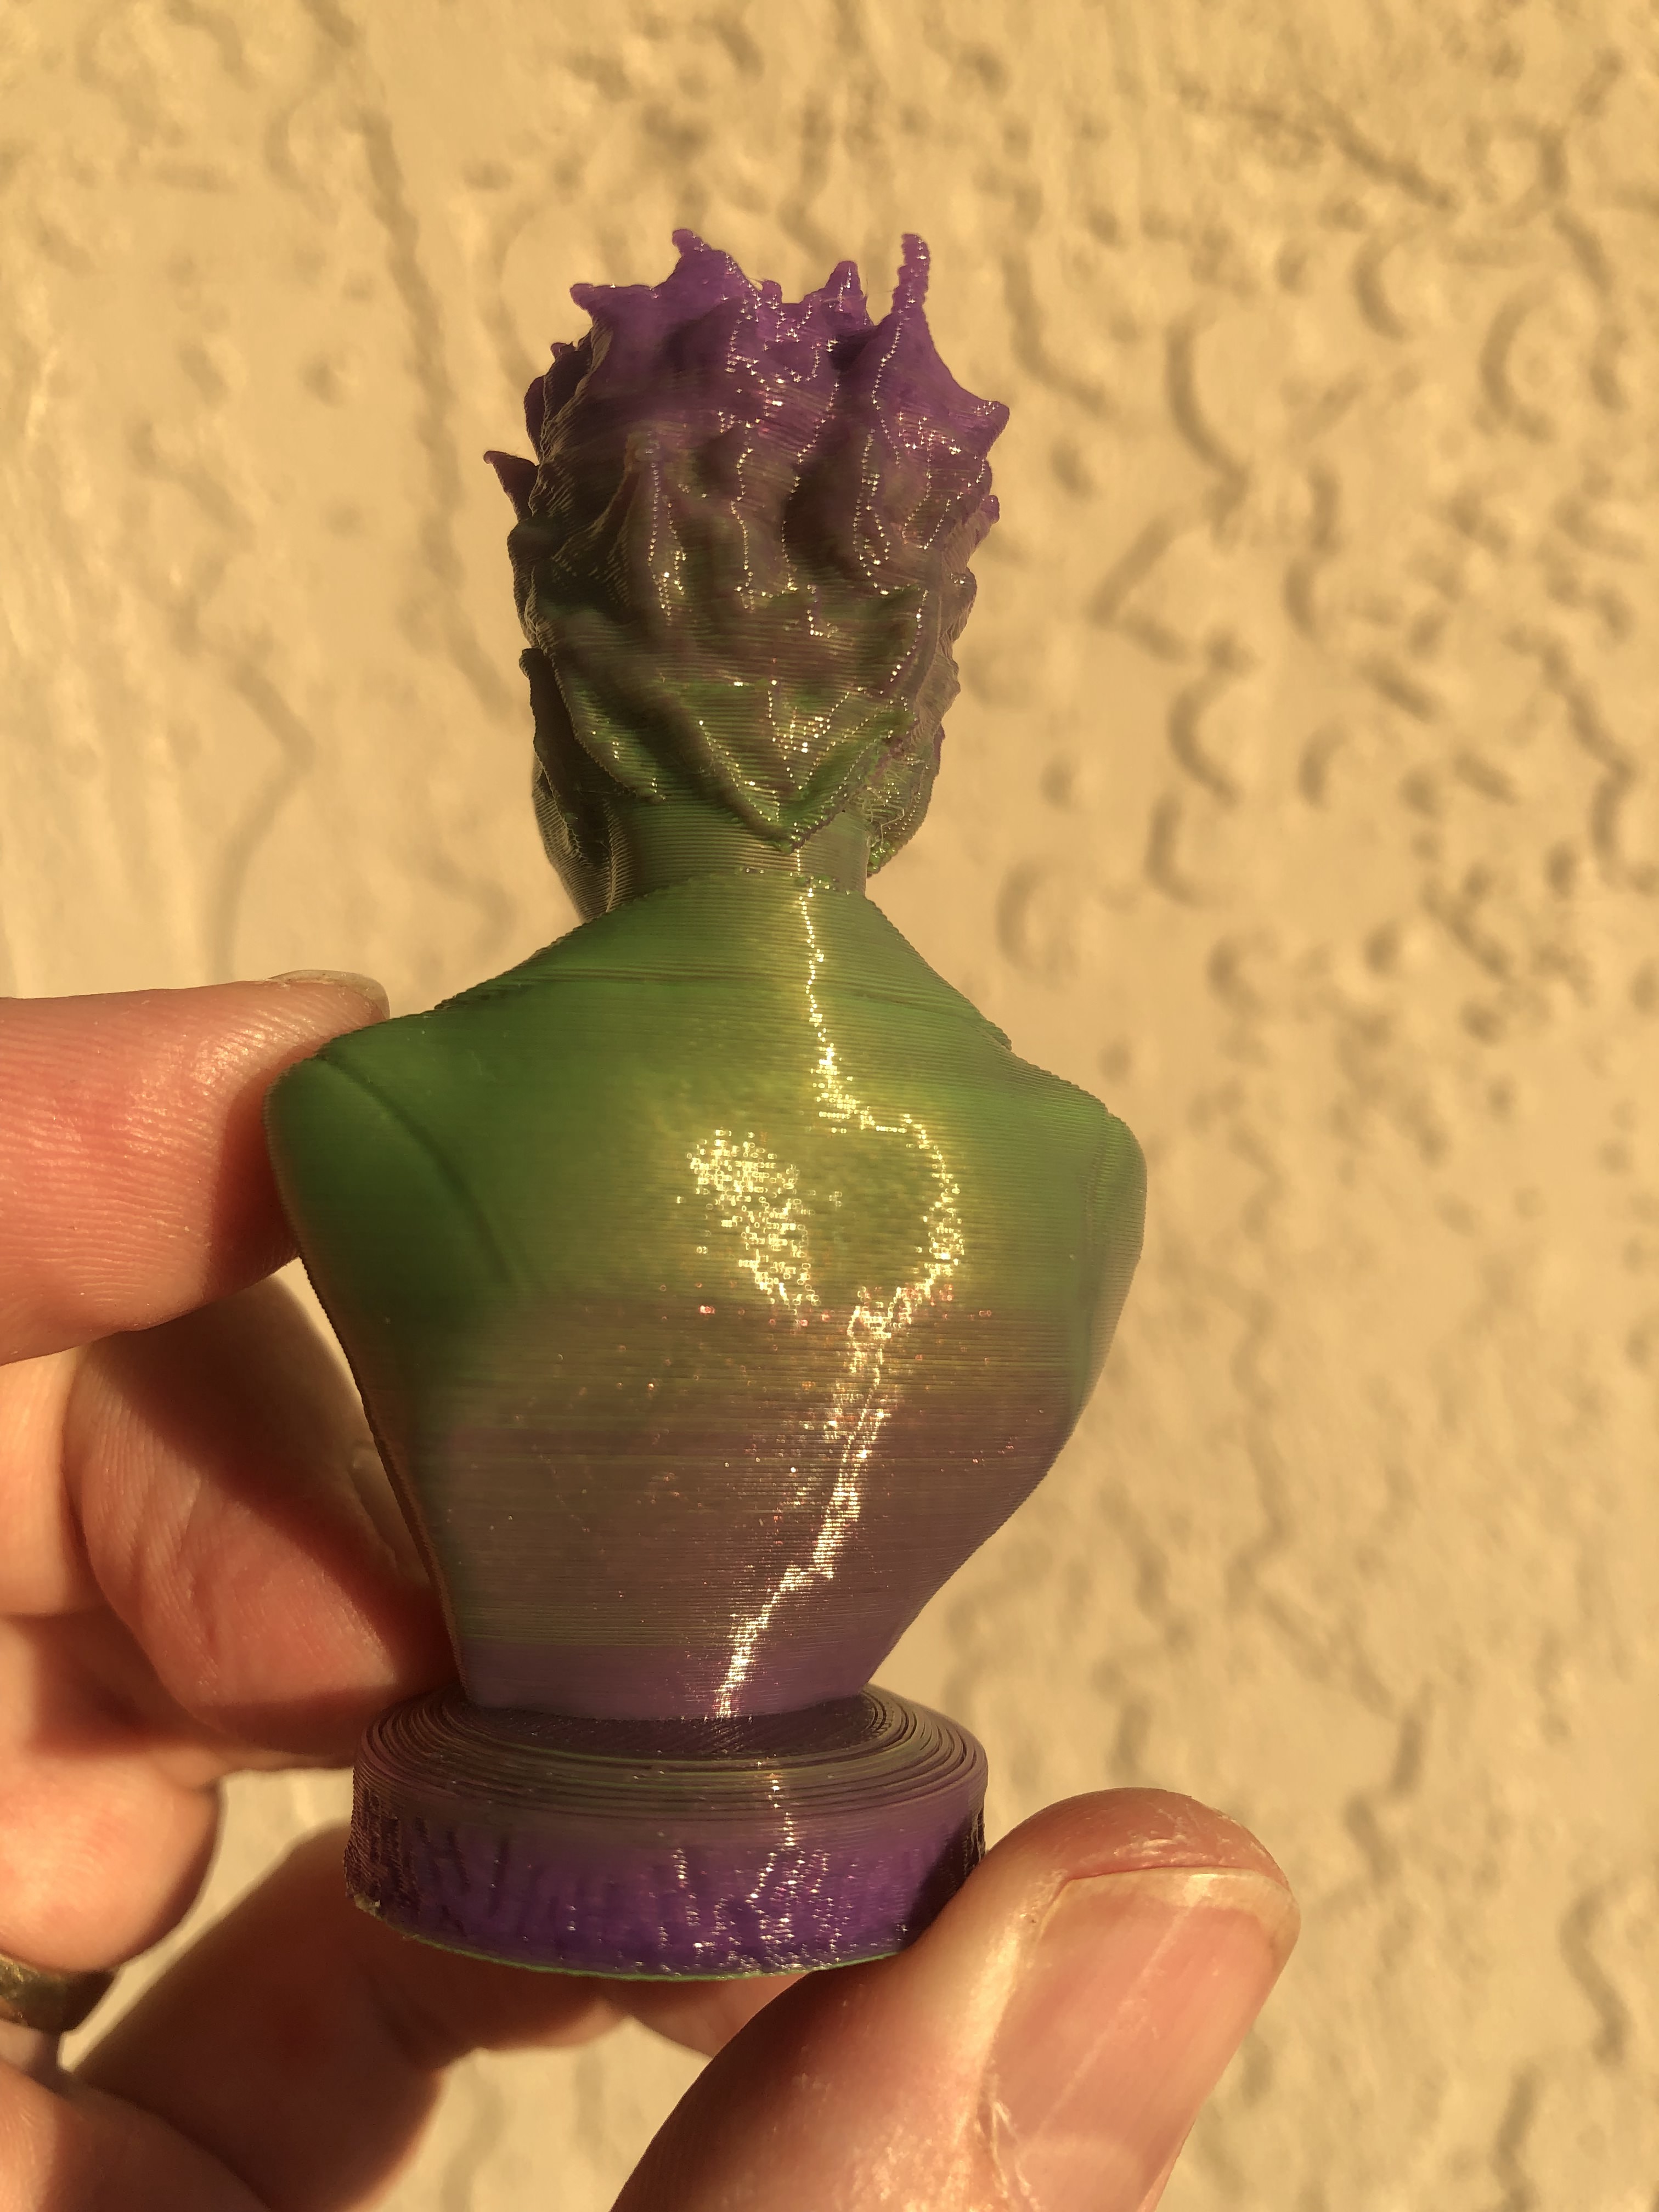
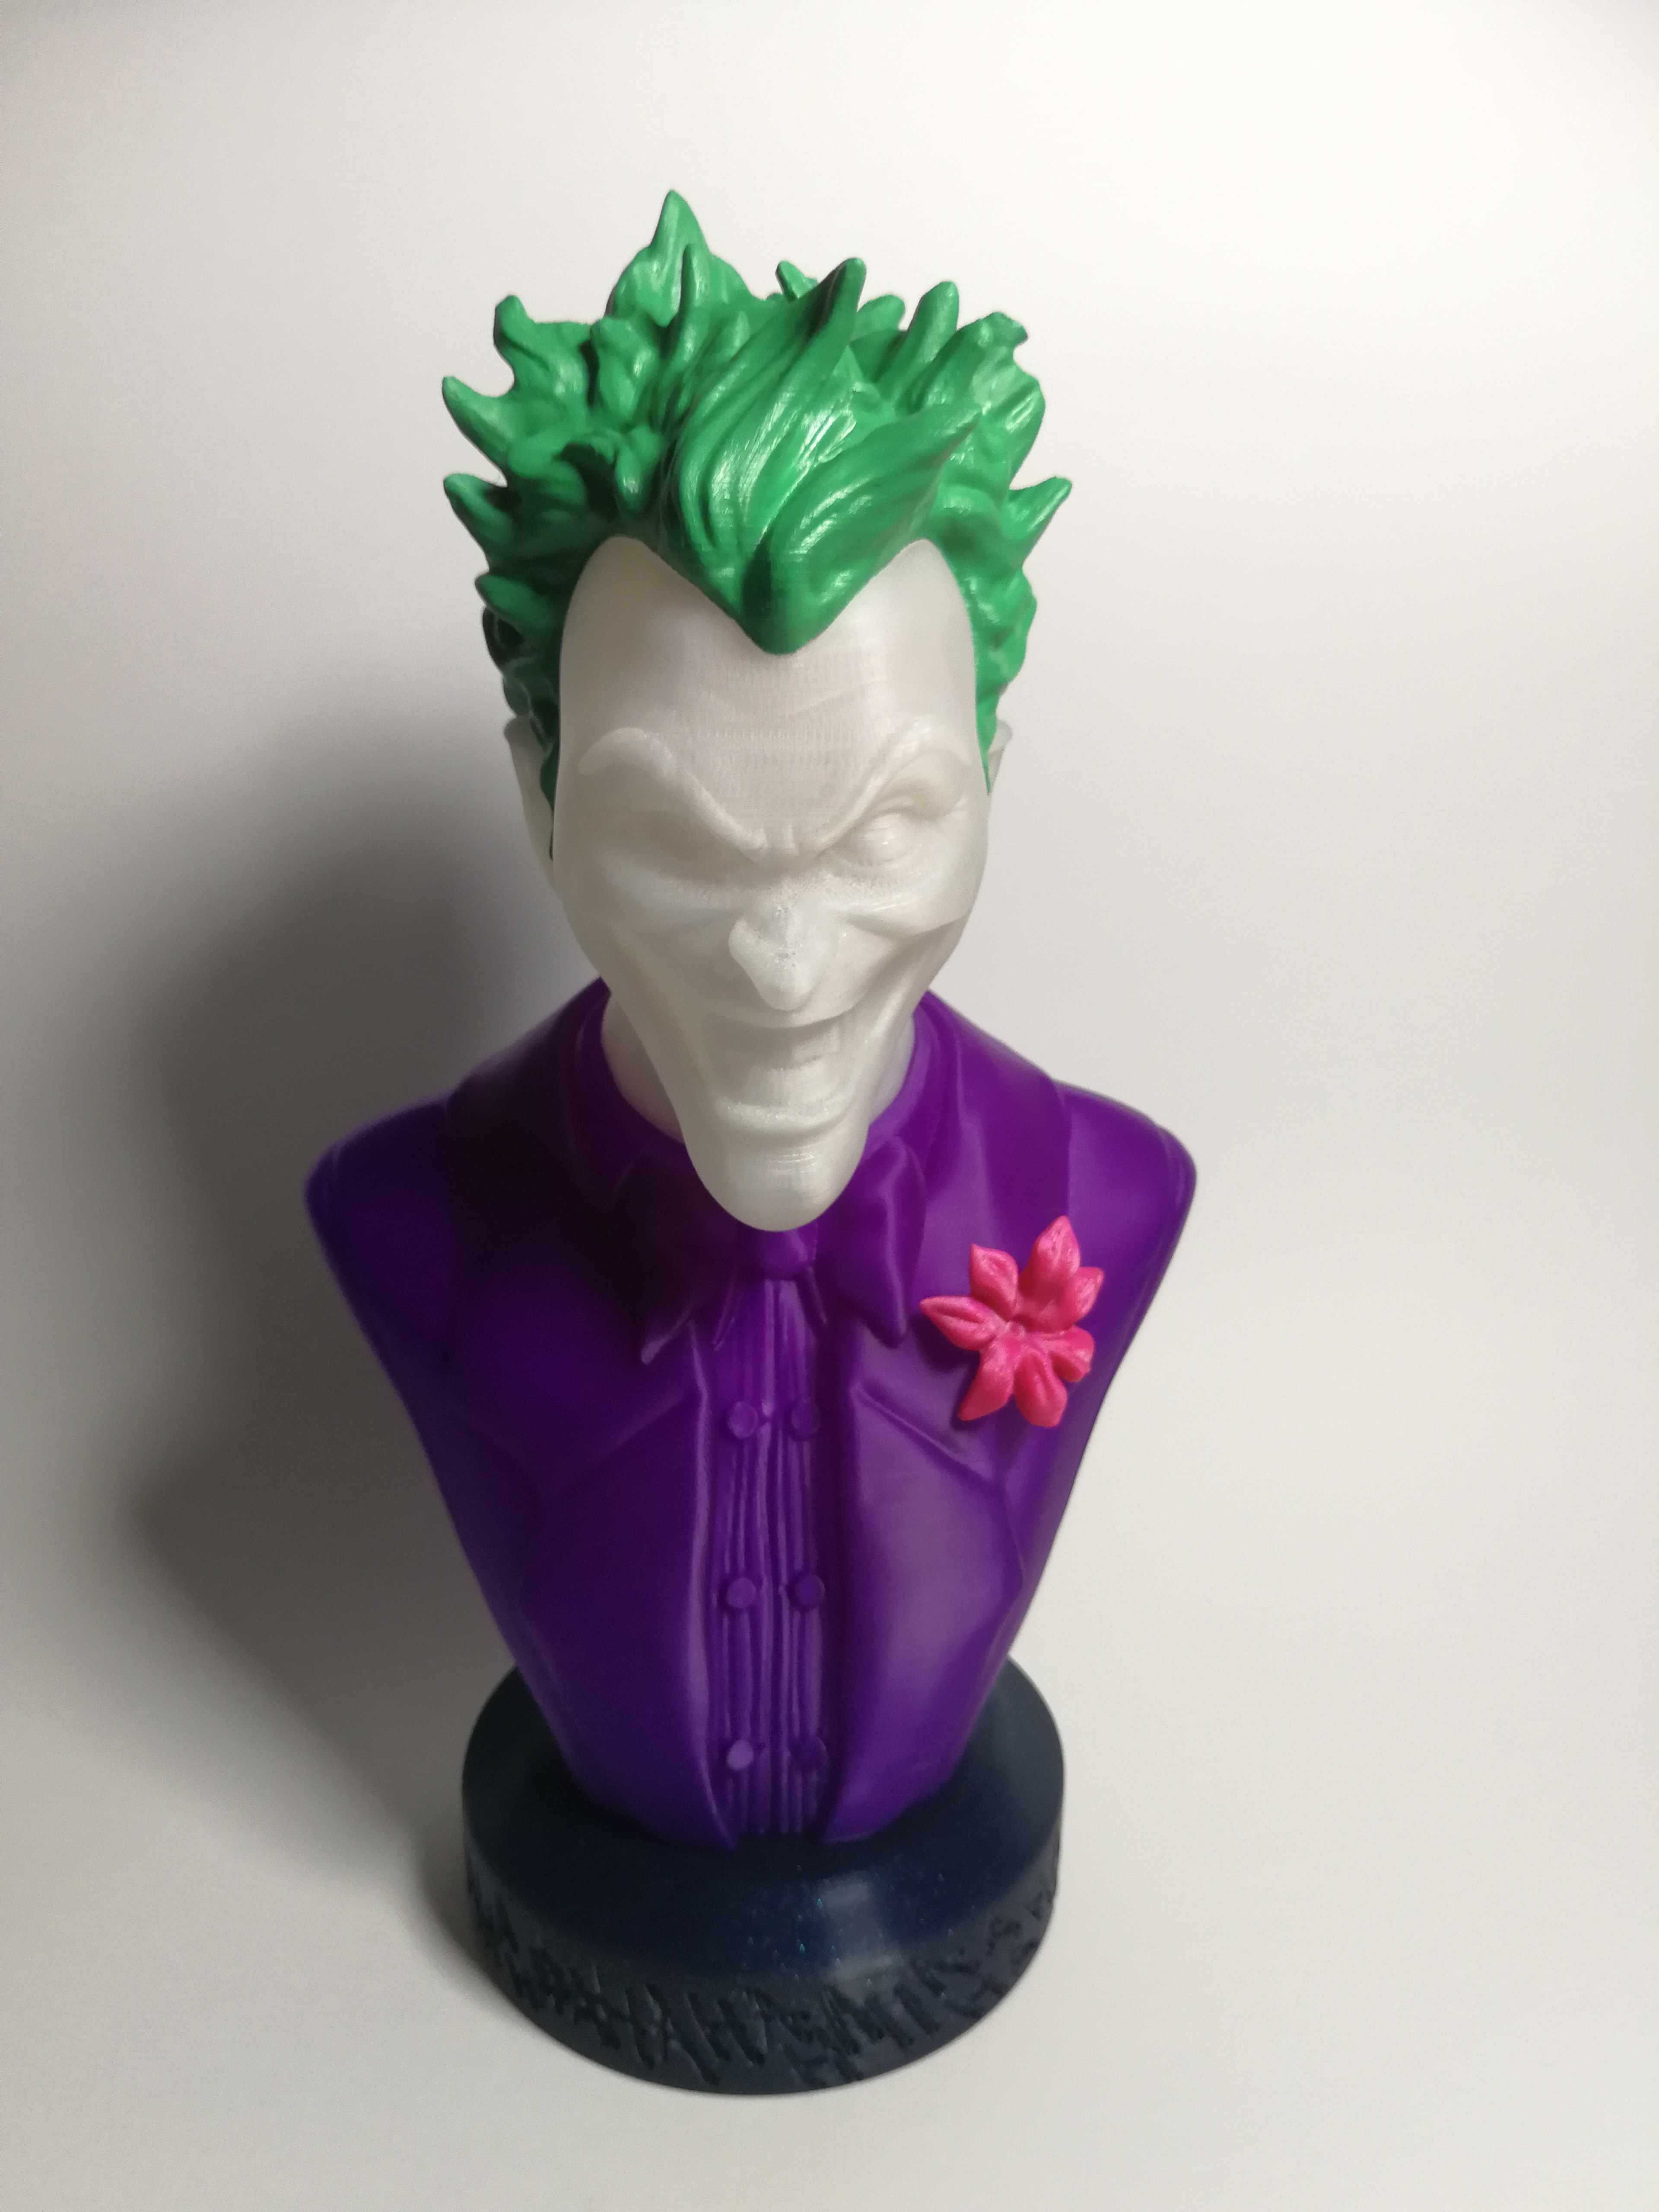
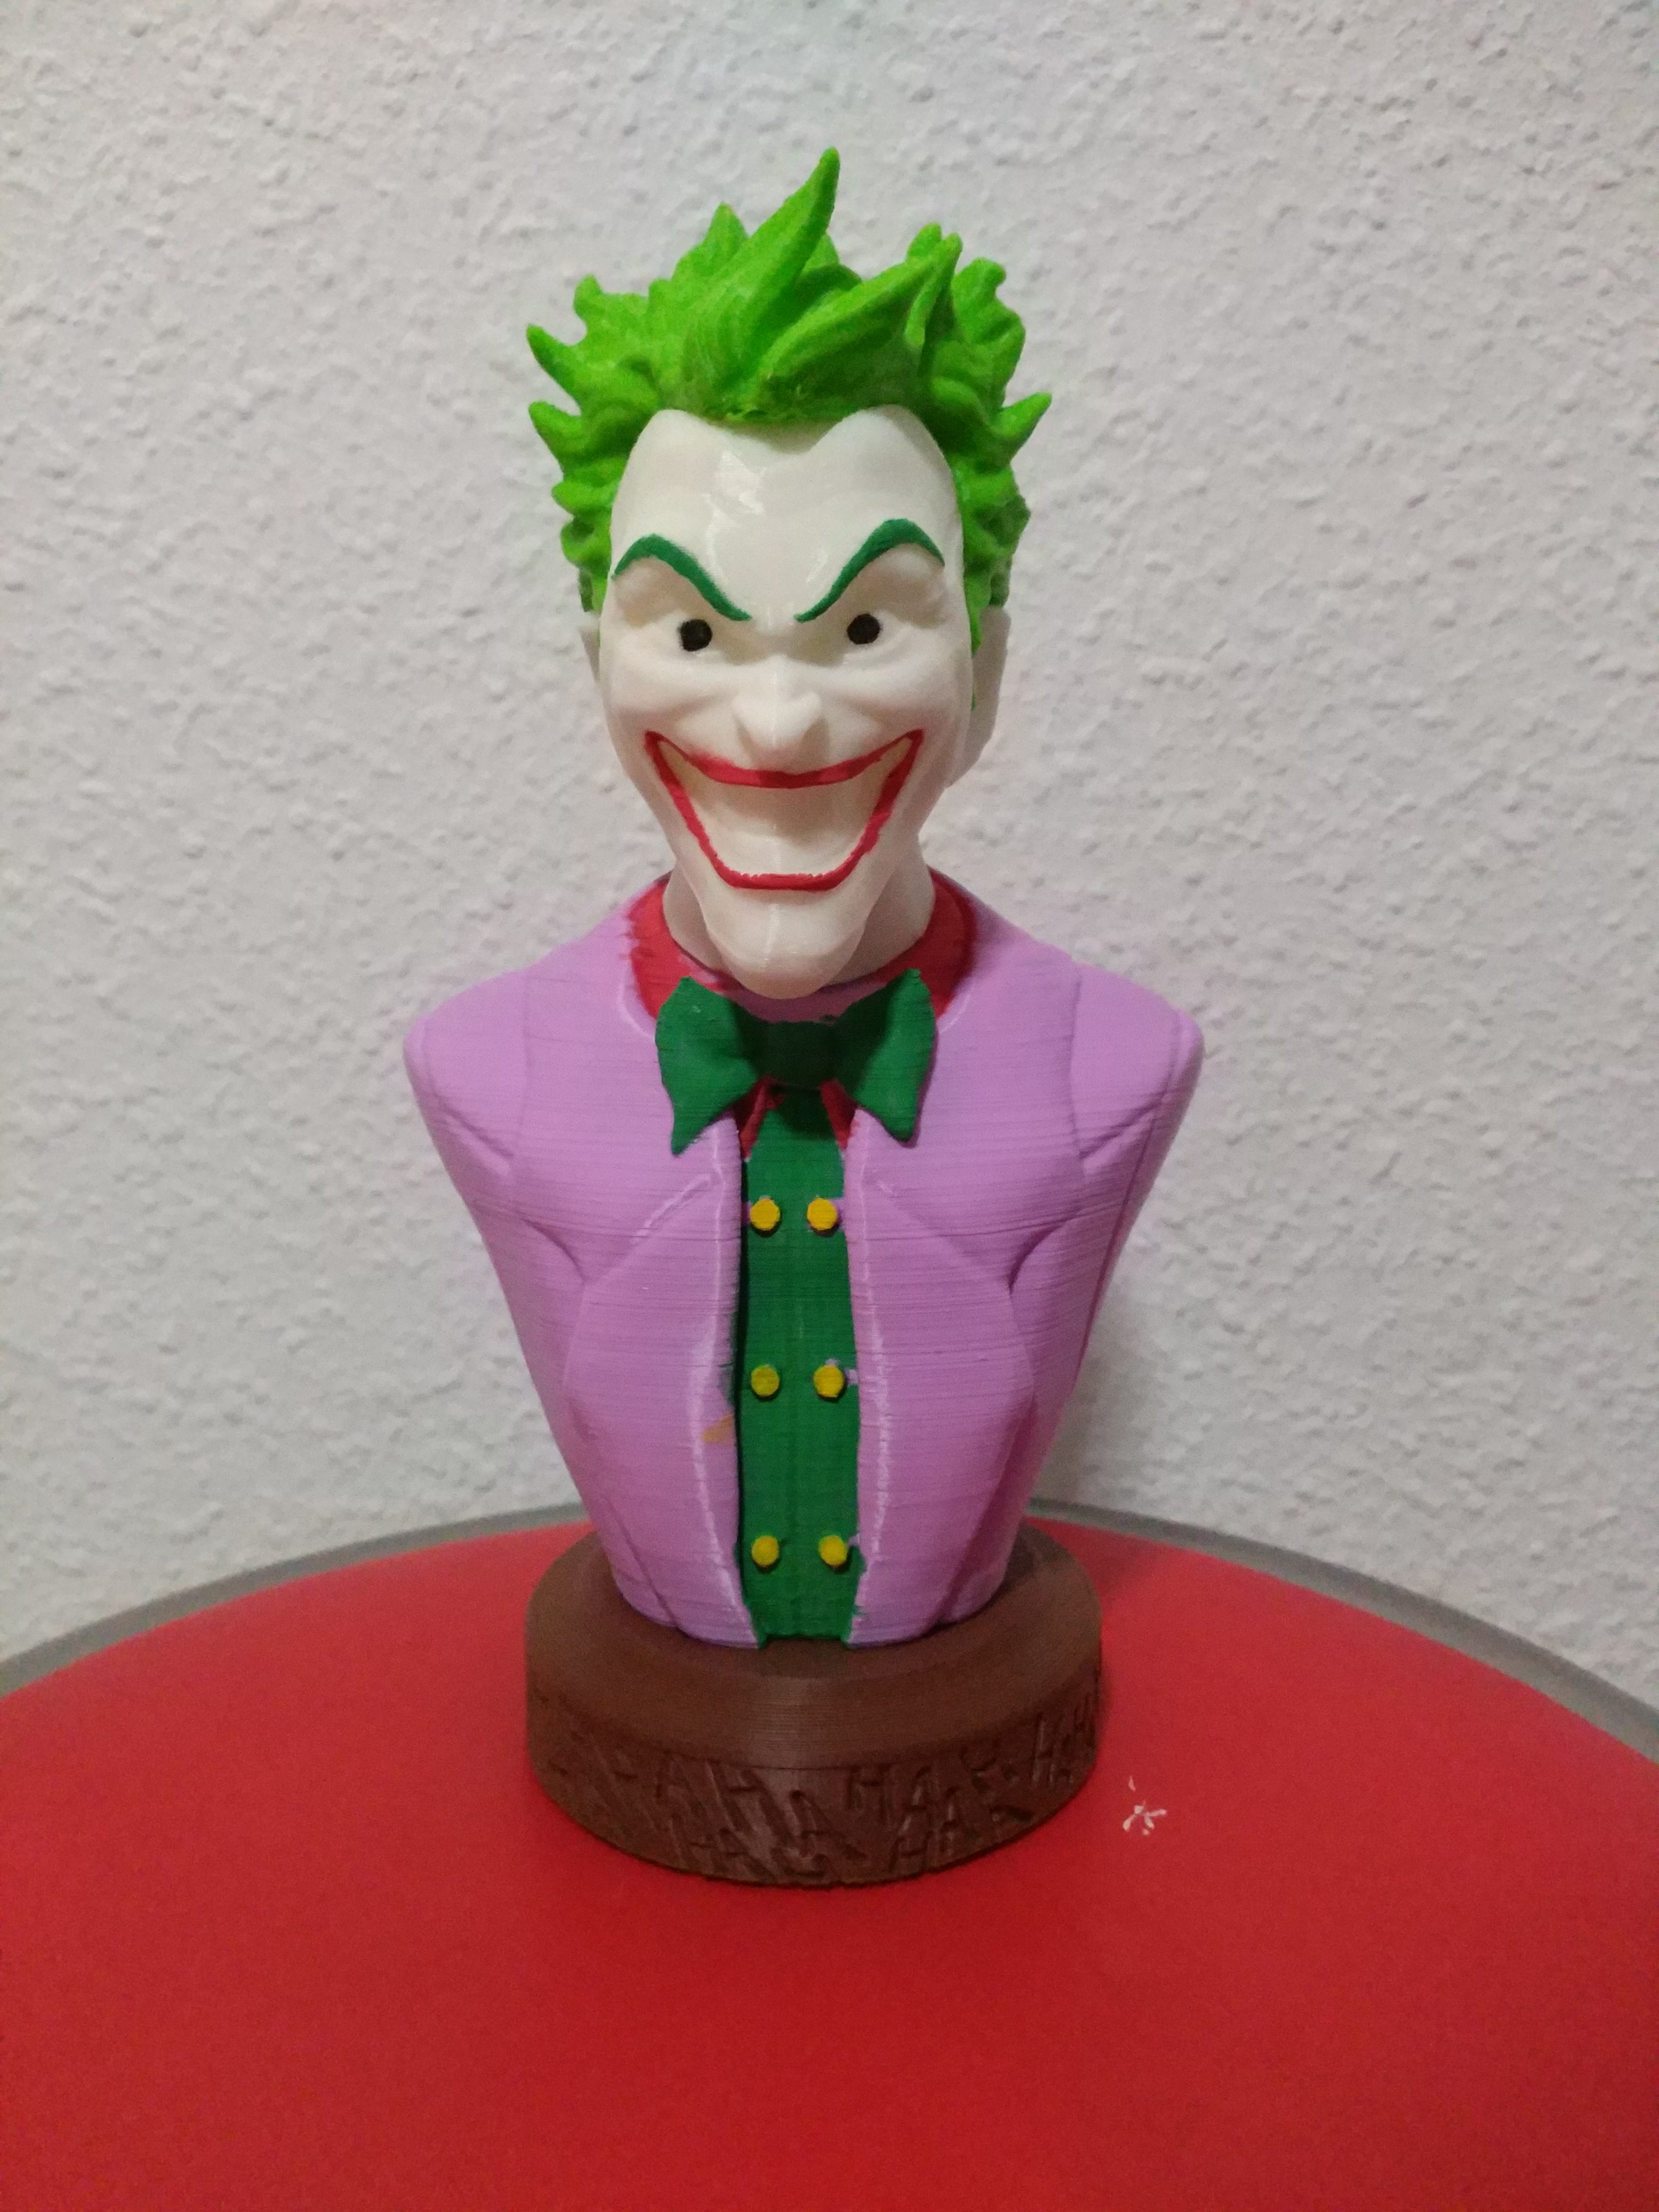
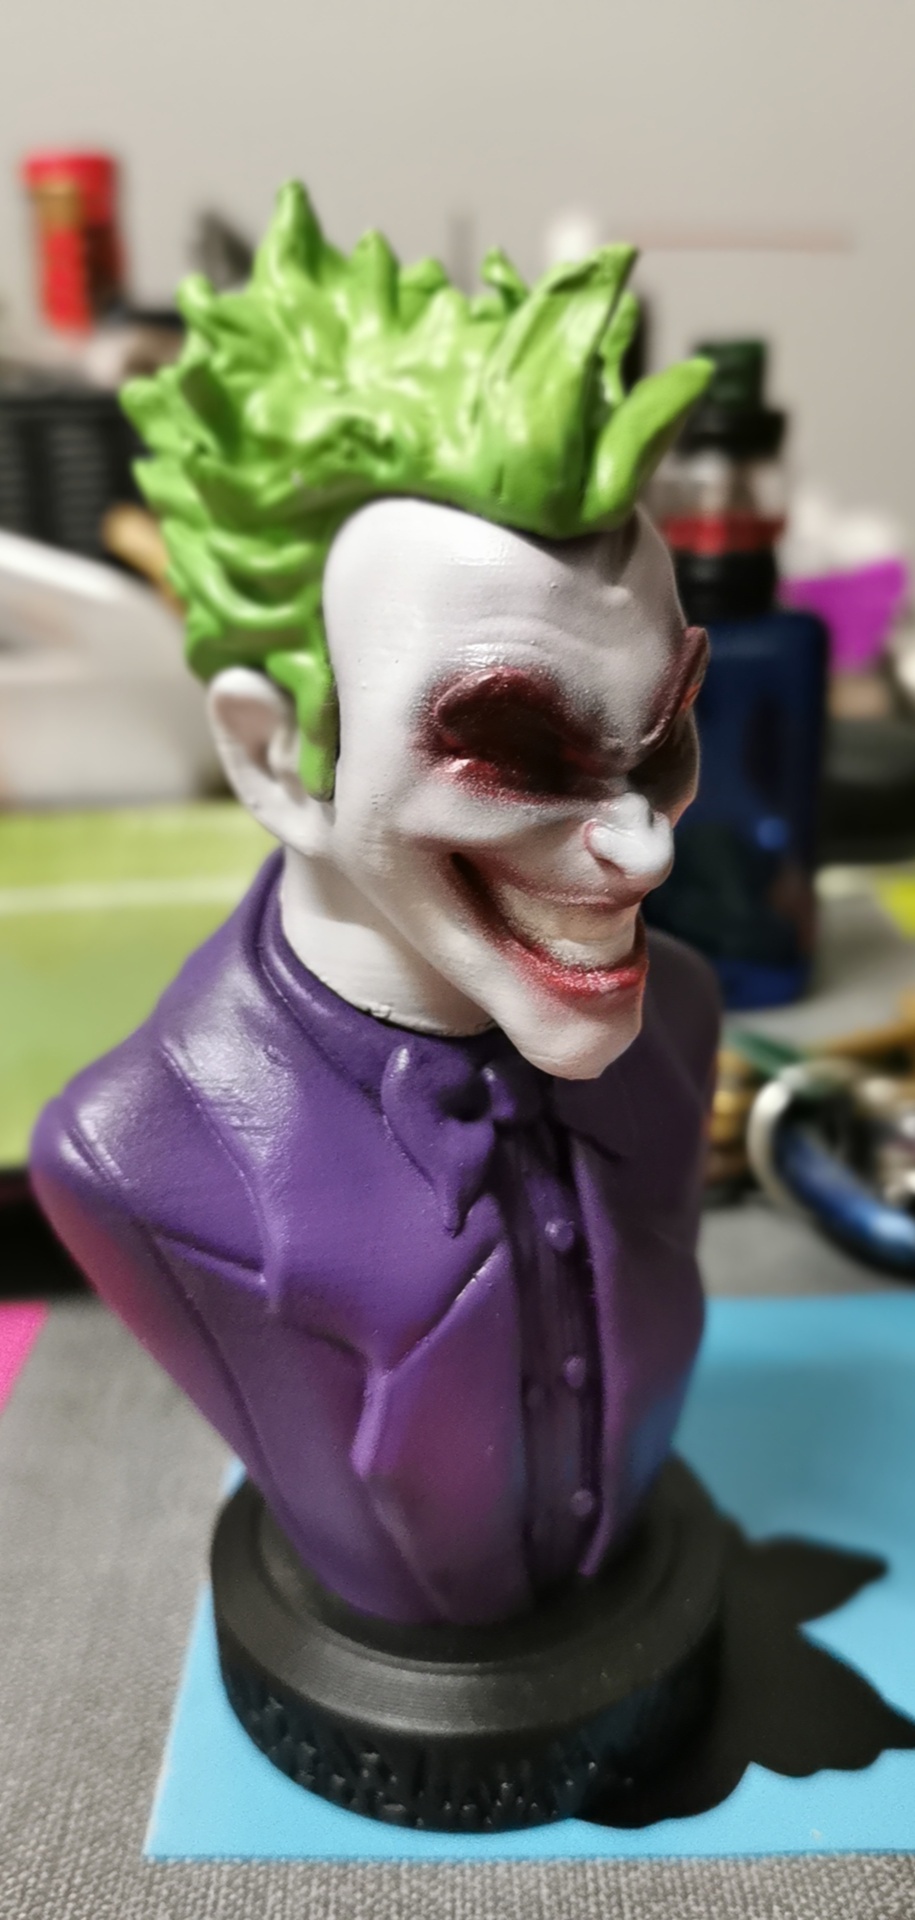
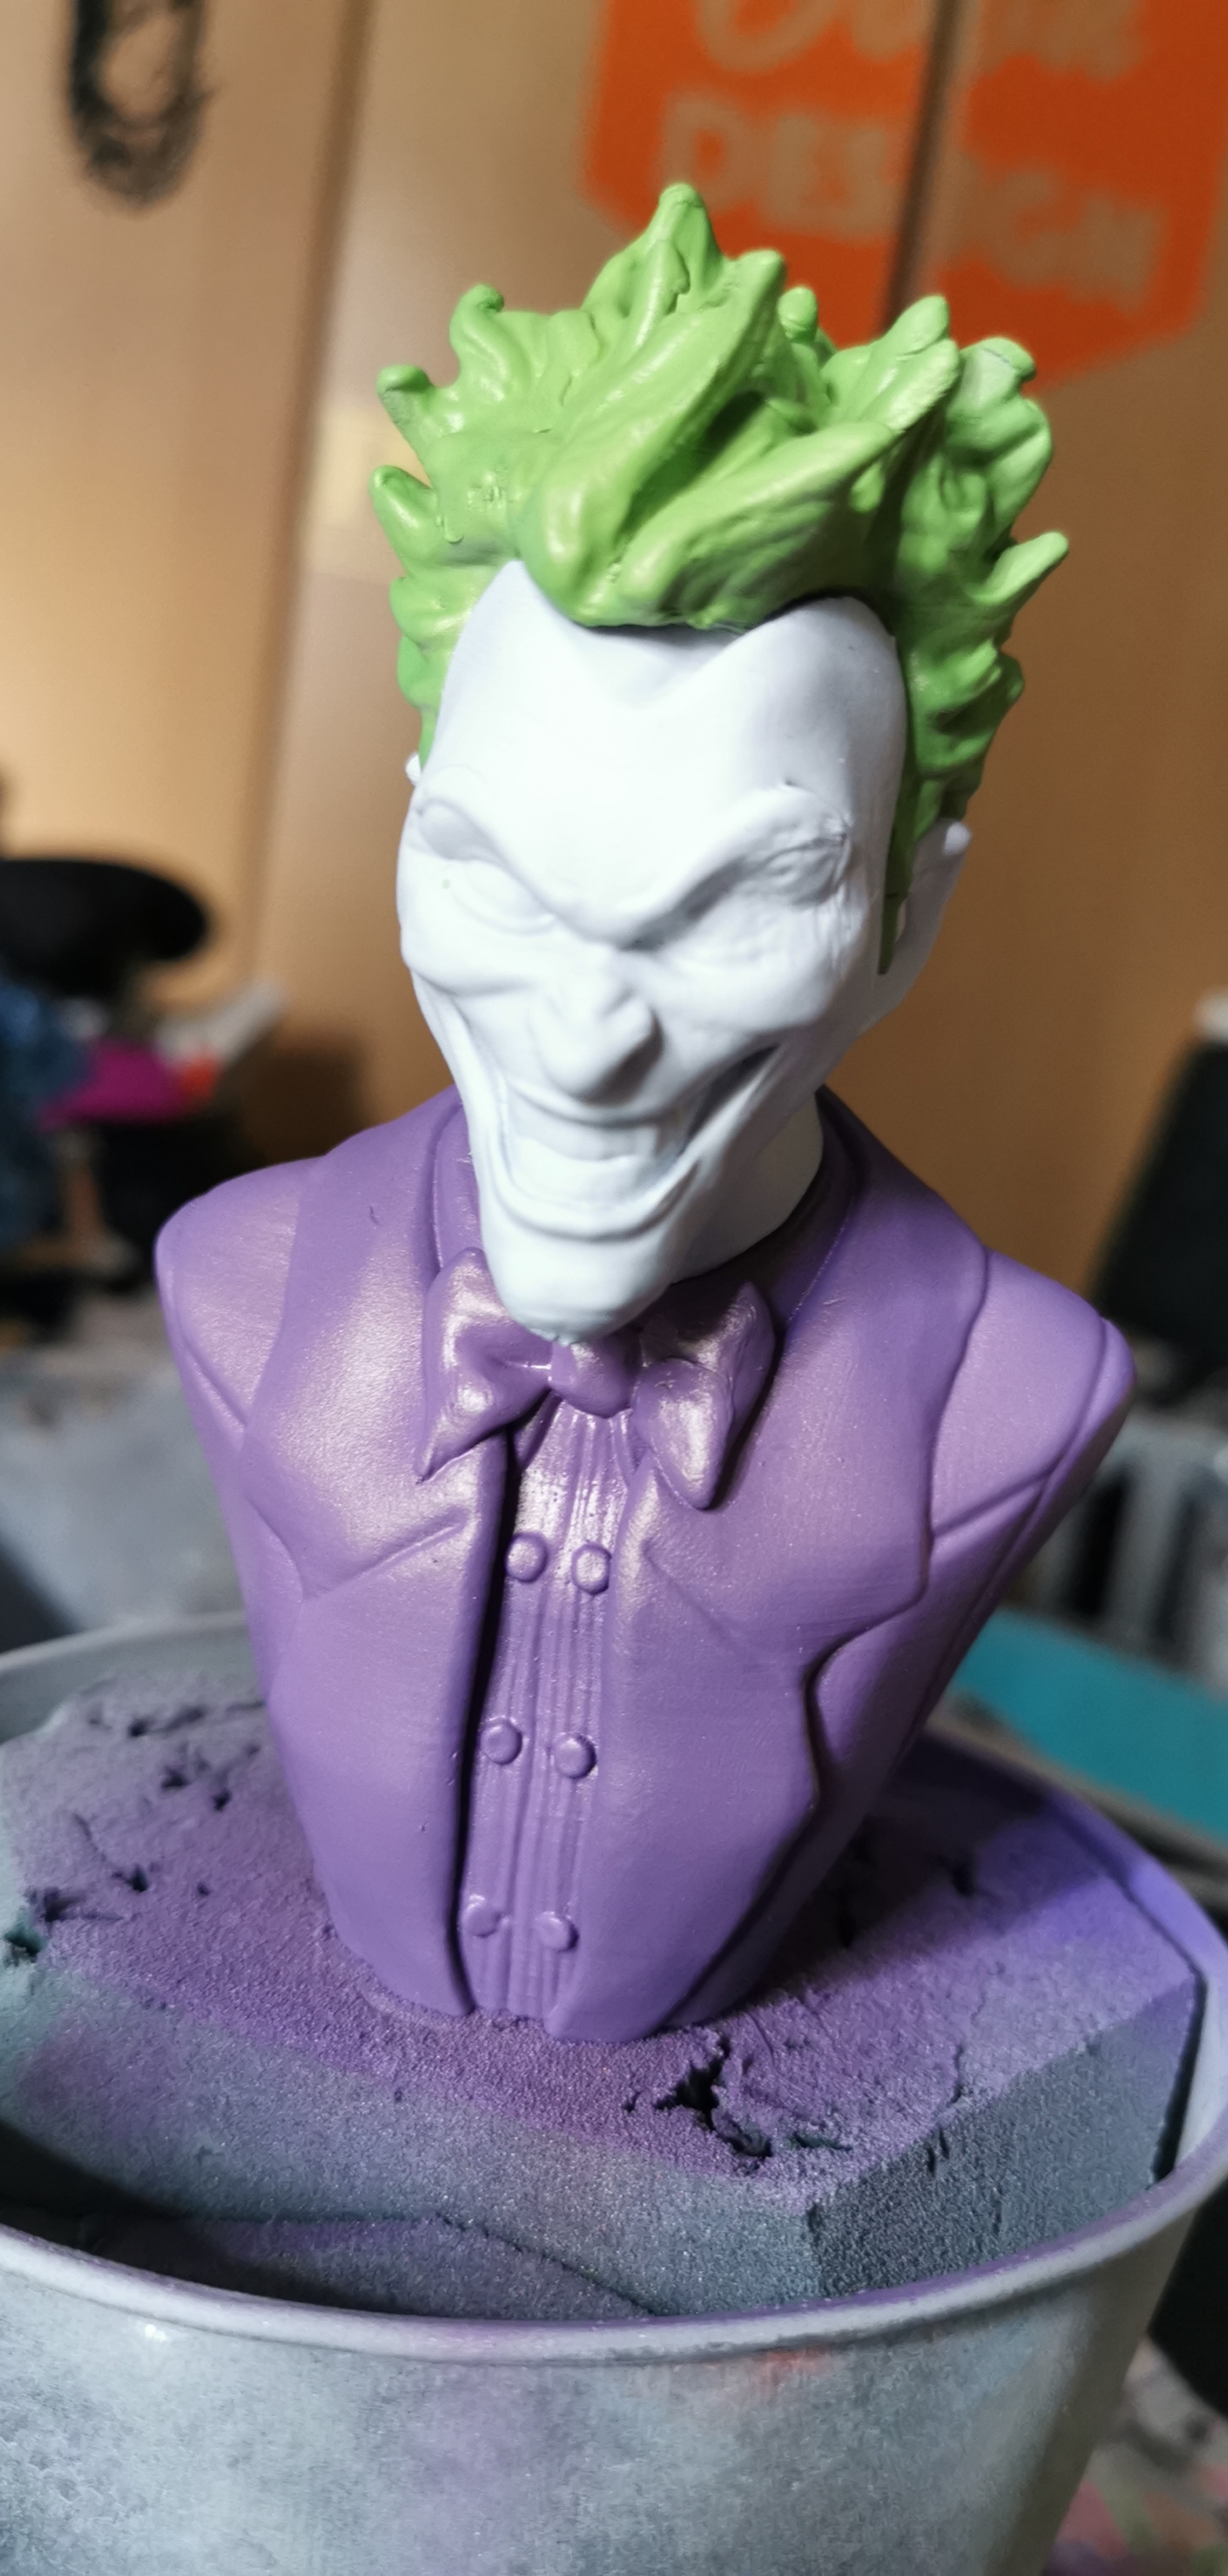
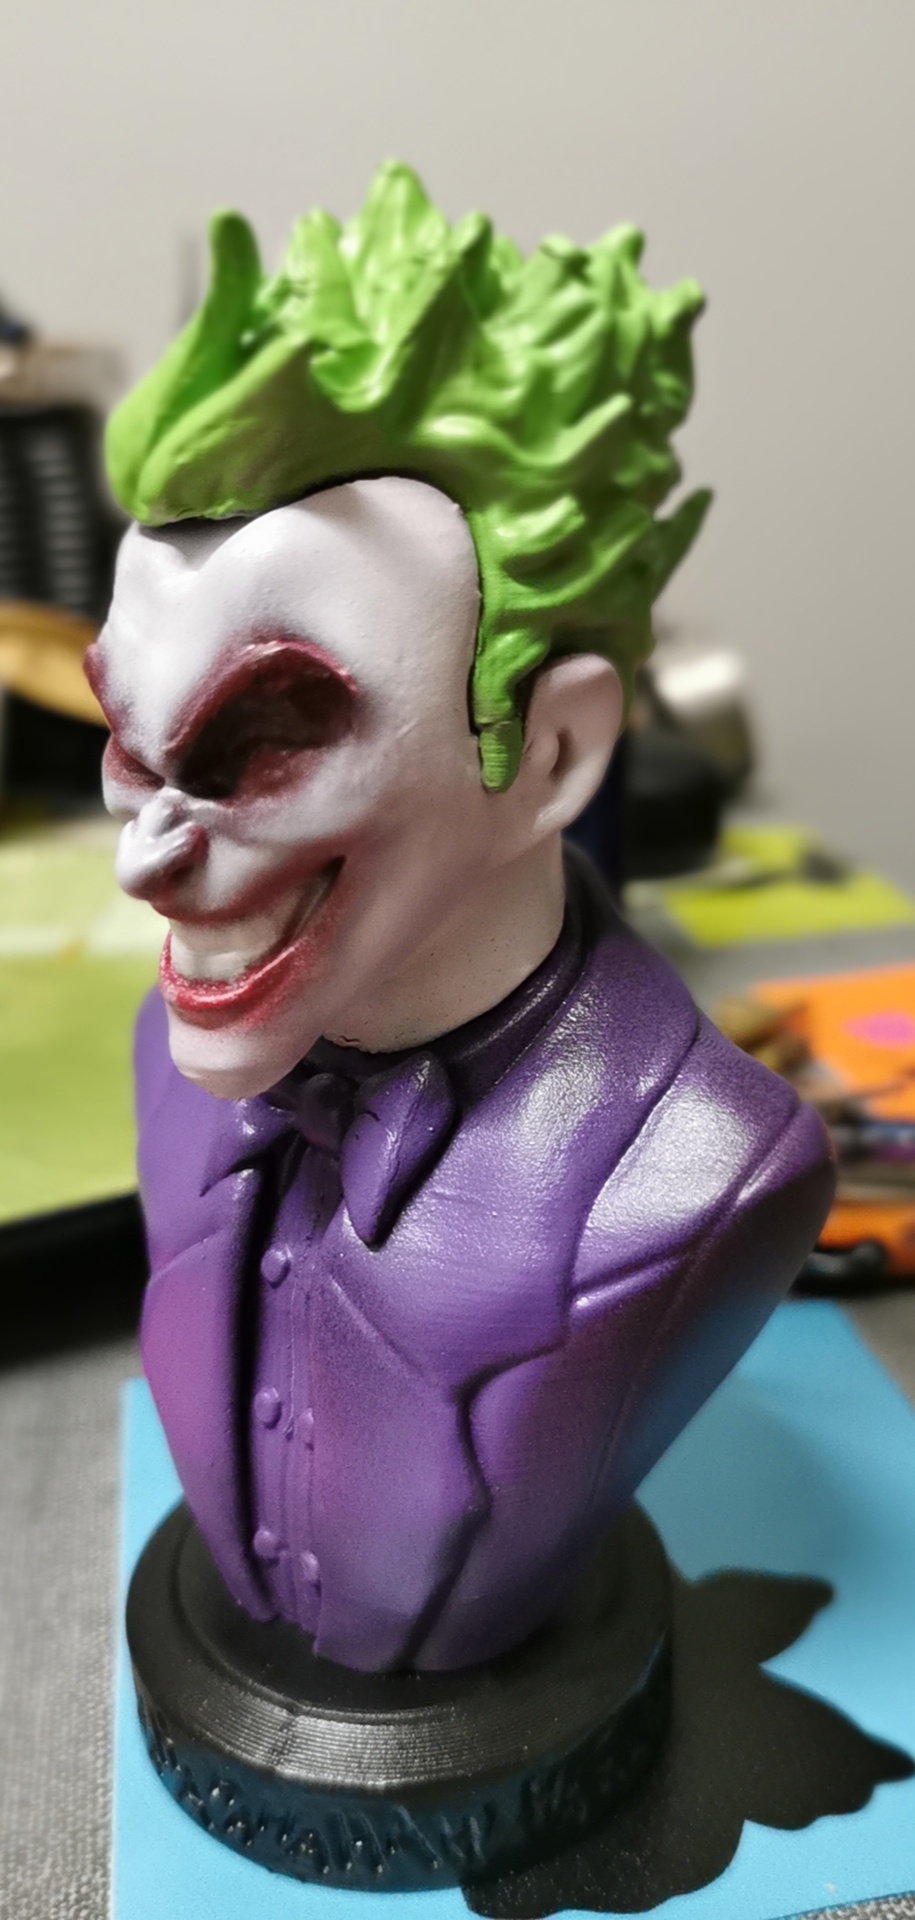
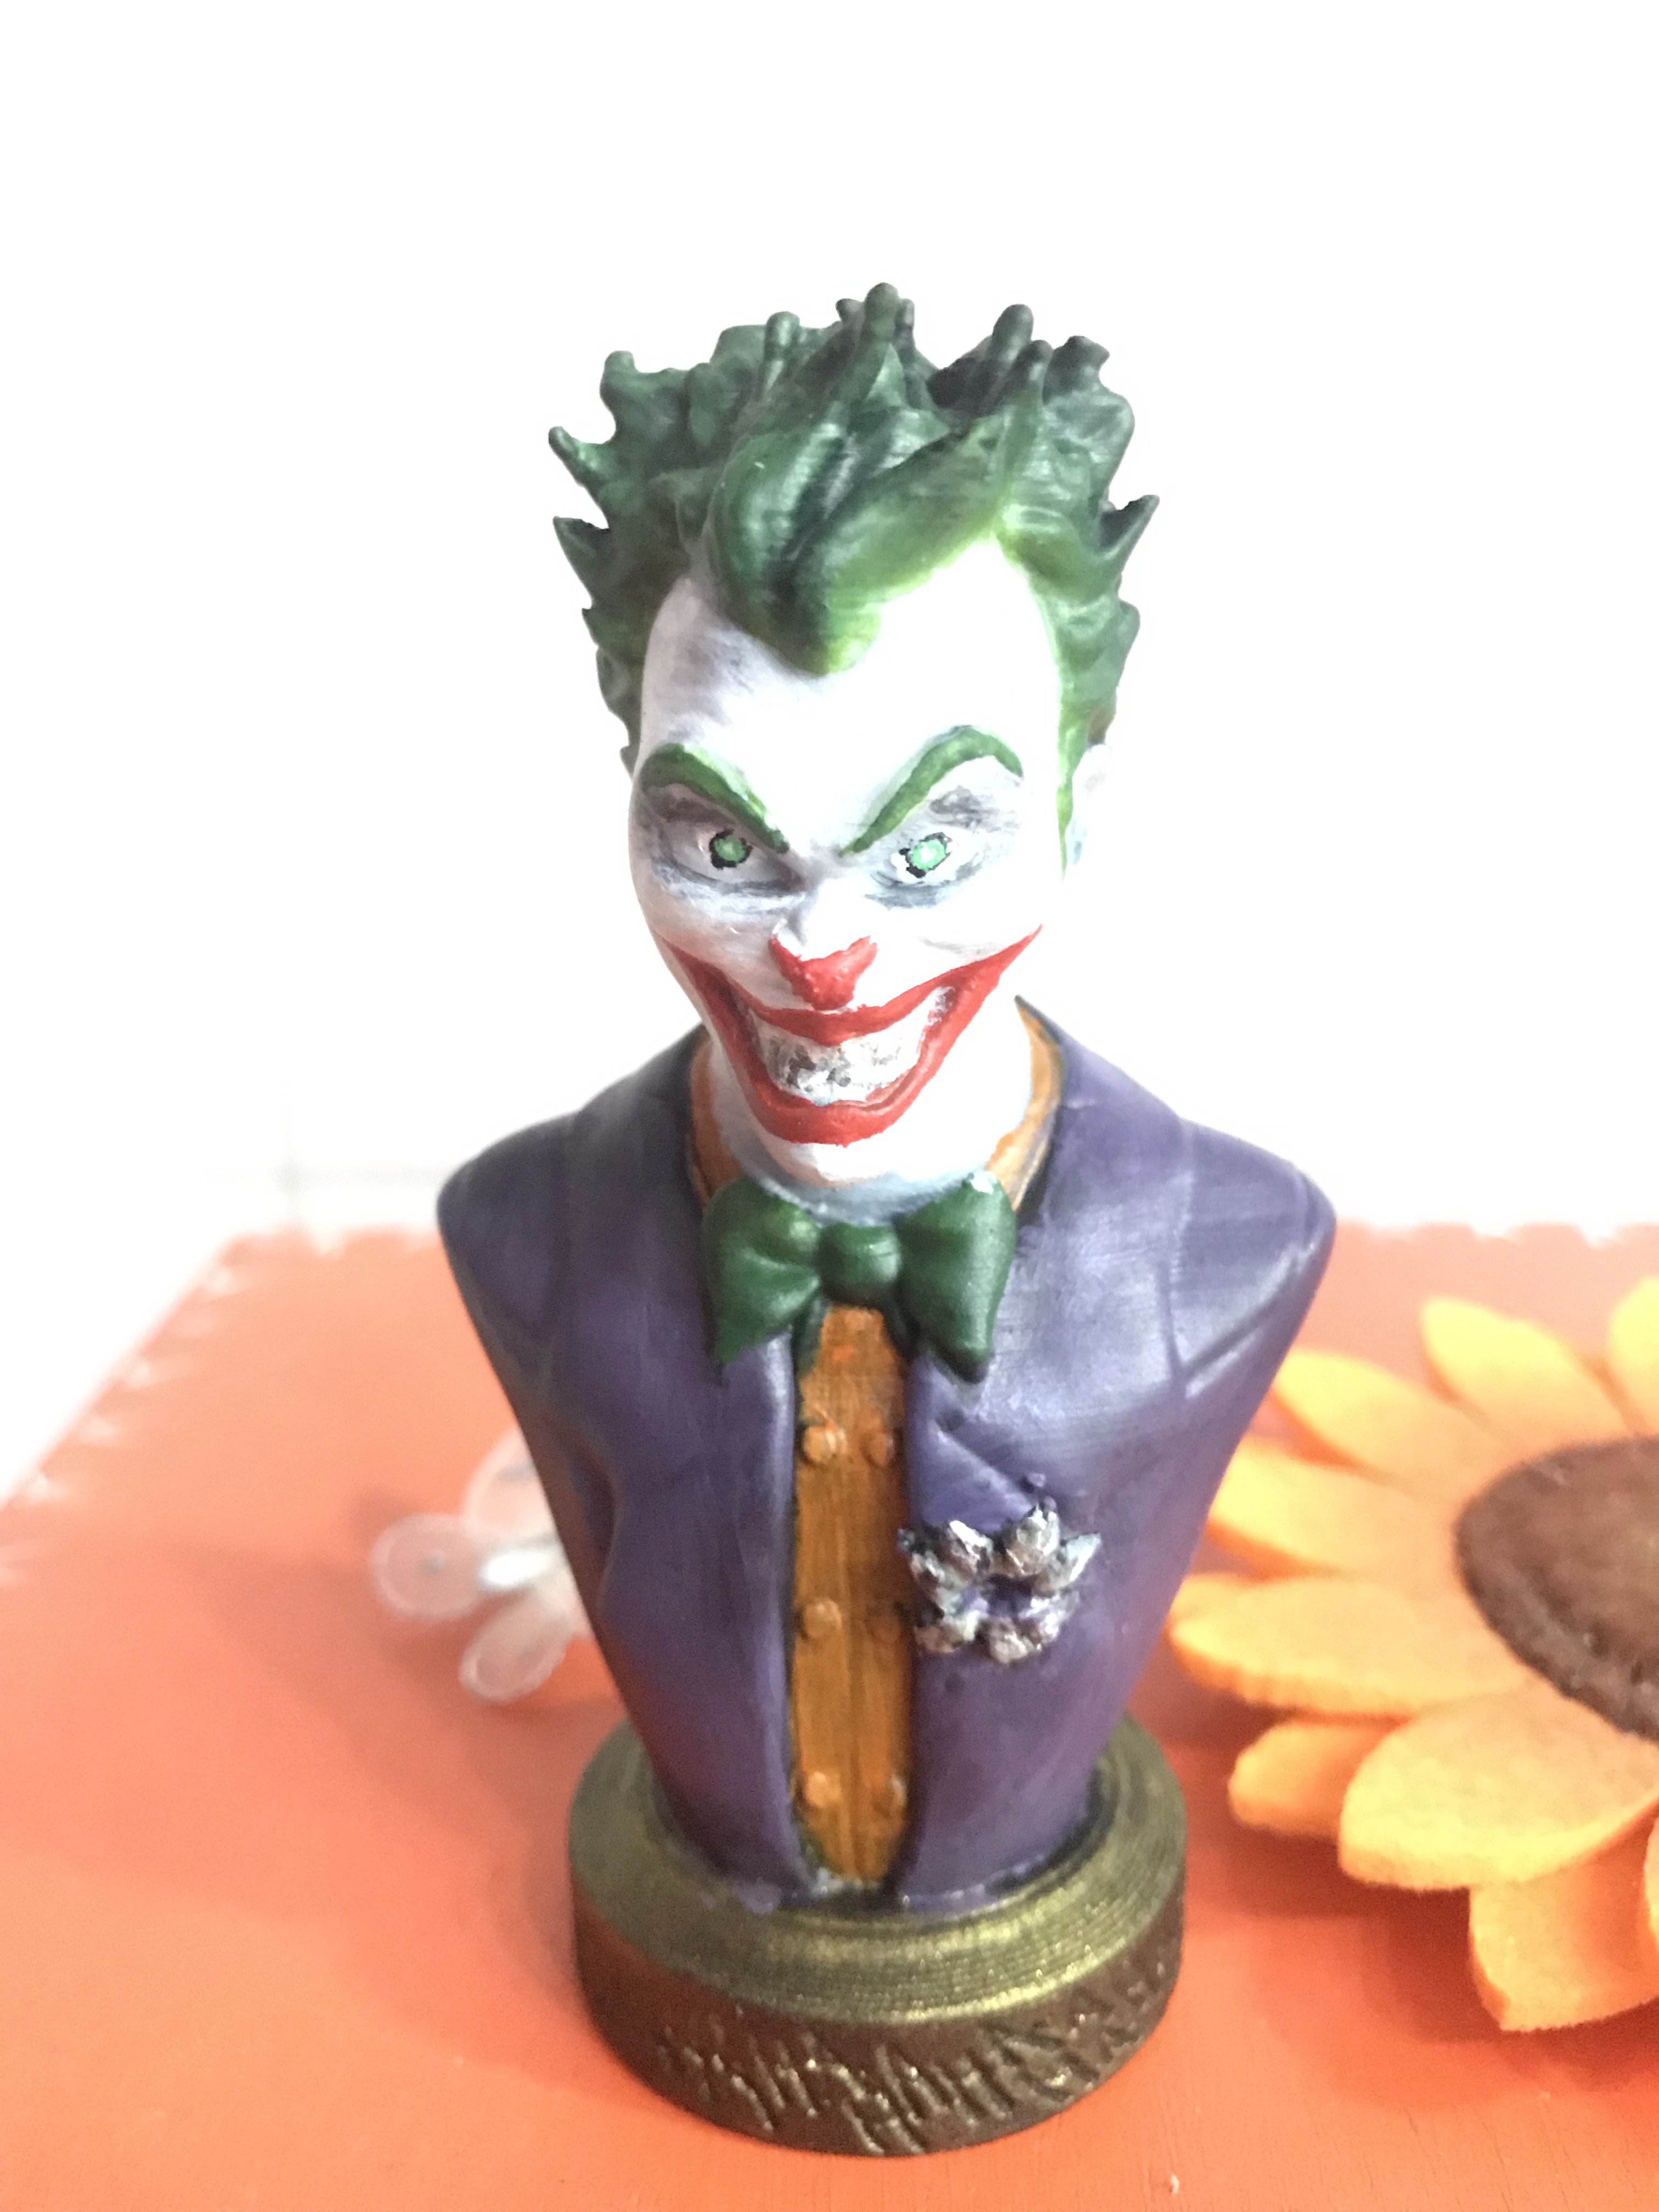
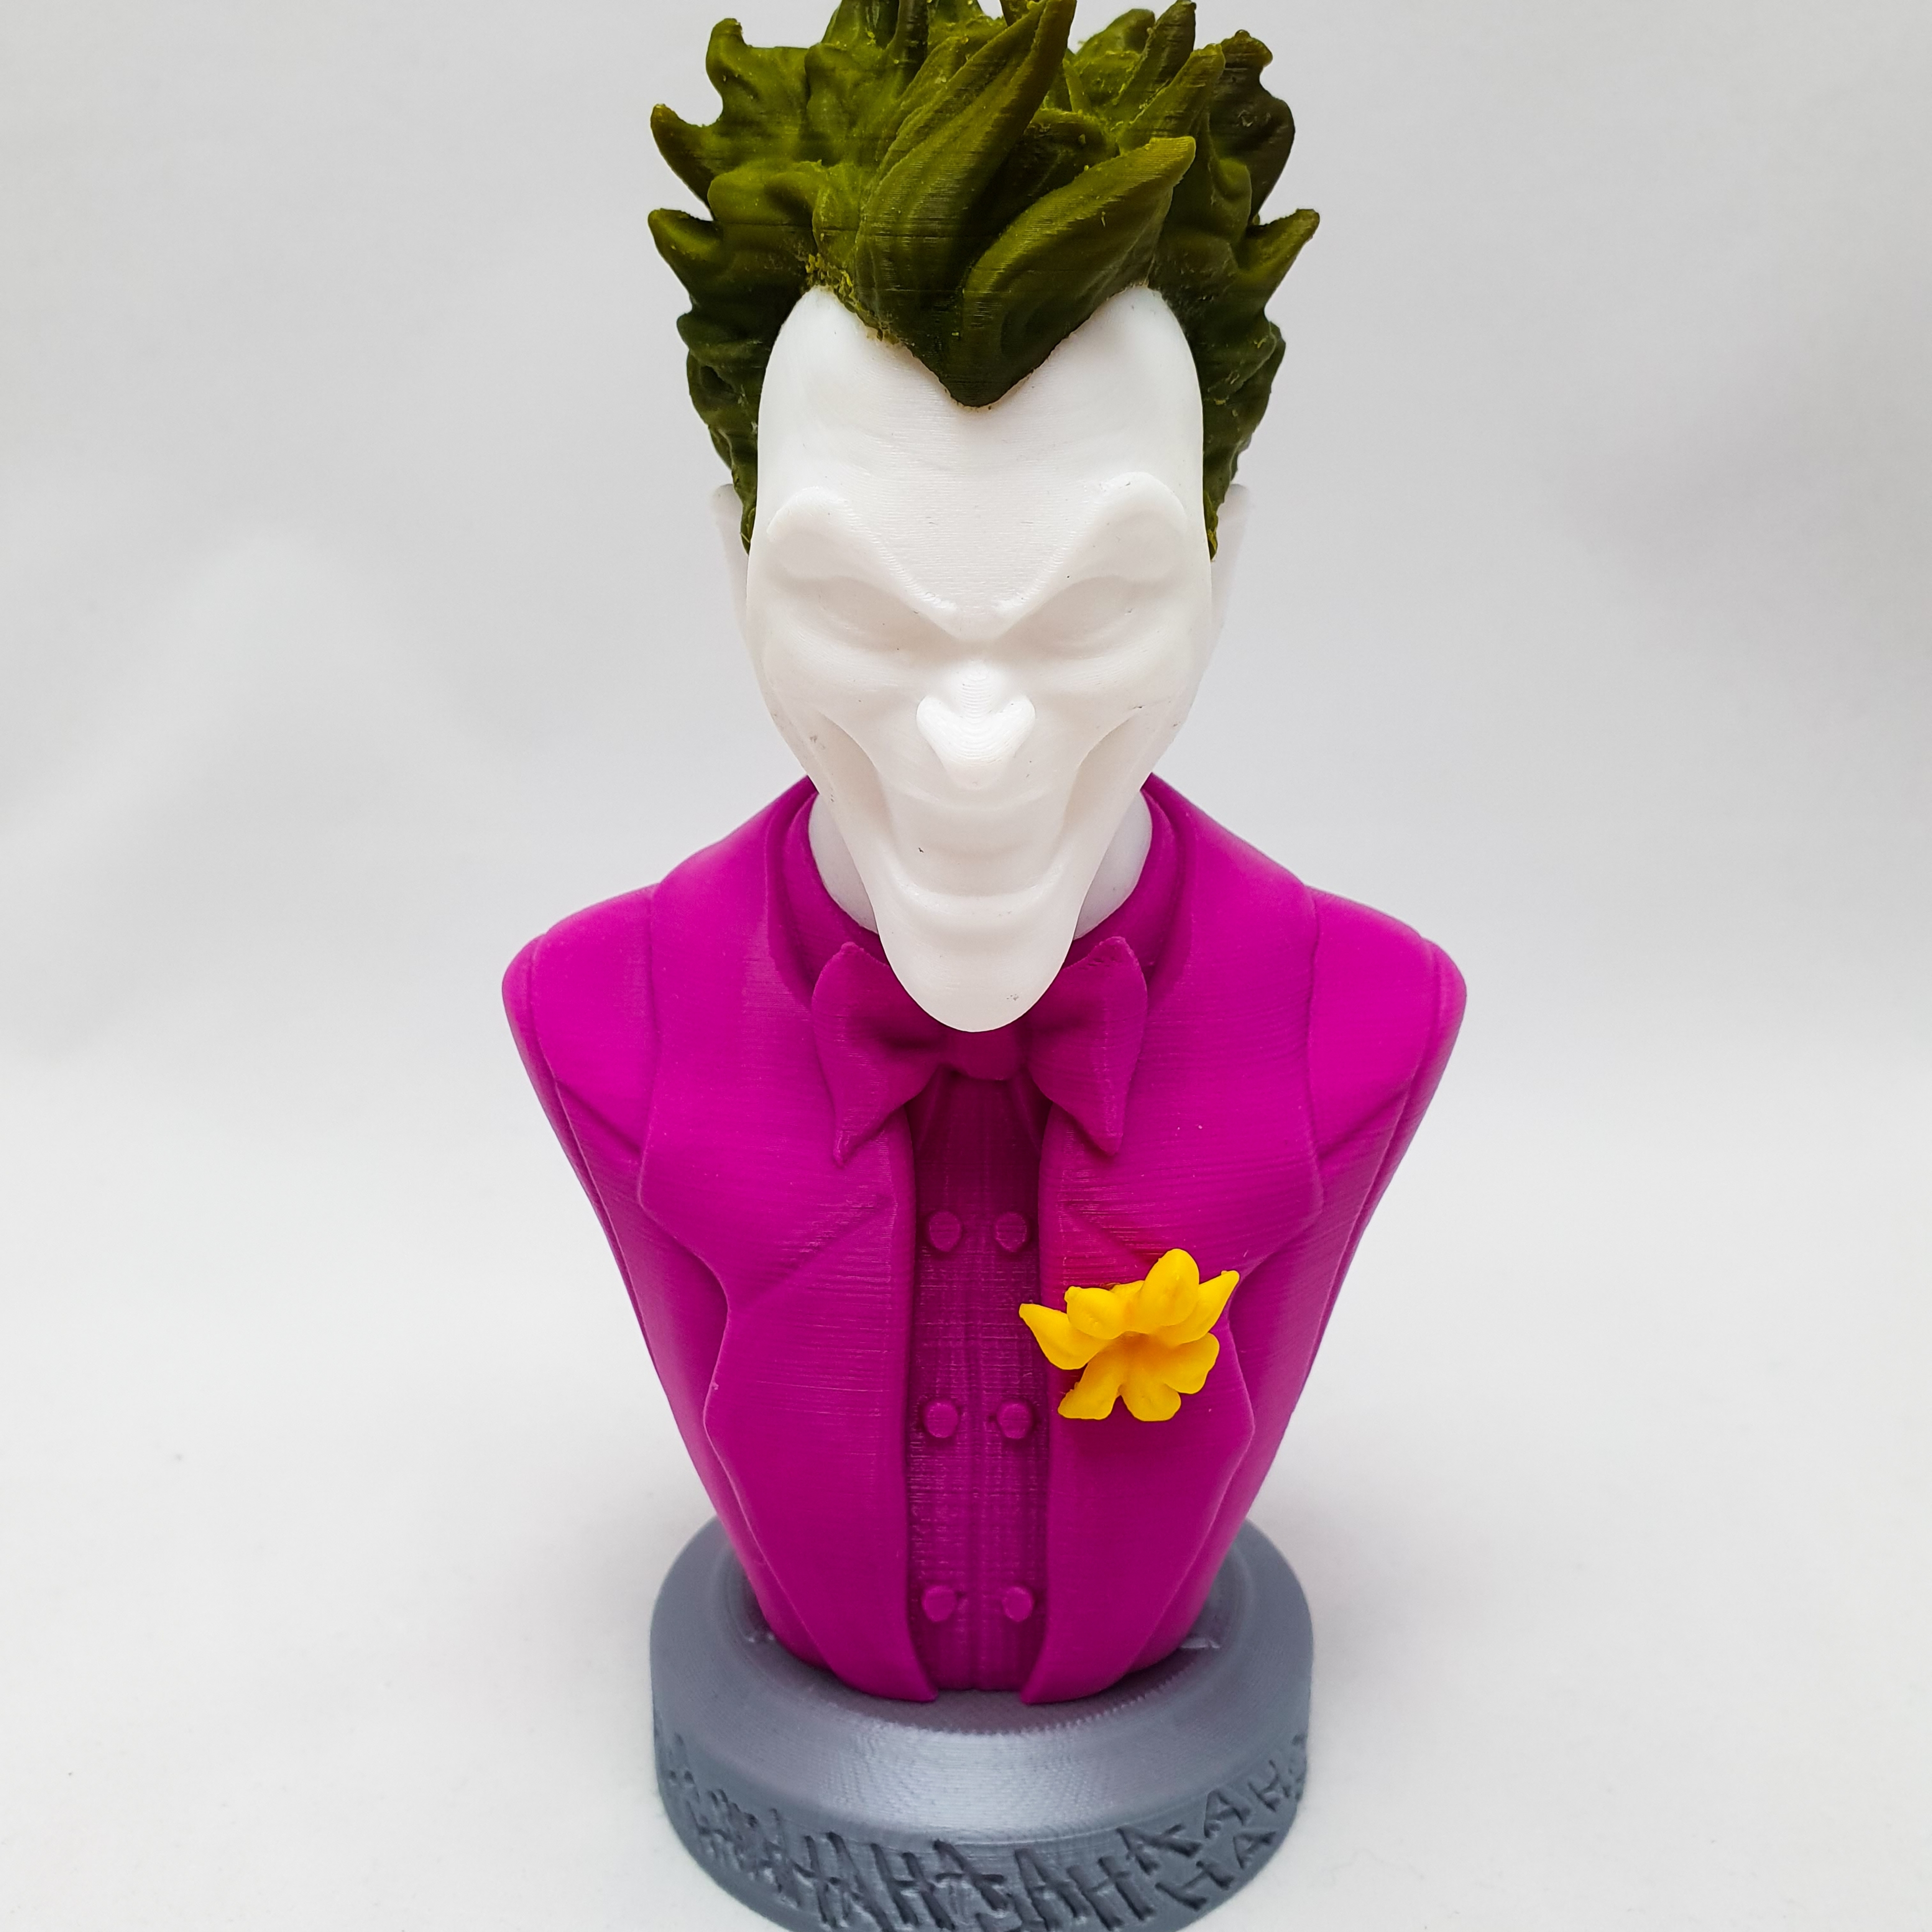
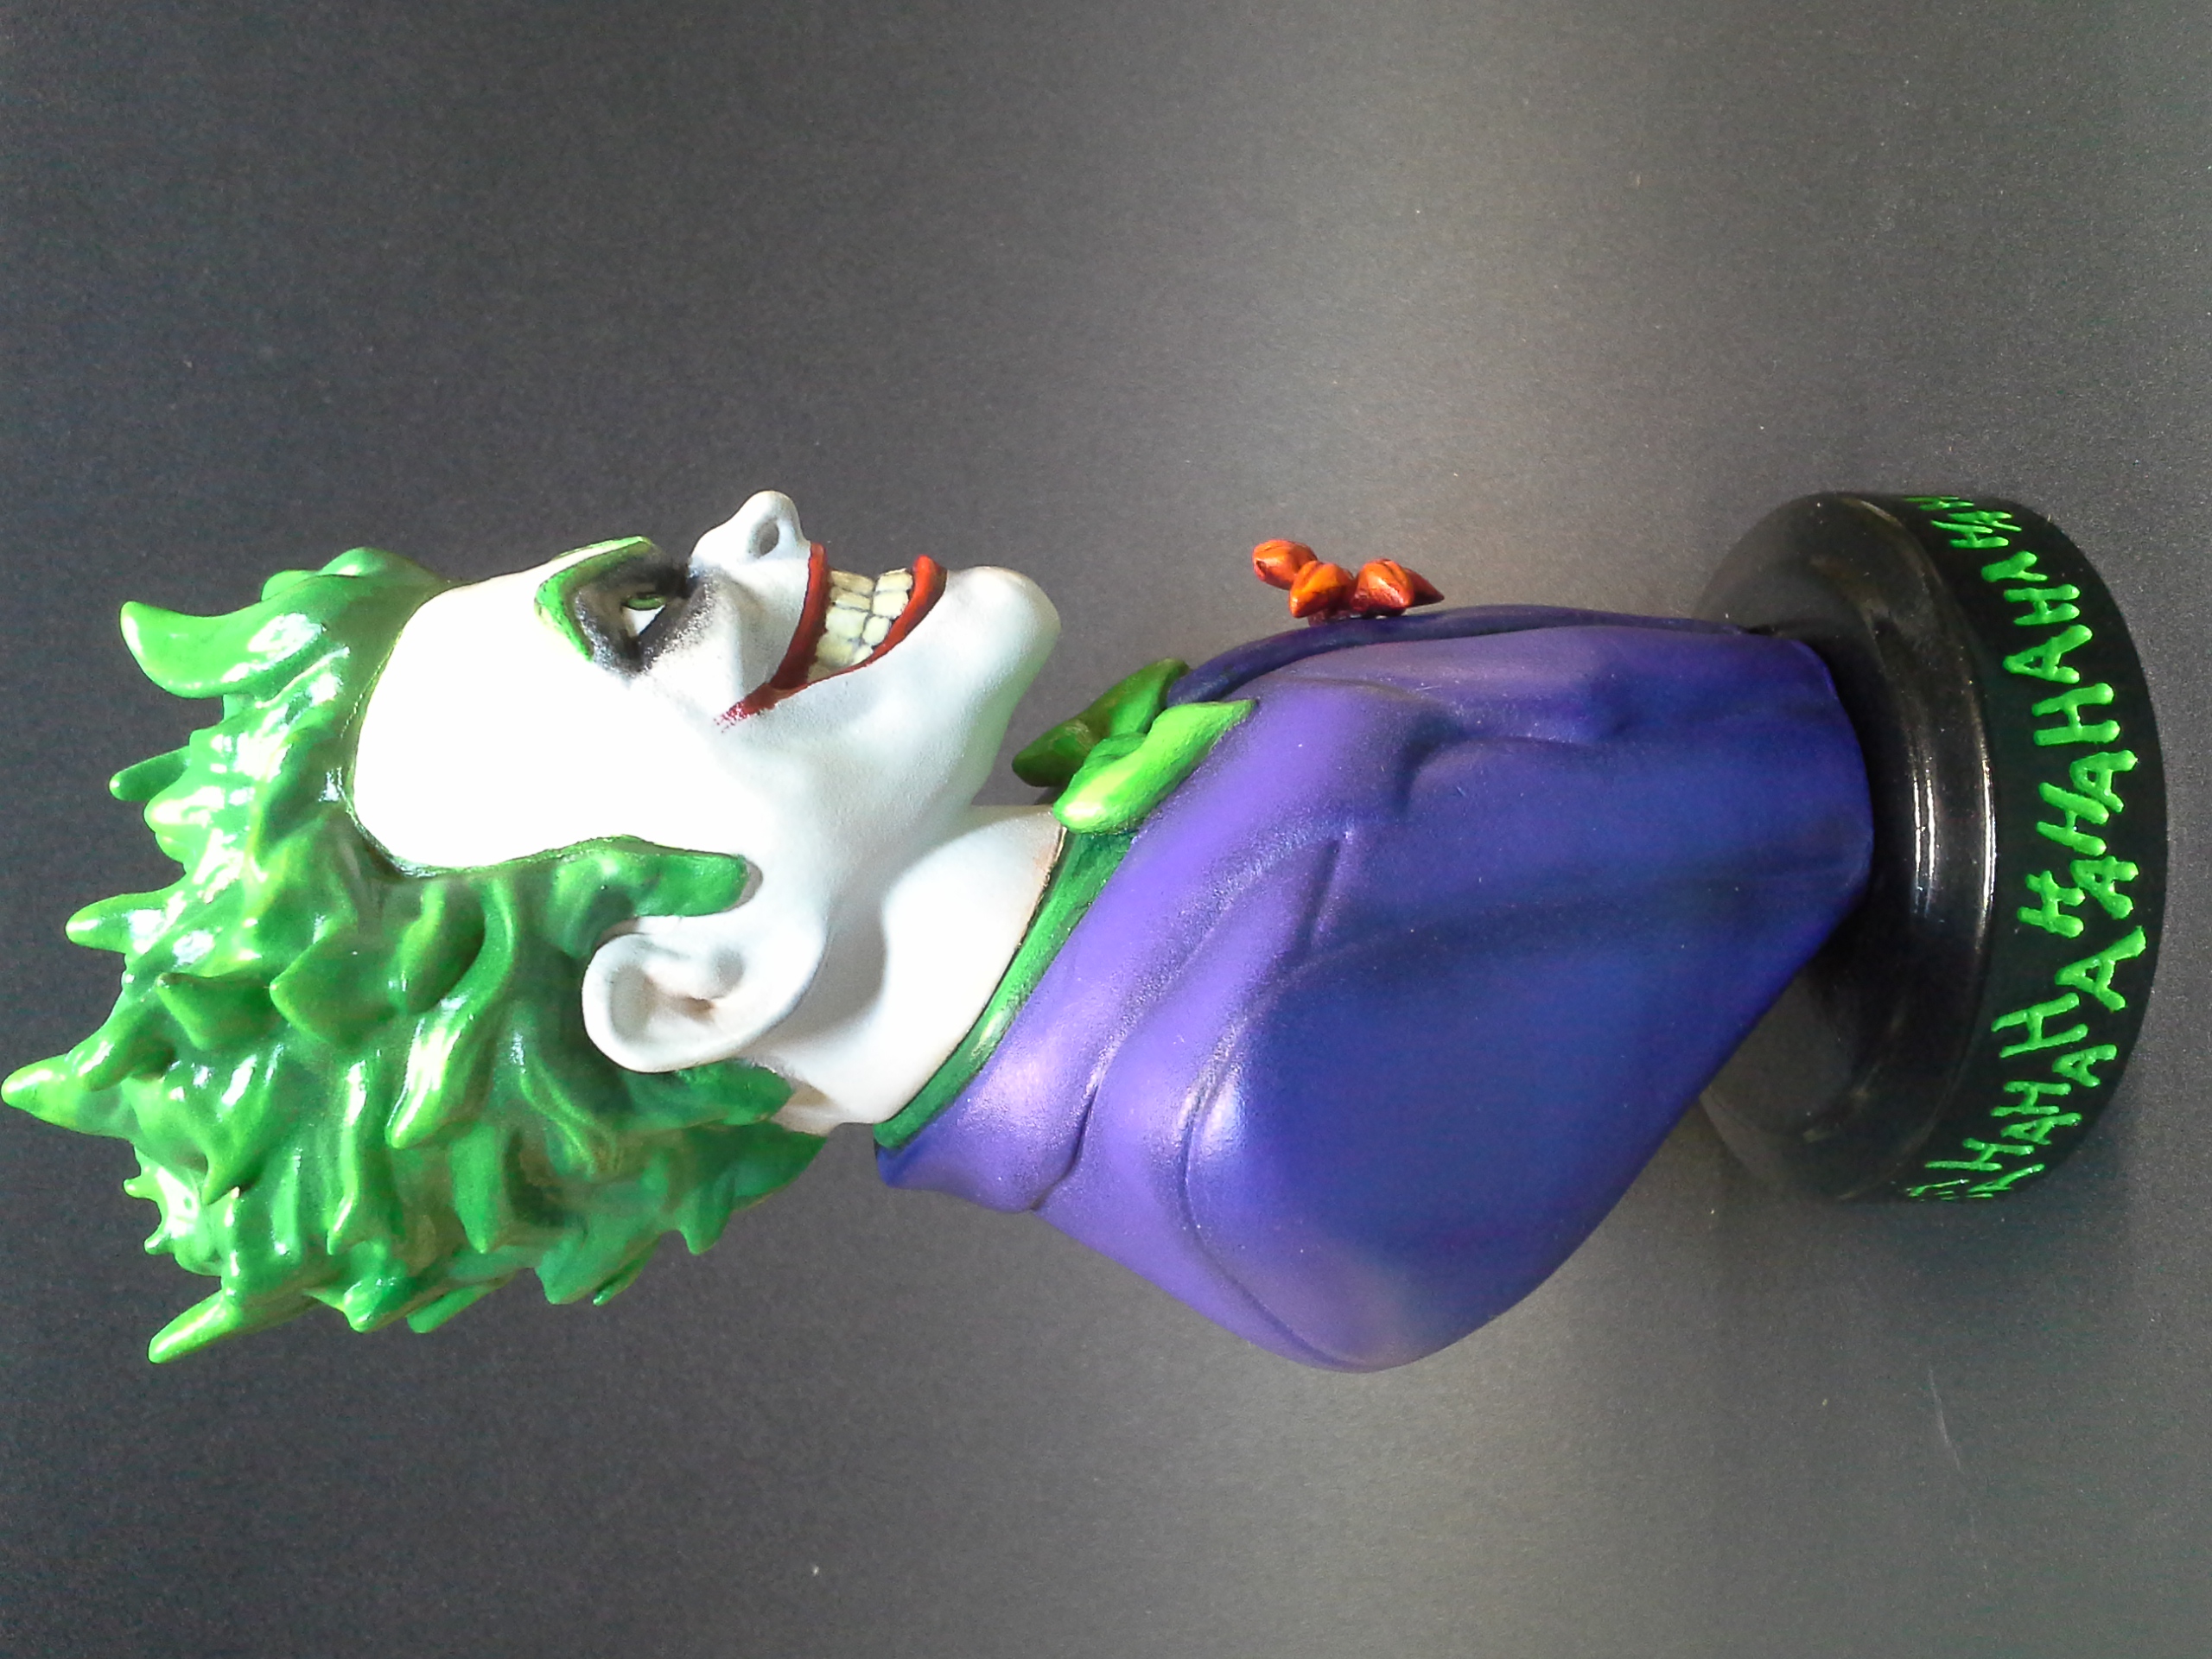
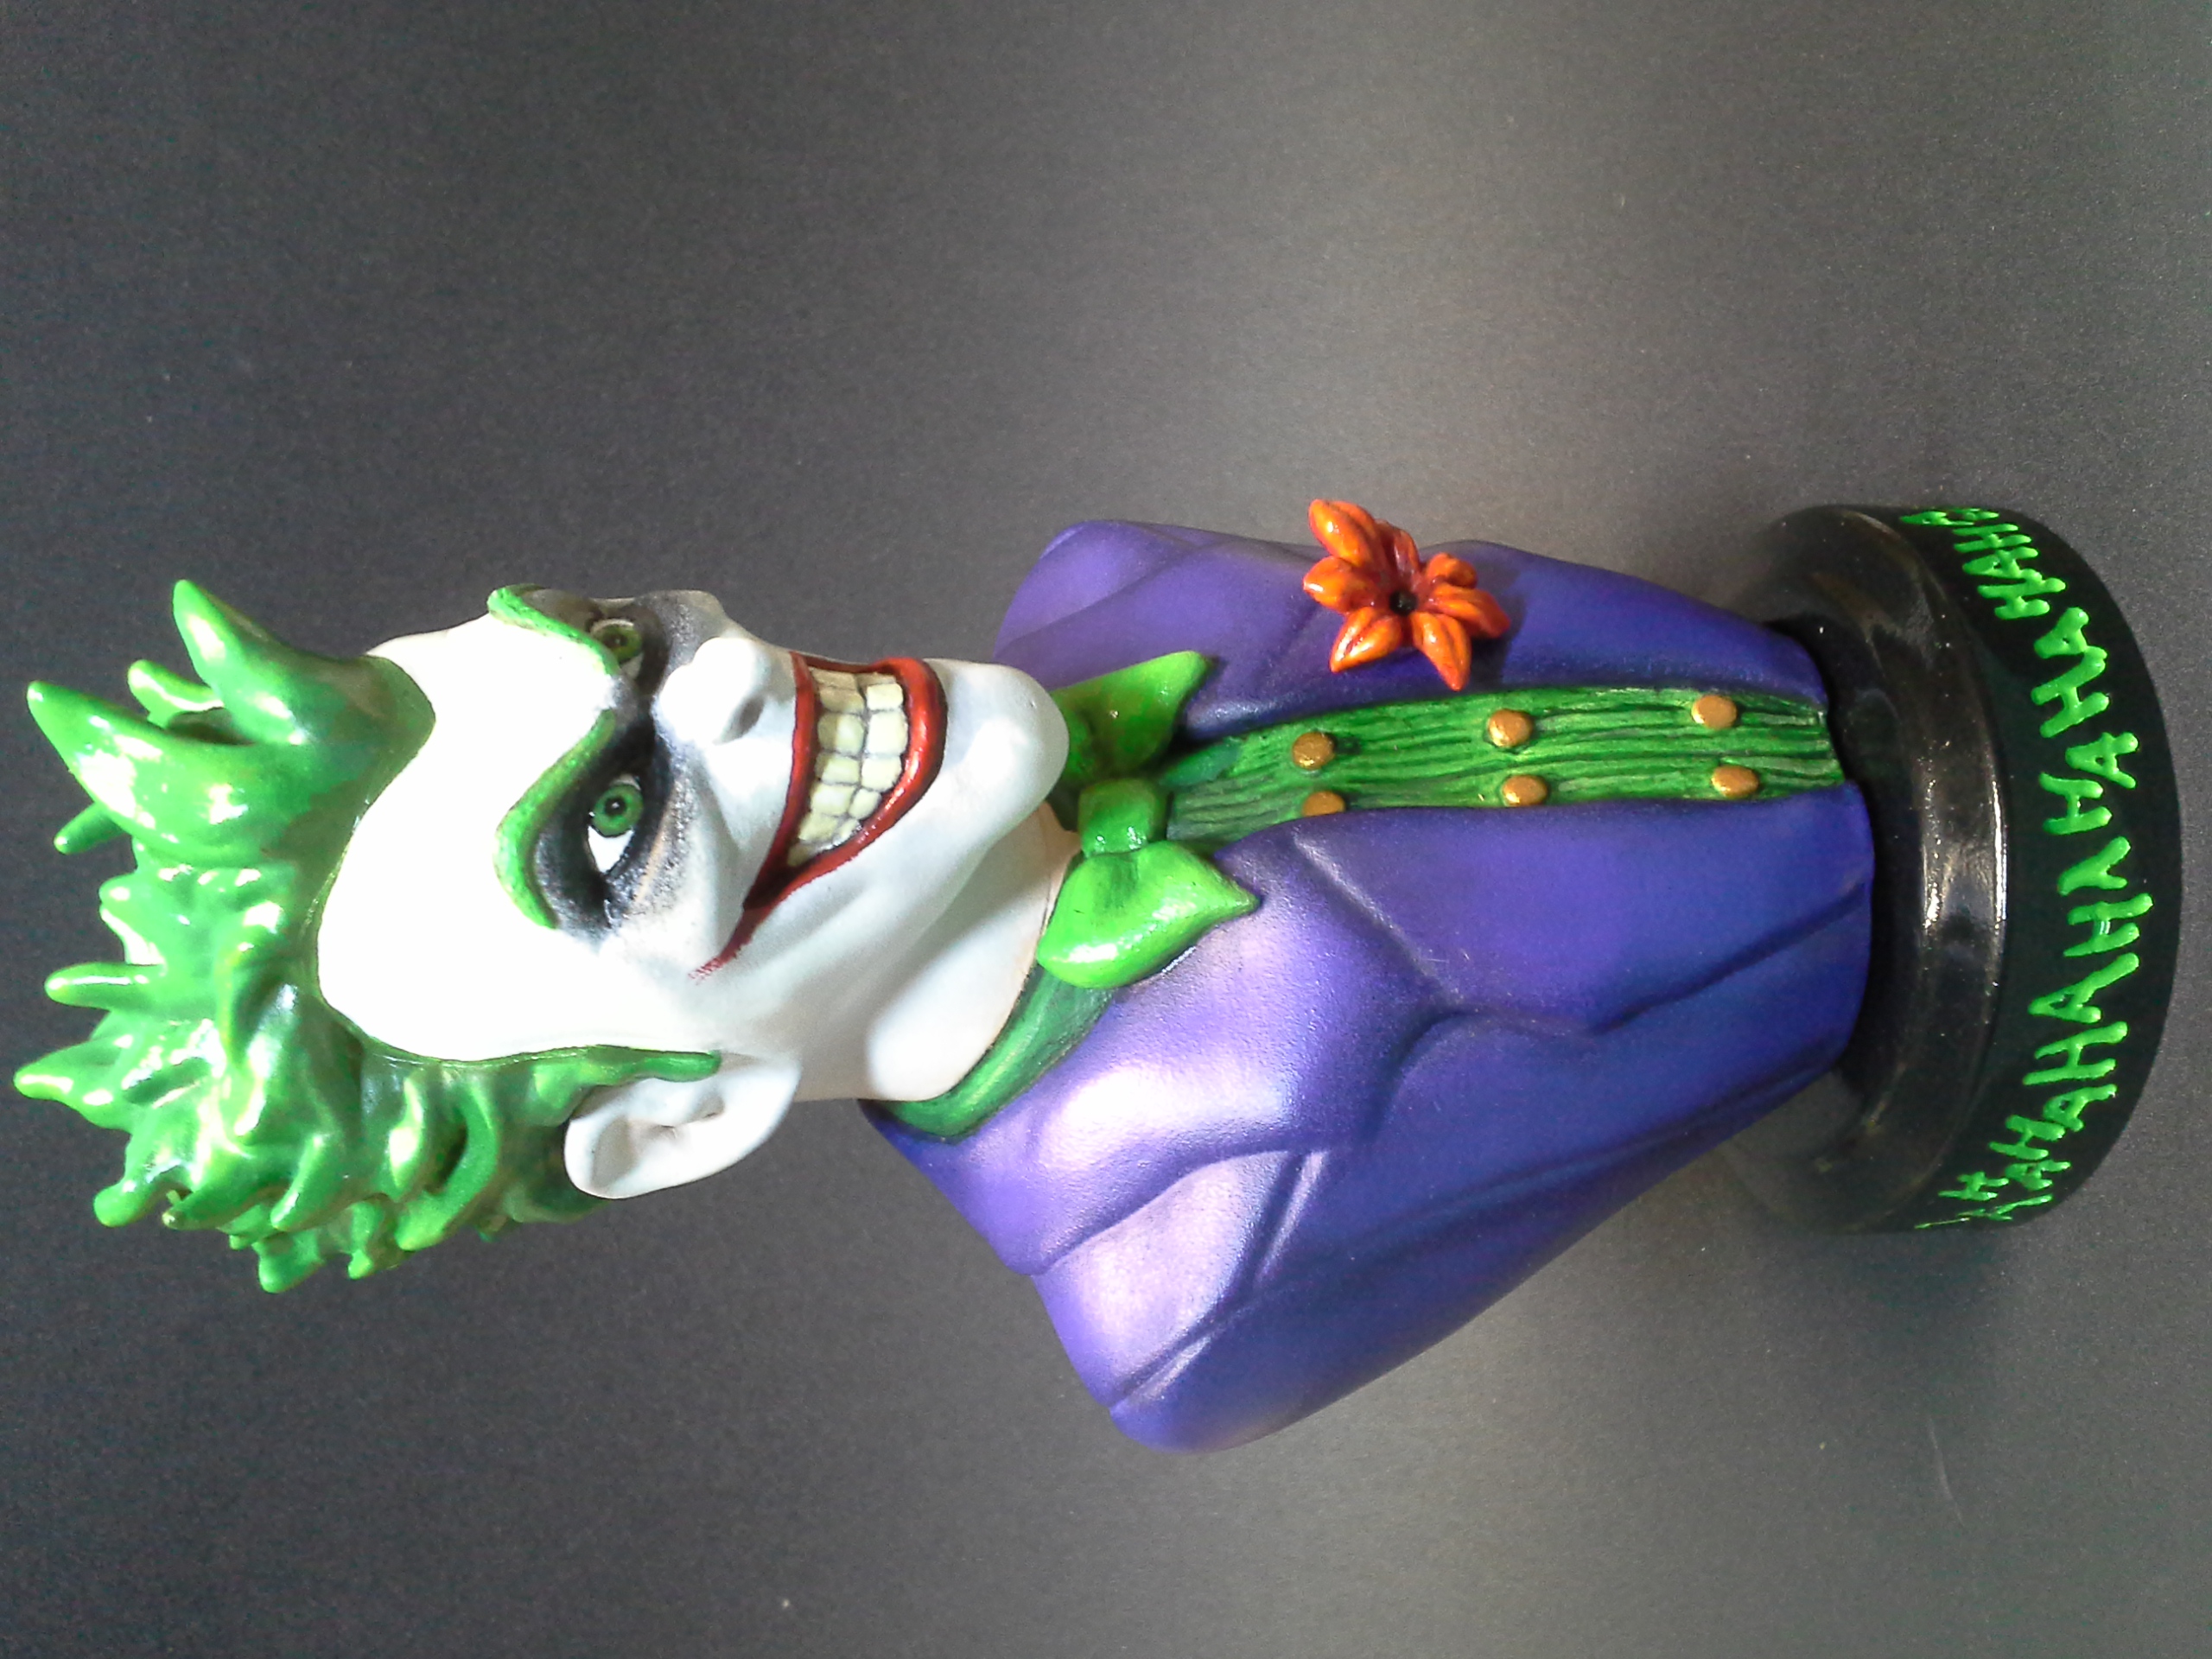
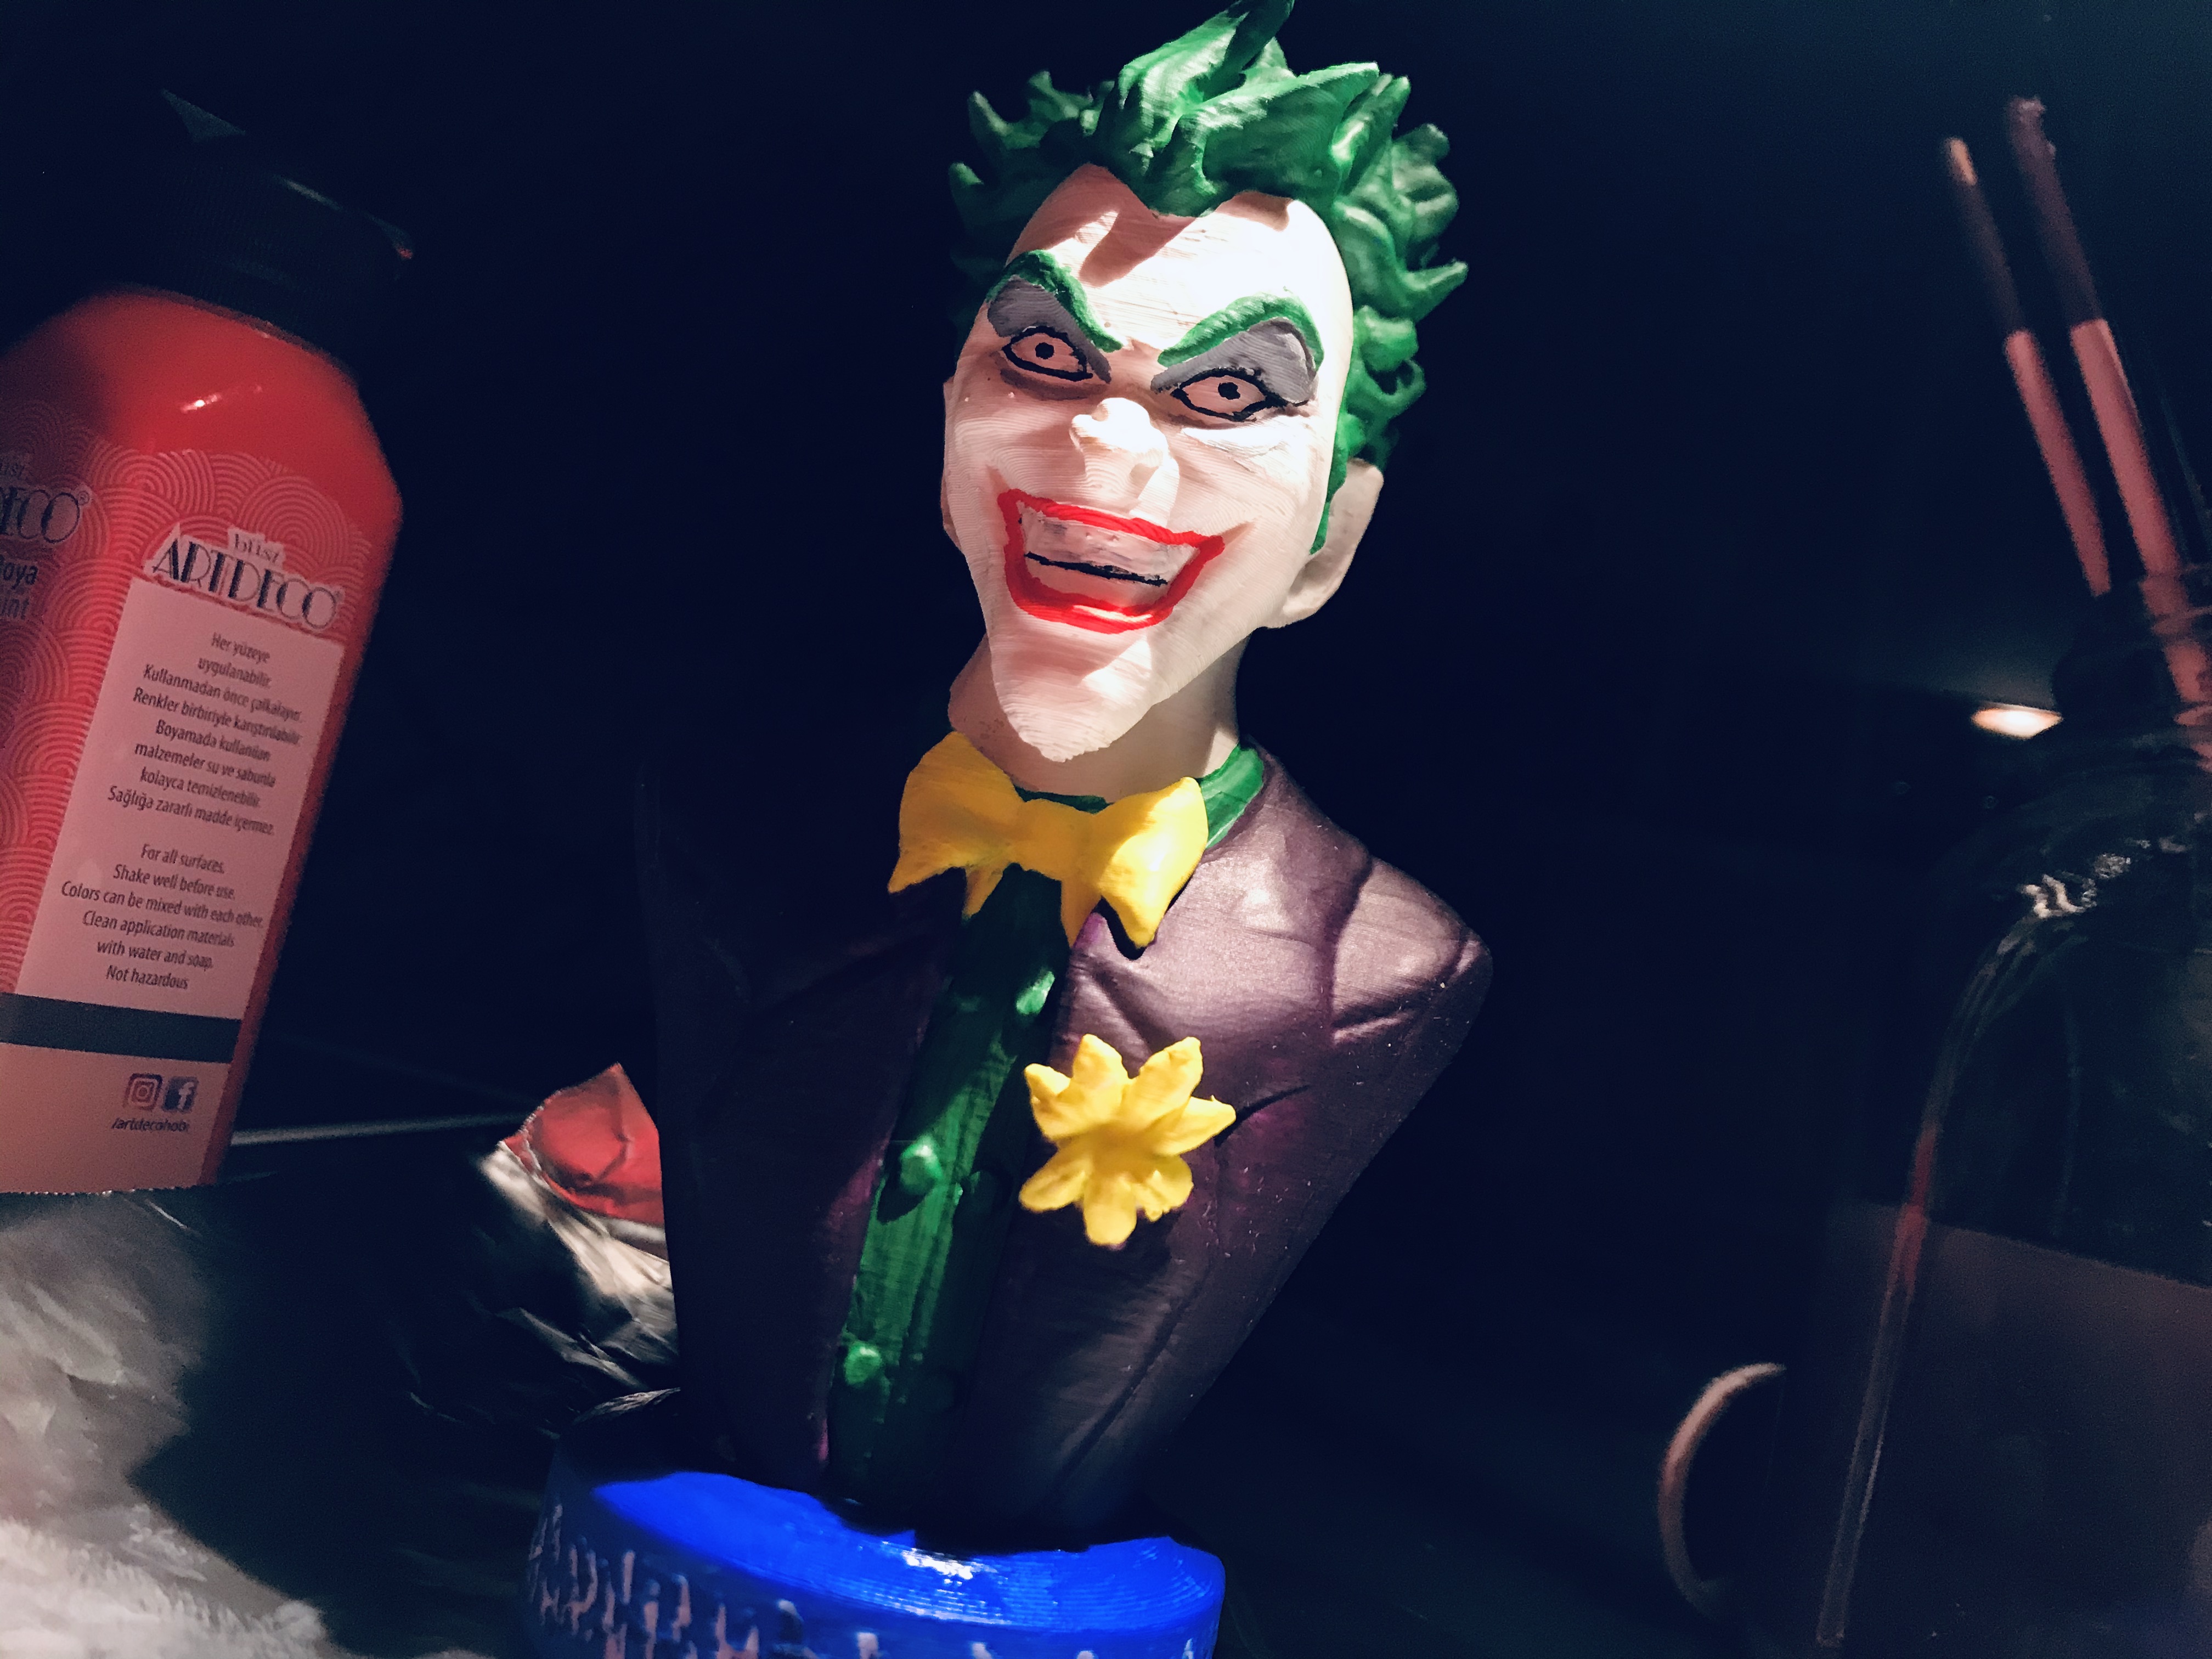
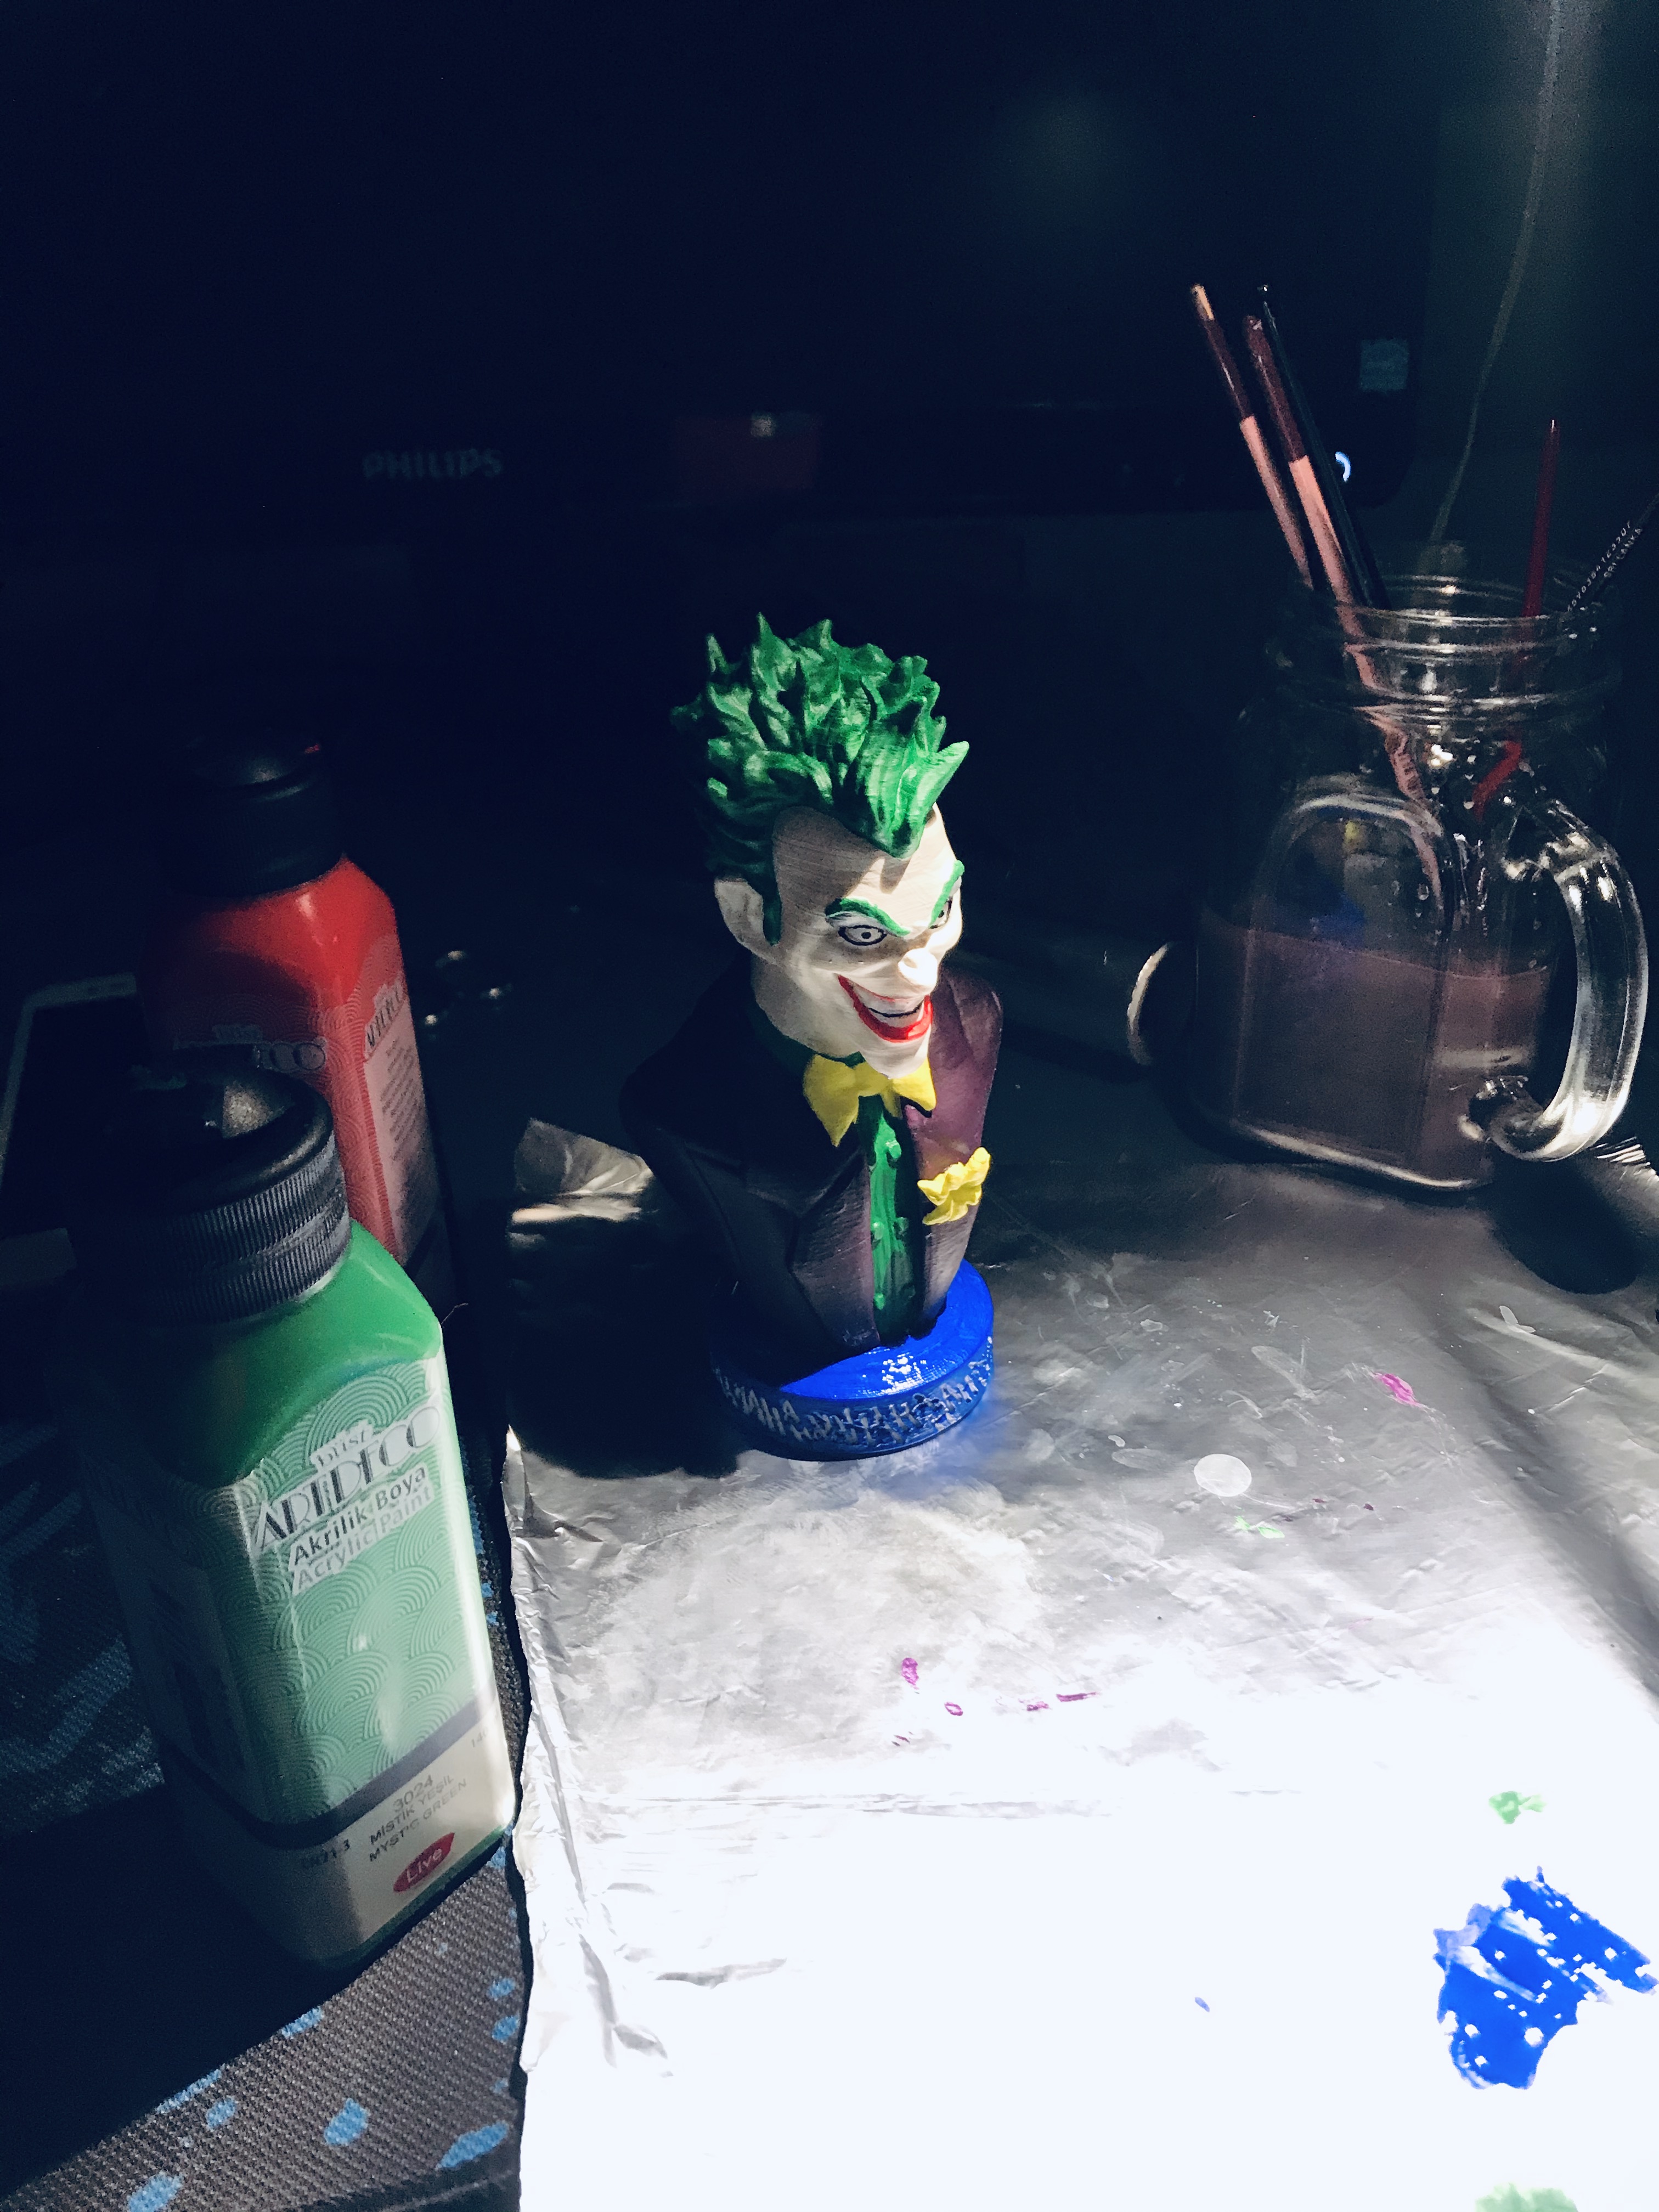
Green base is PETG 10% infill. Purple is PLA 0% infill. All 0.18mm layer heights and 0.4mm nozzle
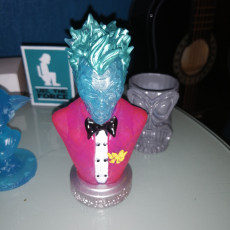
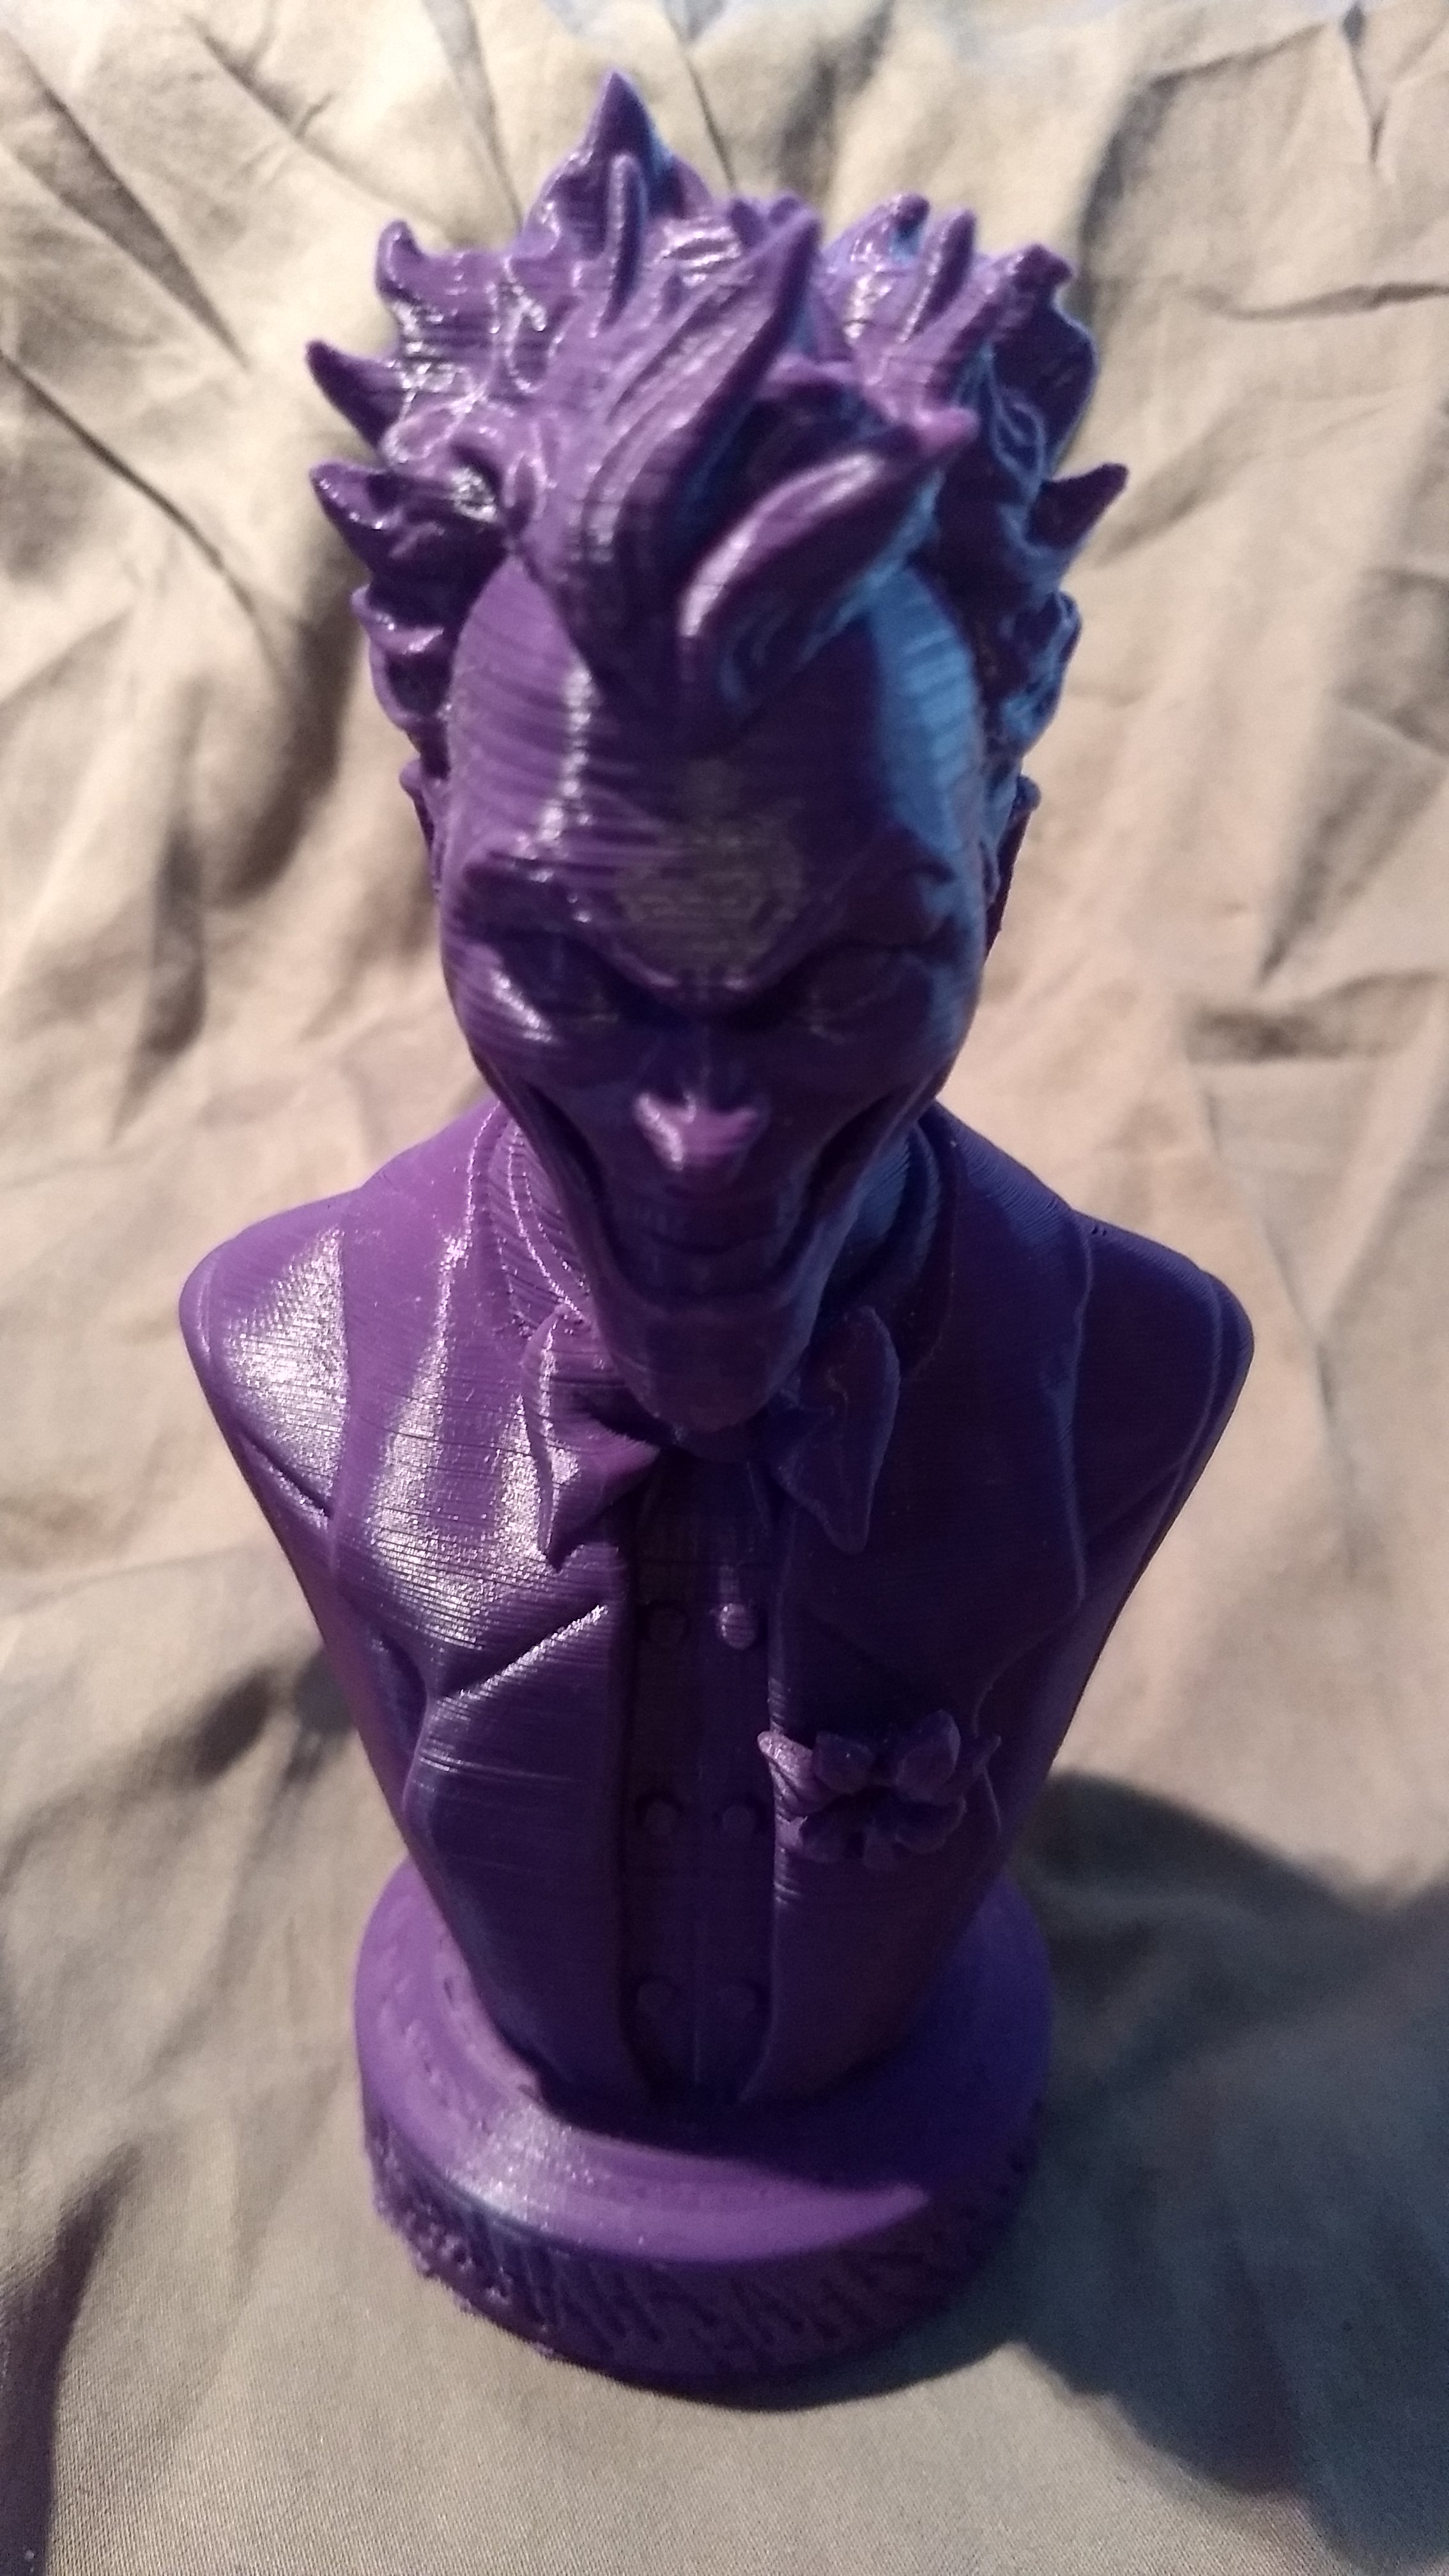
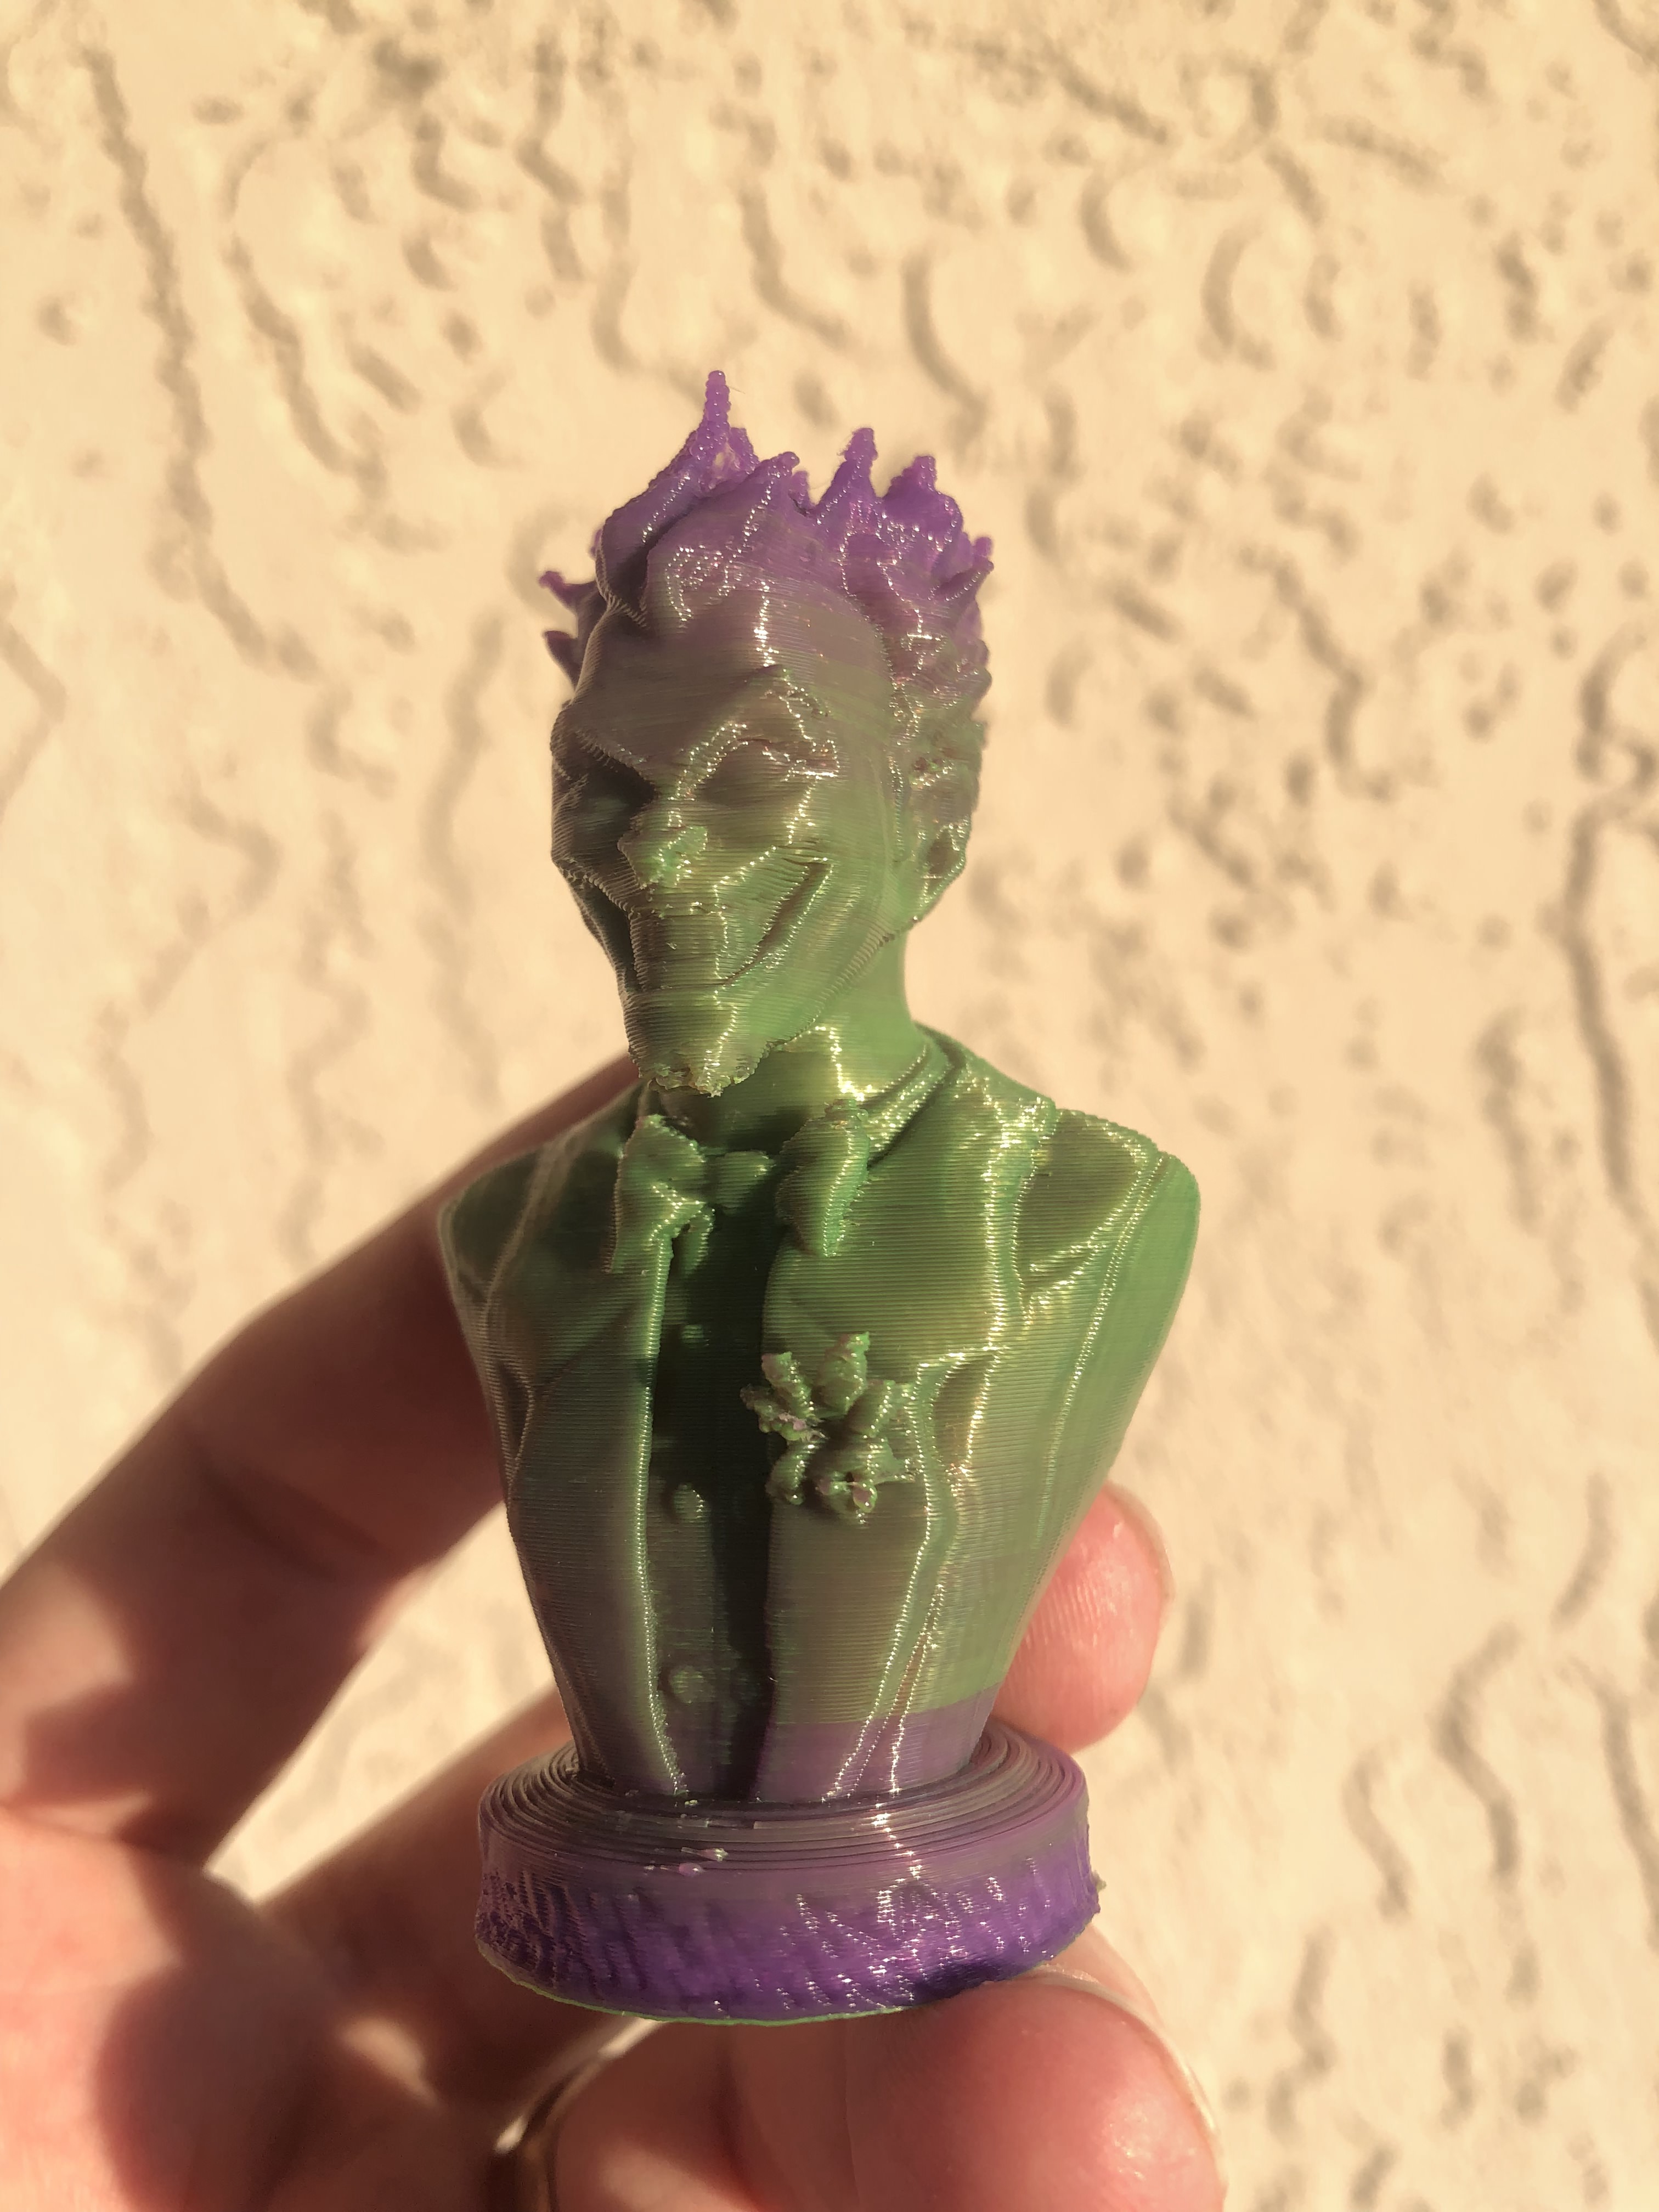
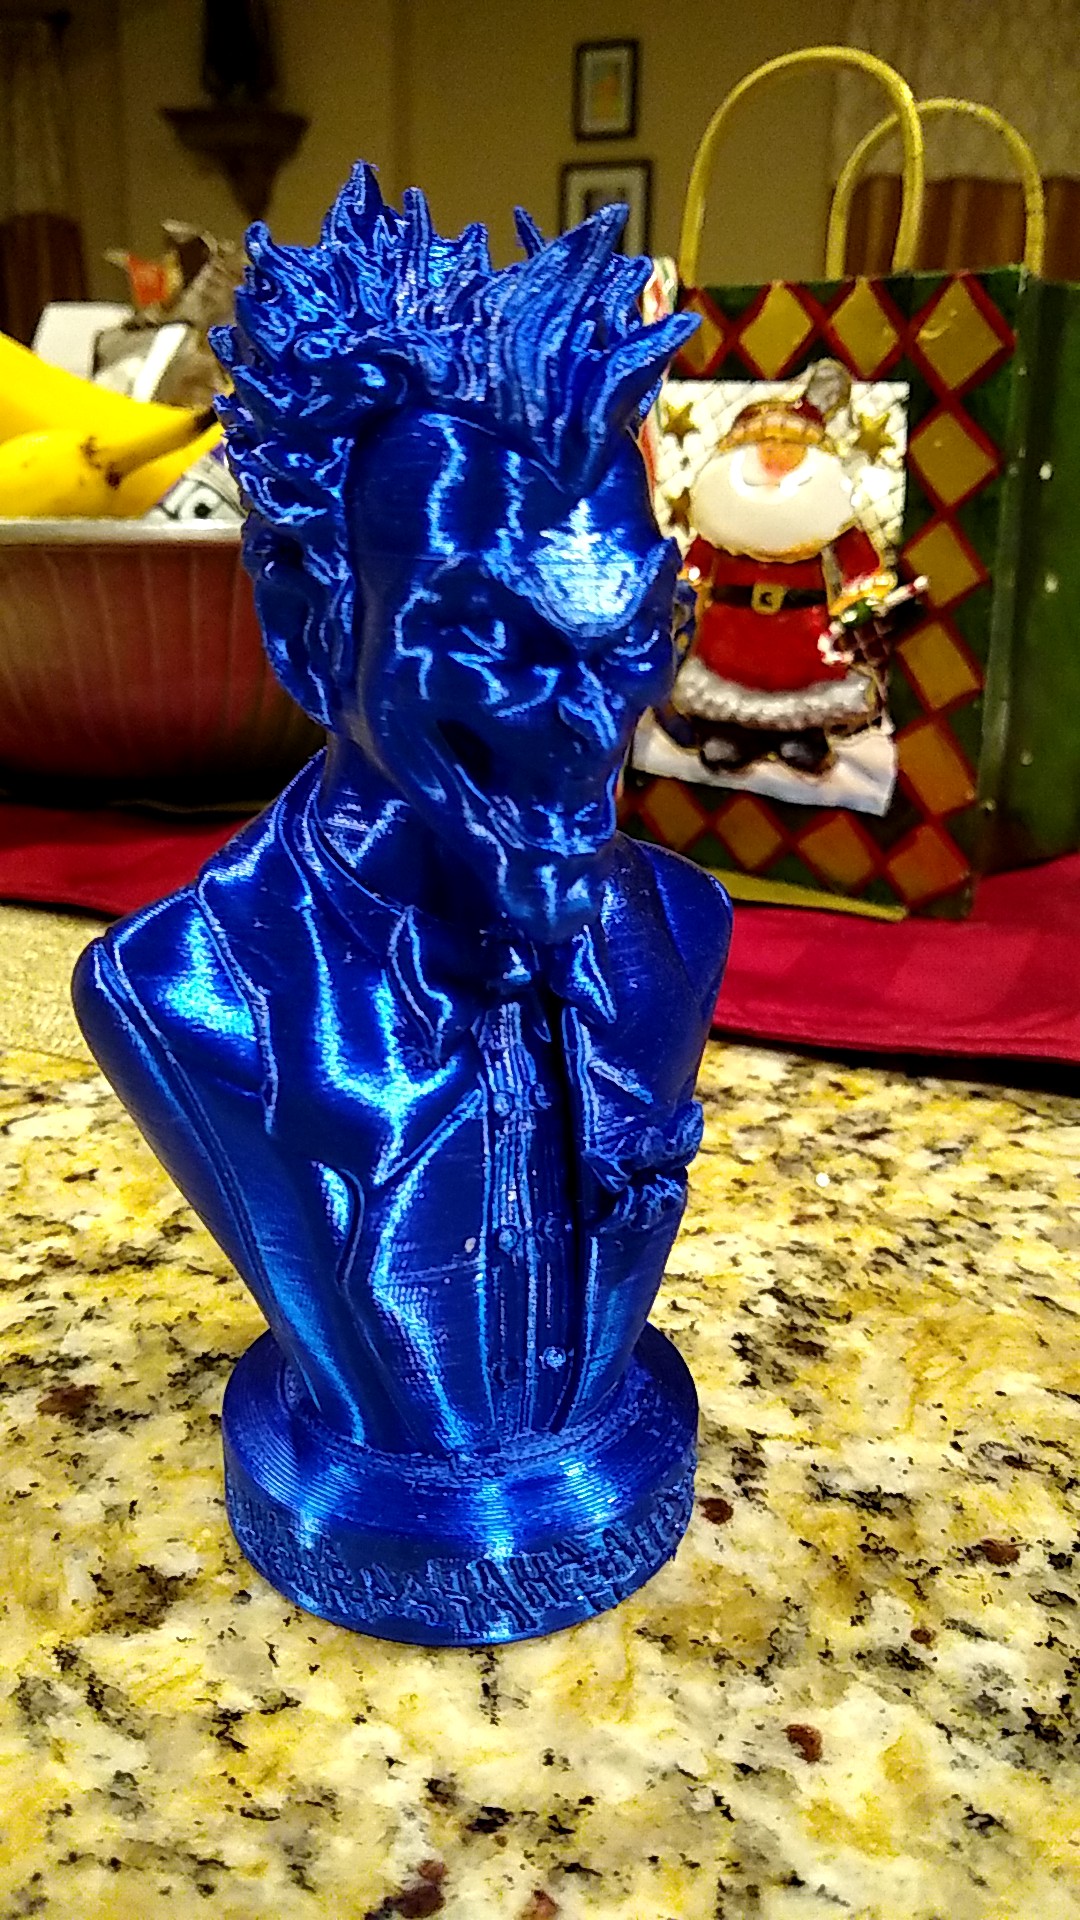
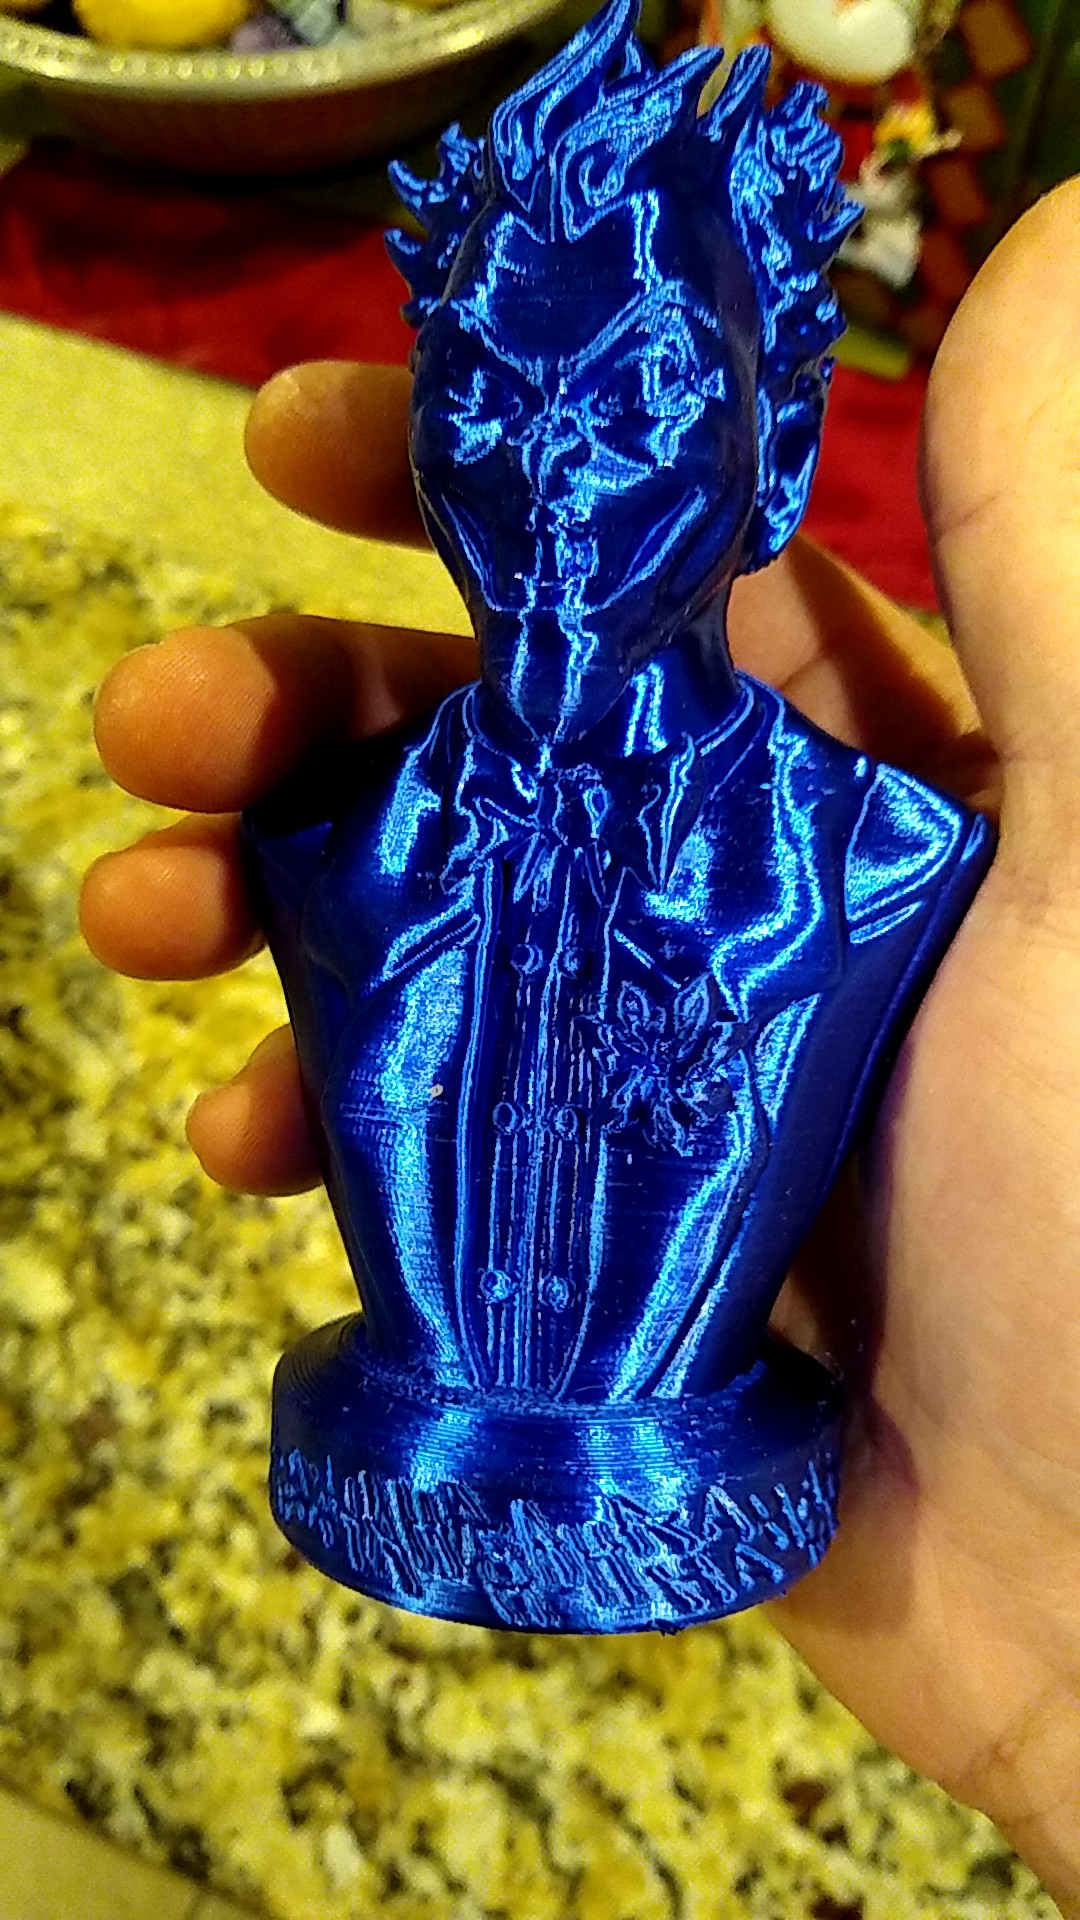
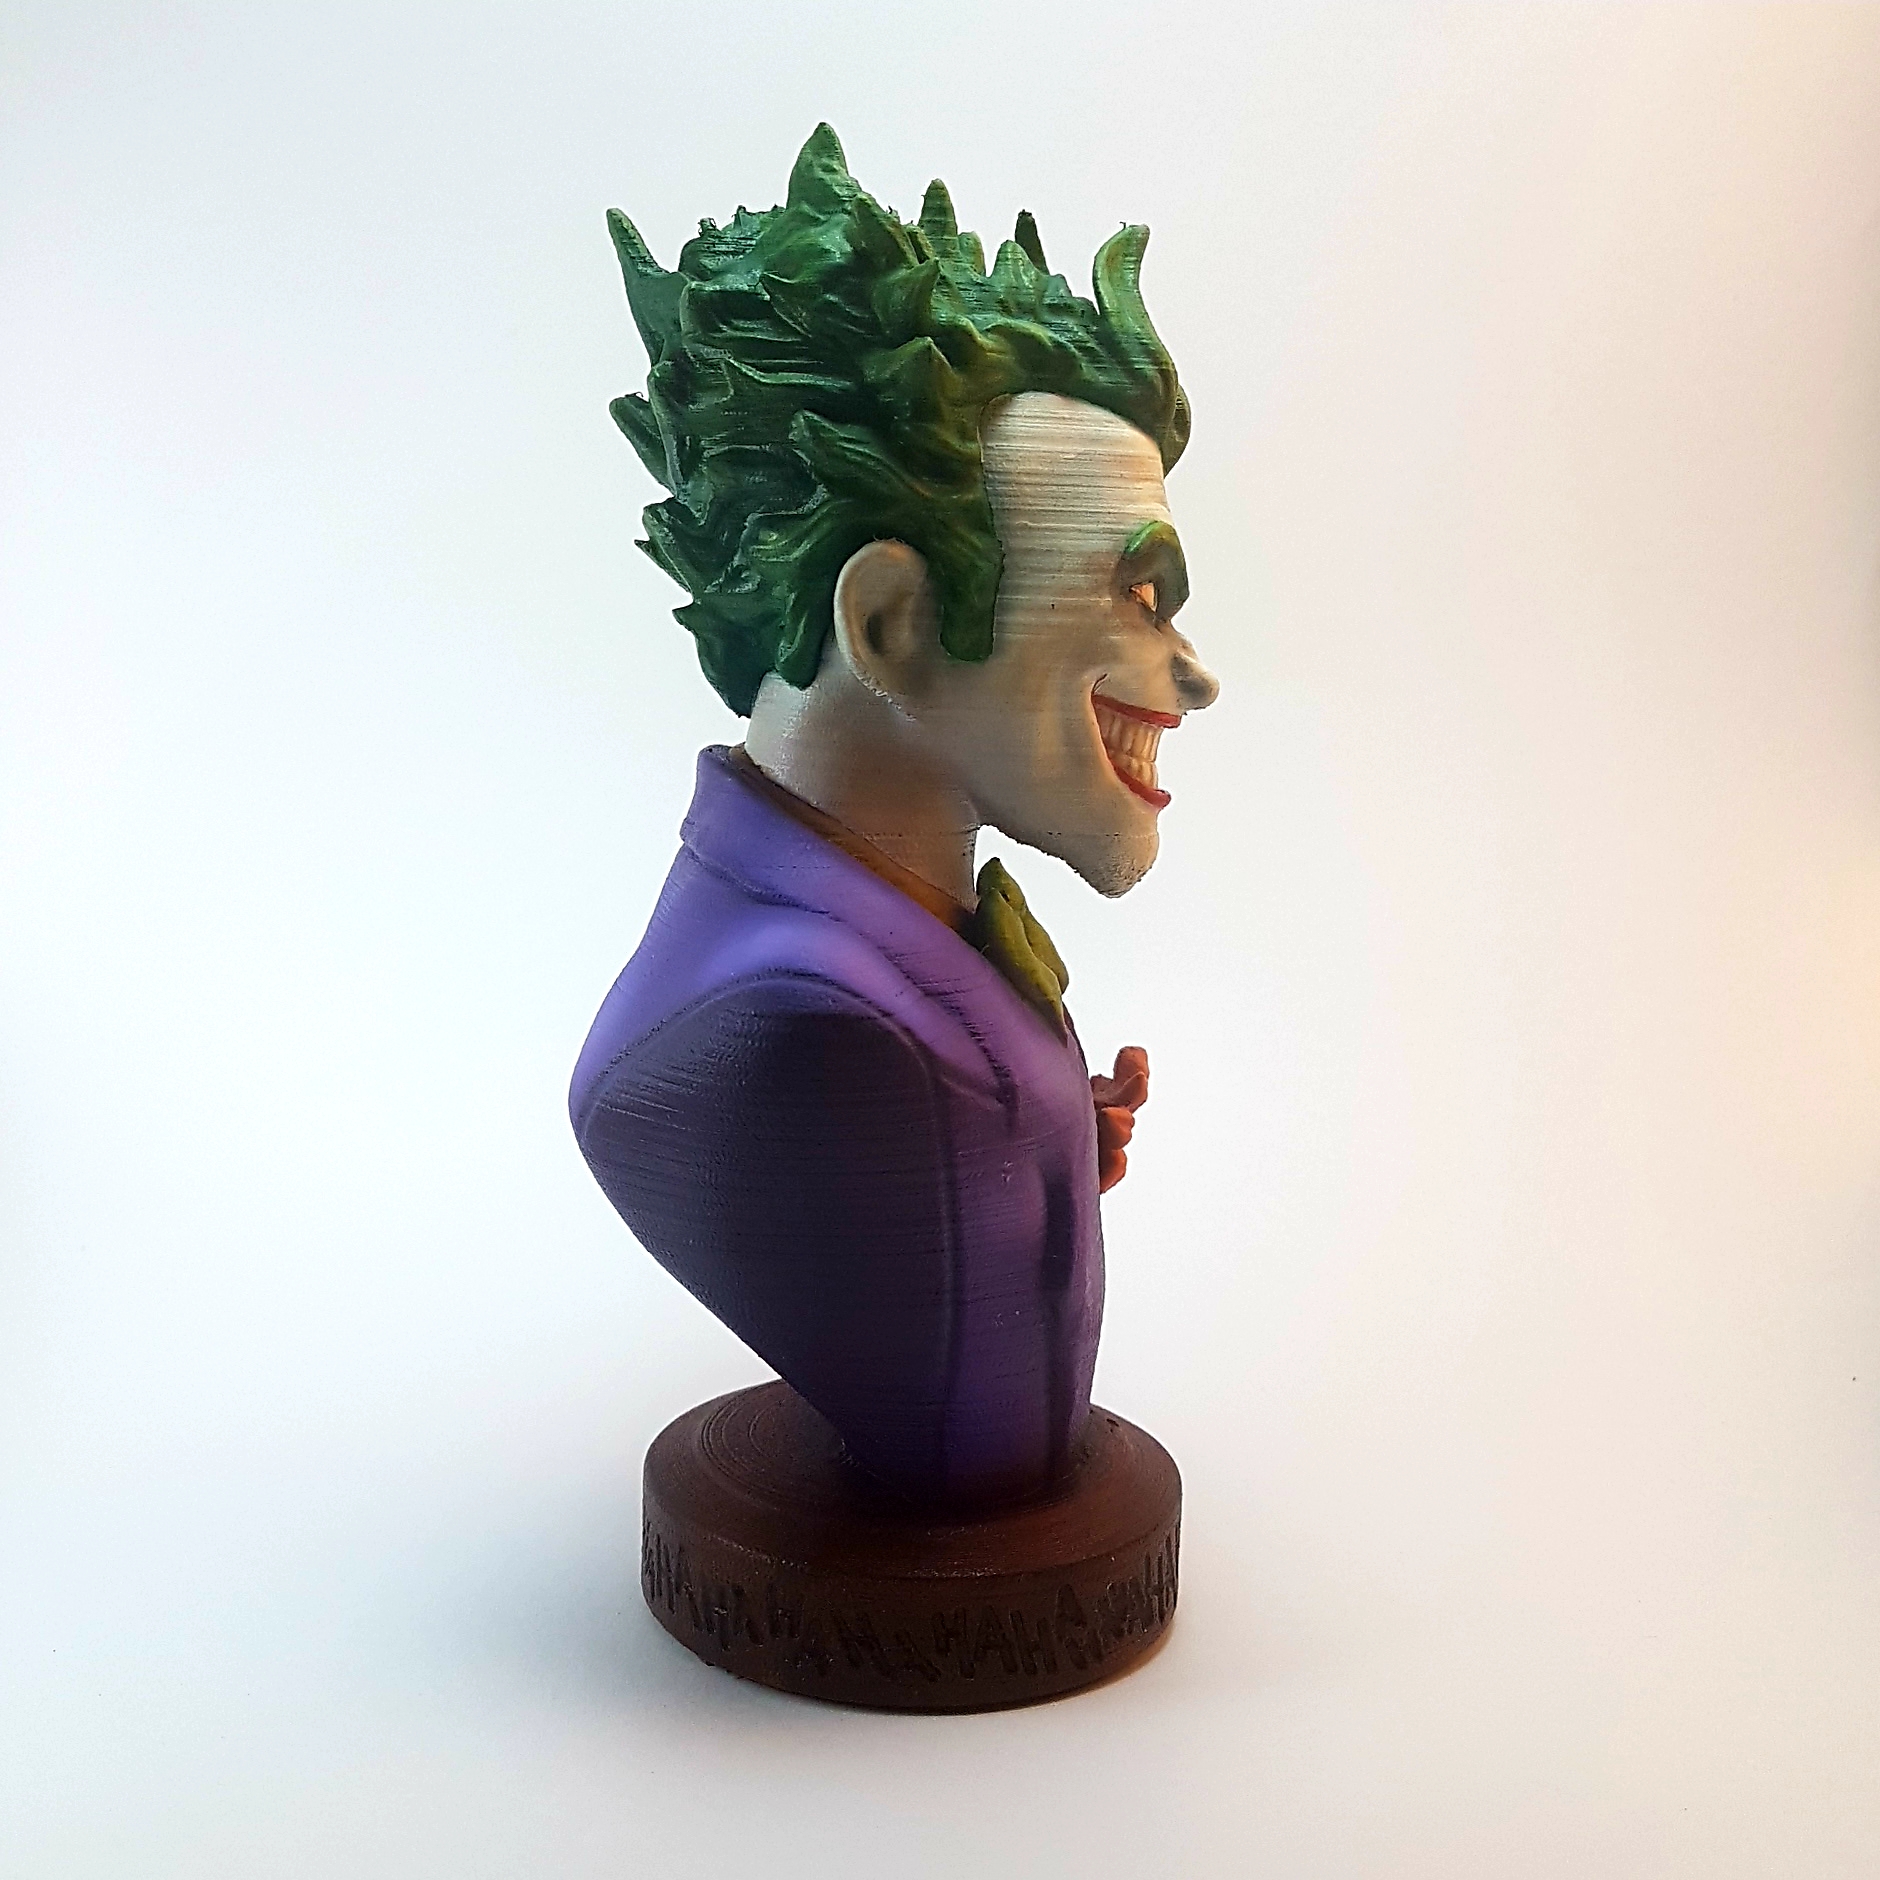
Printed this on the GEEEtech A10M using the Gradient feature.
Really nice work on this one my little printer had a great time with it.
Print turned out awesome. The Biqu Thunder did a great job of printing this amazing model.
0.16 layers, 0% infill (base:10%)
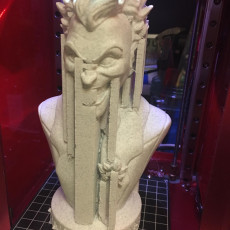
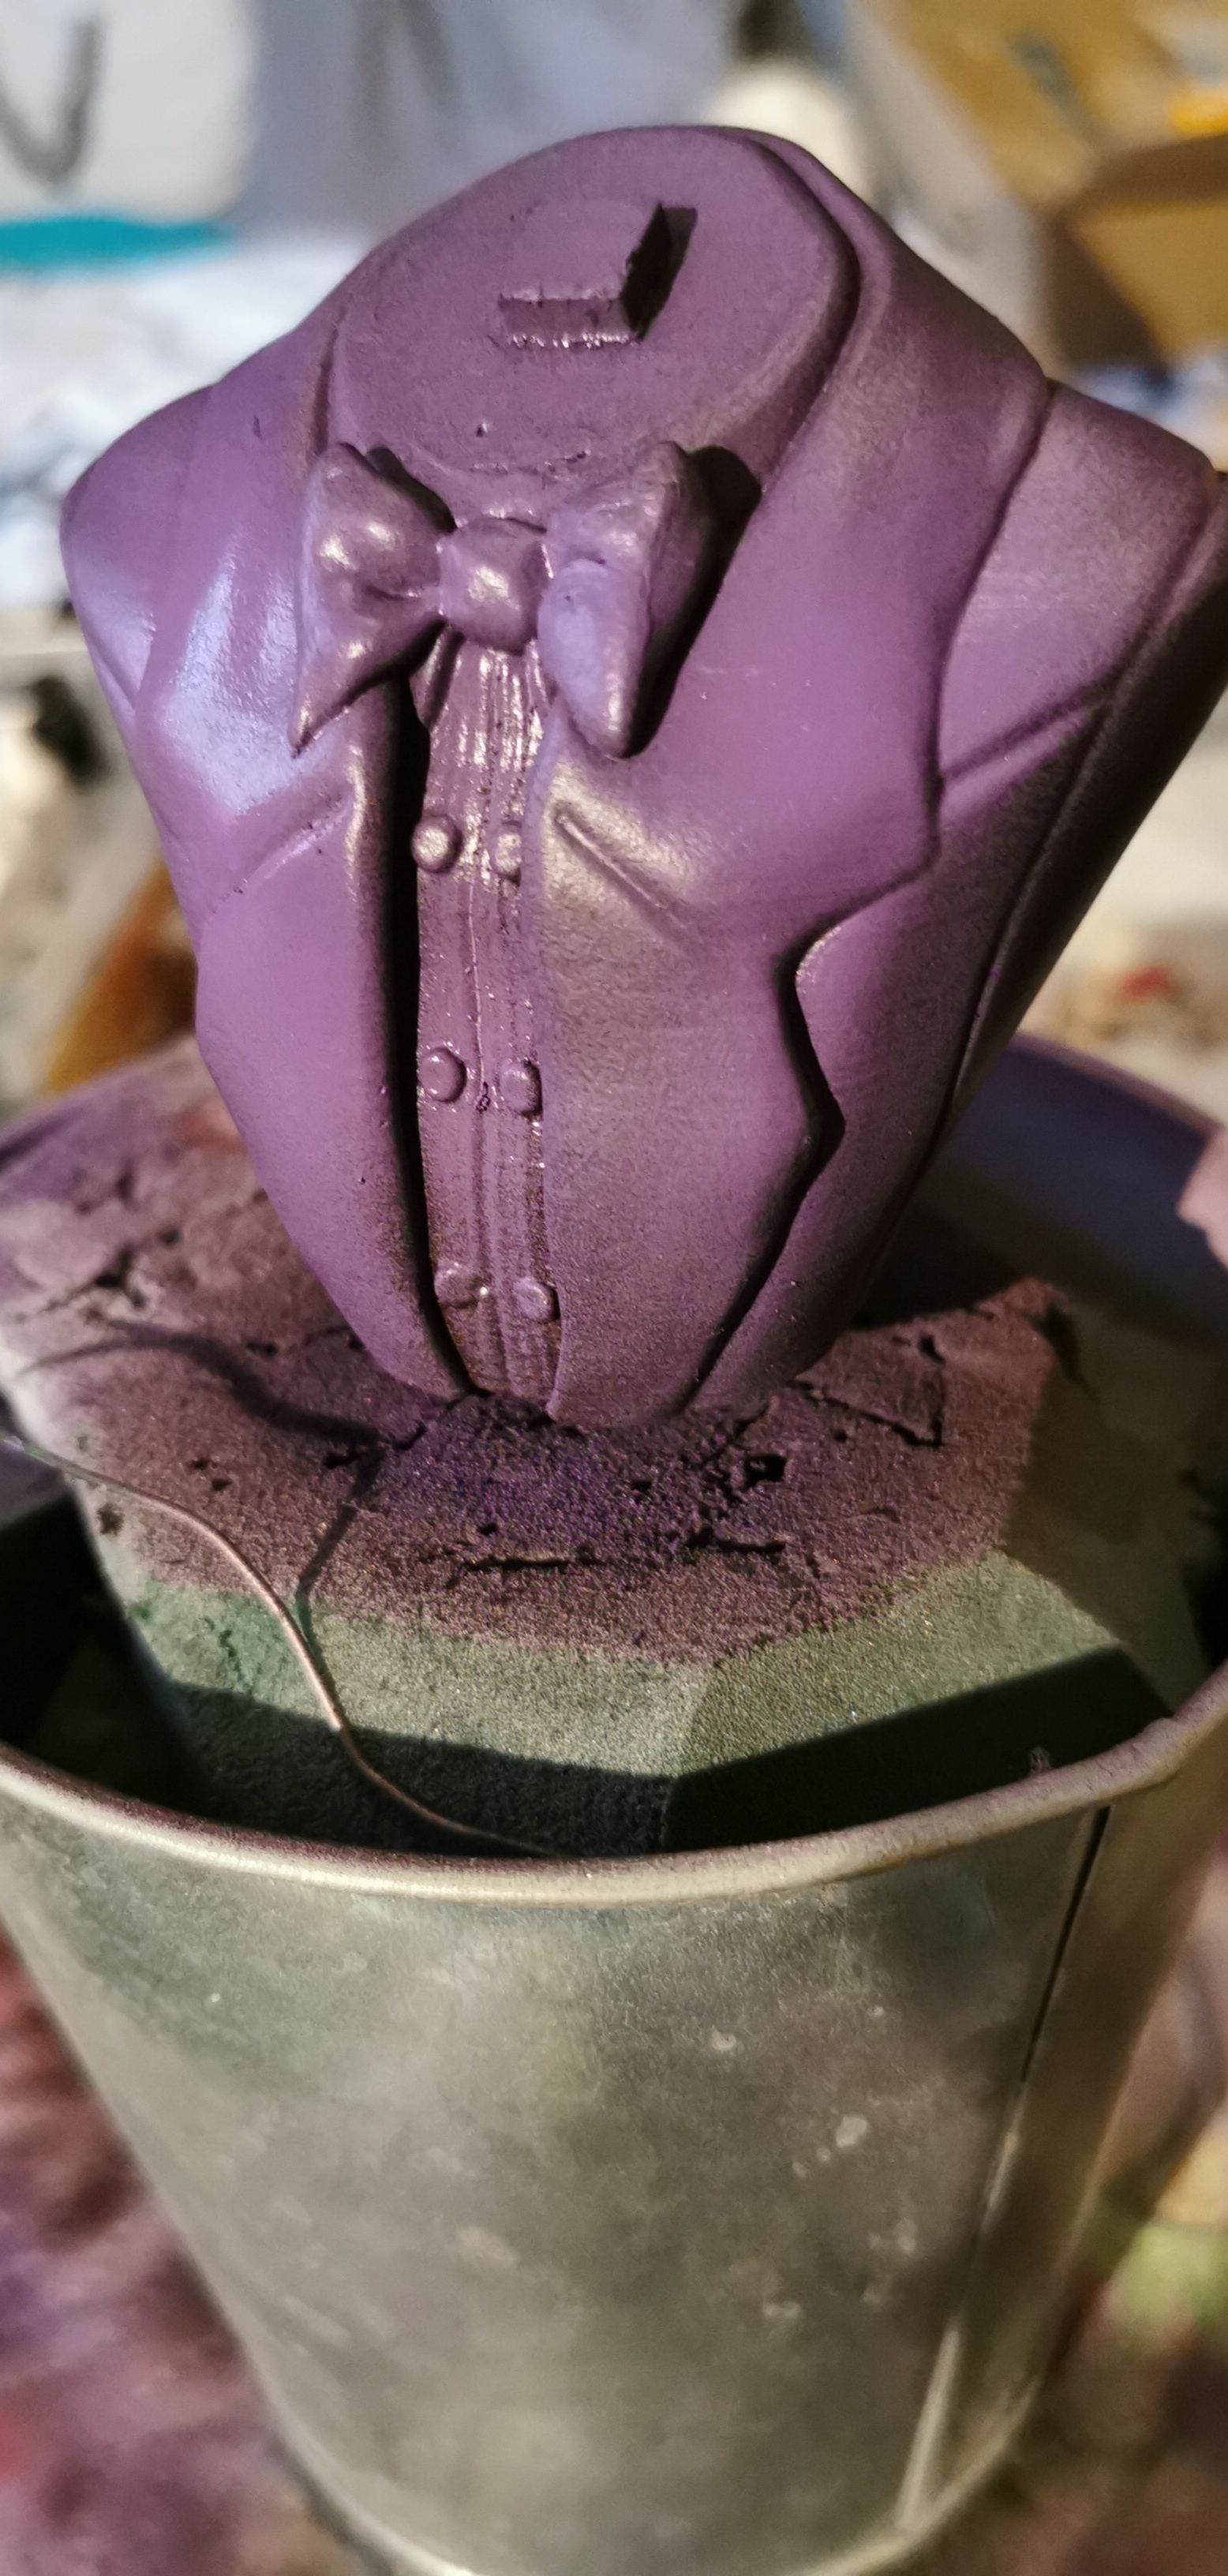
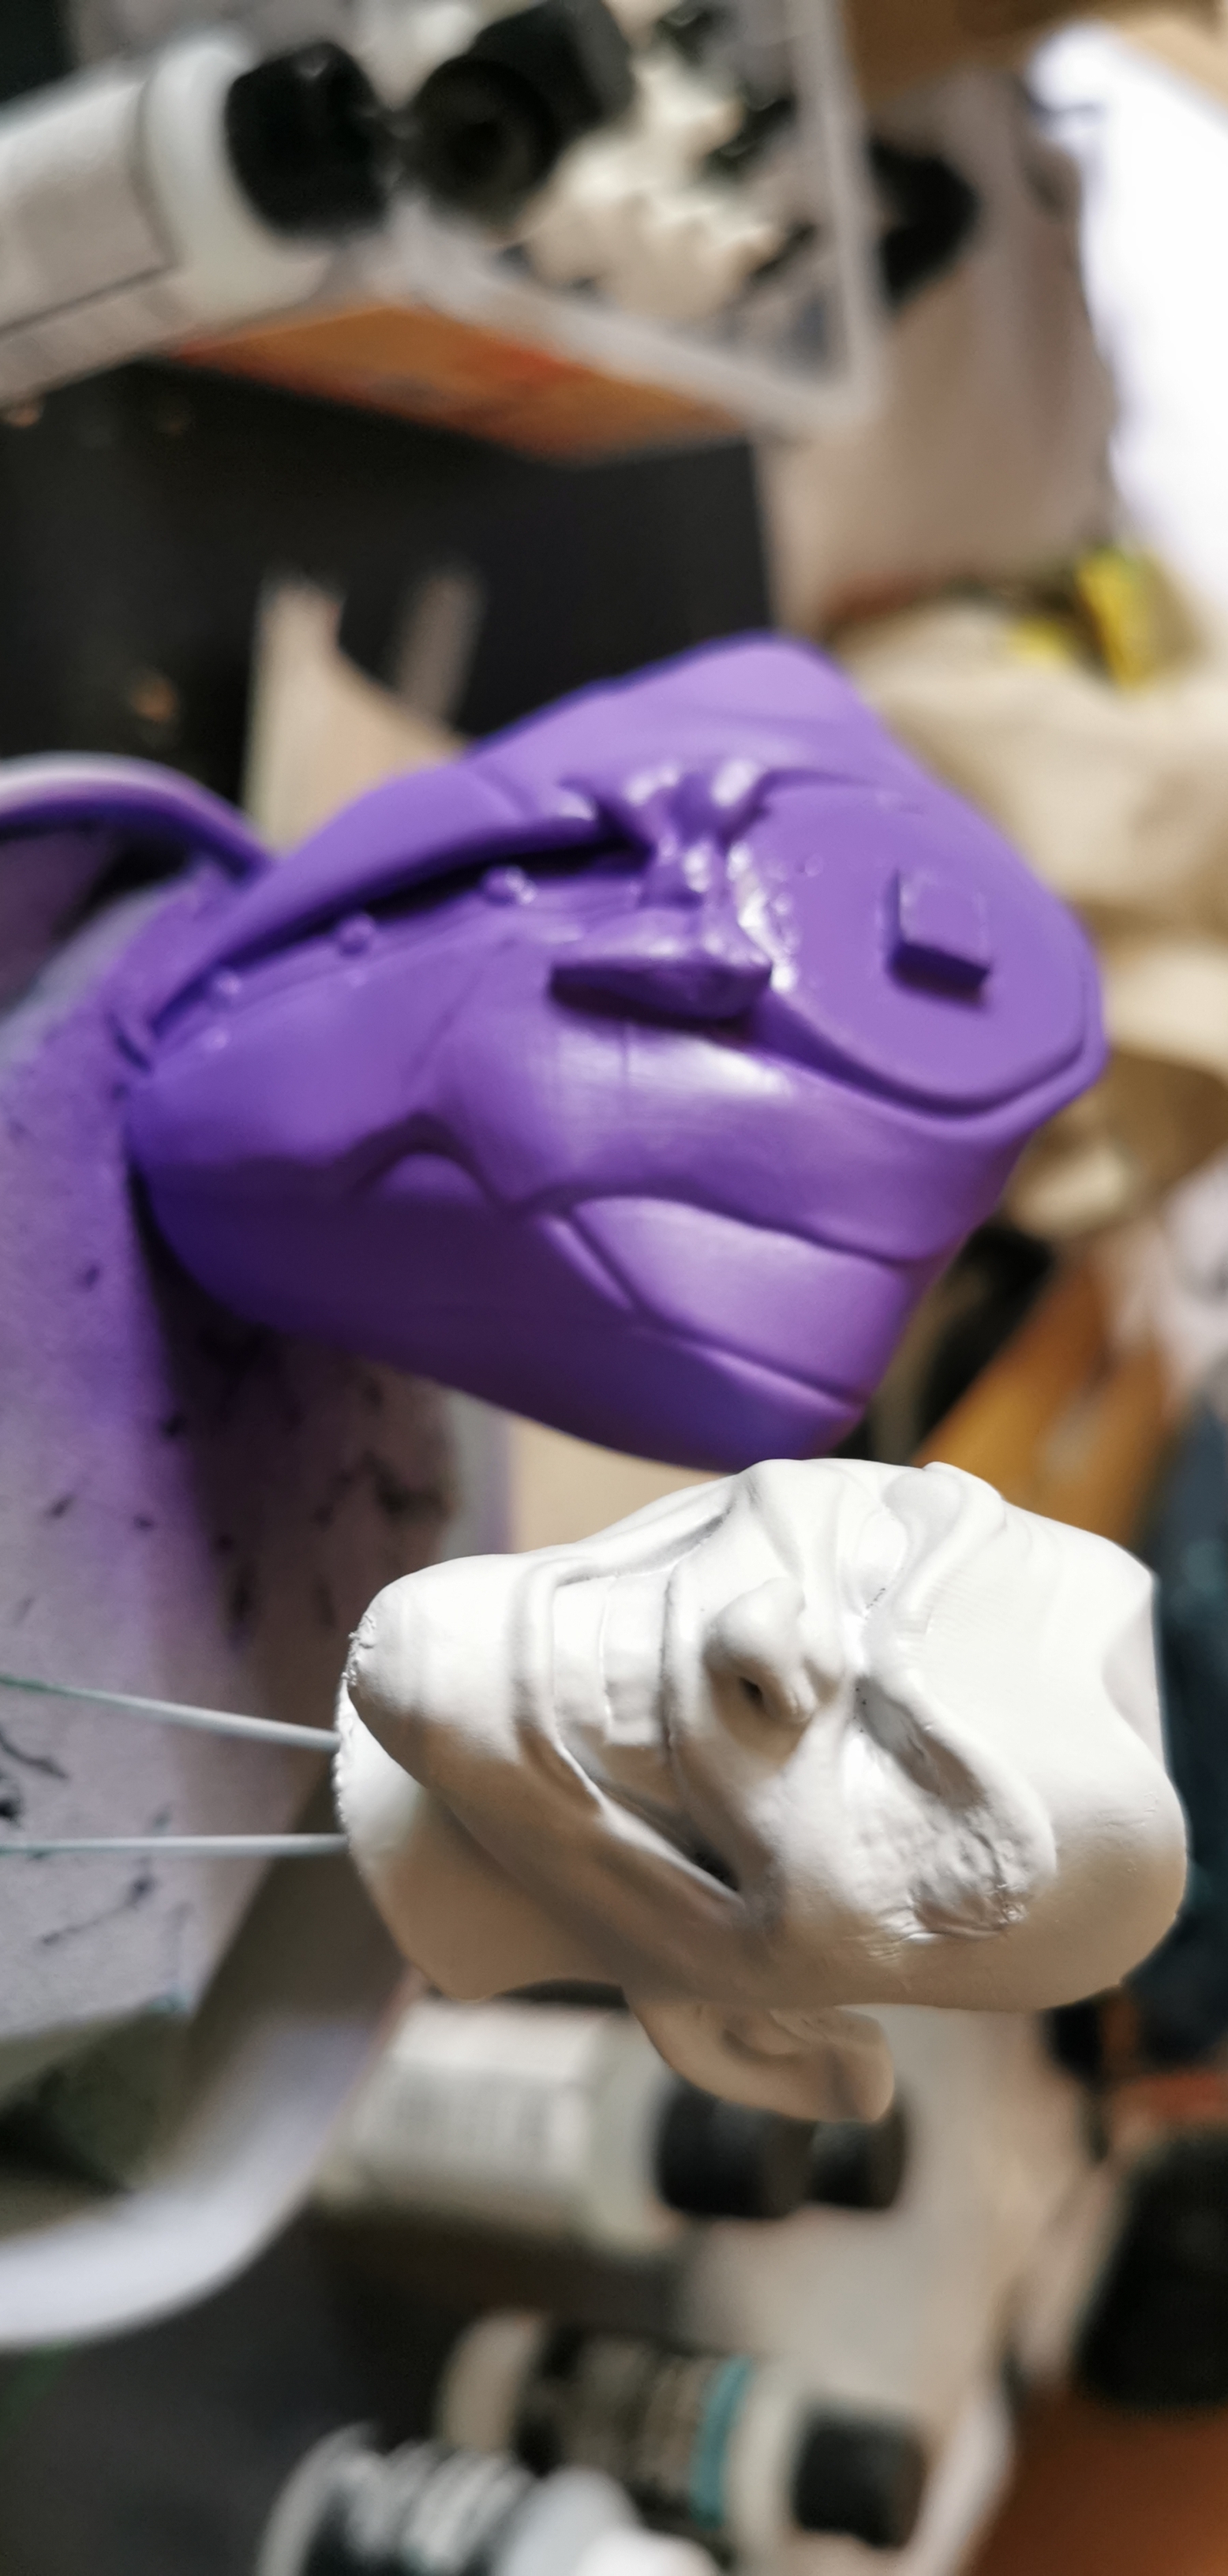
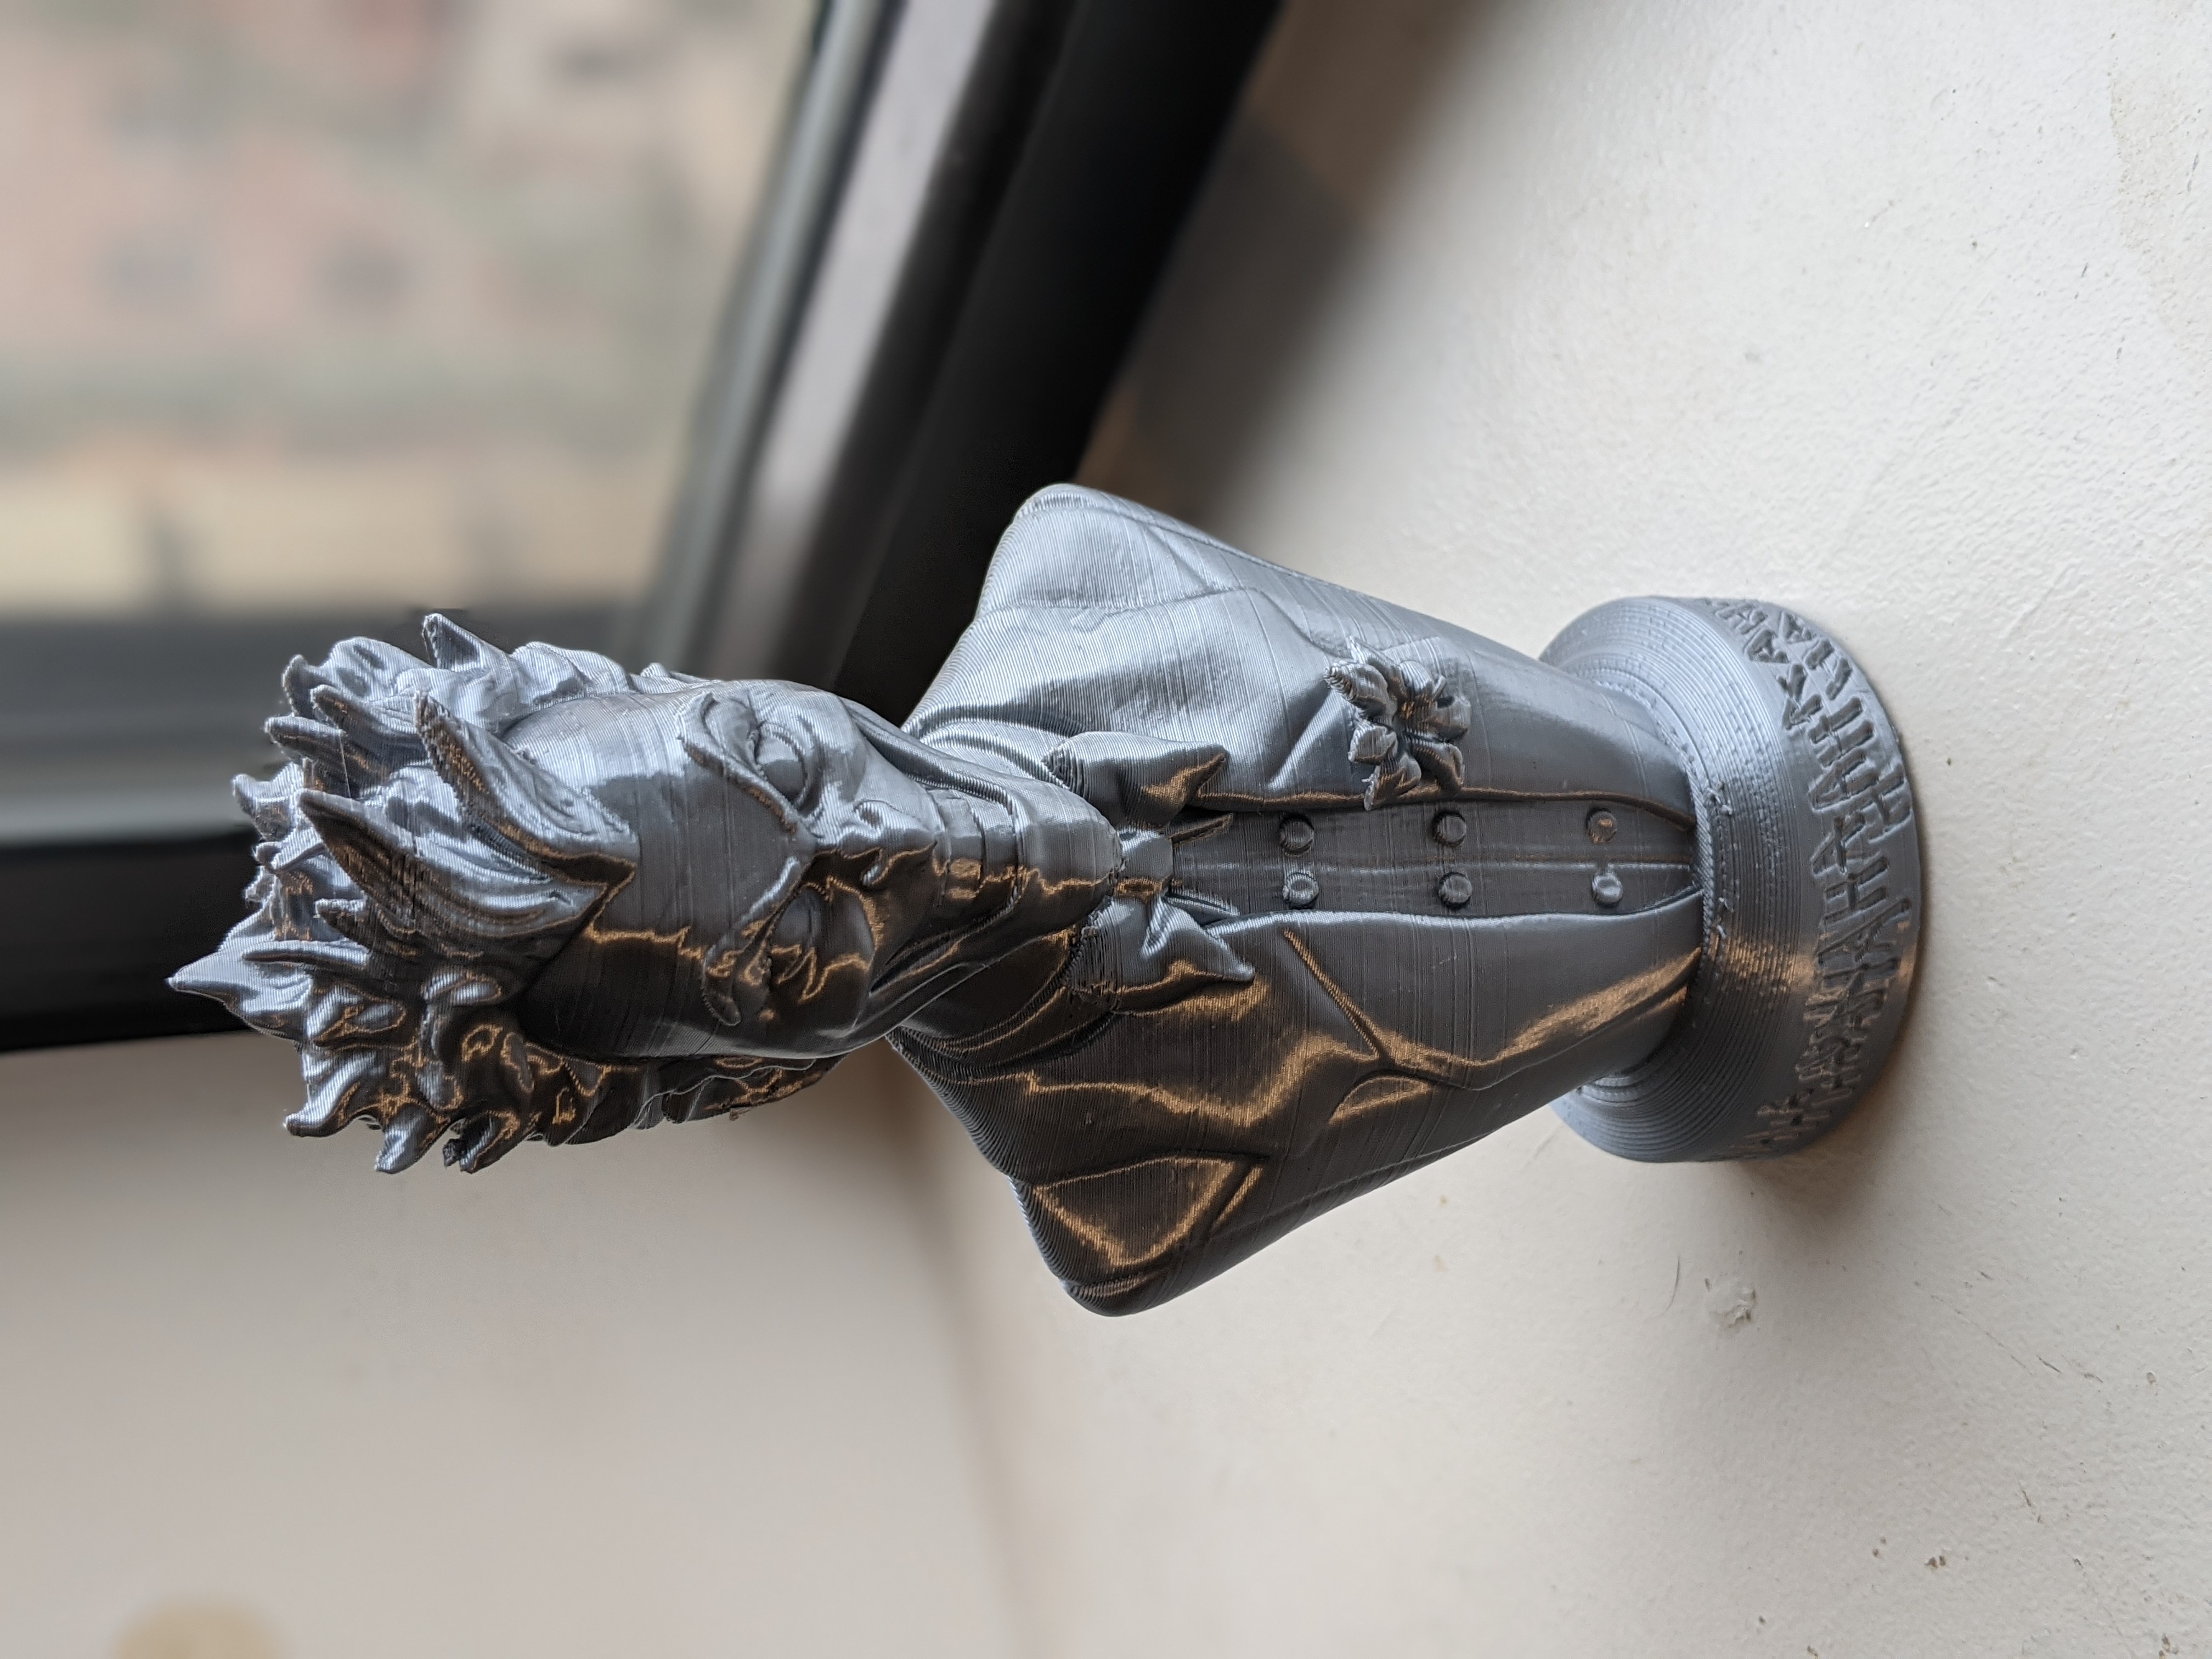
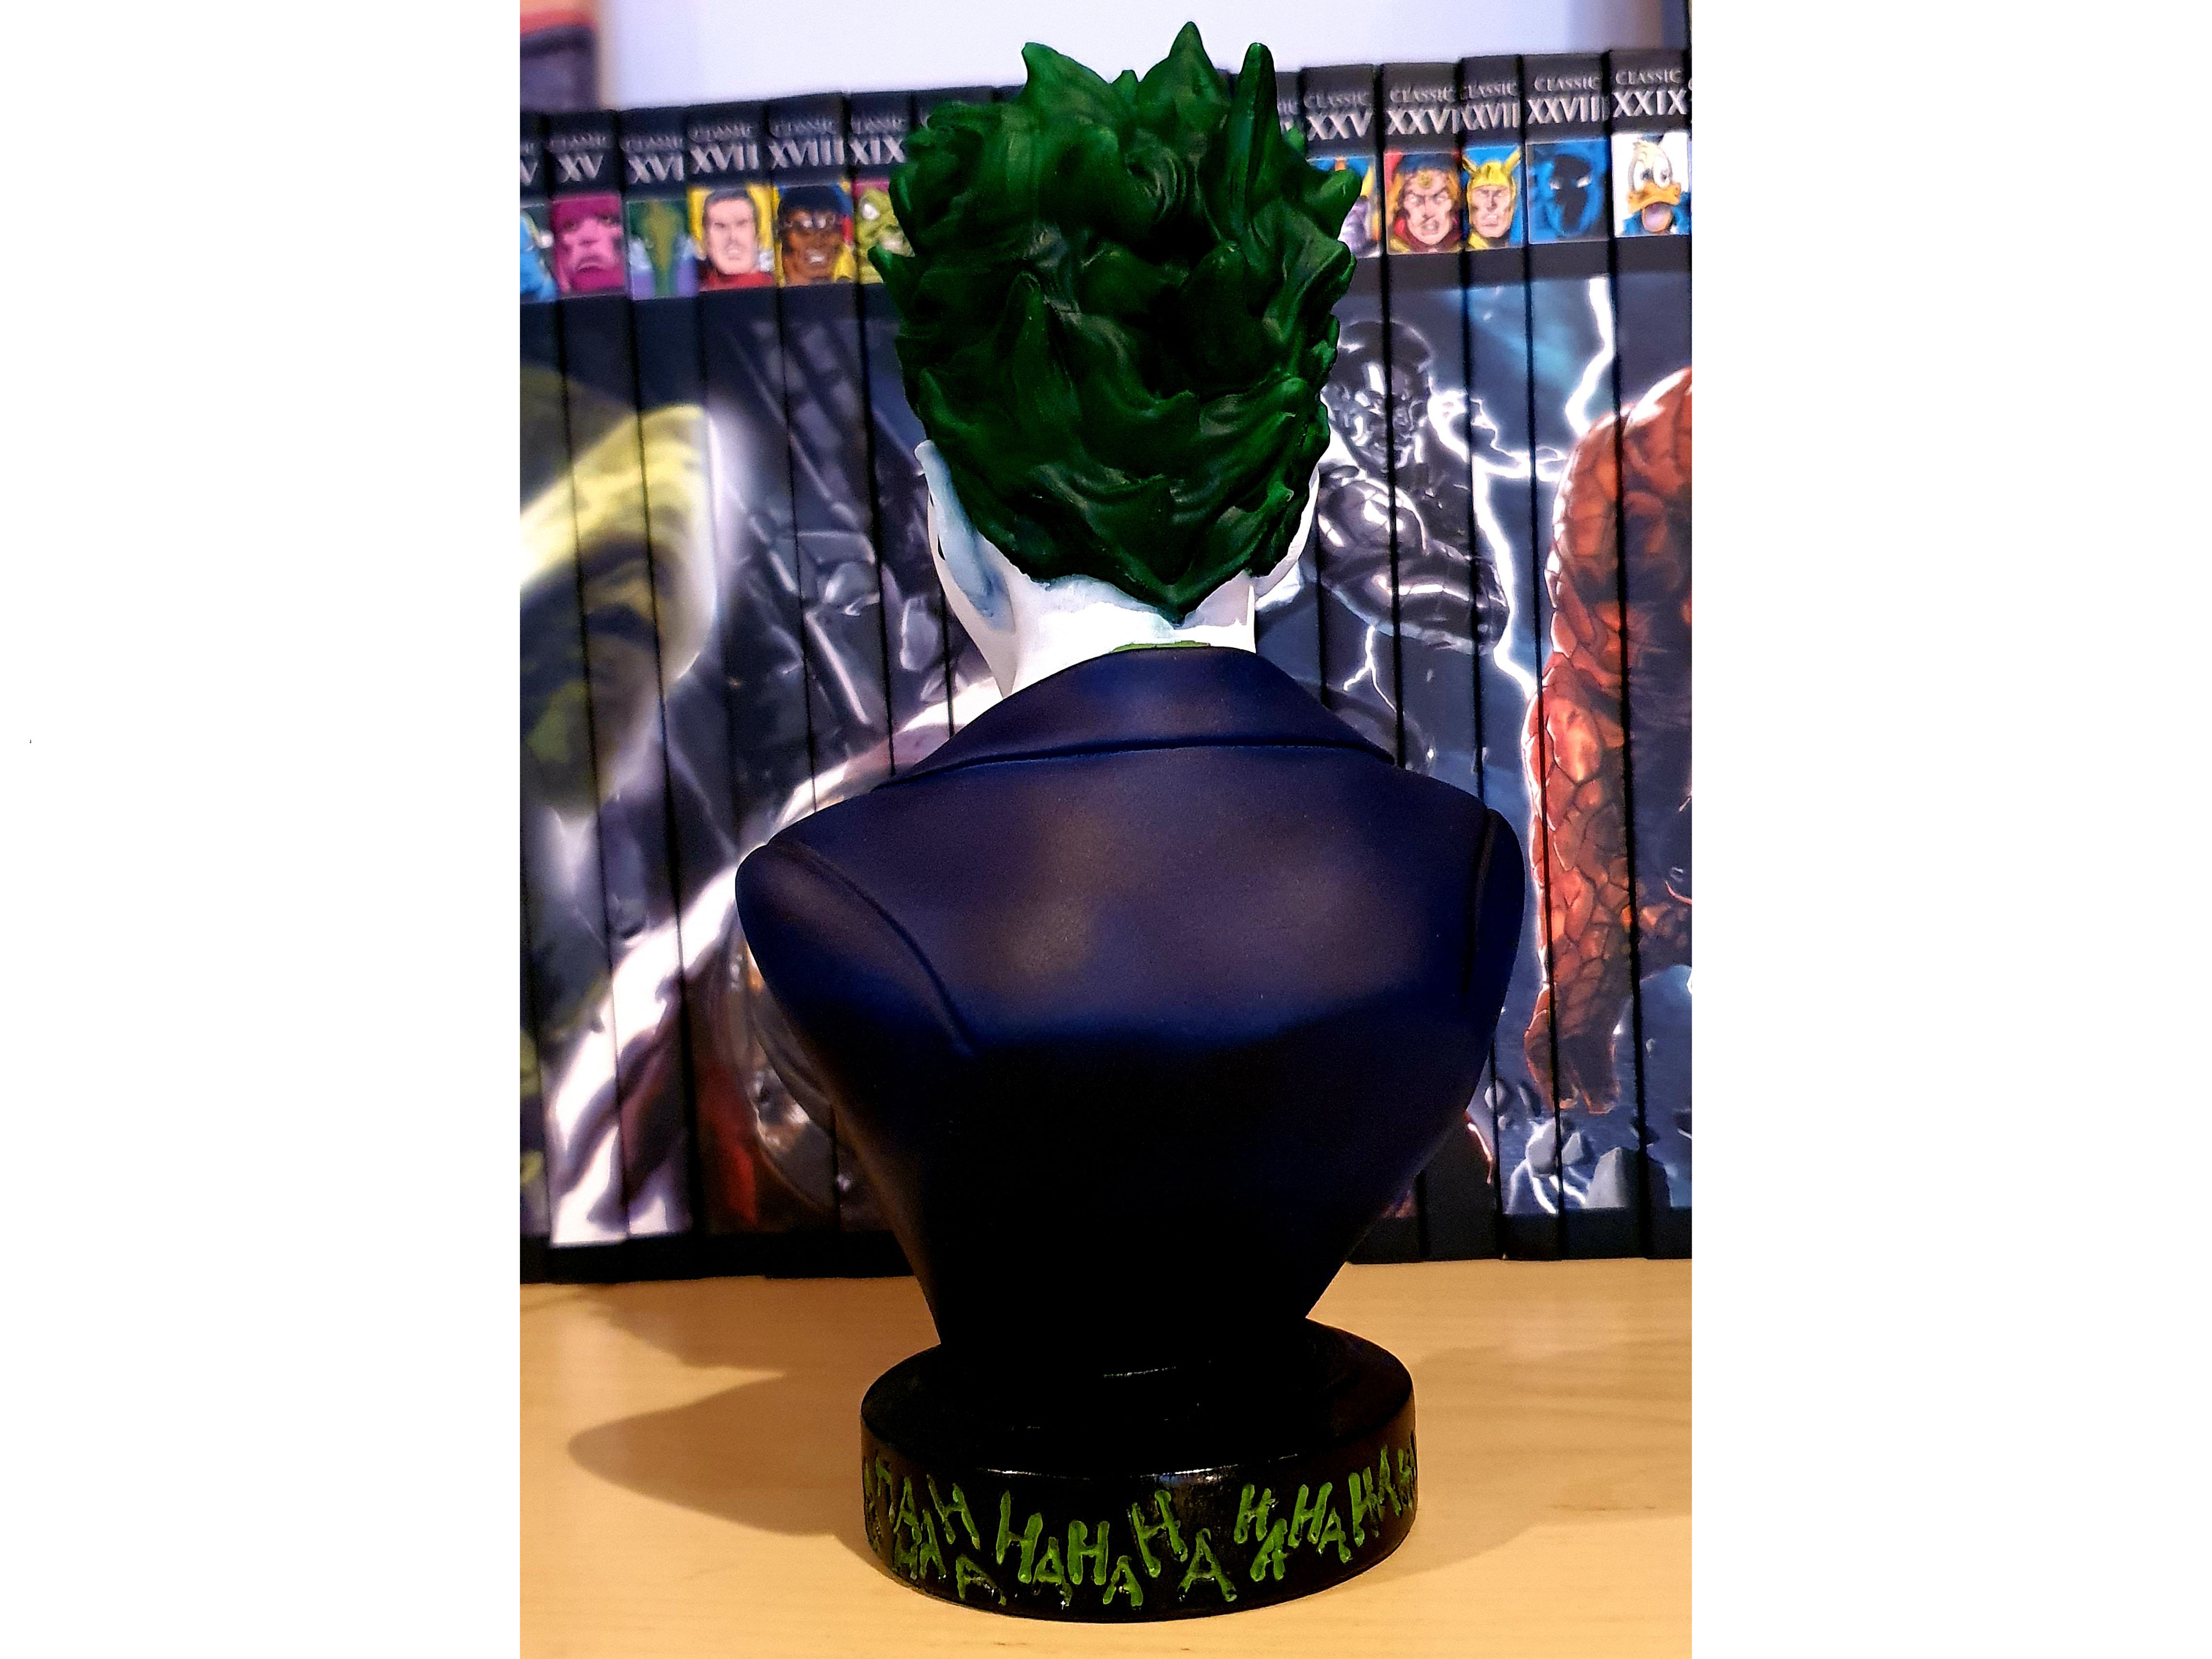
Splitted Joker and further practice in Meshmixer.
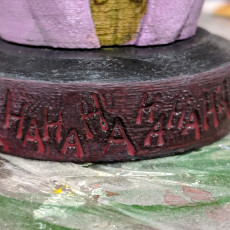
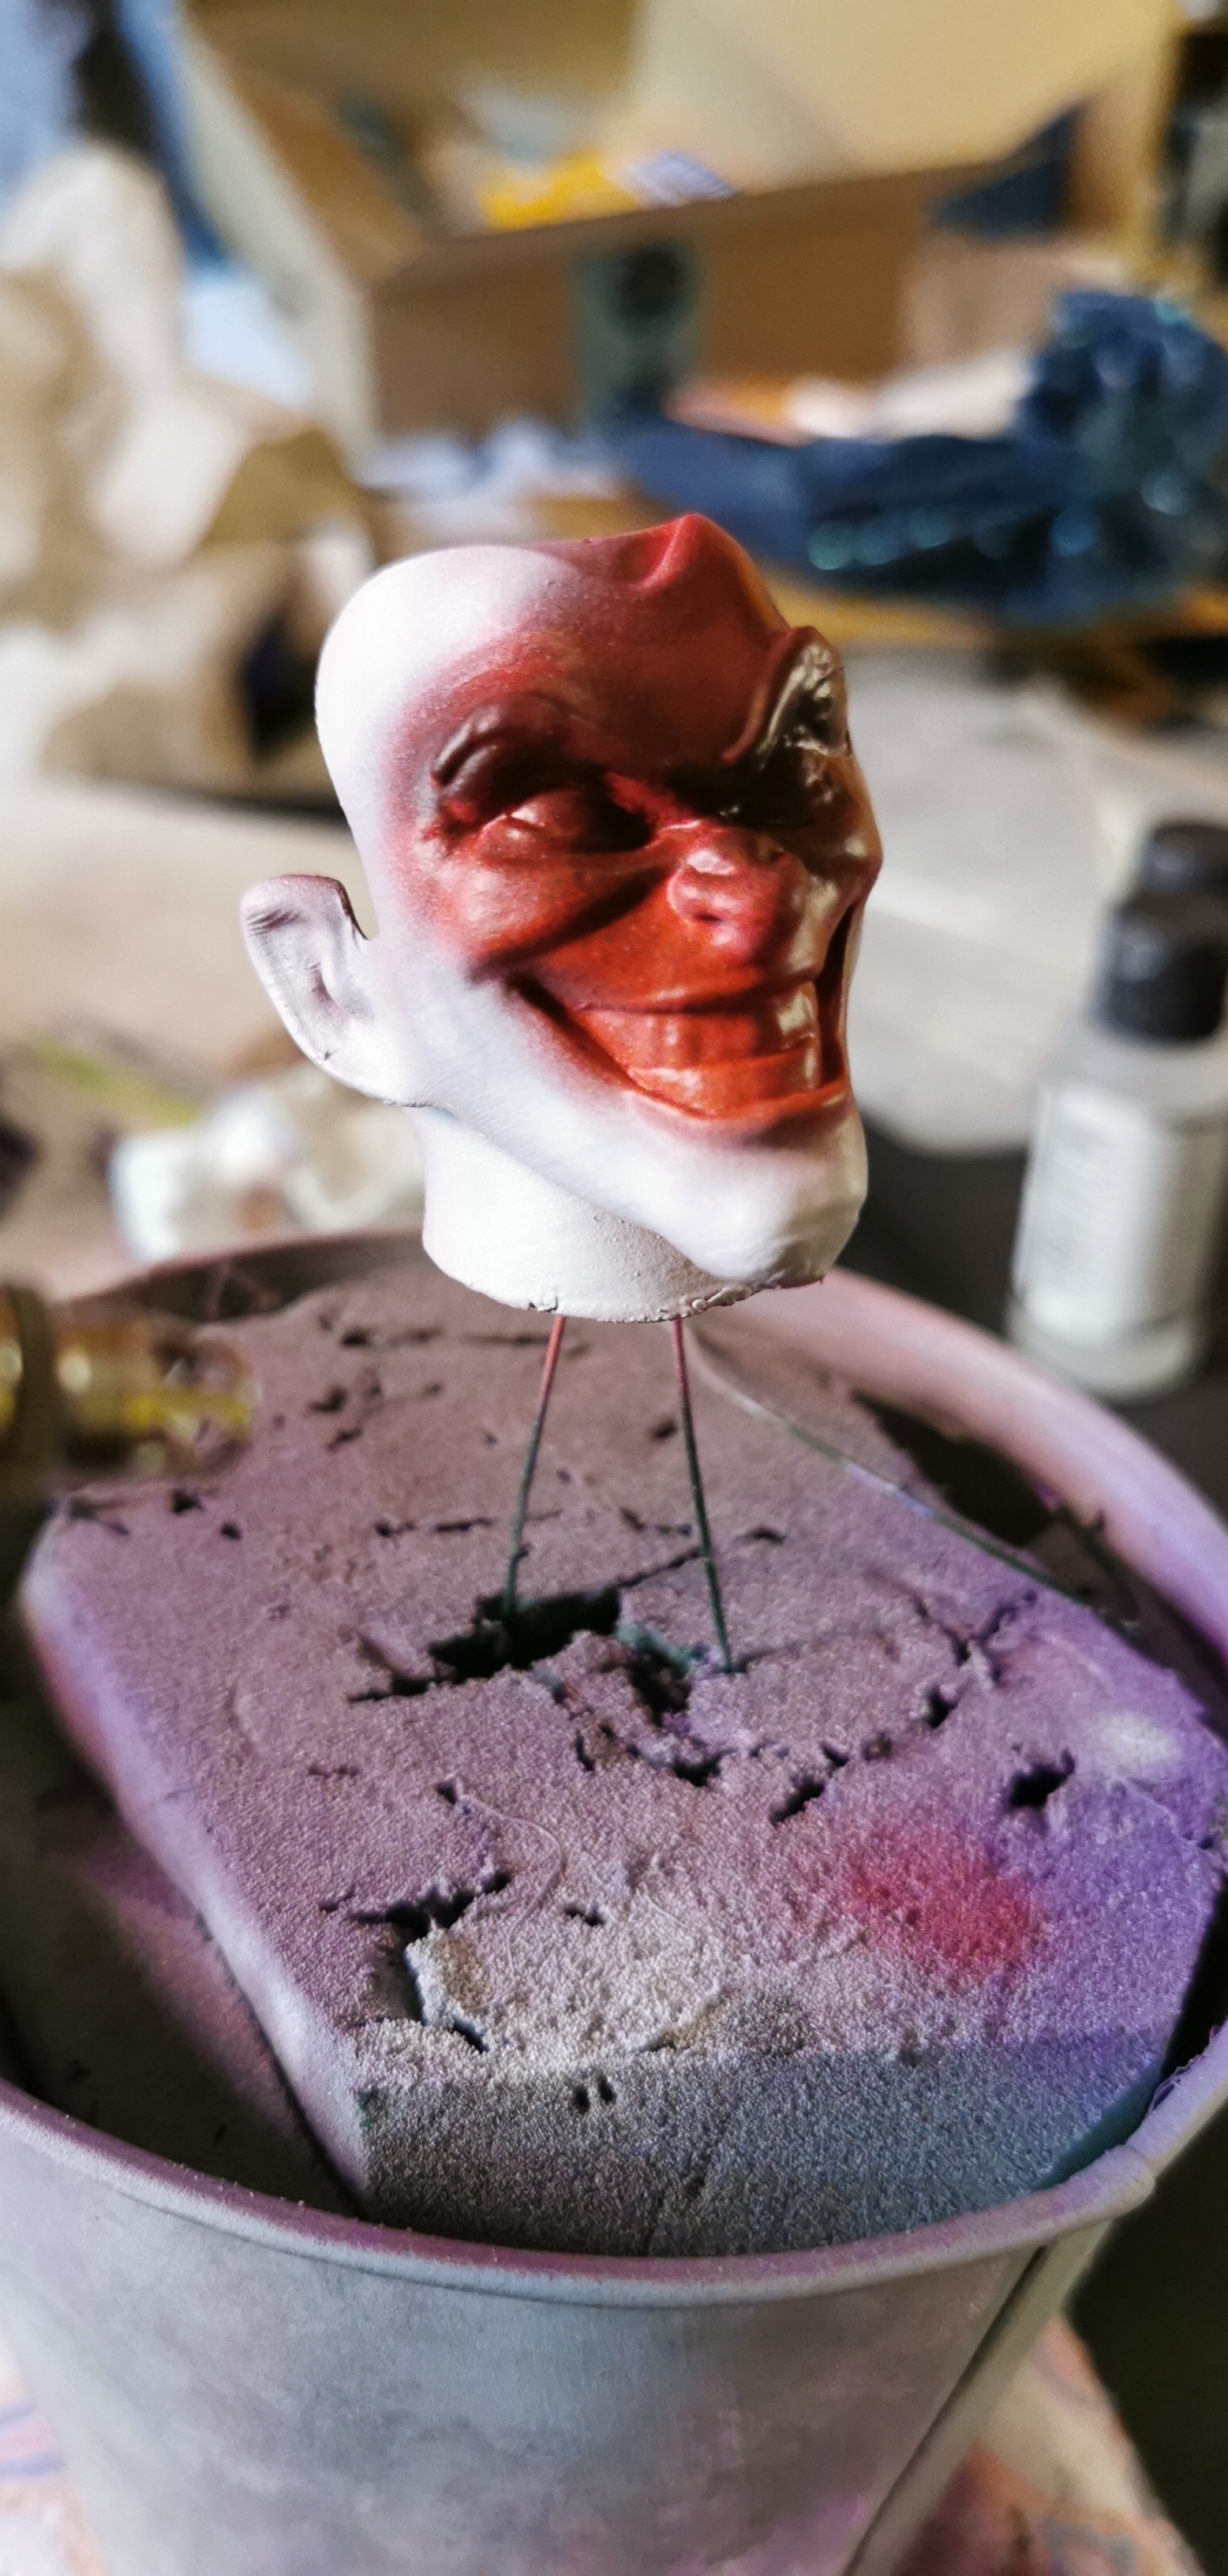
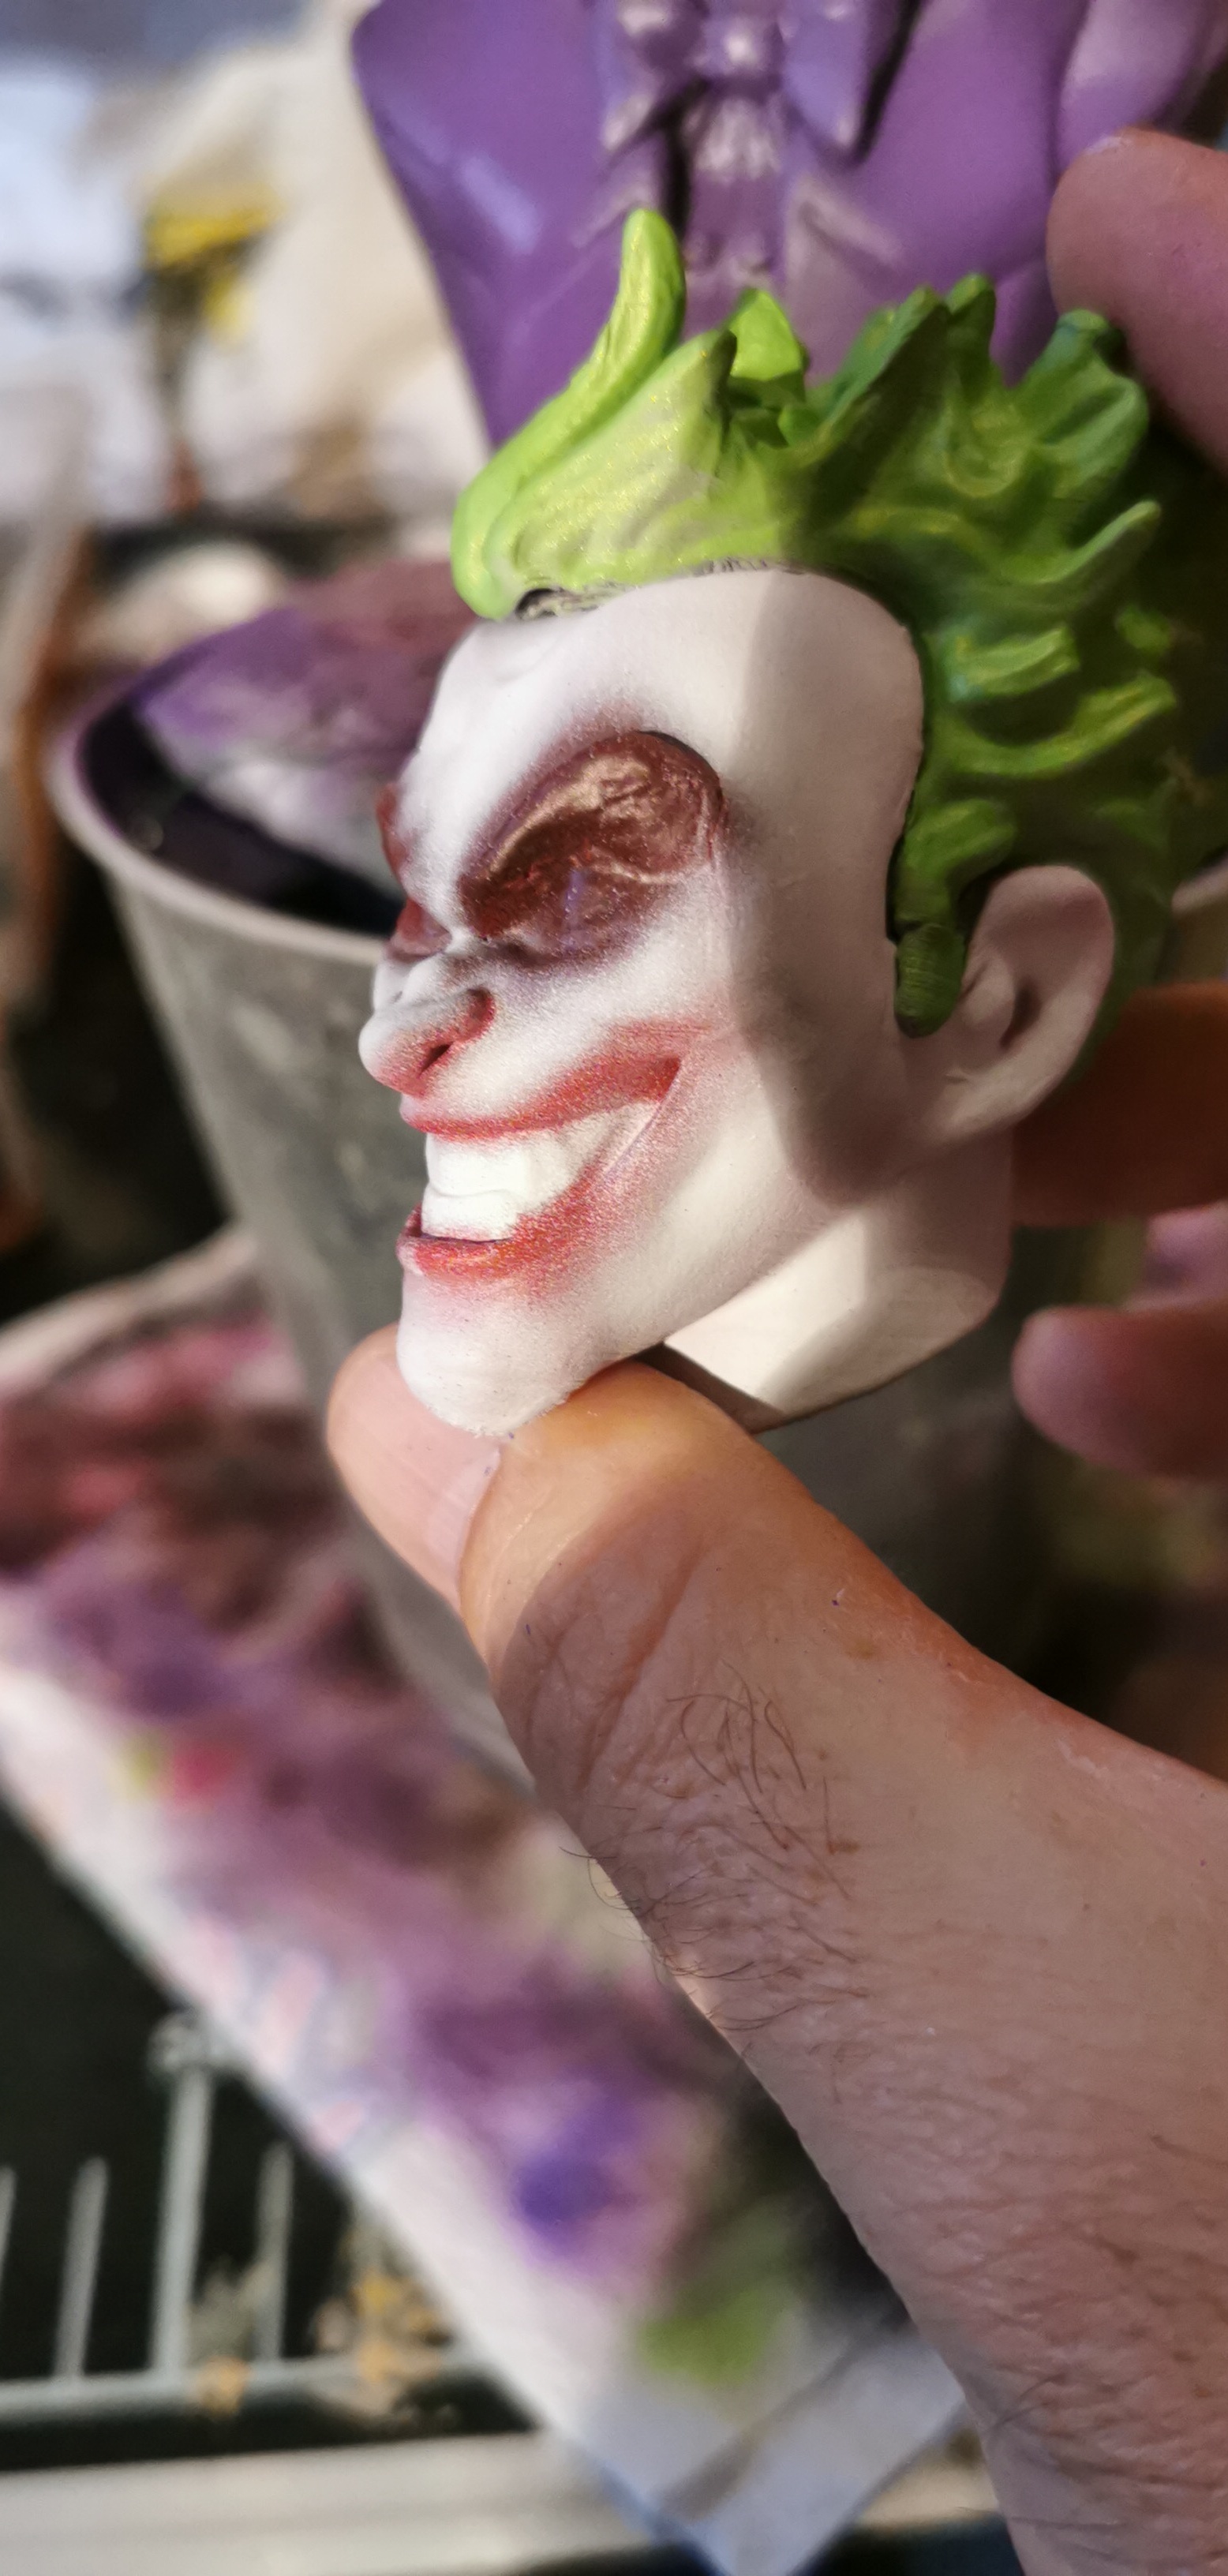
Tecnica pintura sombreada
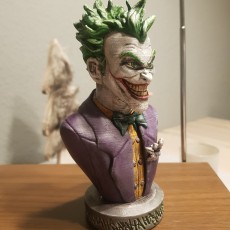
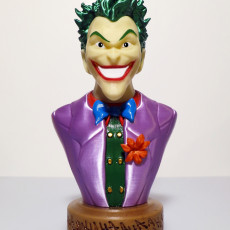
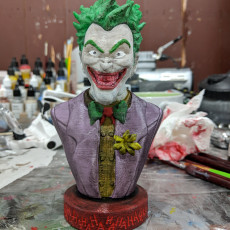
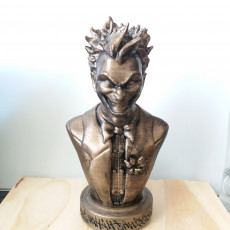
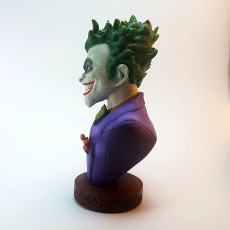
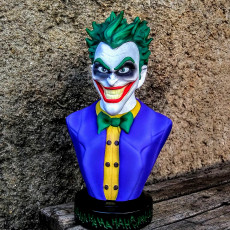
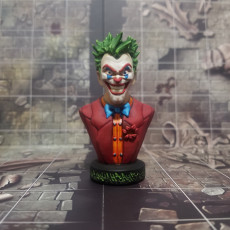
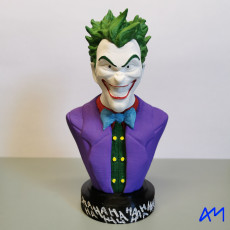
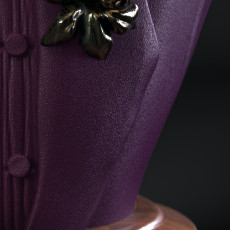
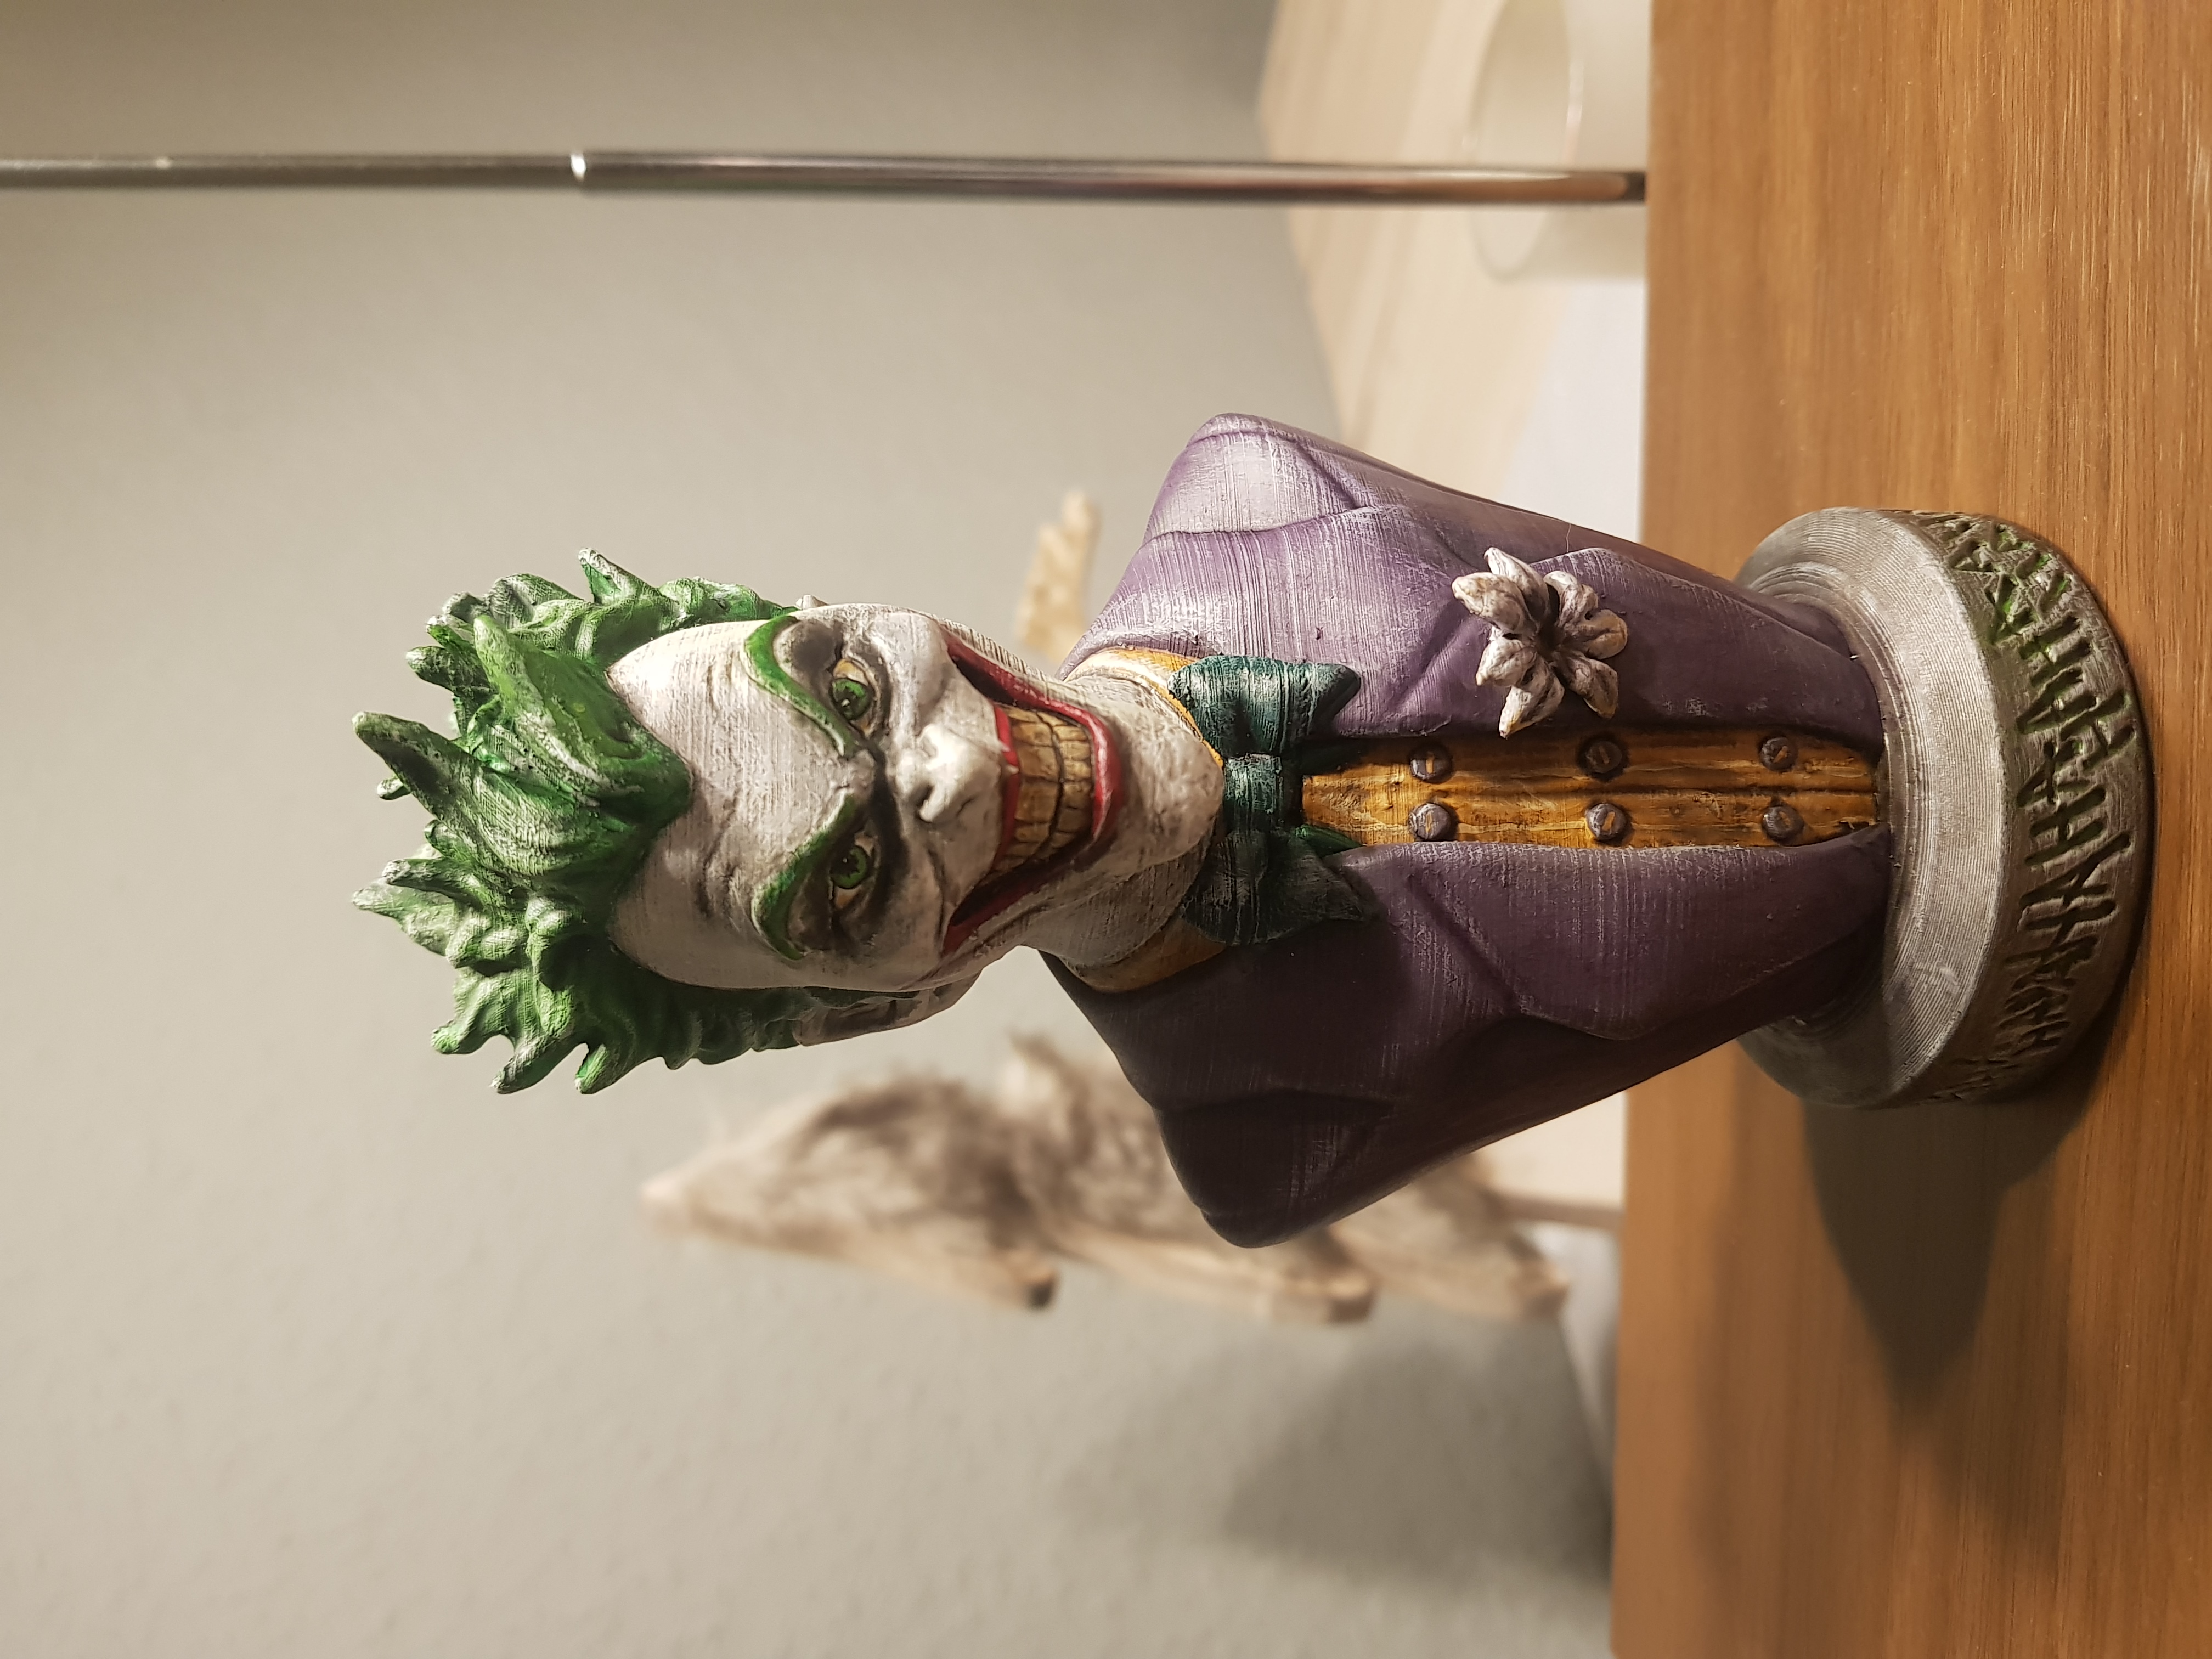
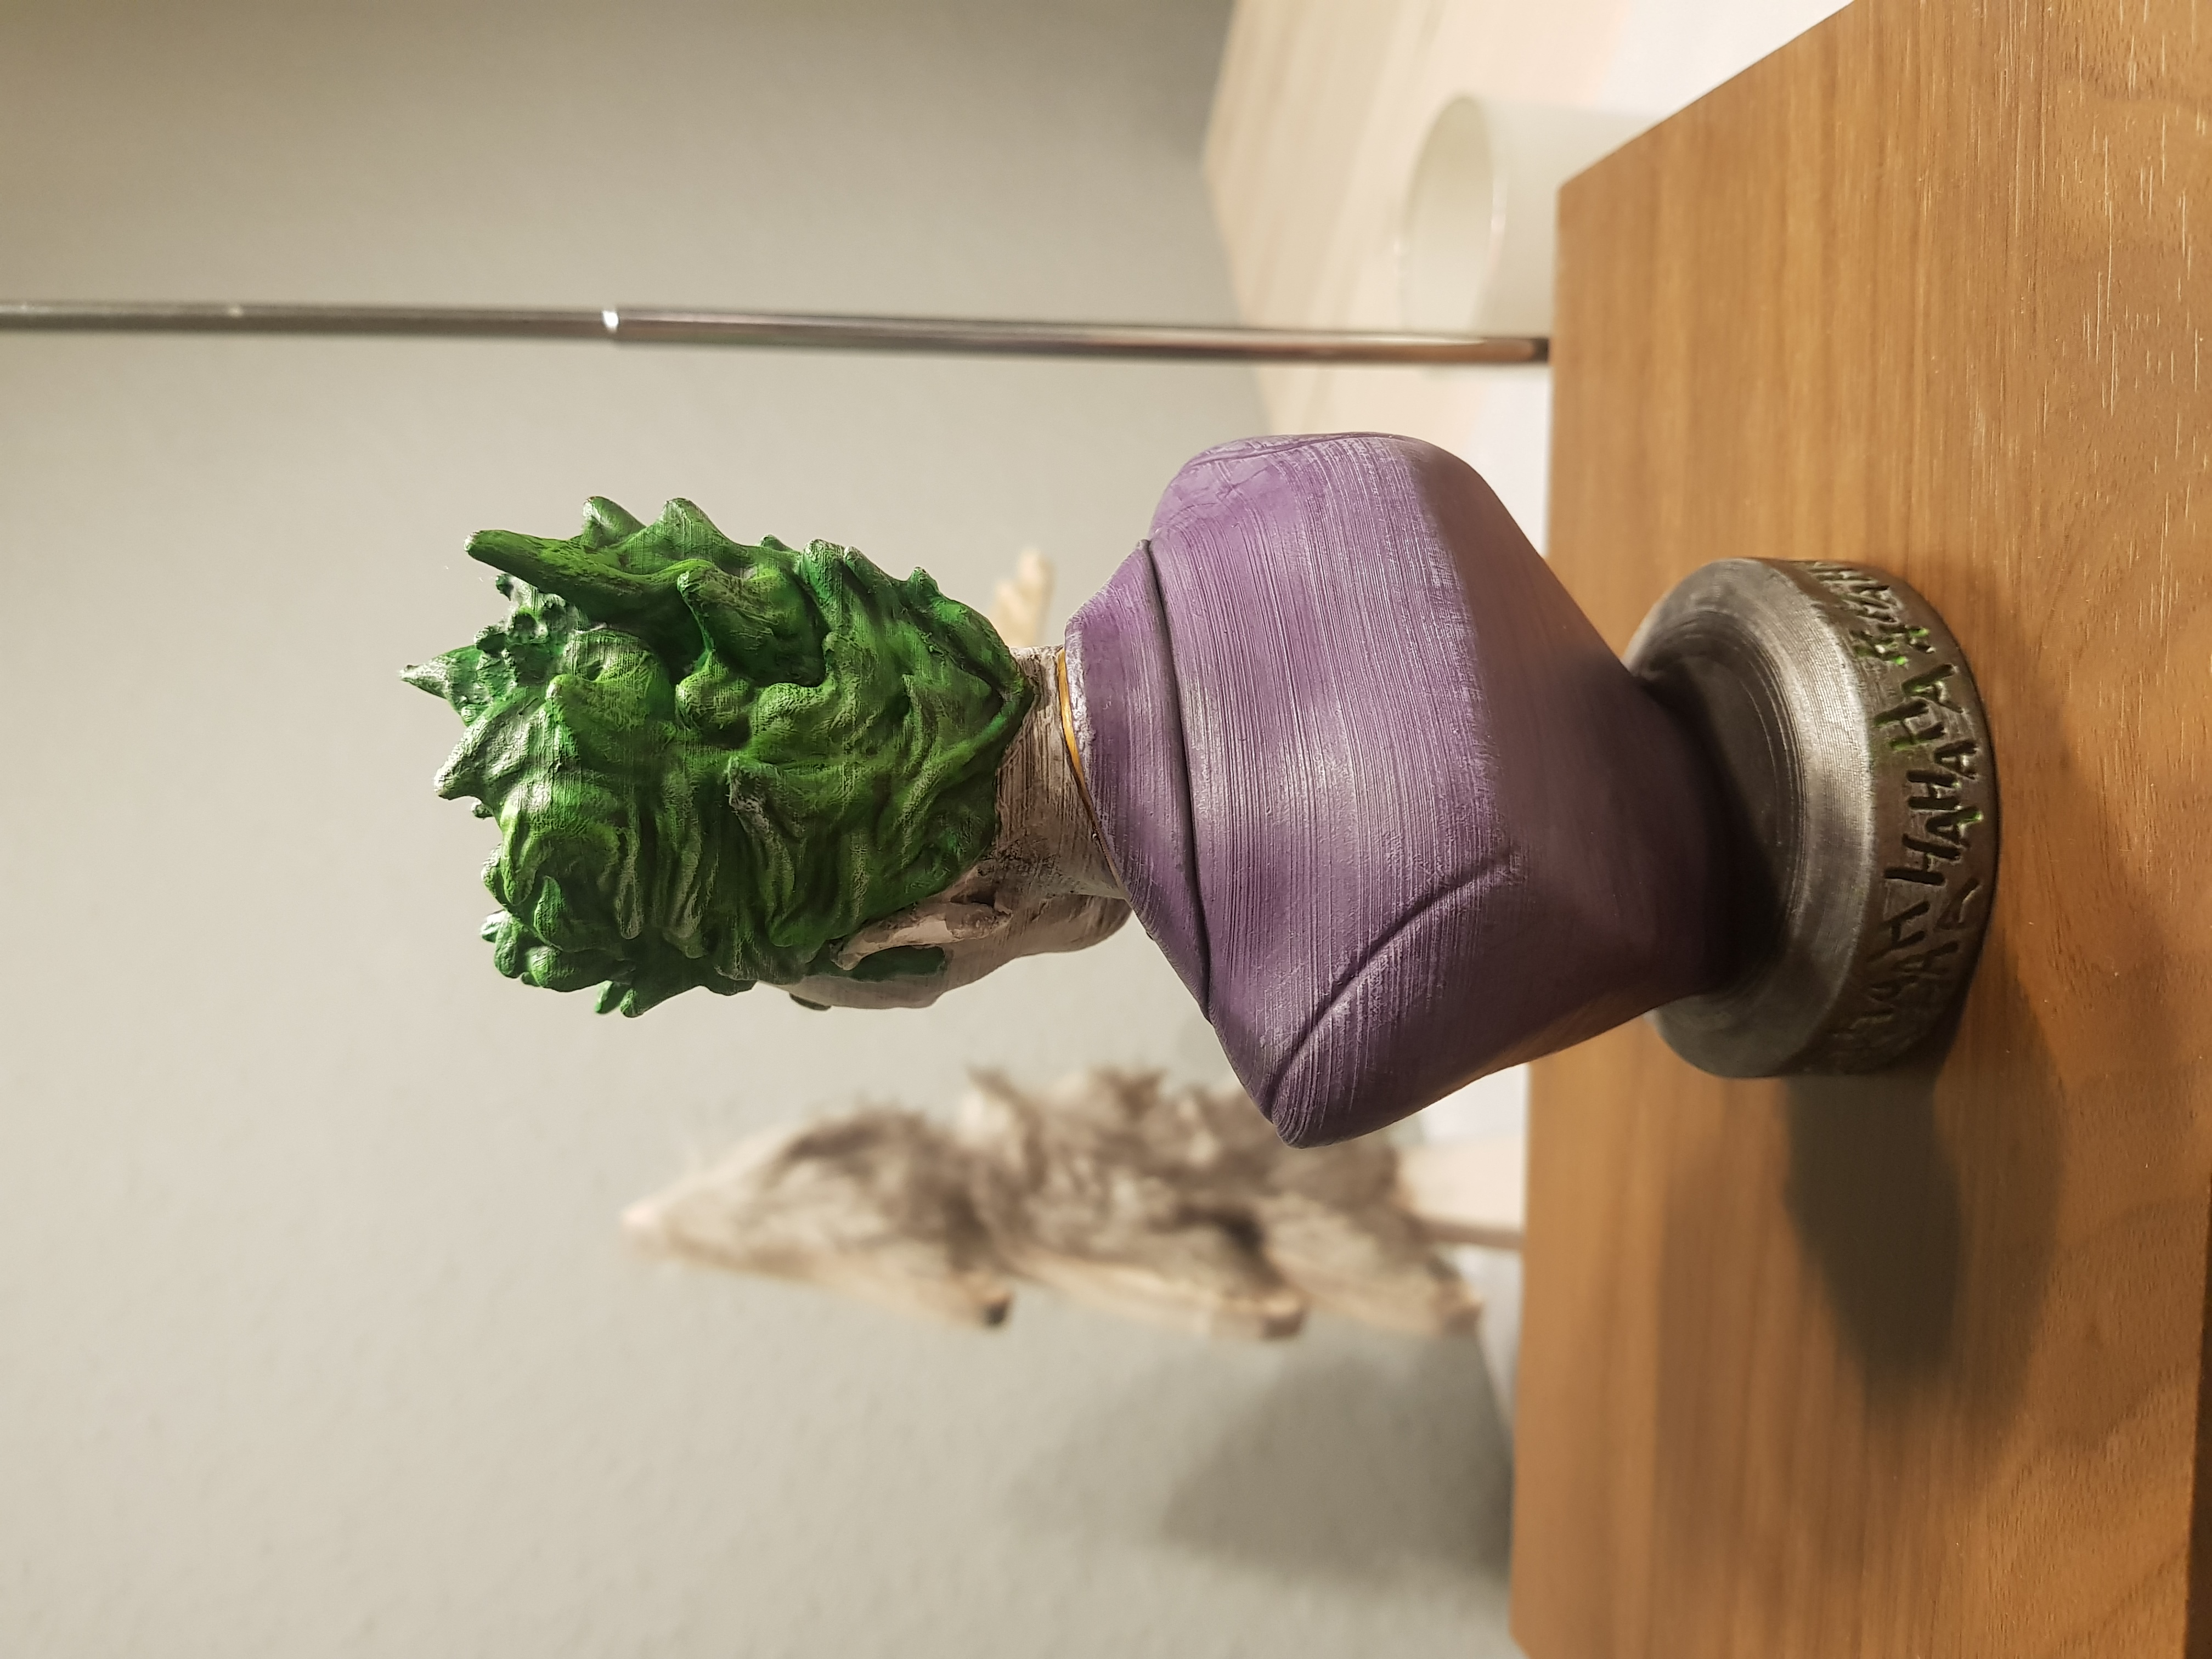
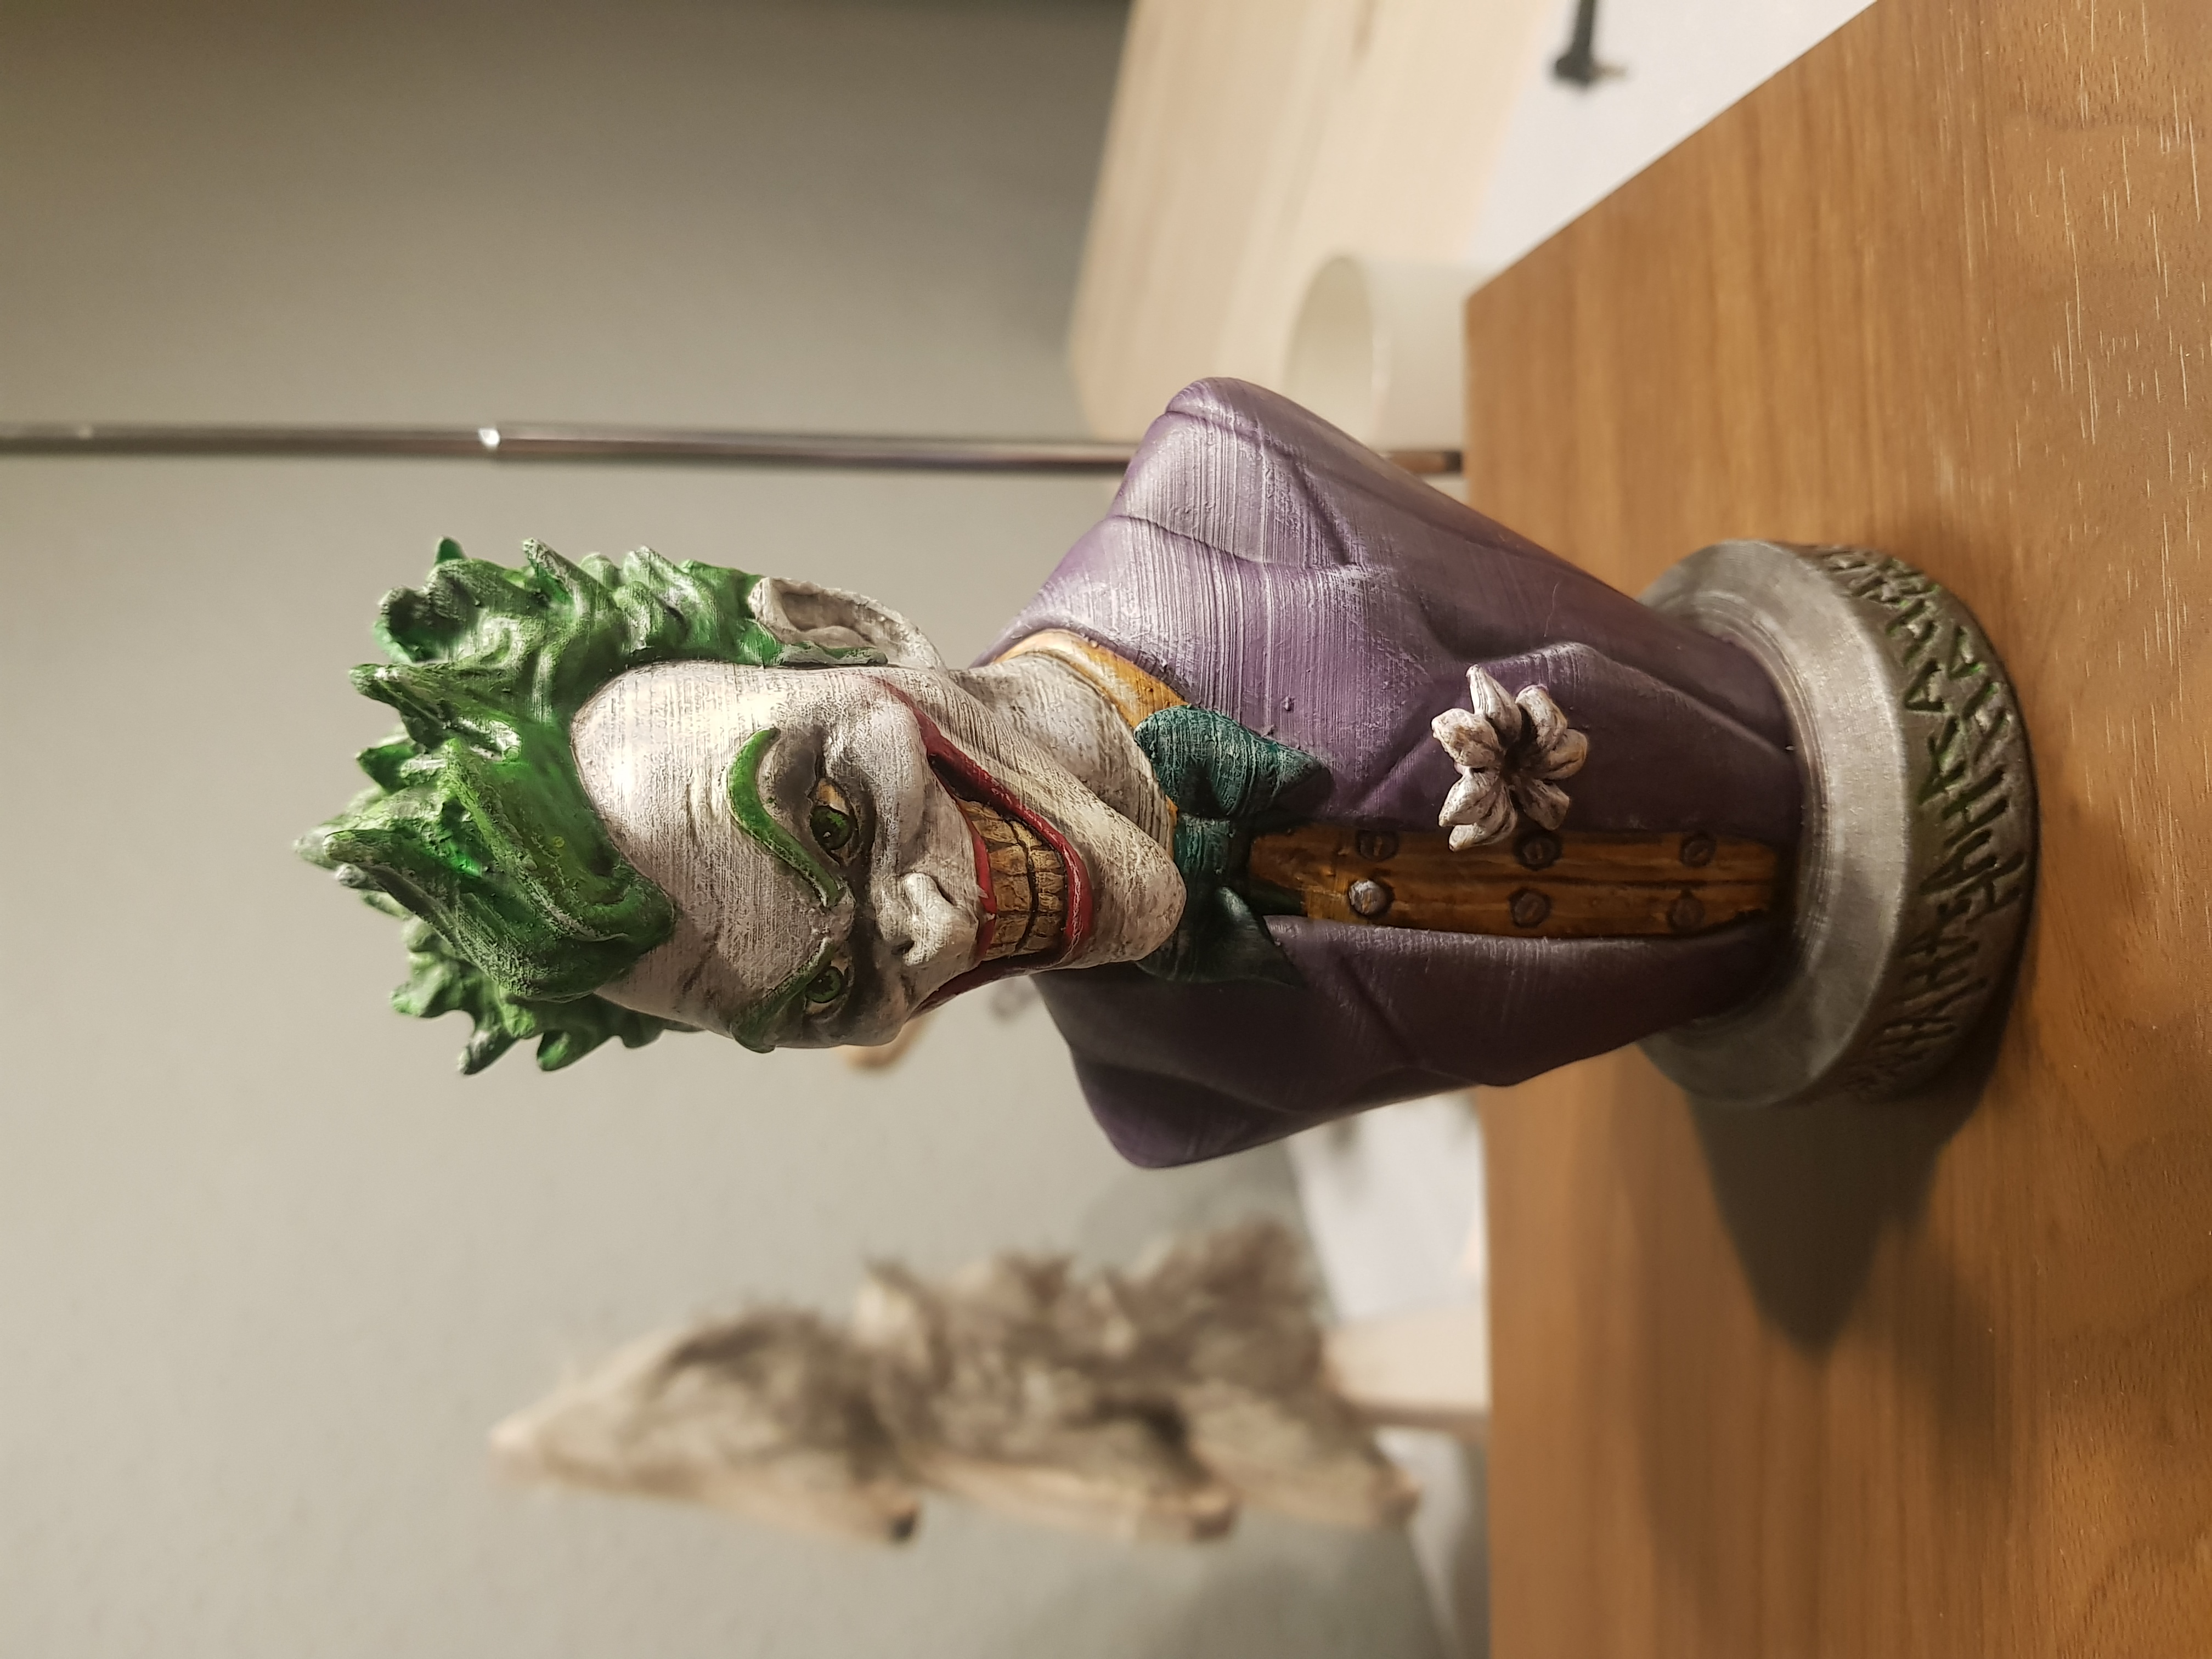
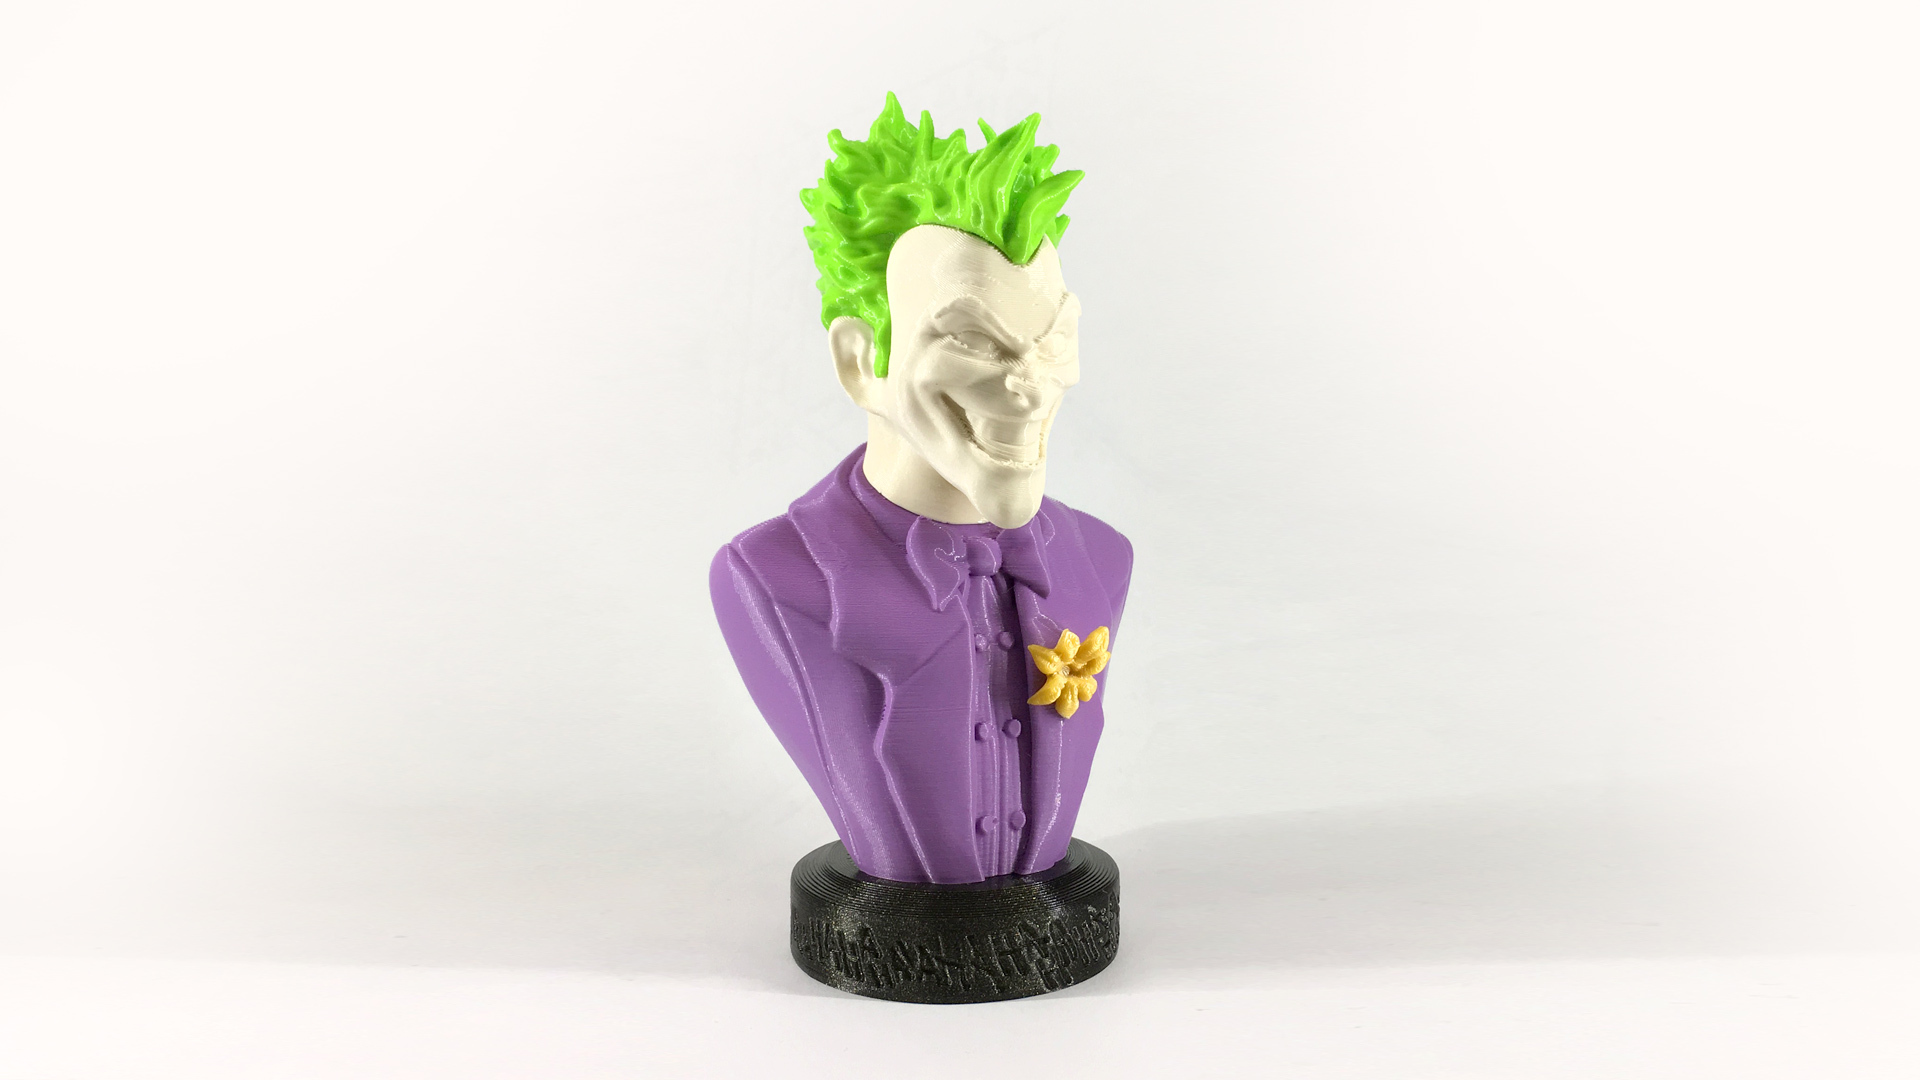
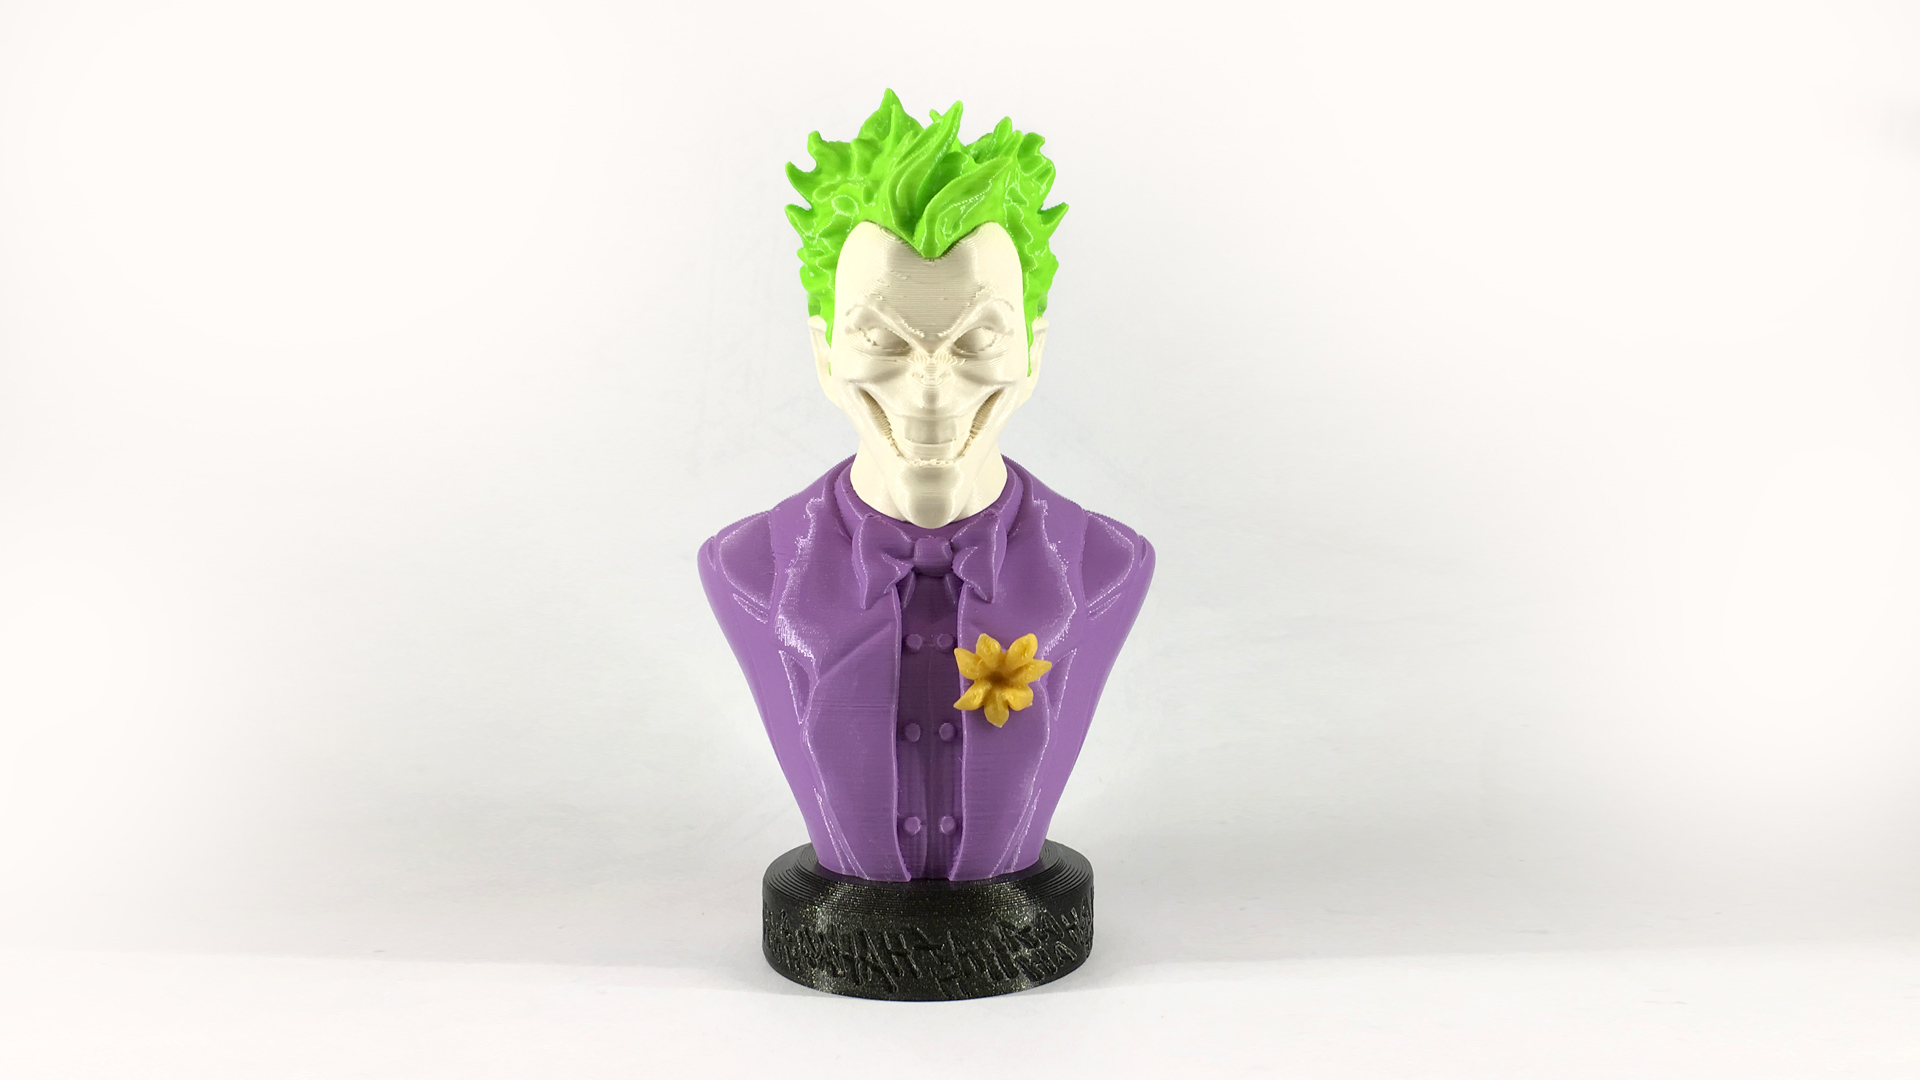
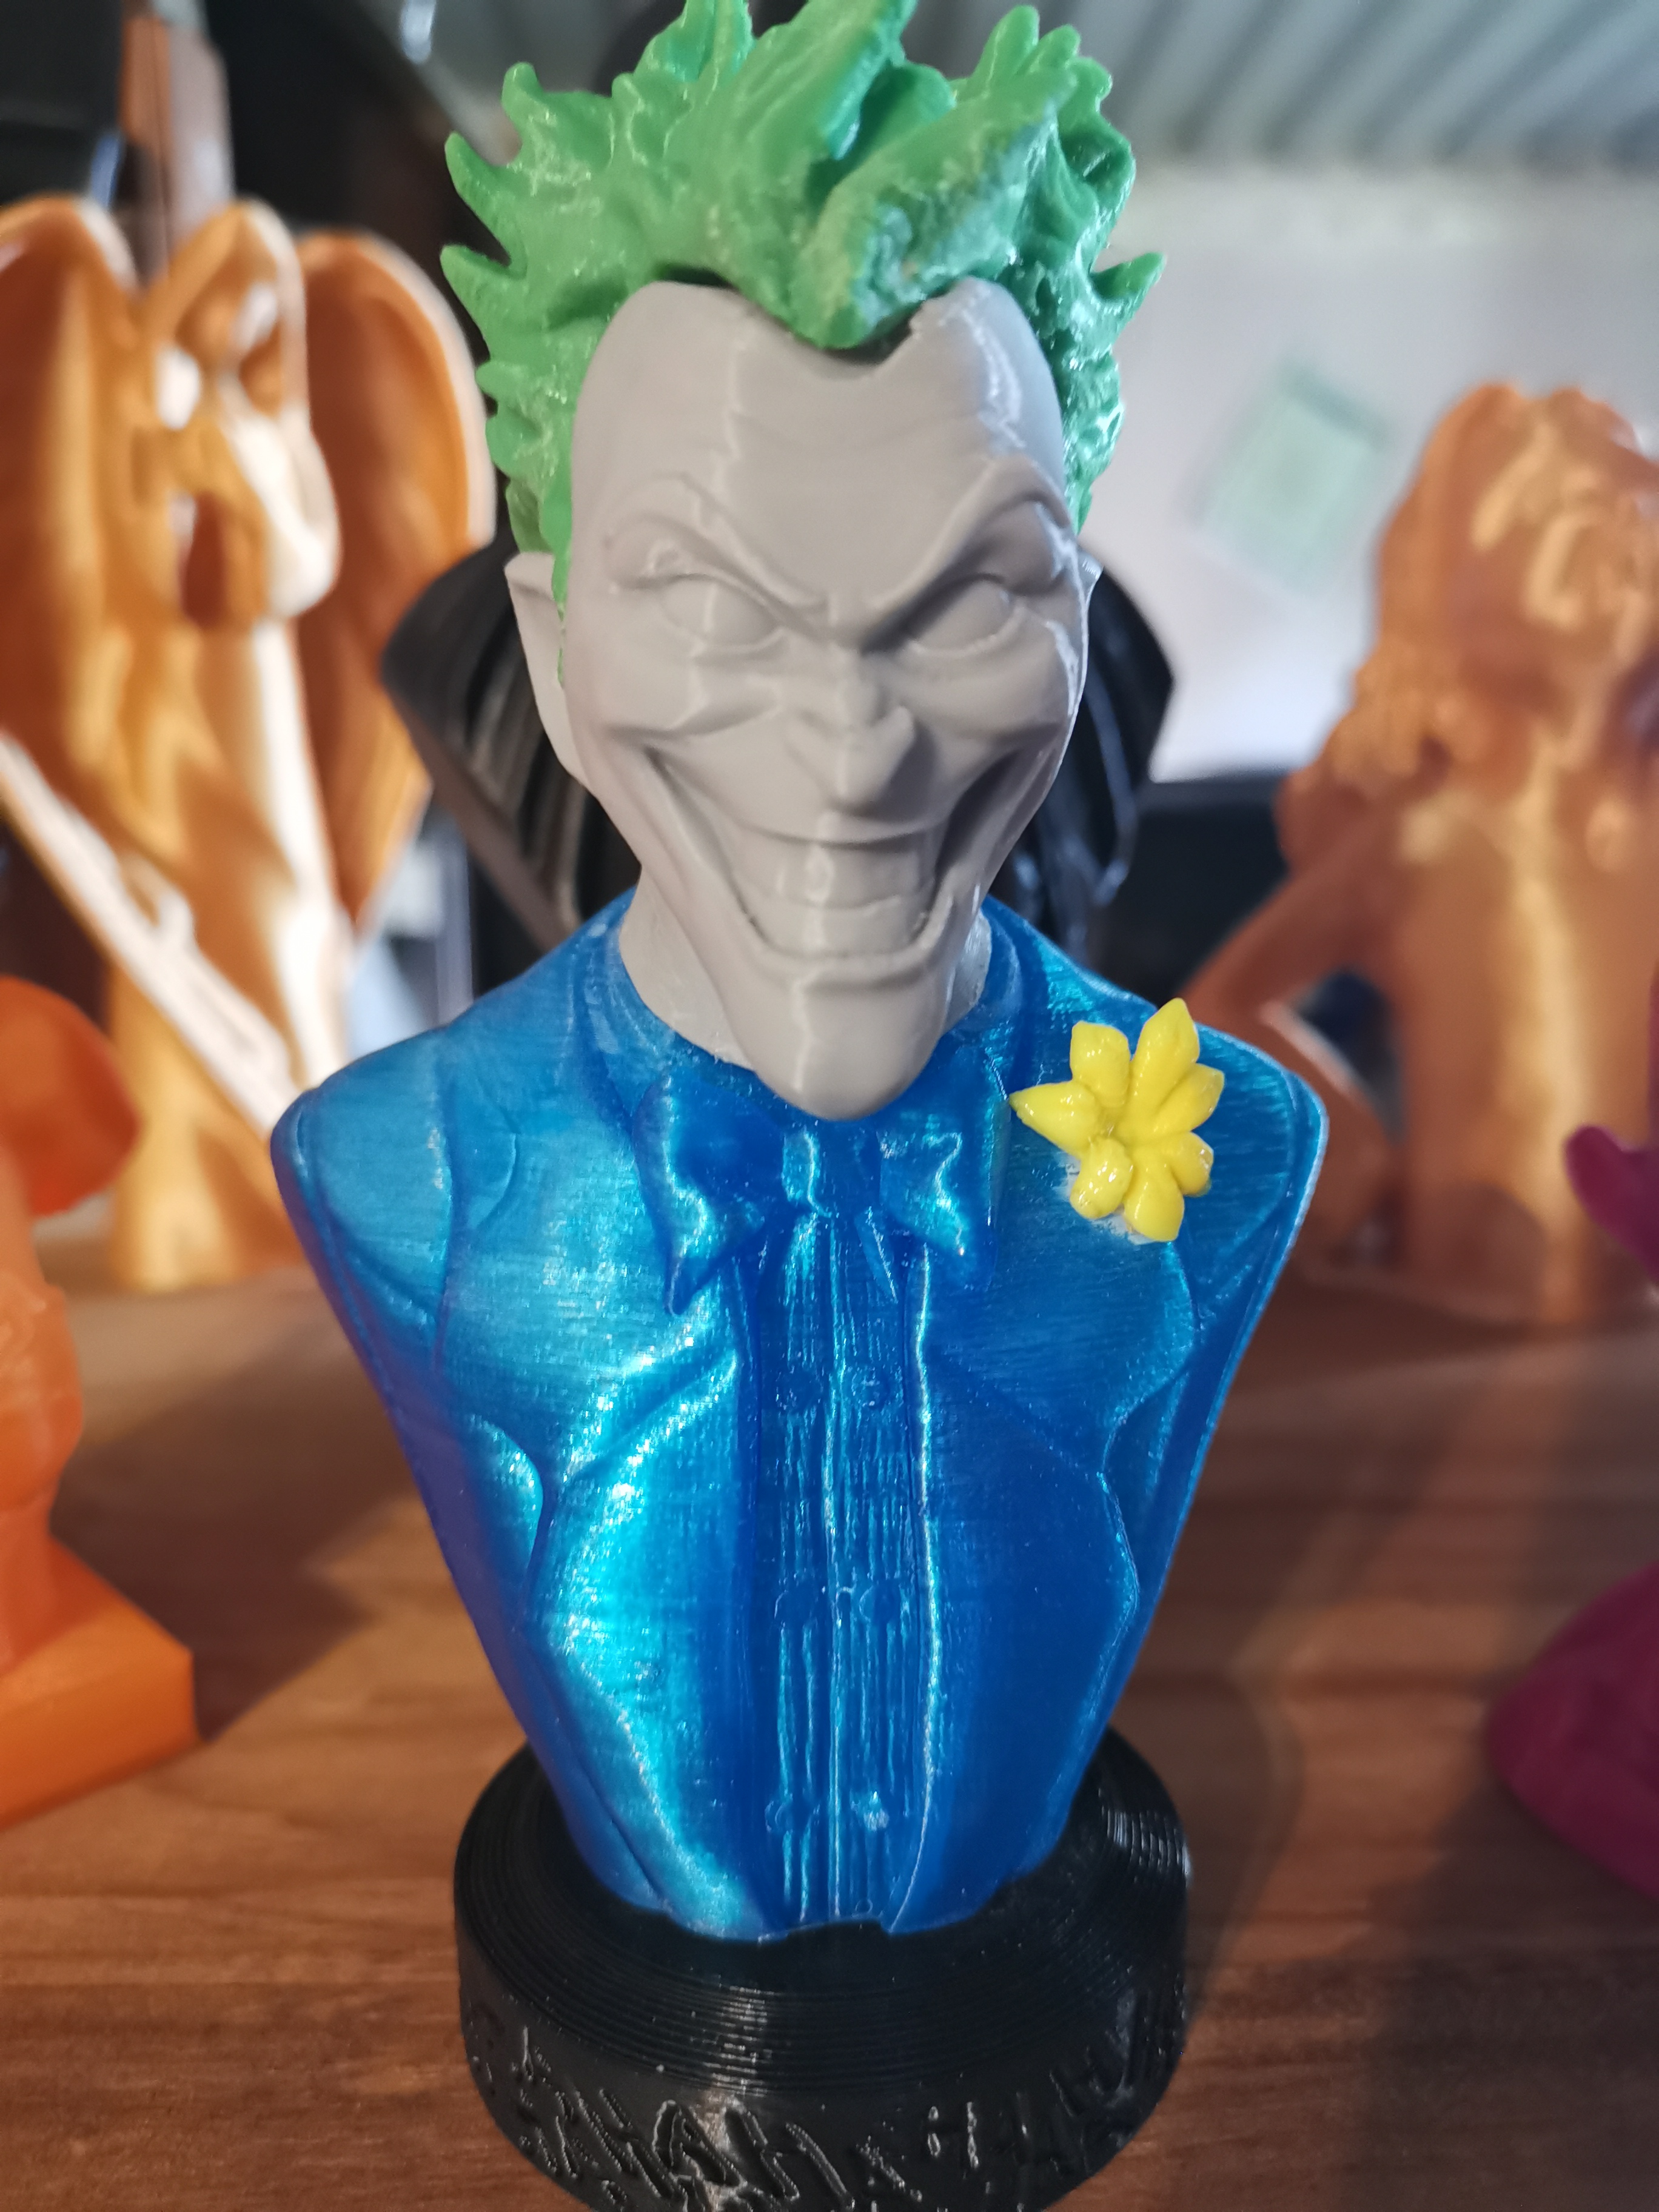
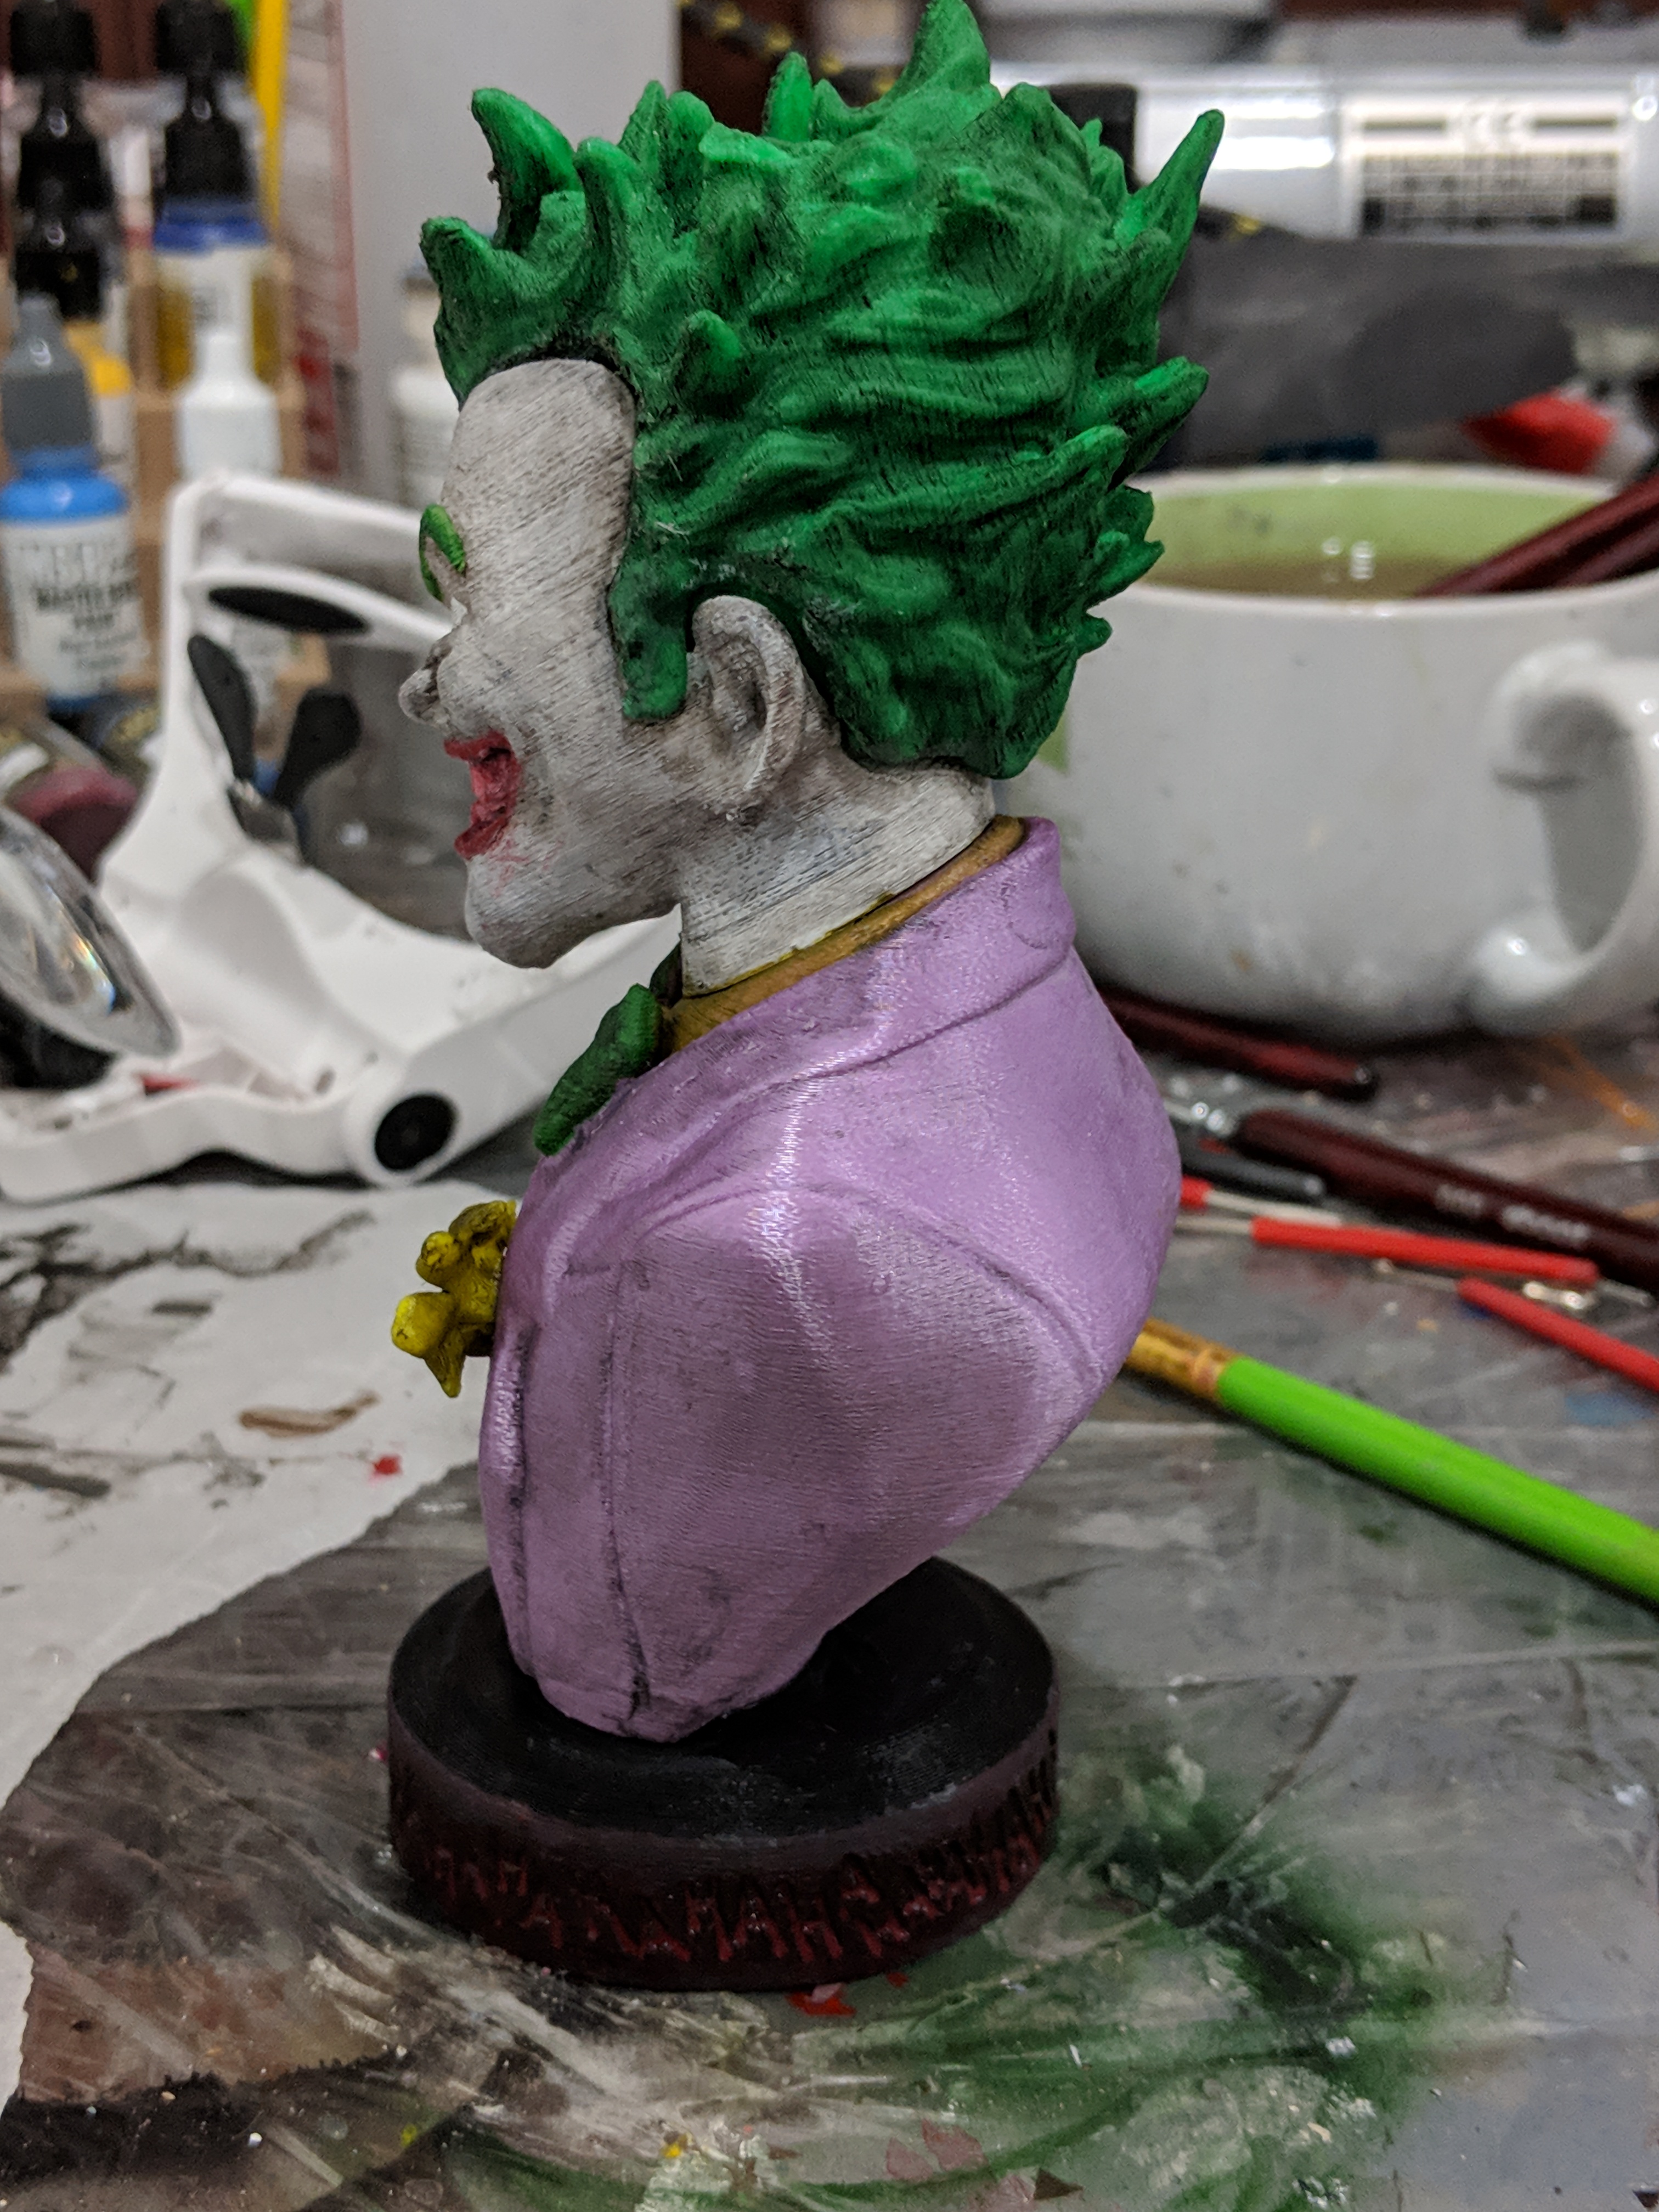
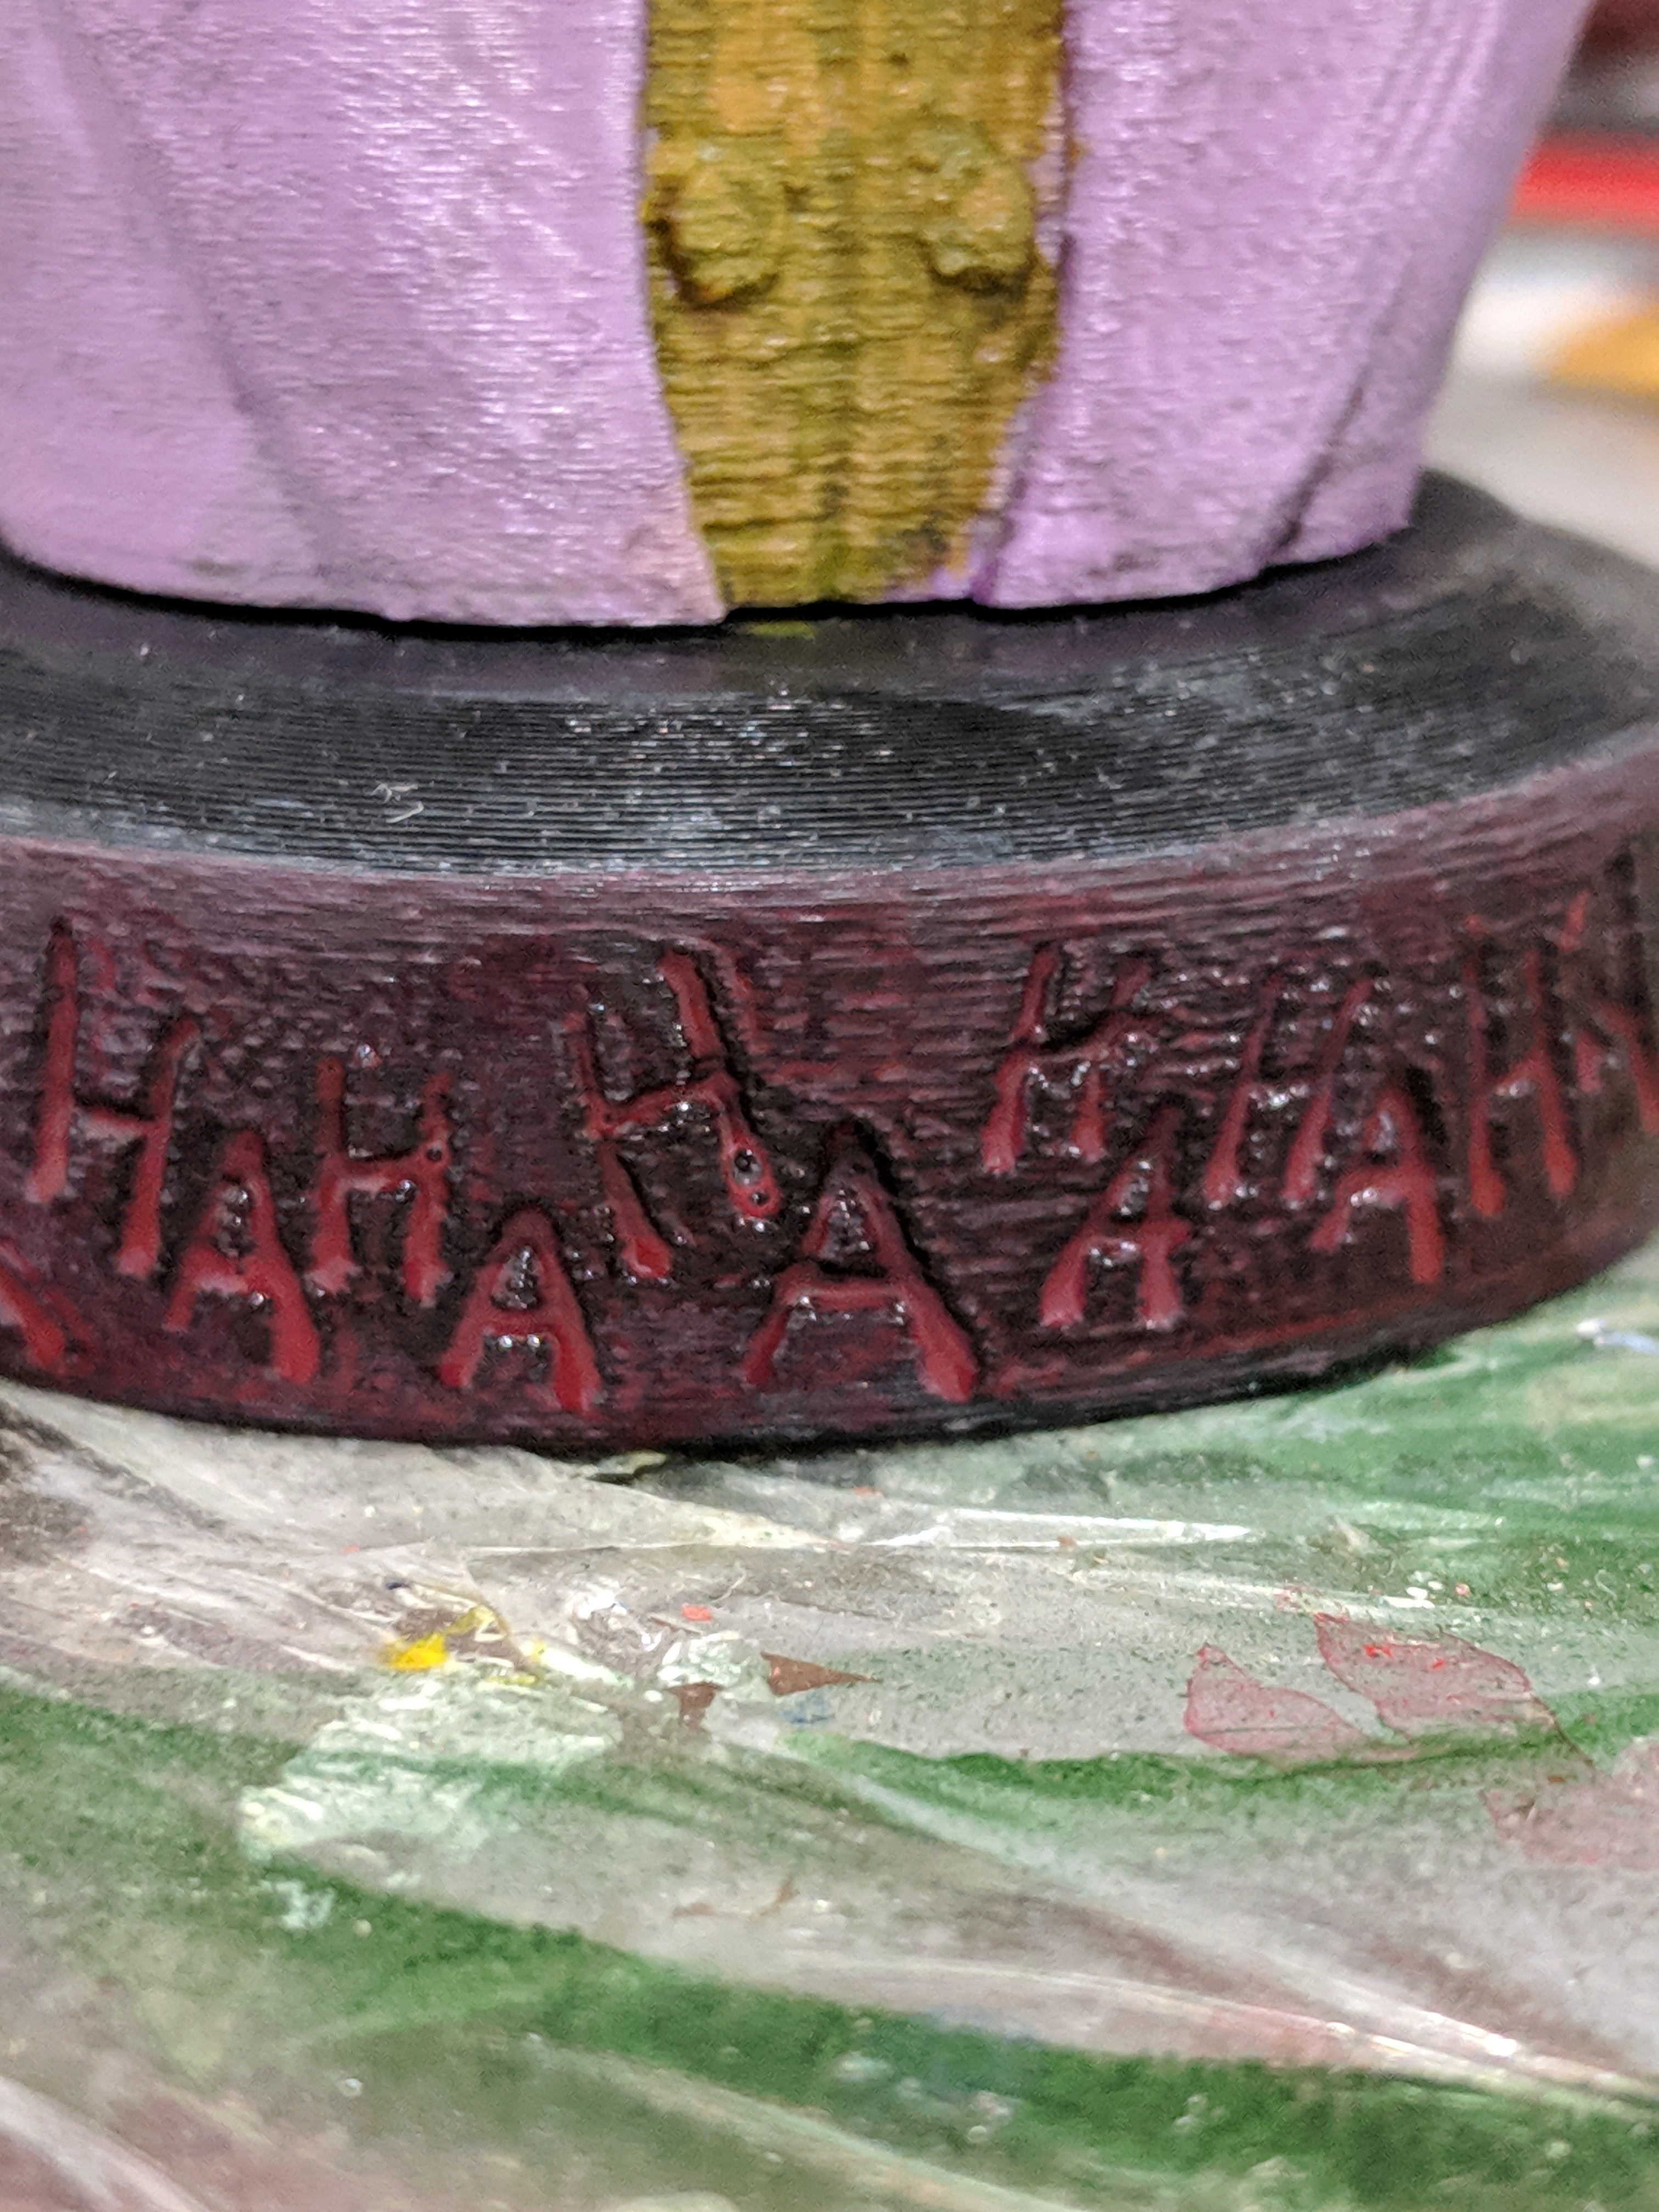
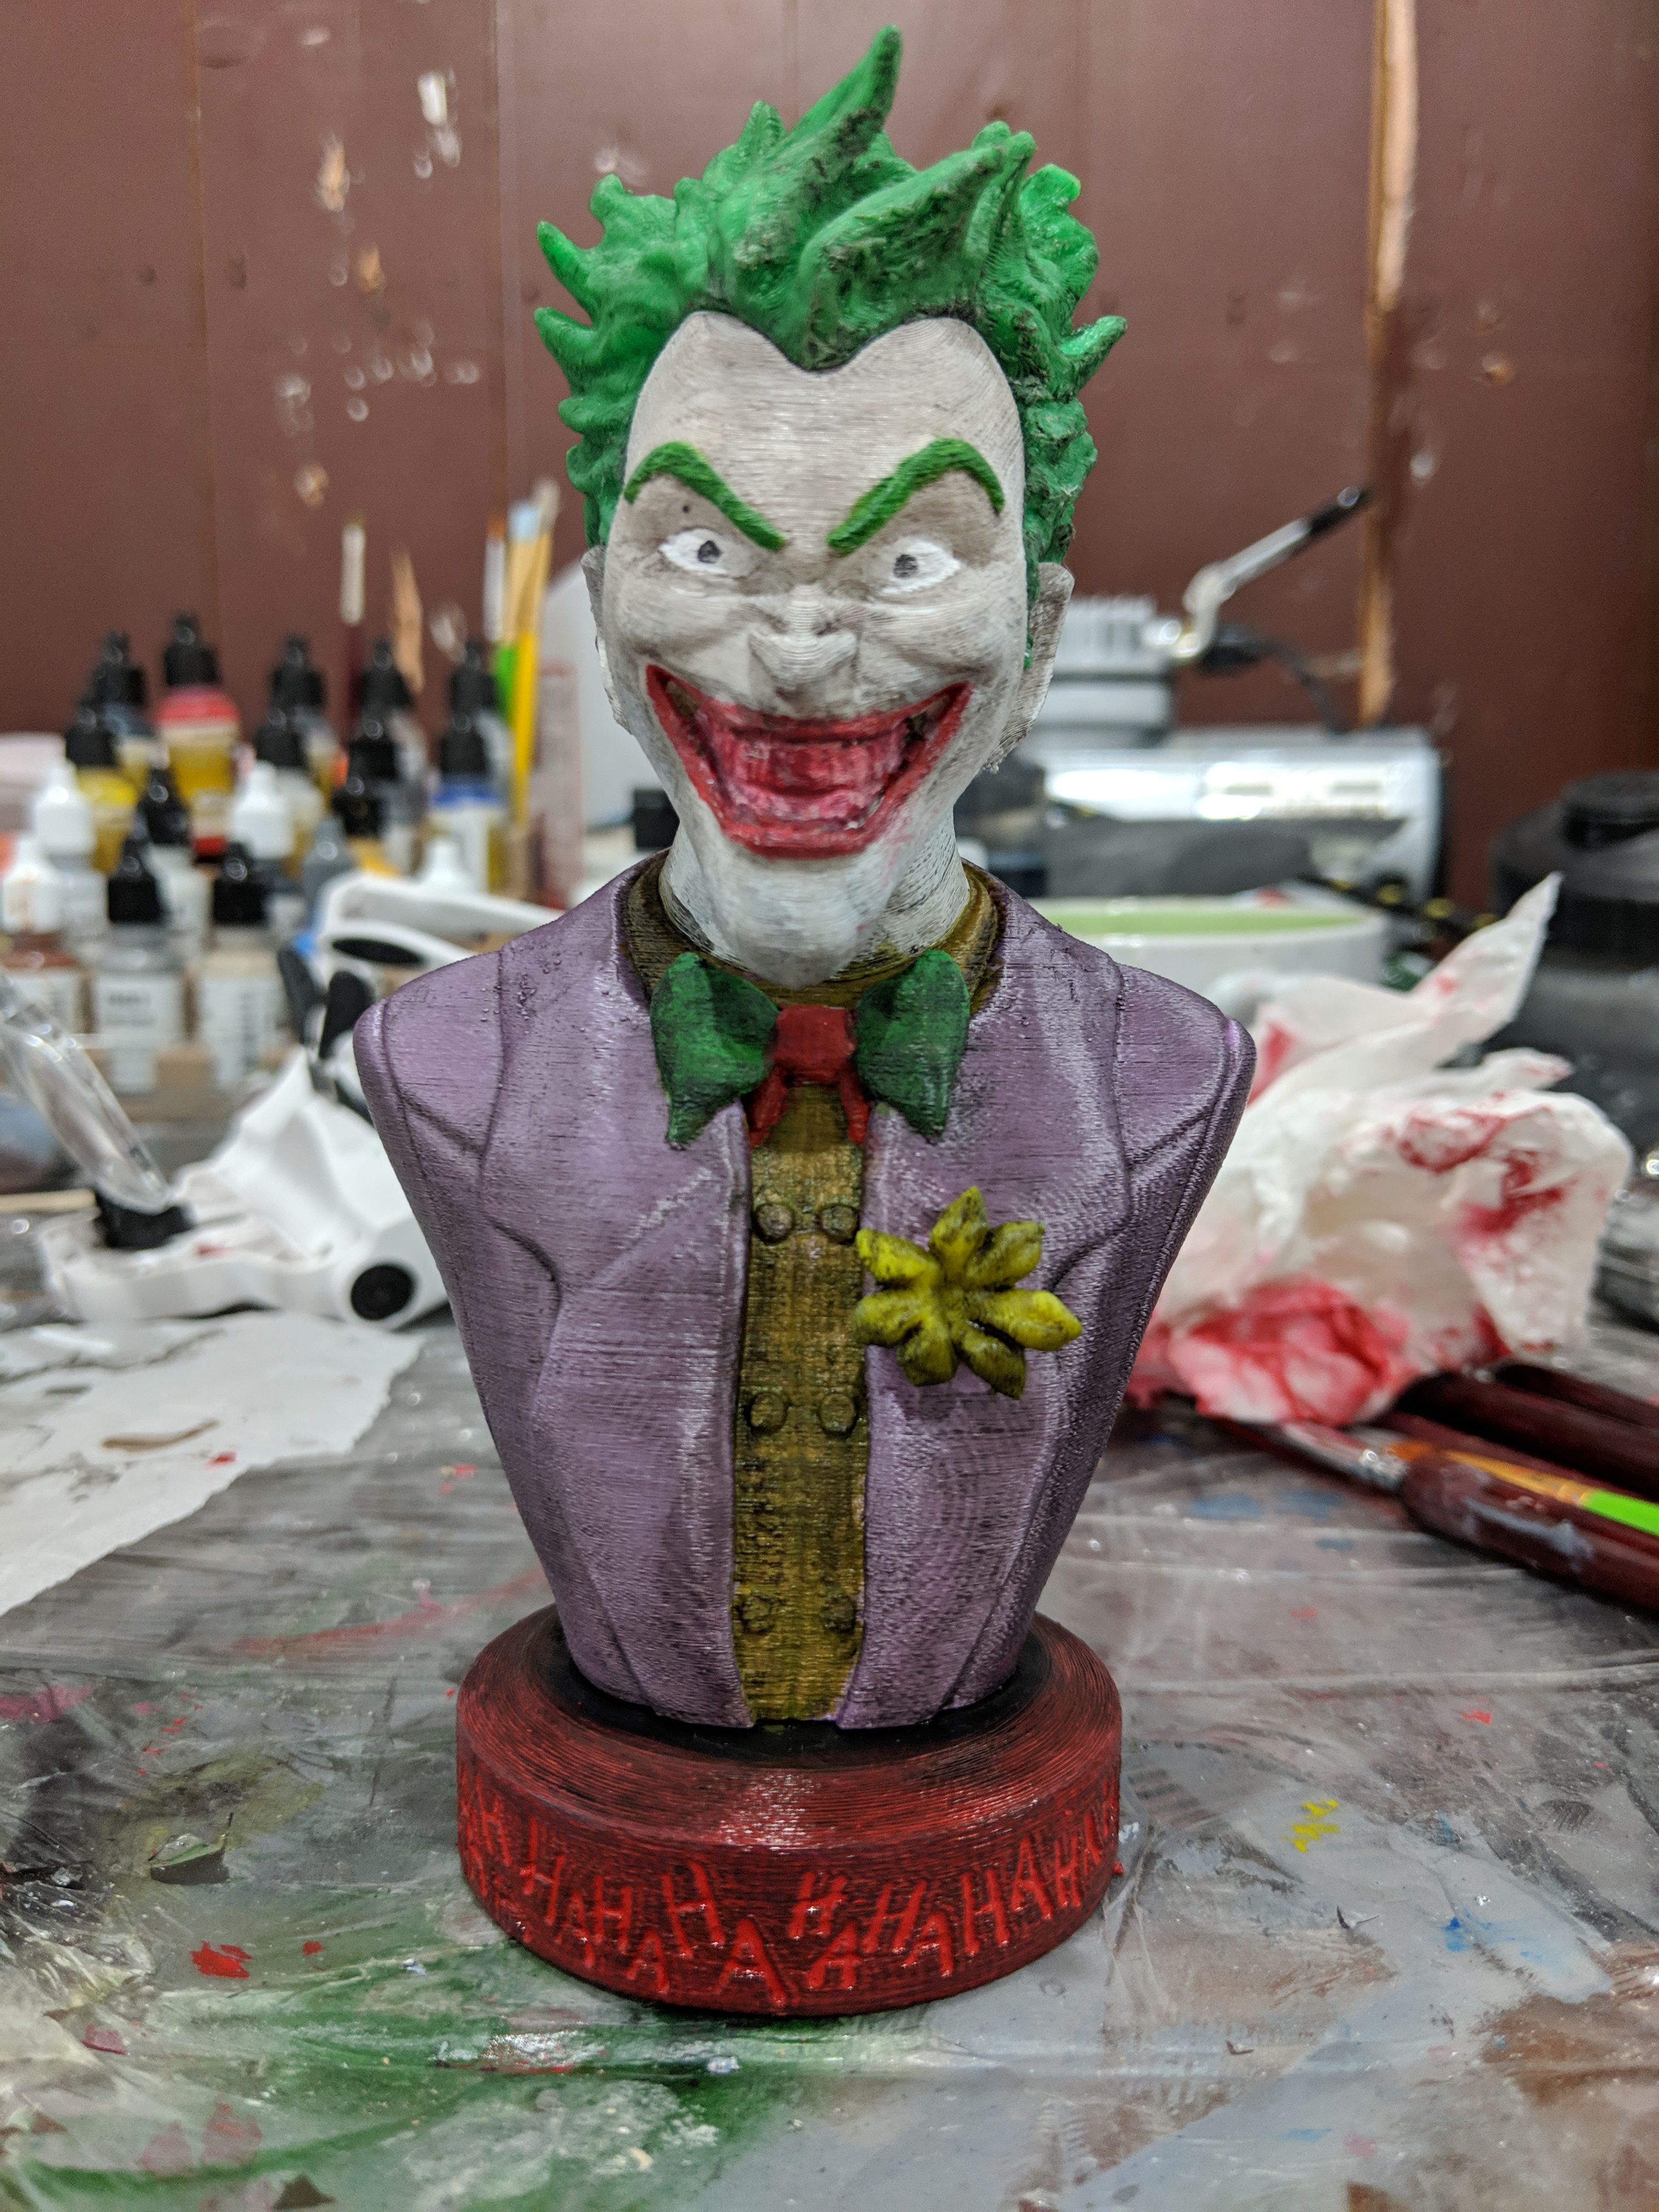
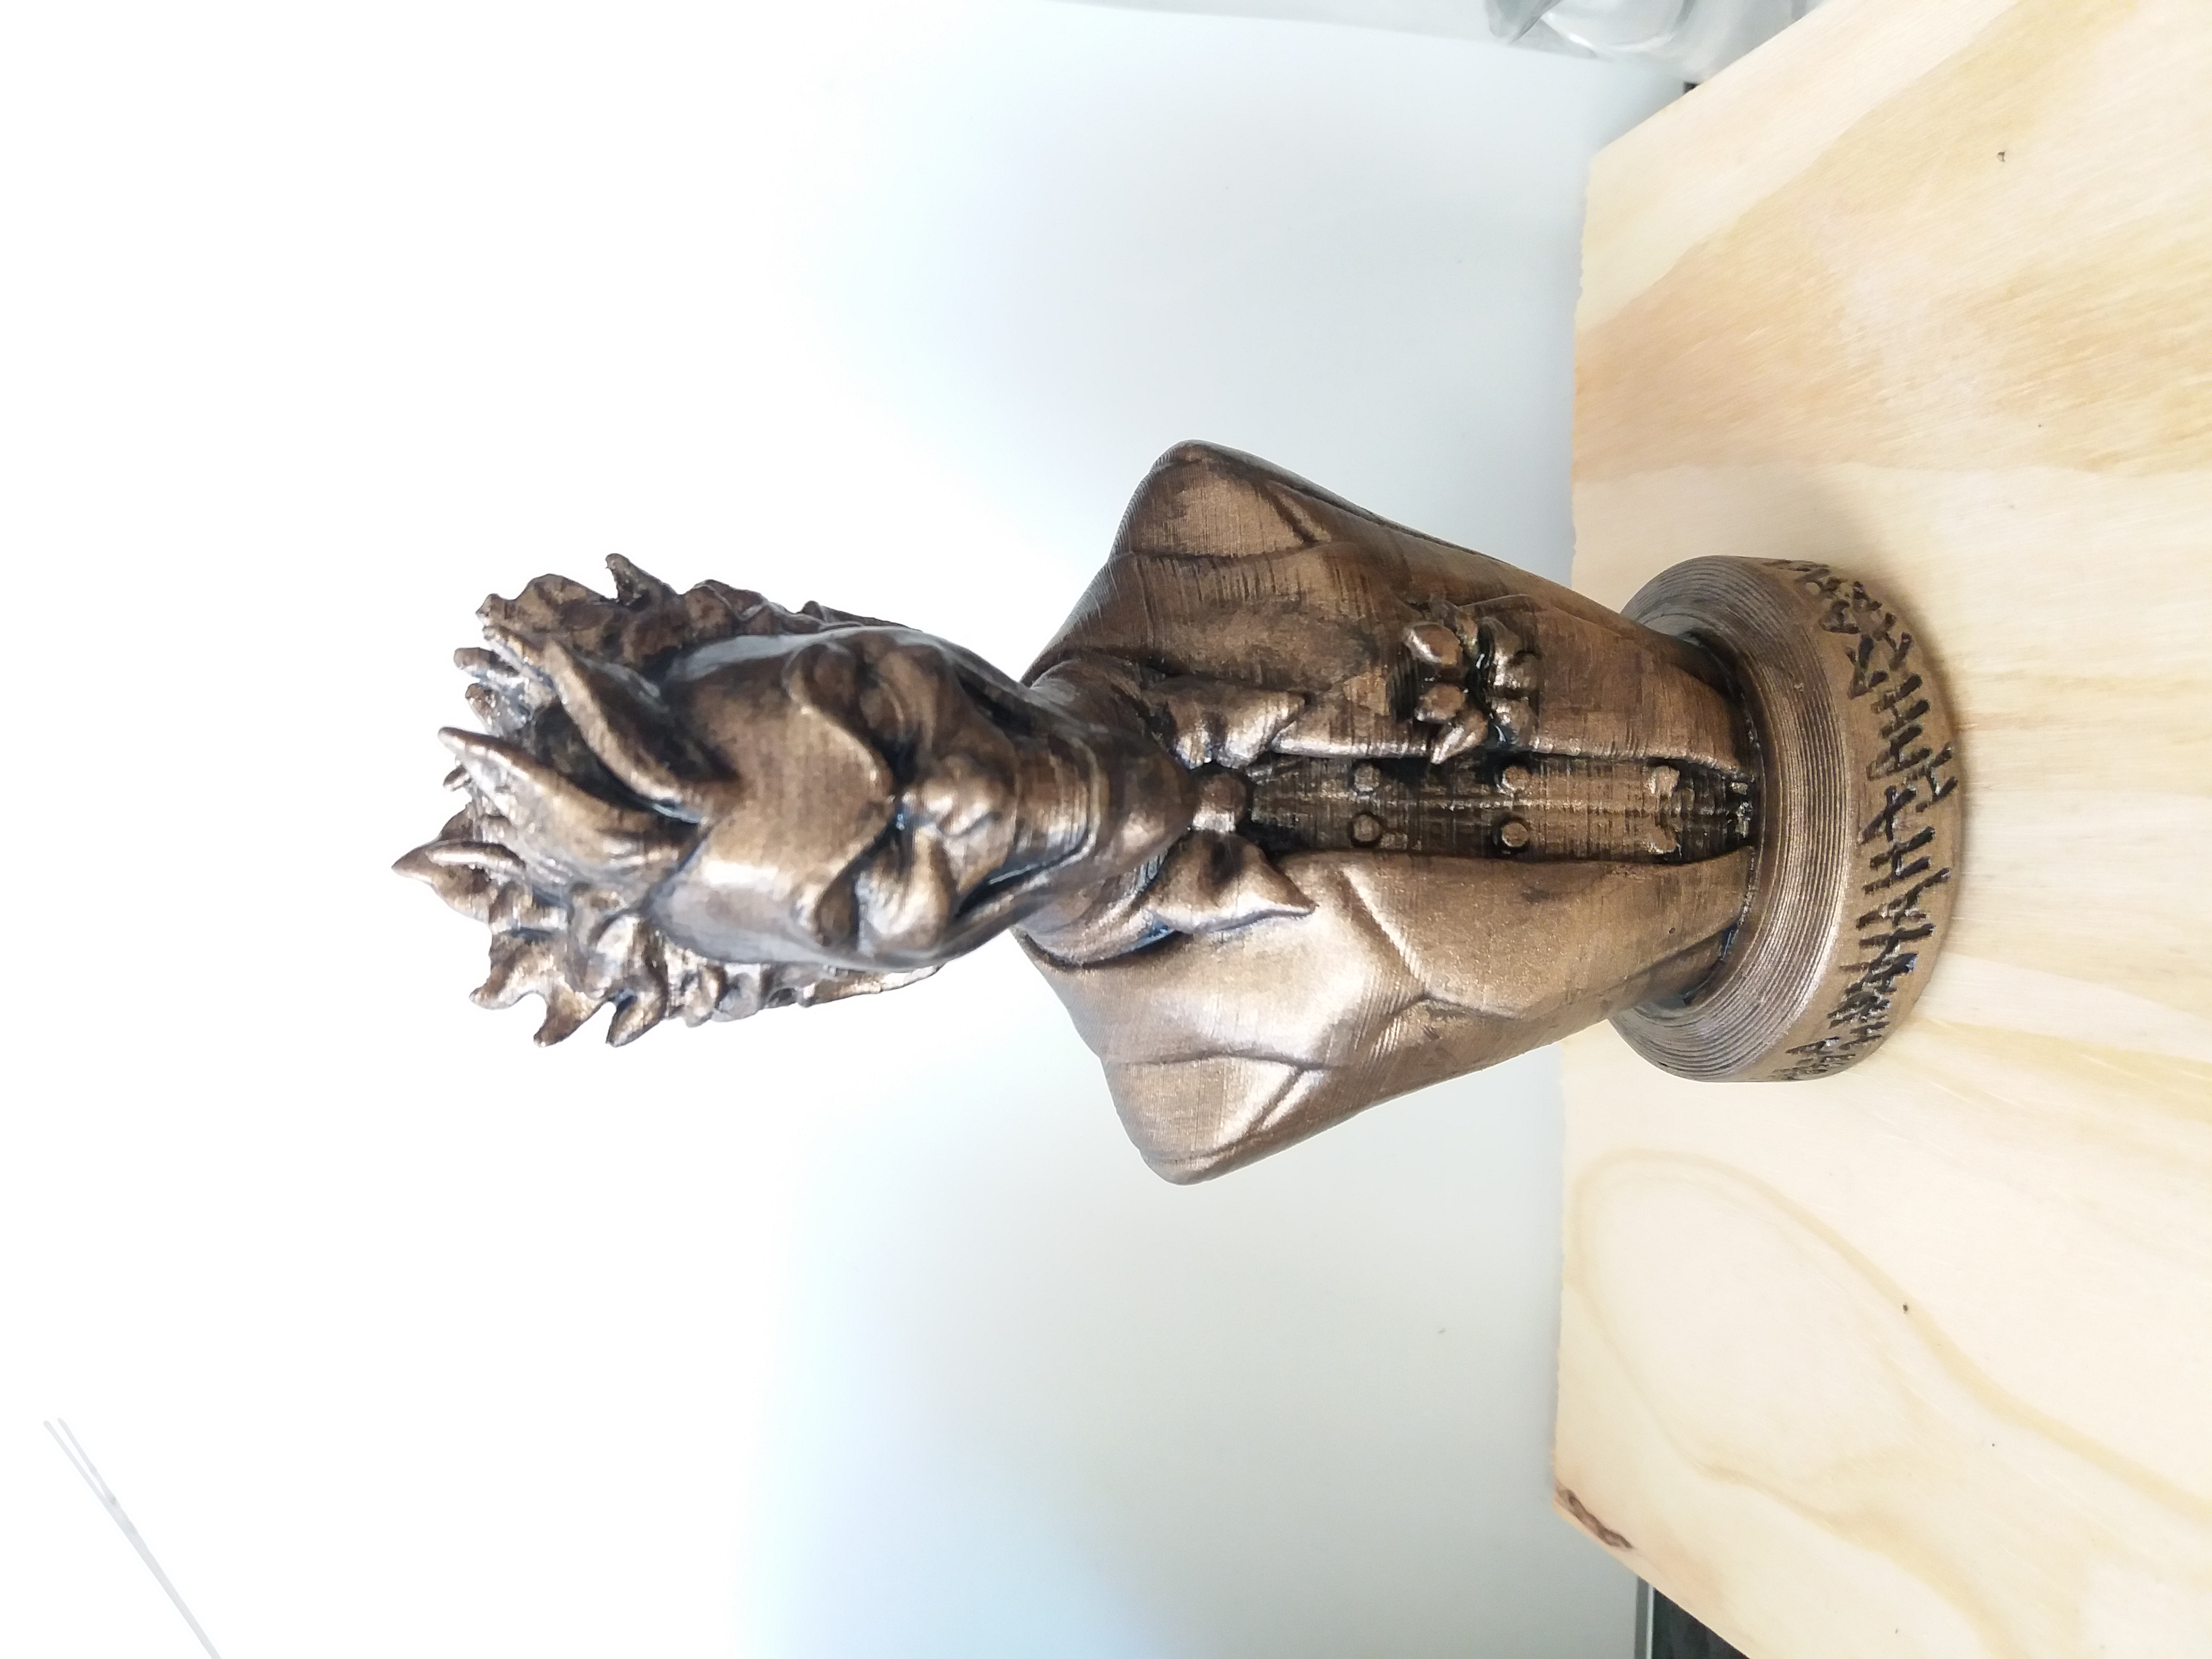
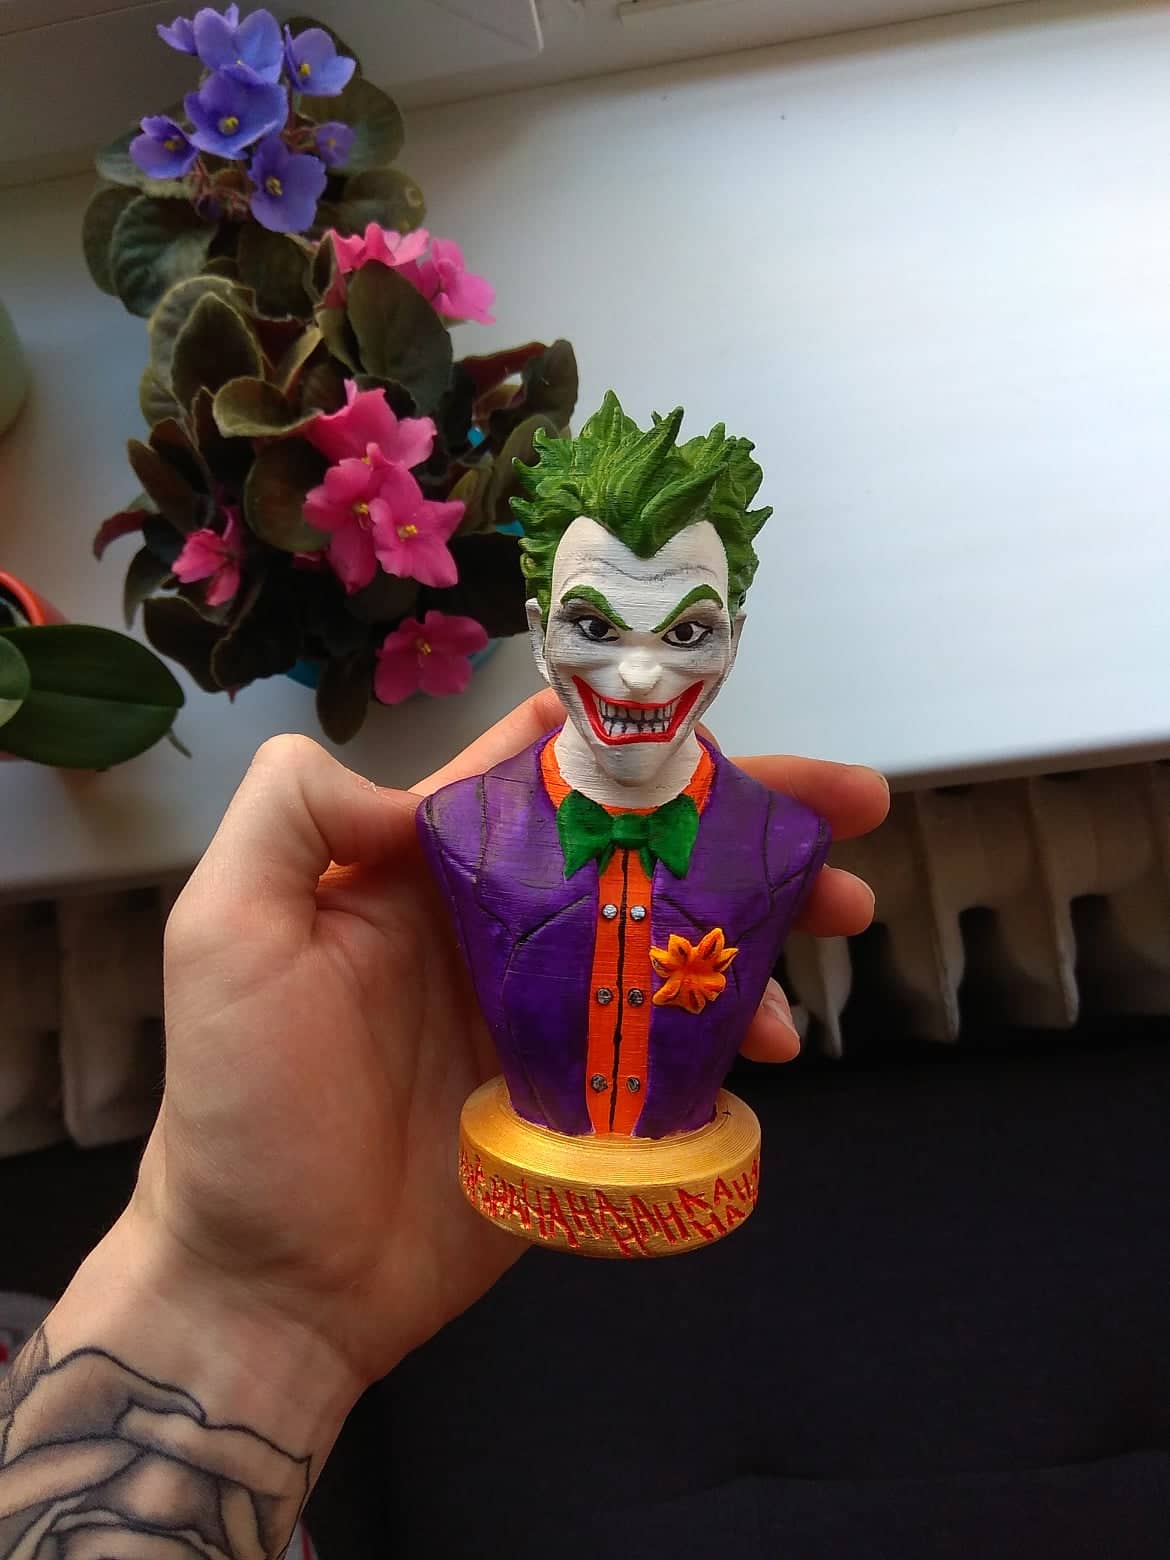
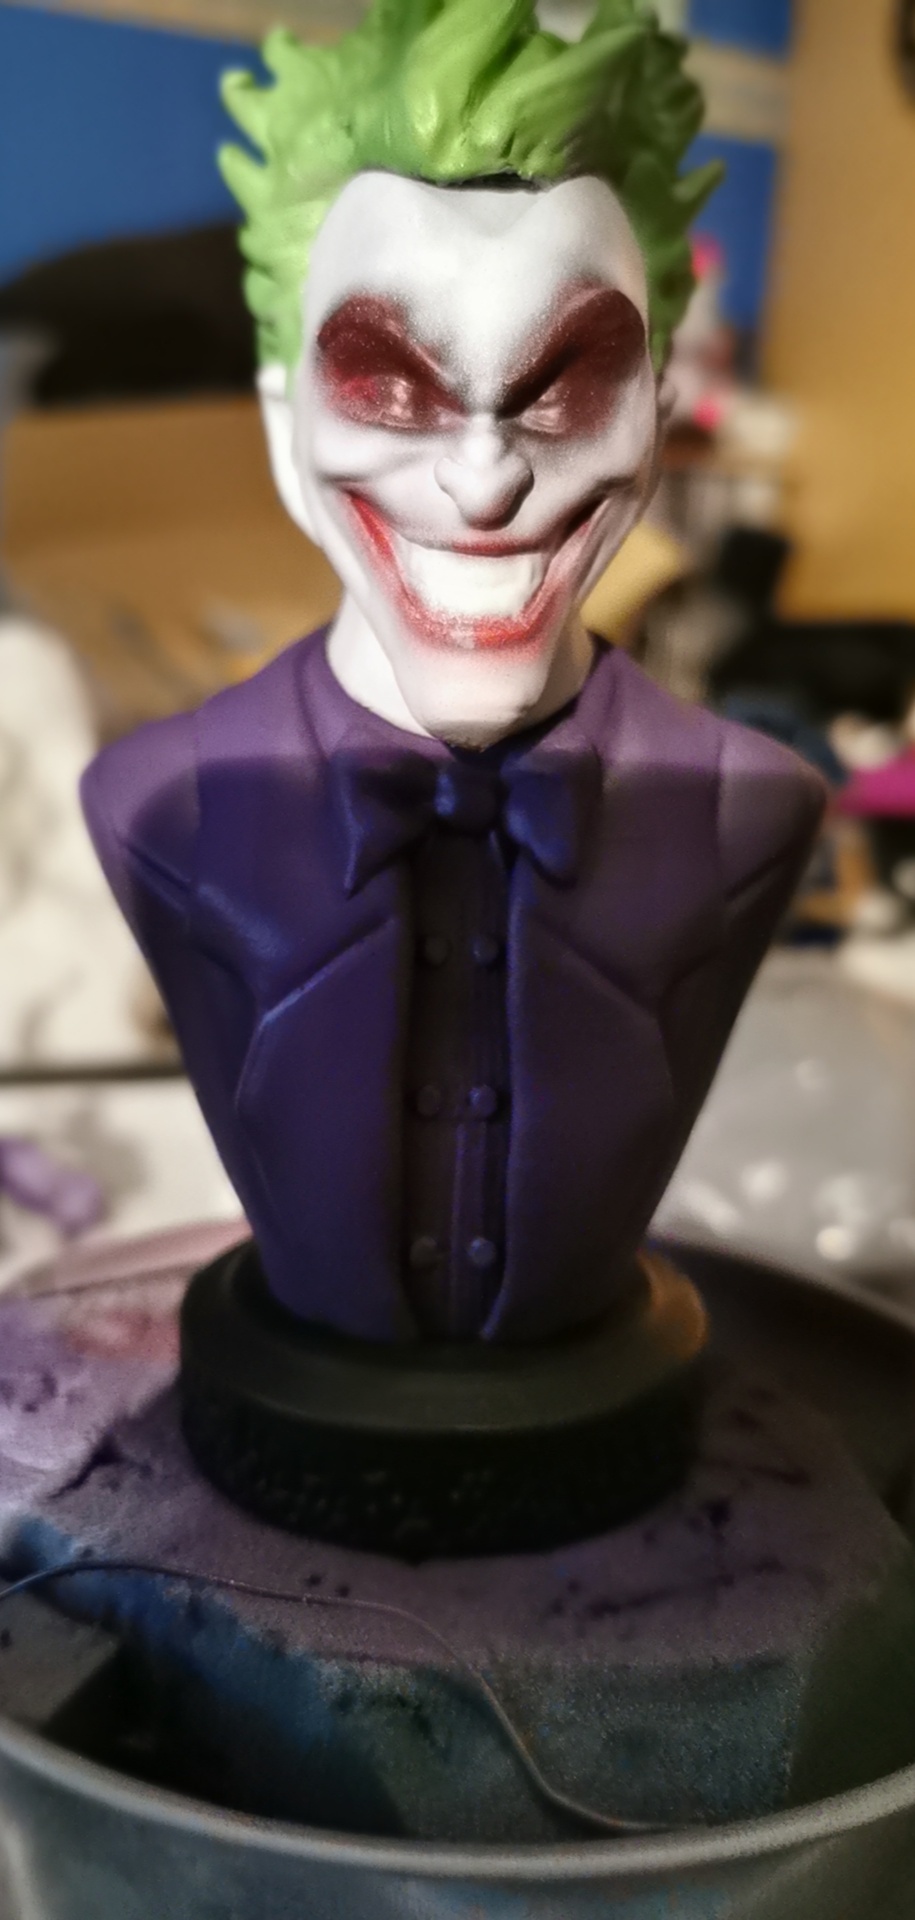
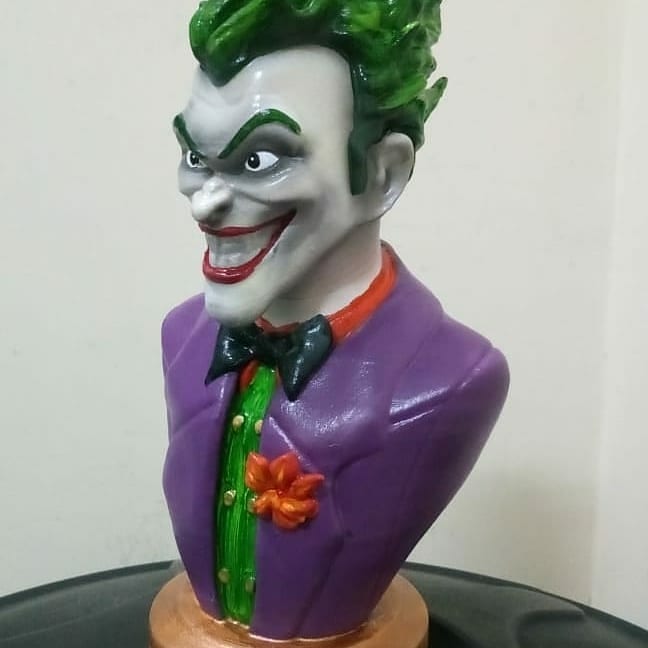
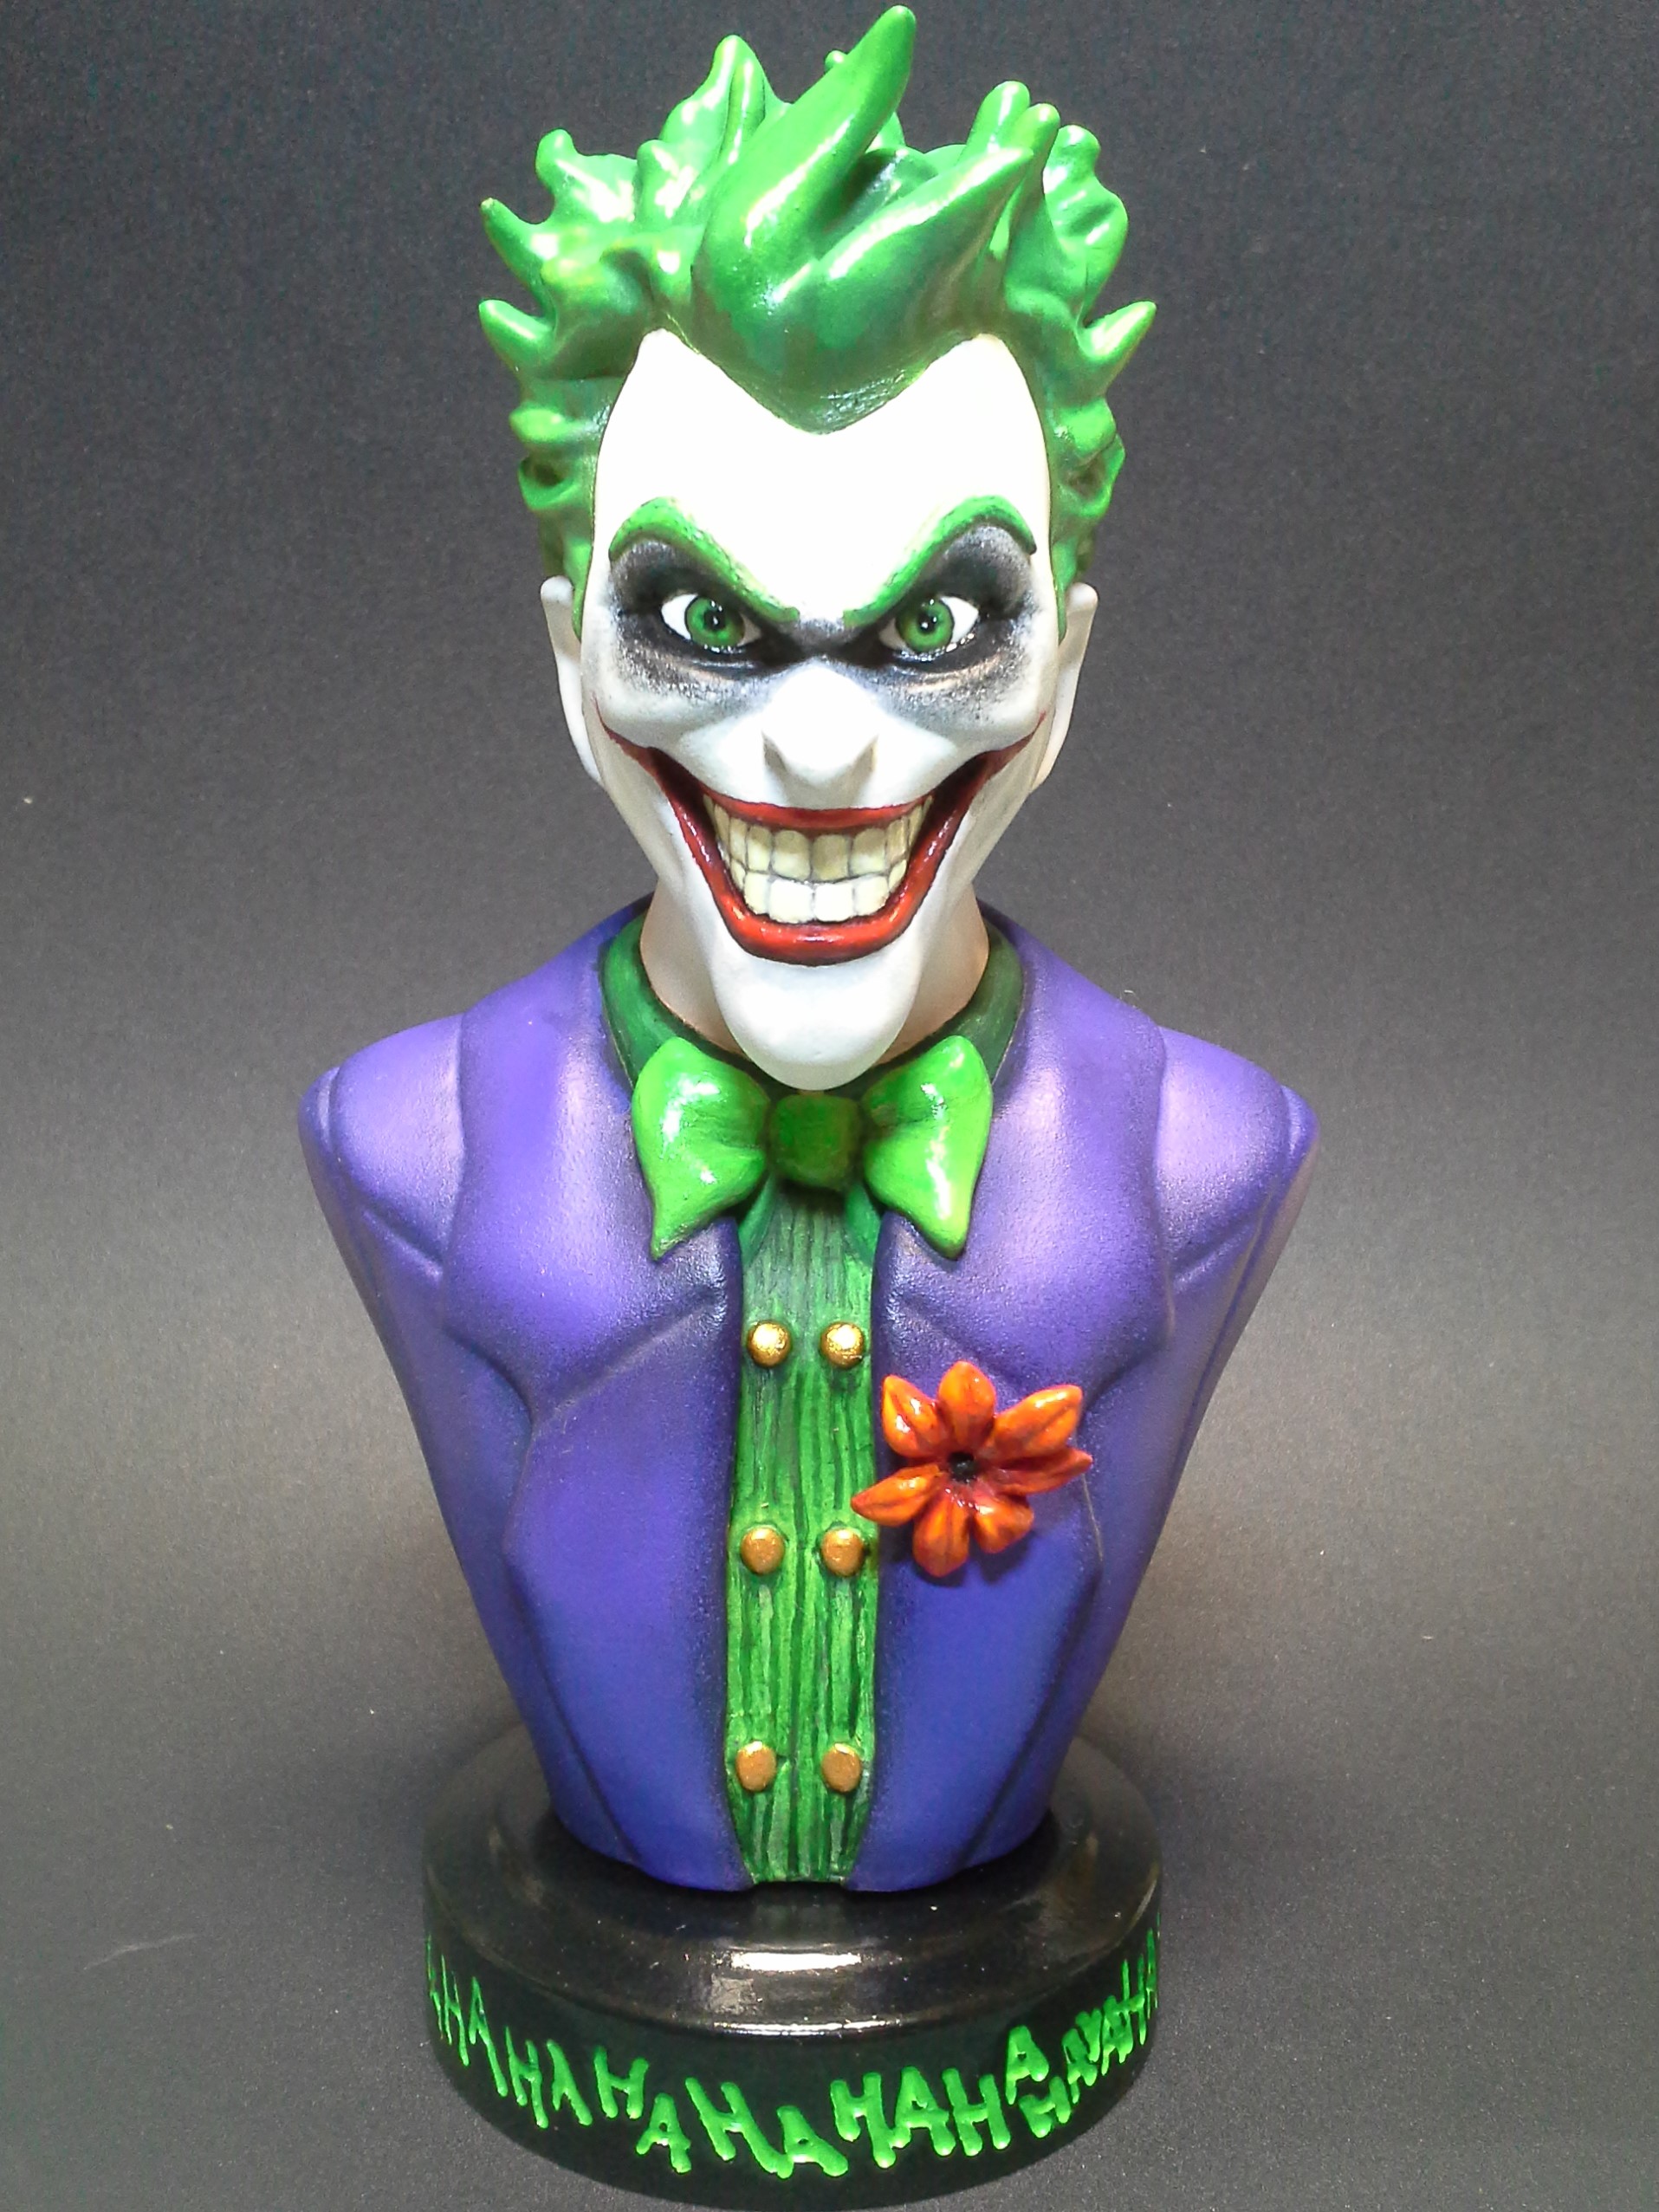
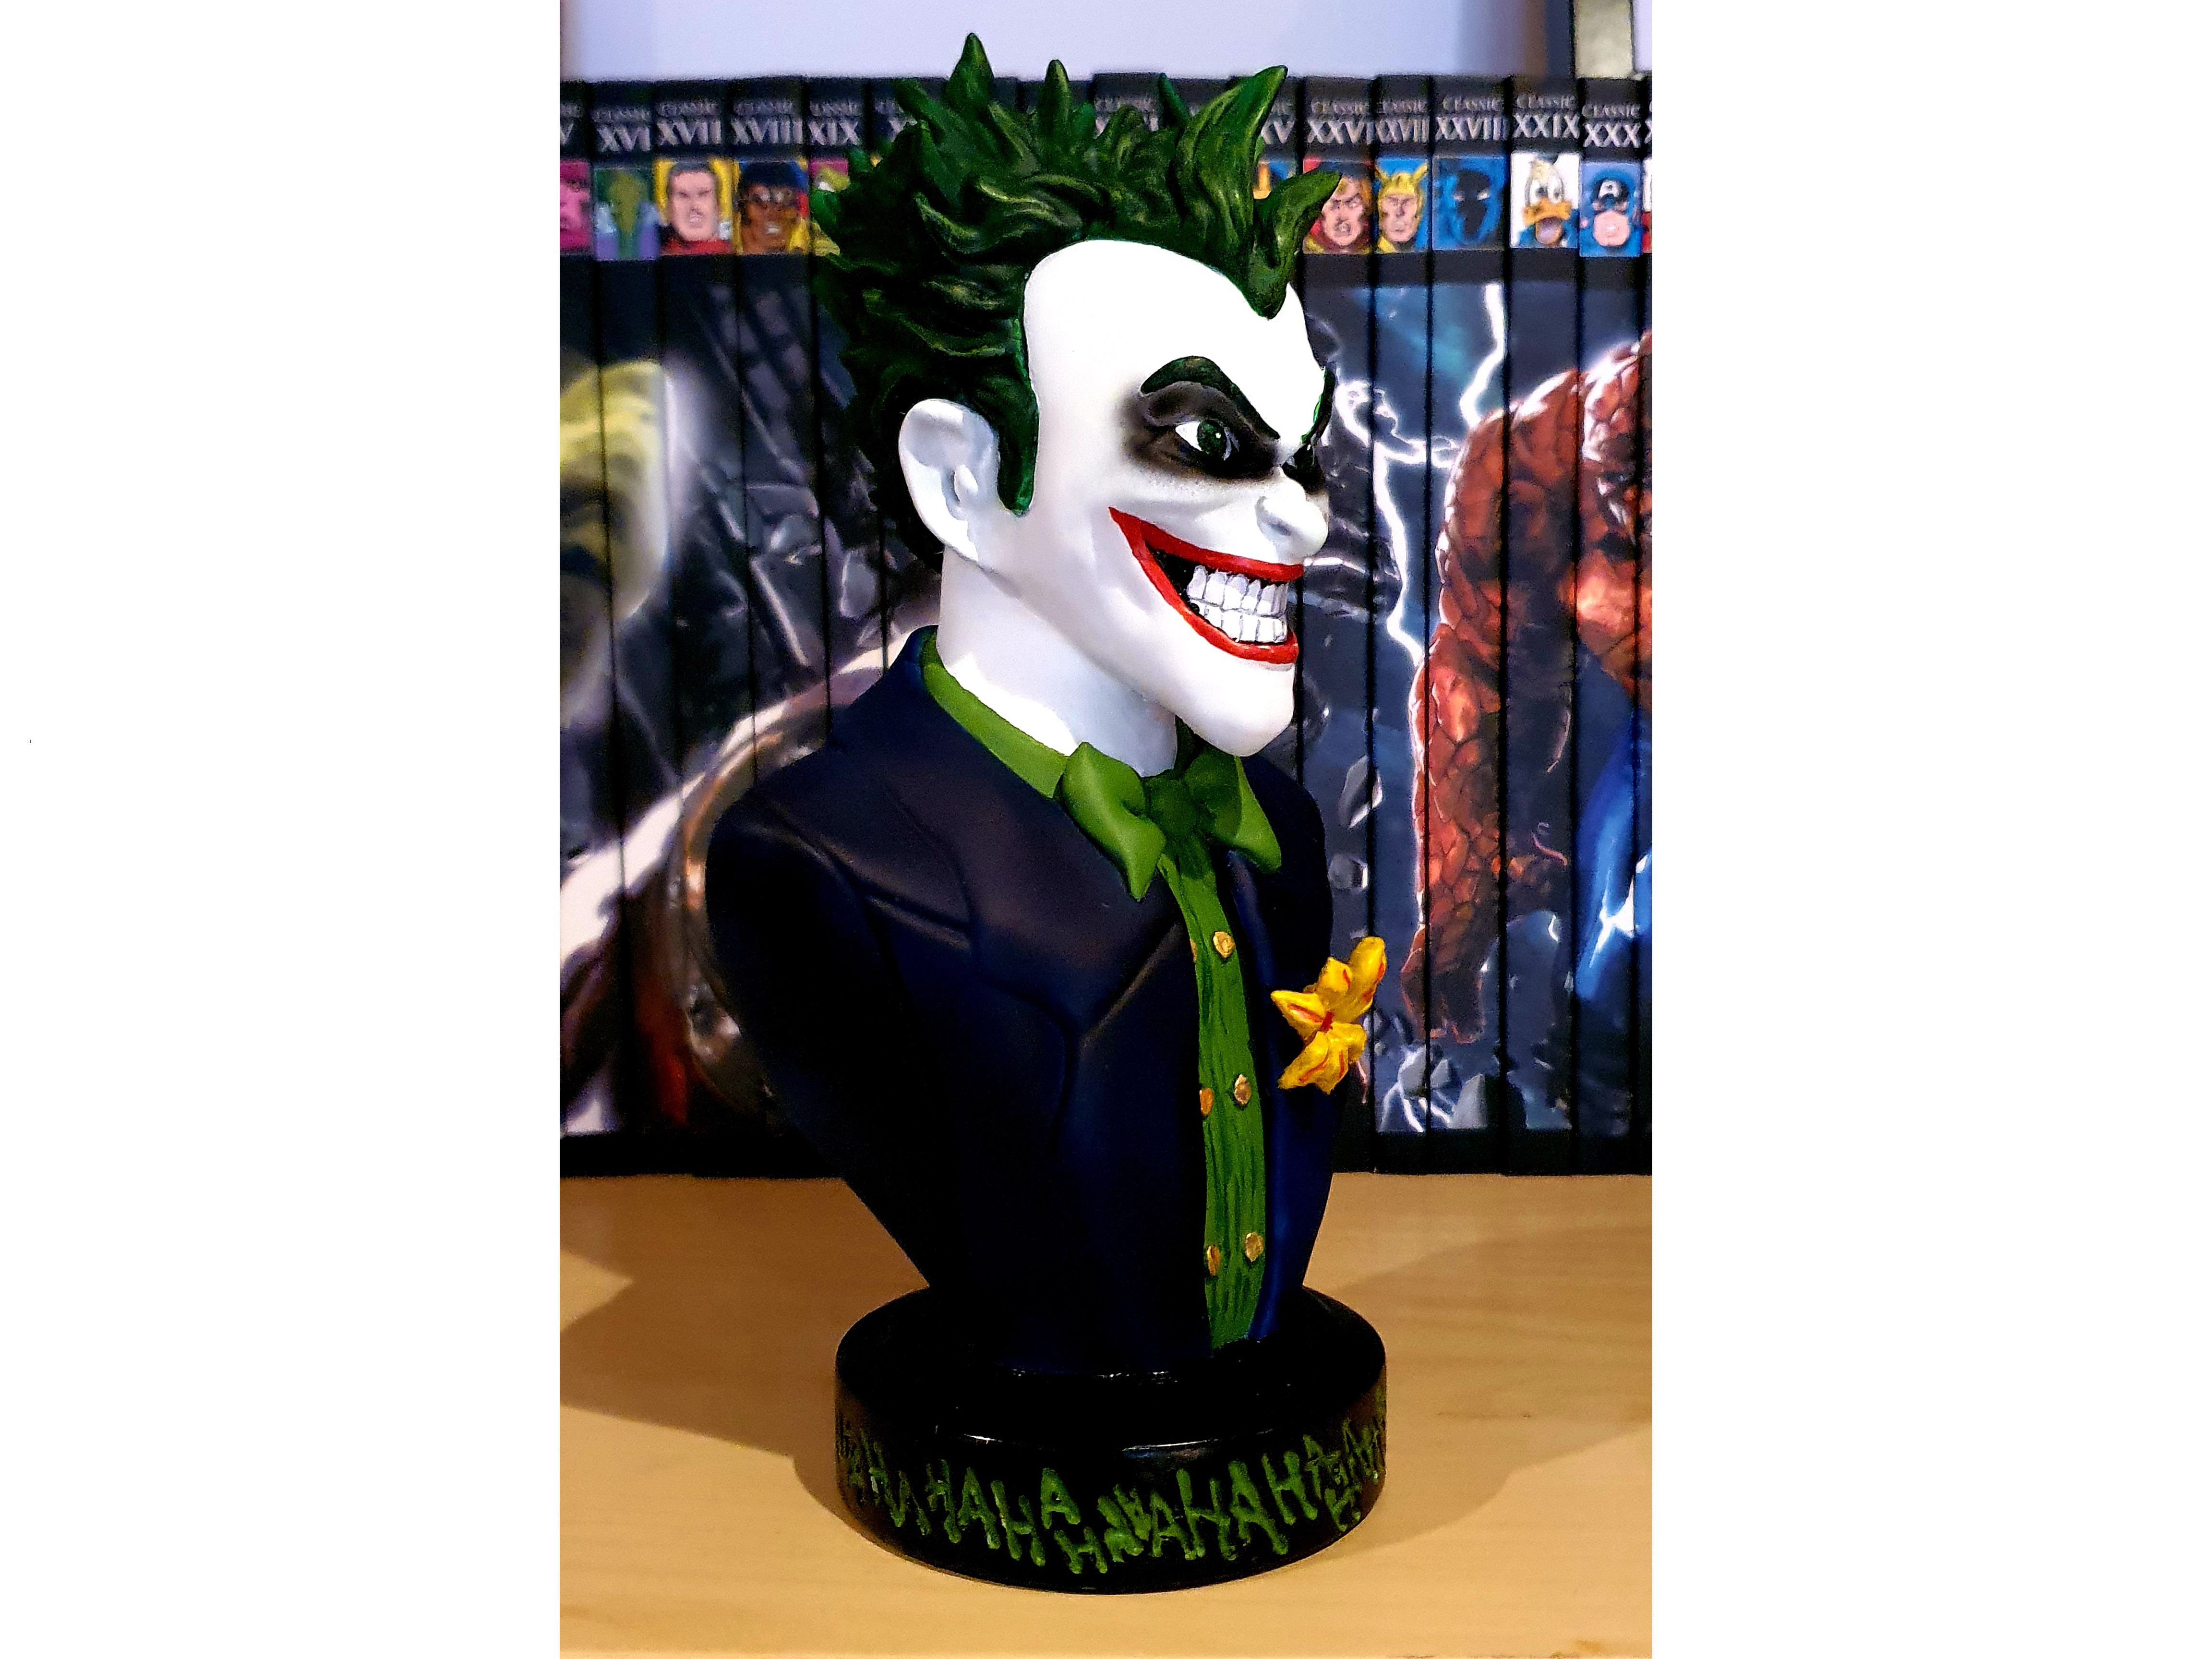
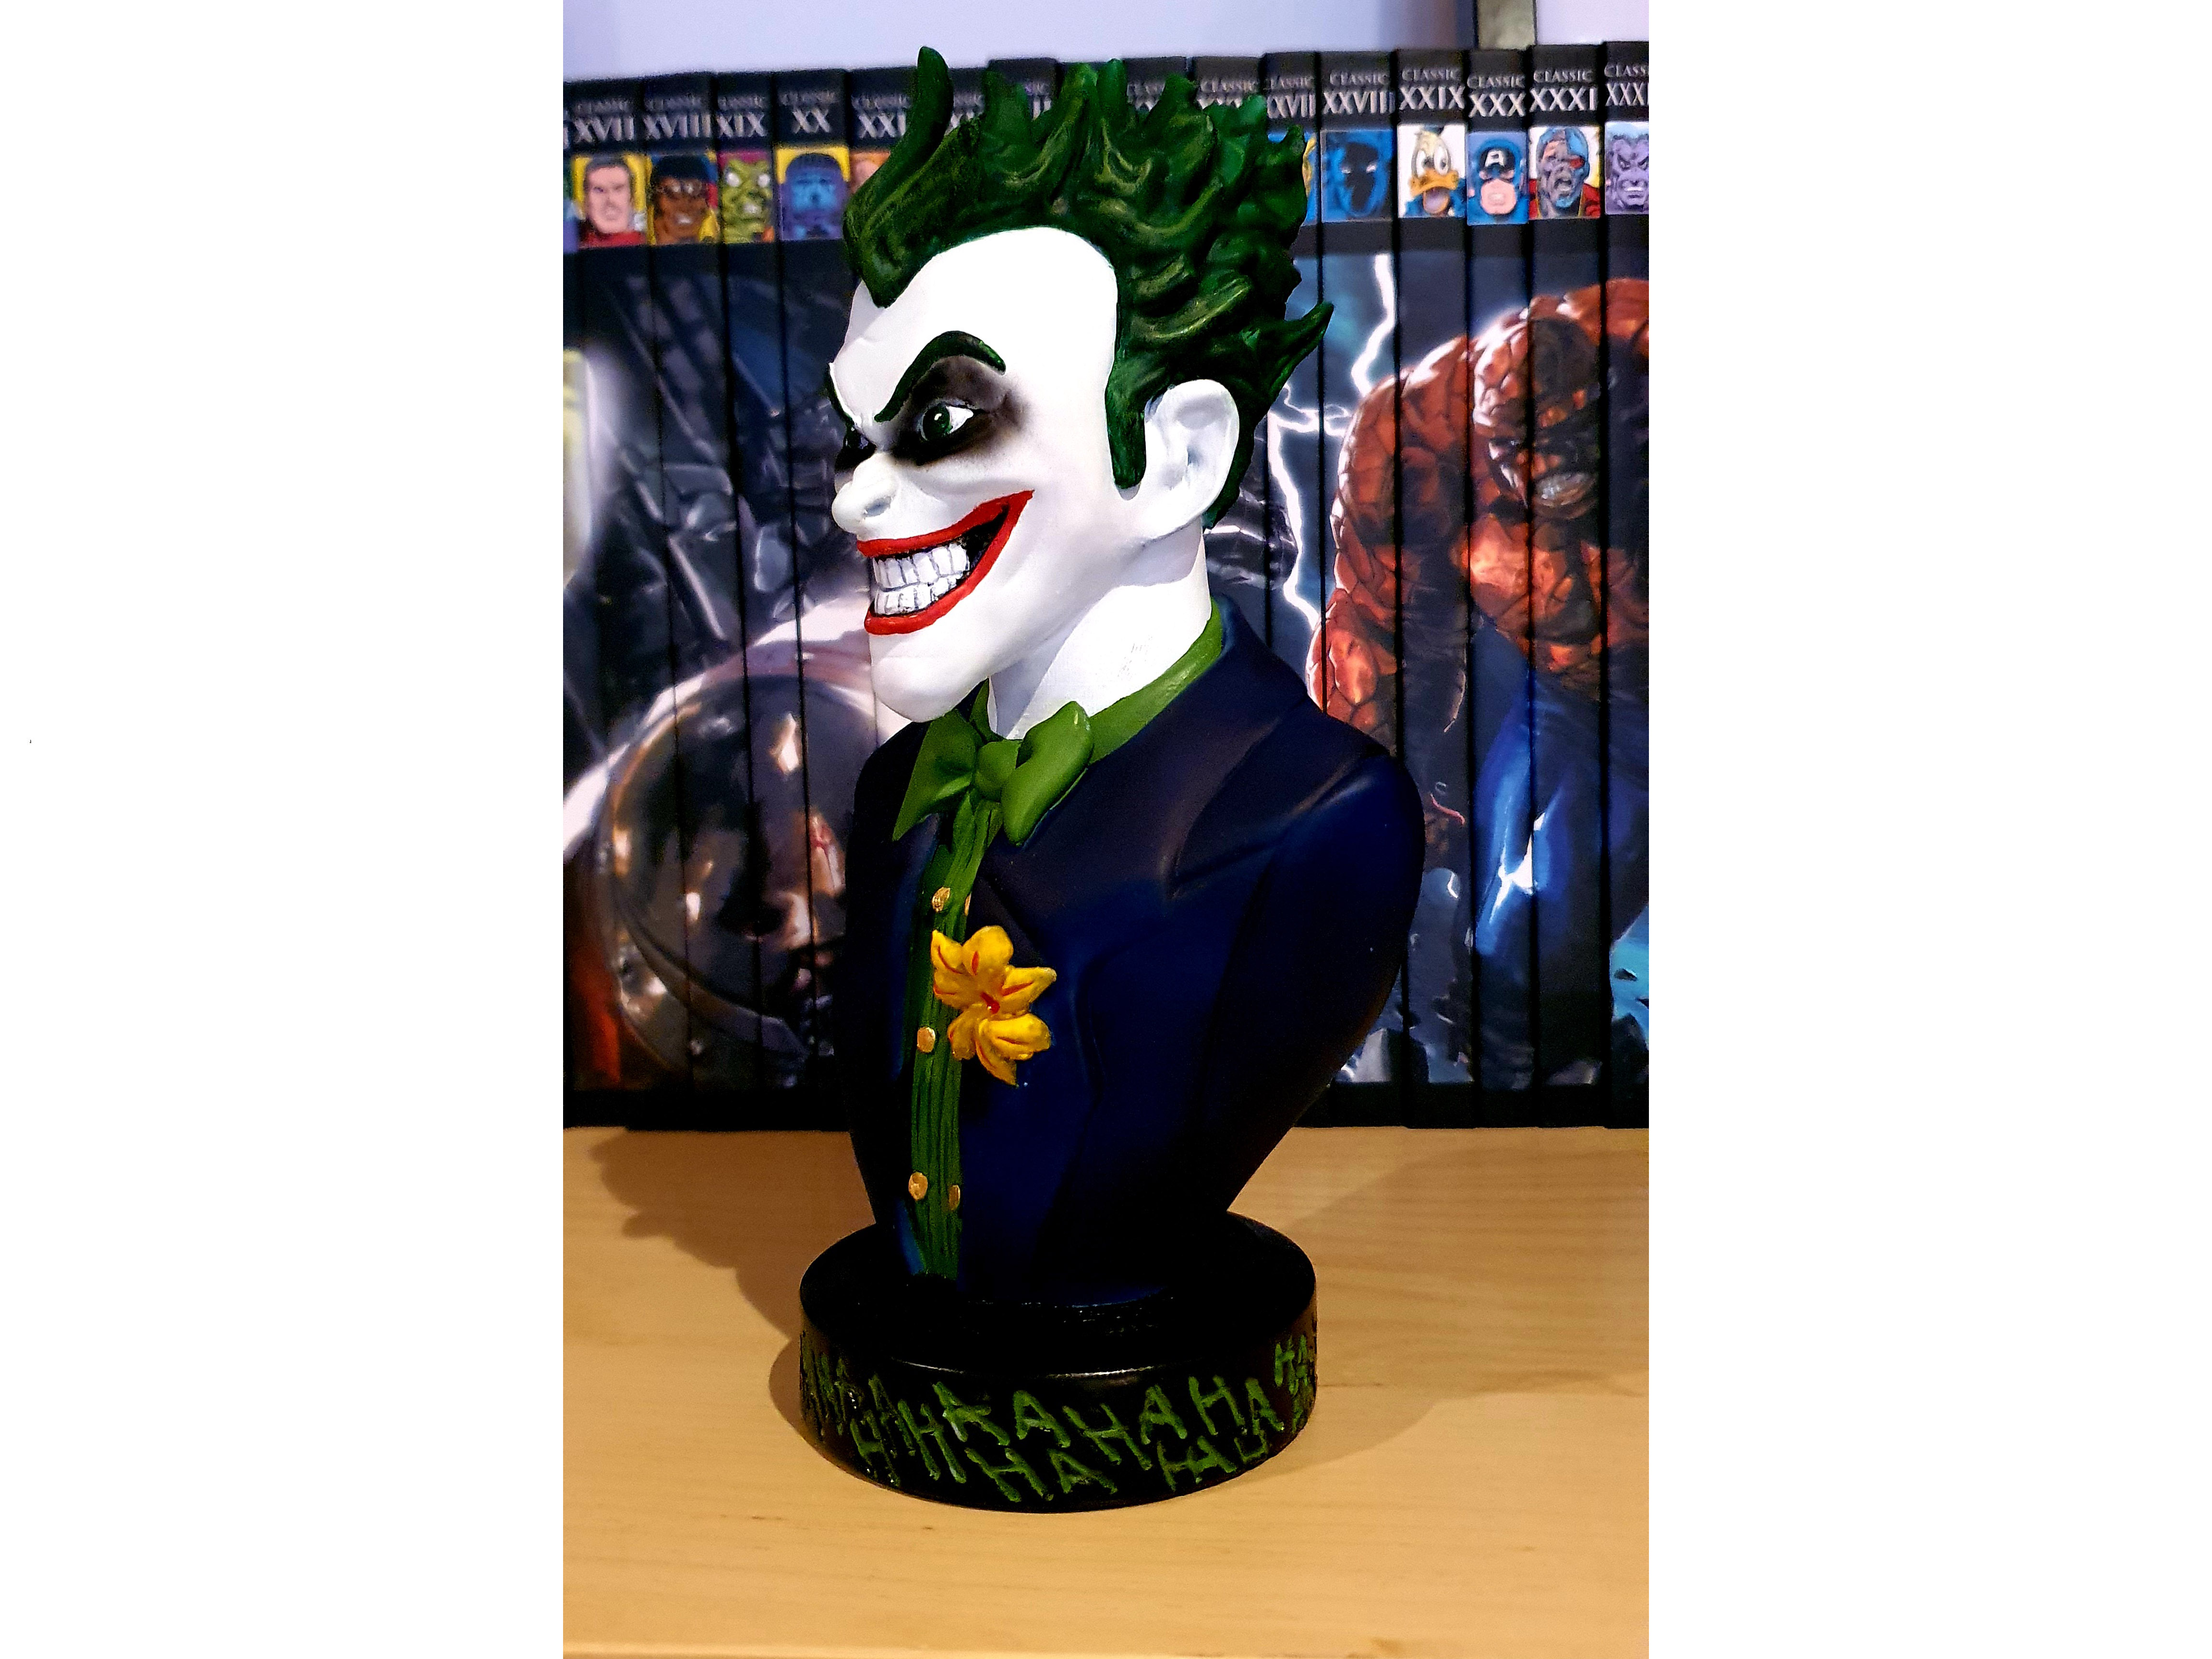
Base: Amolen Wood PLA stained Body: @Polyalchemy Purple Rain Elixir and paint Head: @Paramount3D and paint Hair: @Polyalchemy Emerald City Elixir Flower: @Proto_pasta Tangerine Orange Metallic Gold
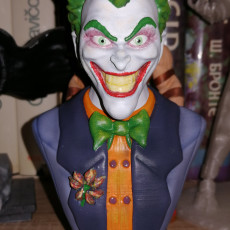
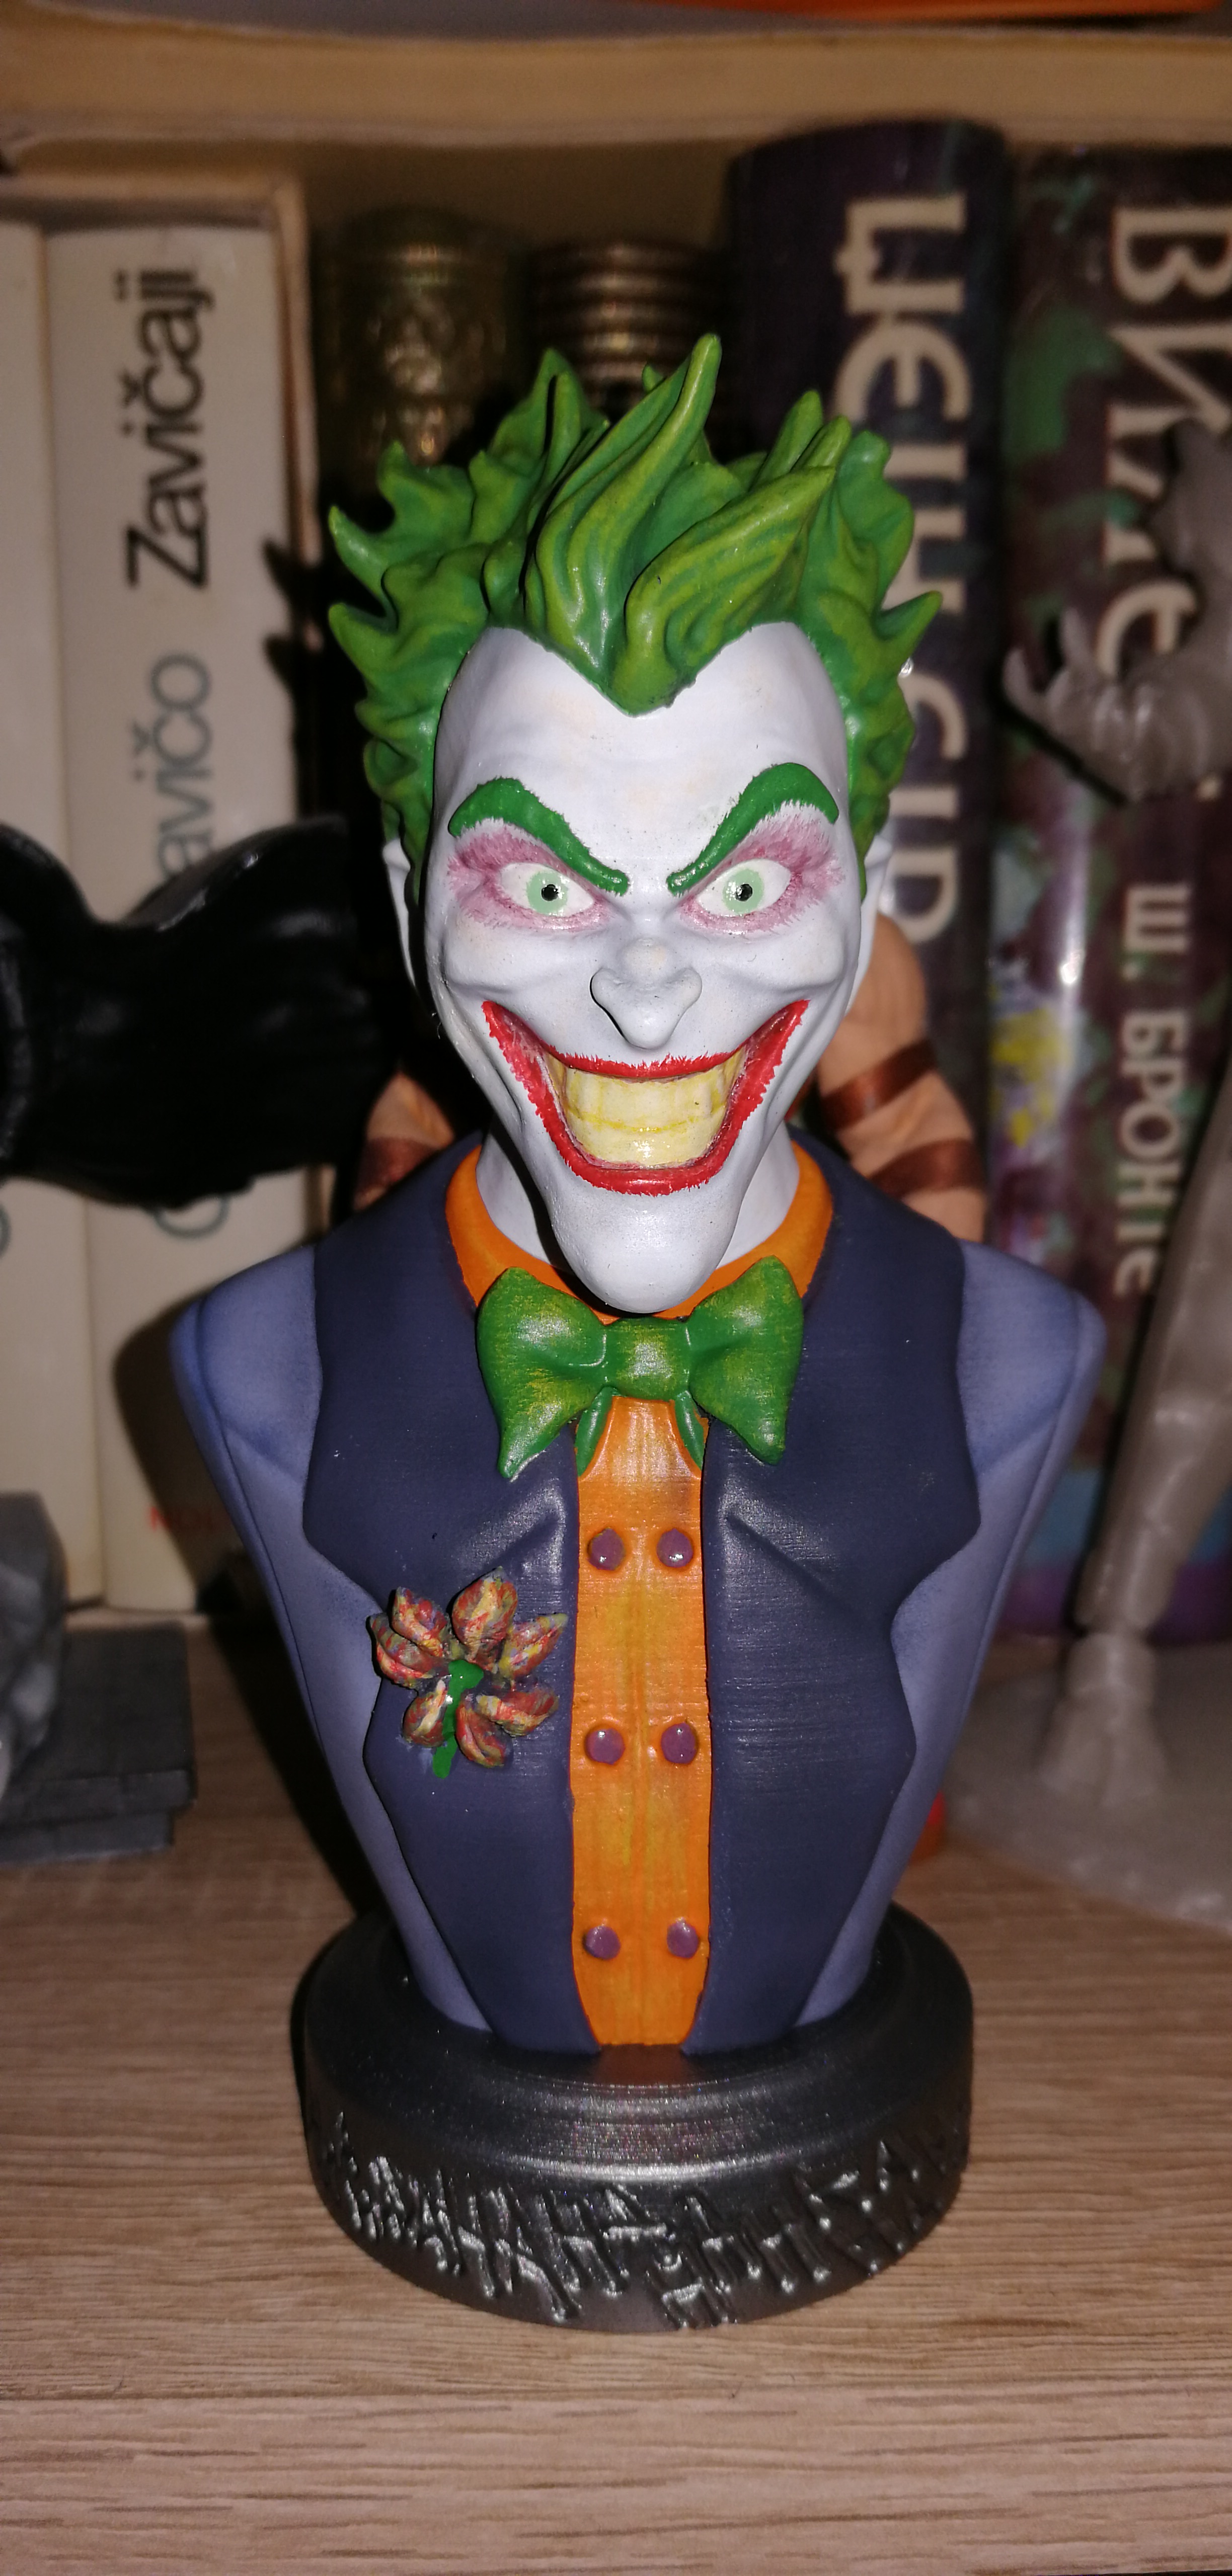
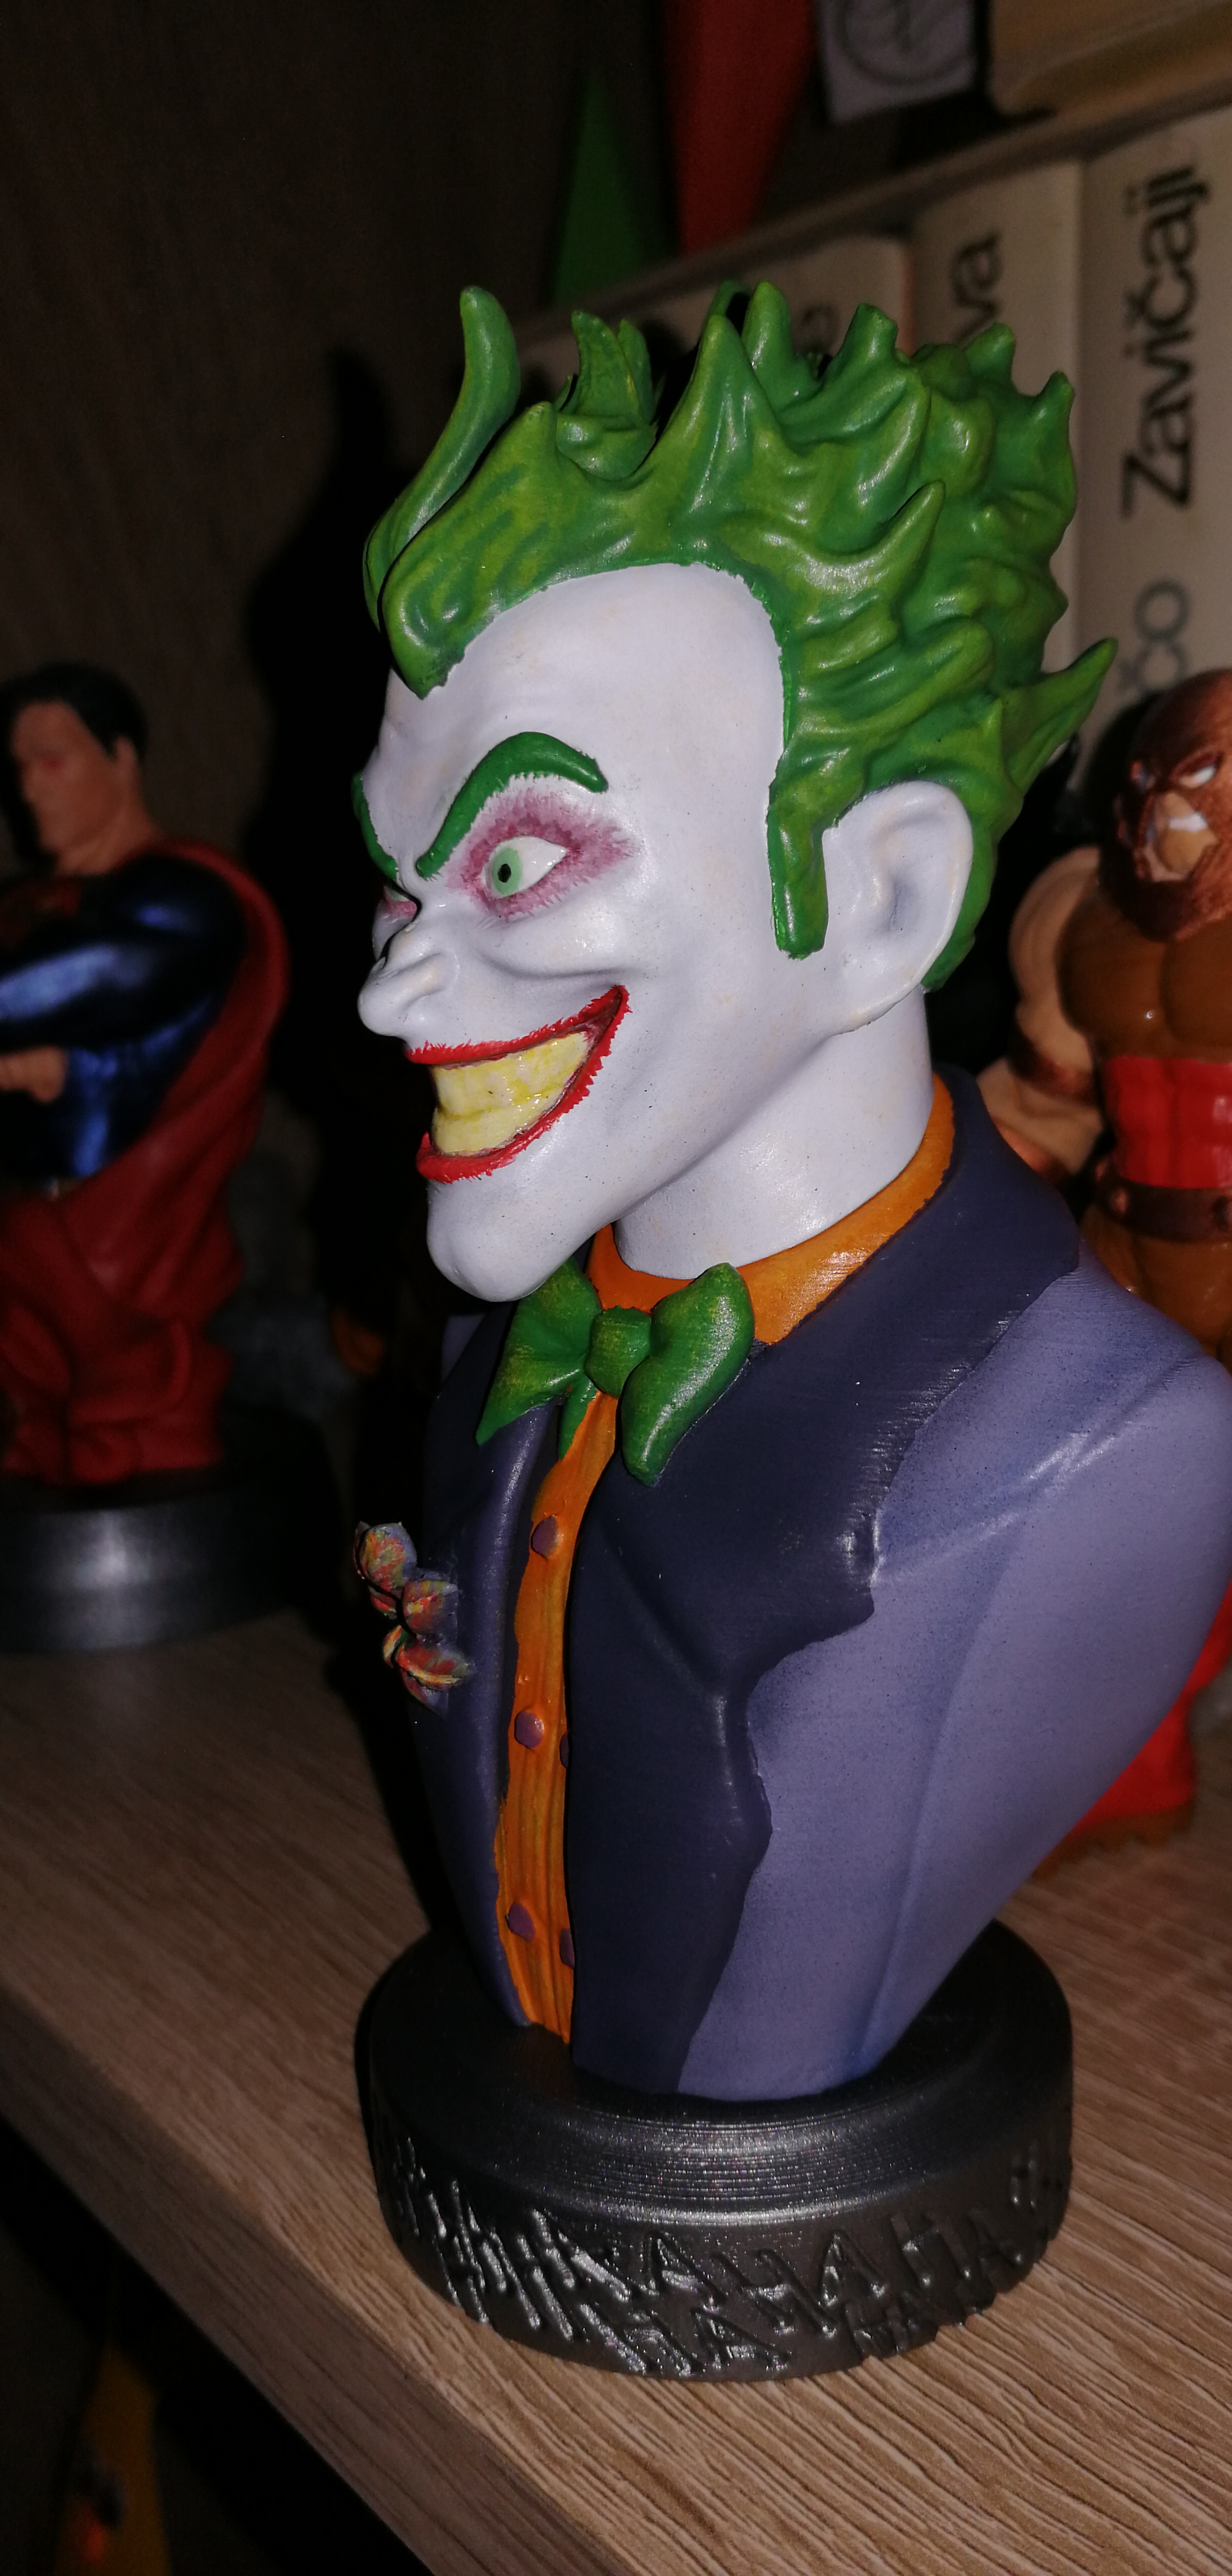
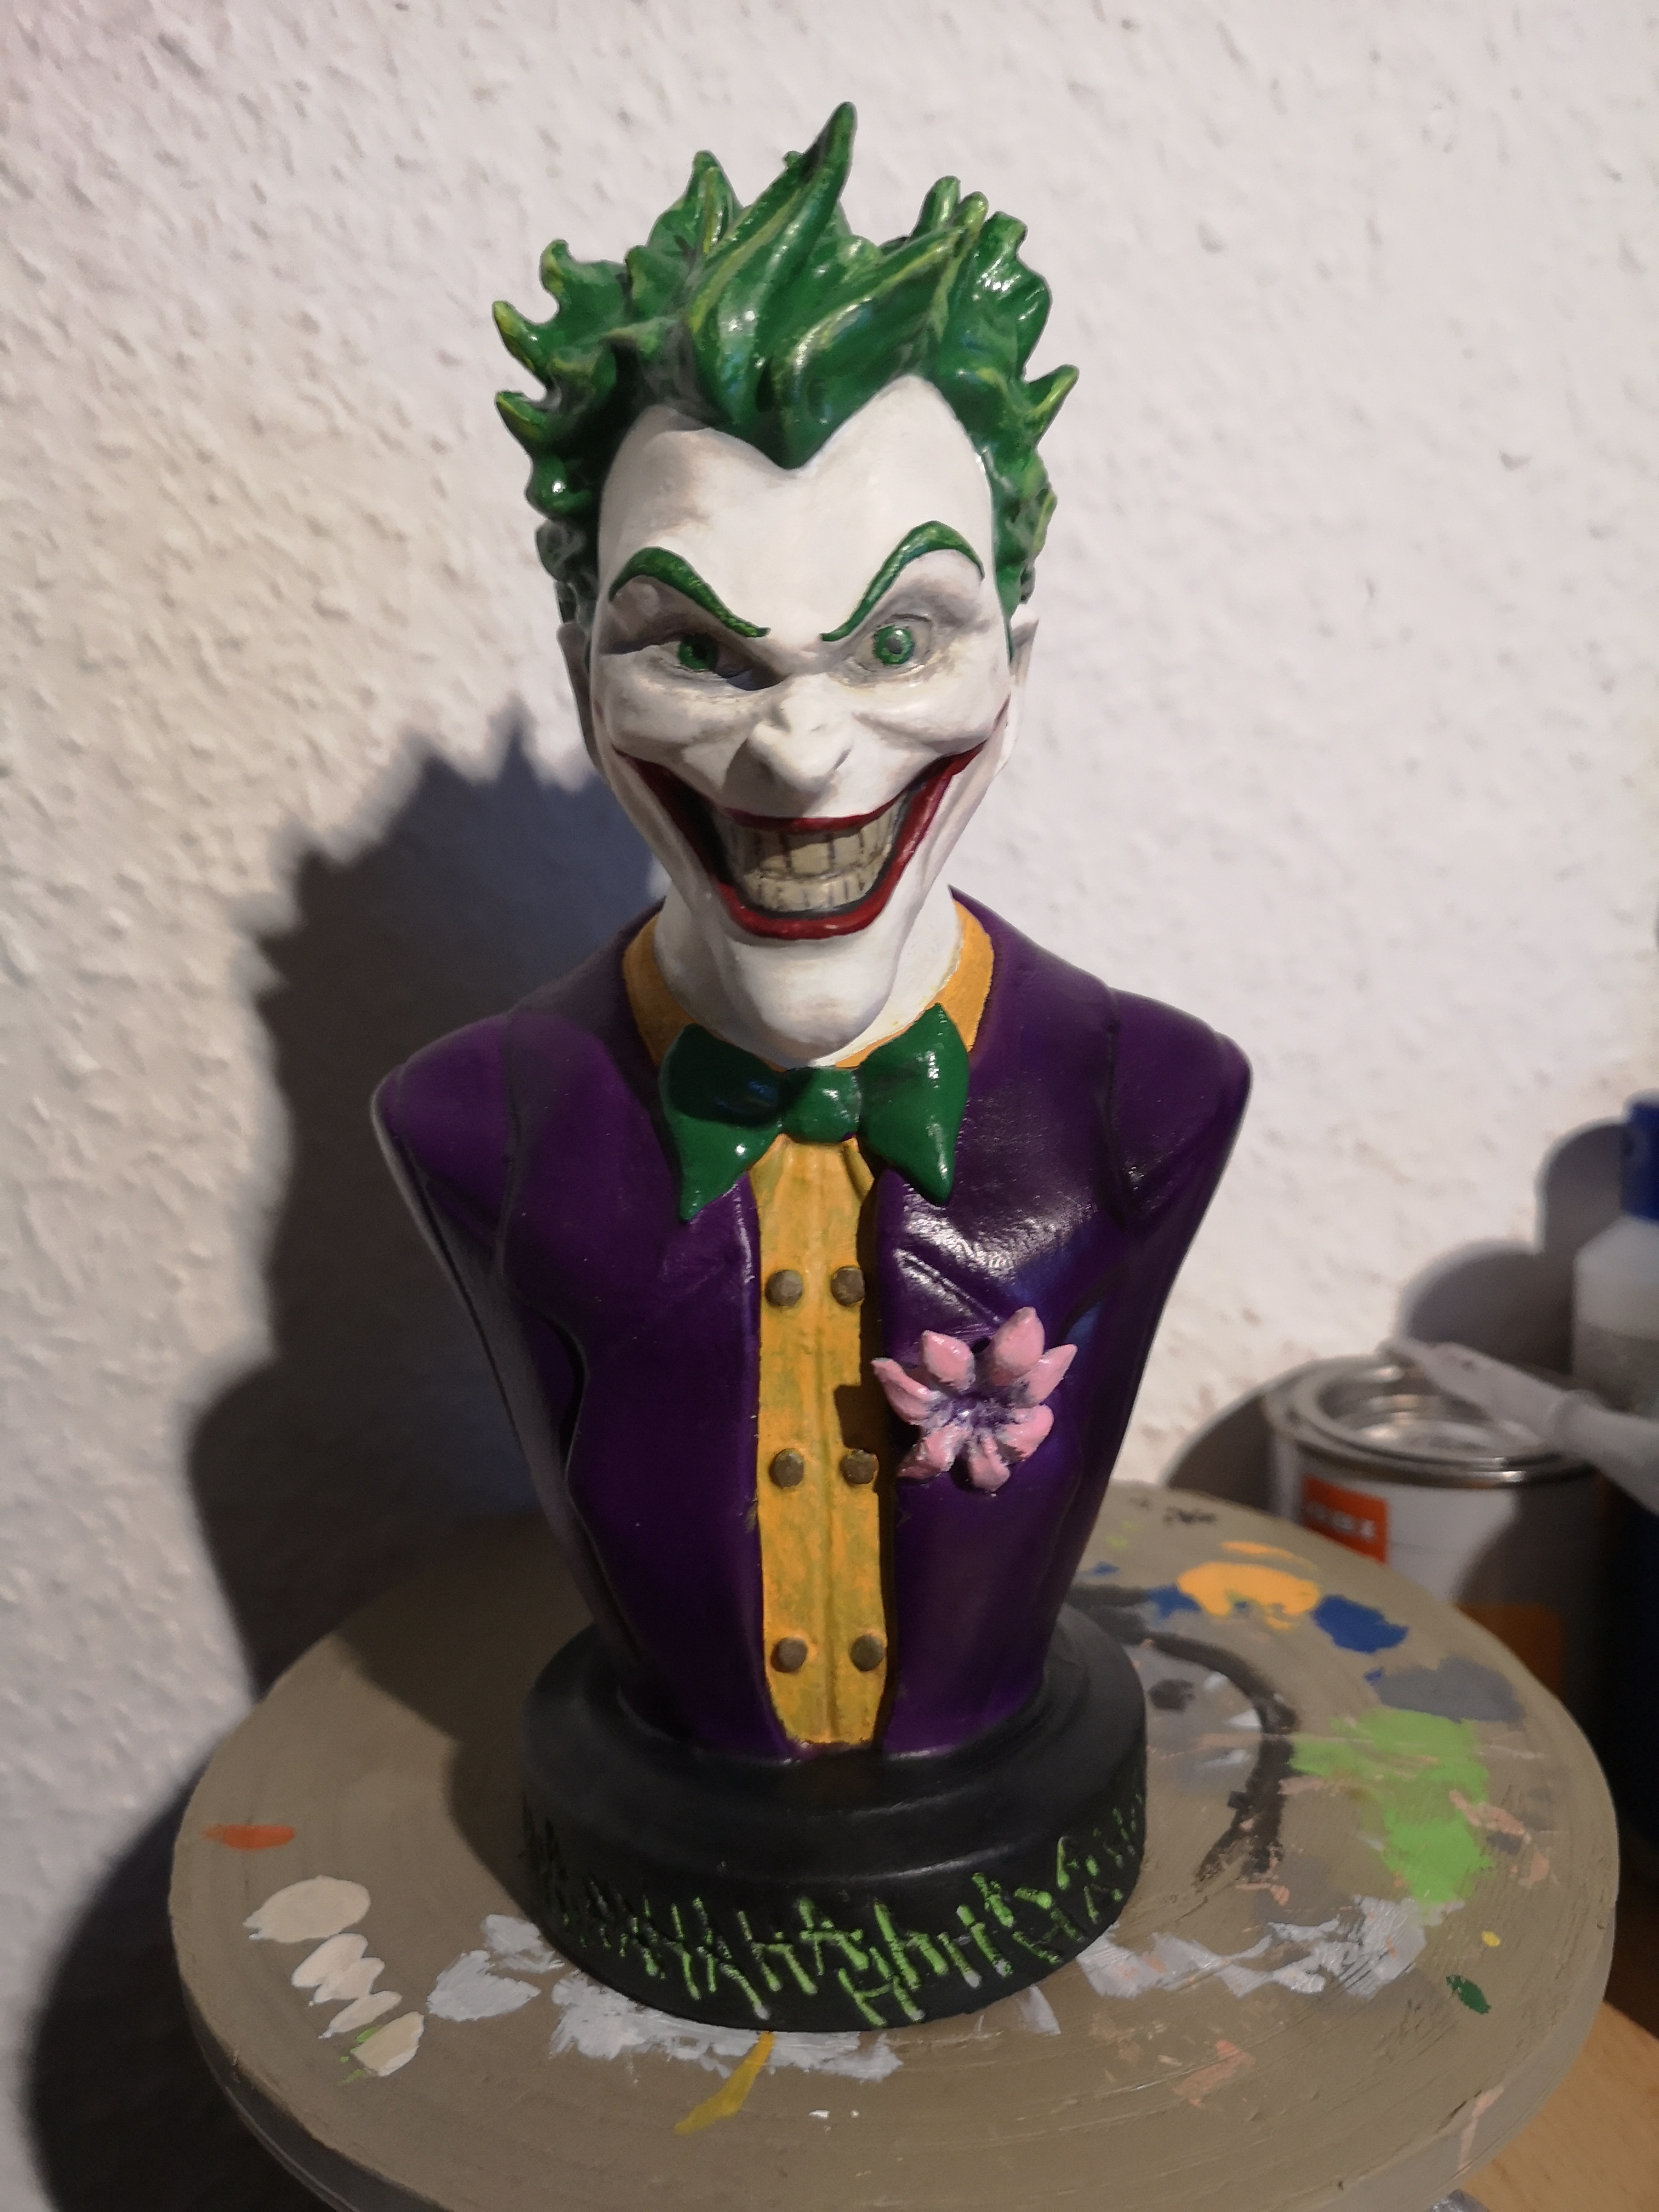
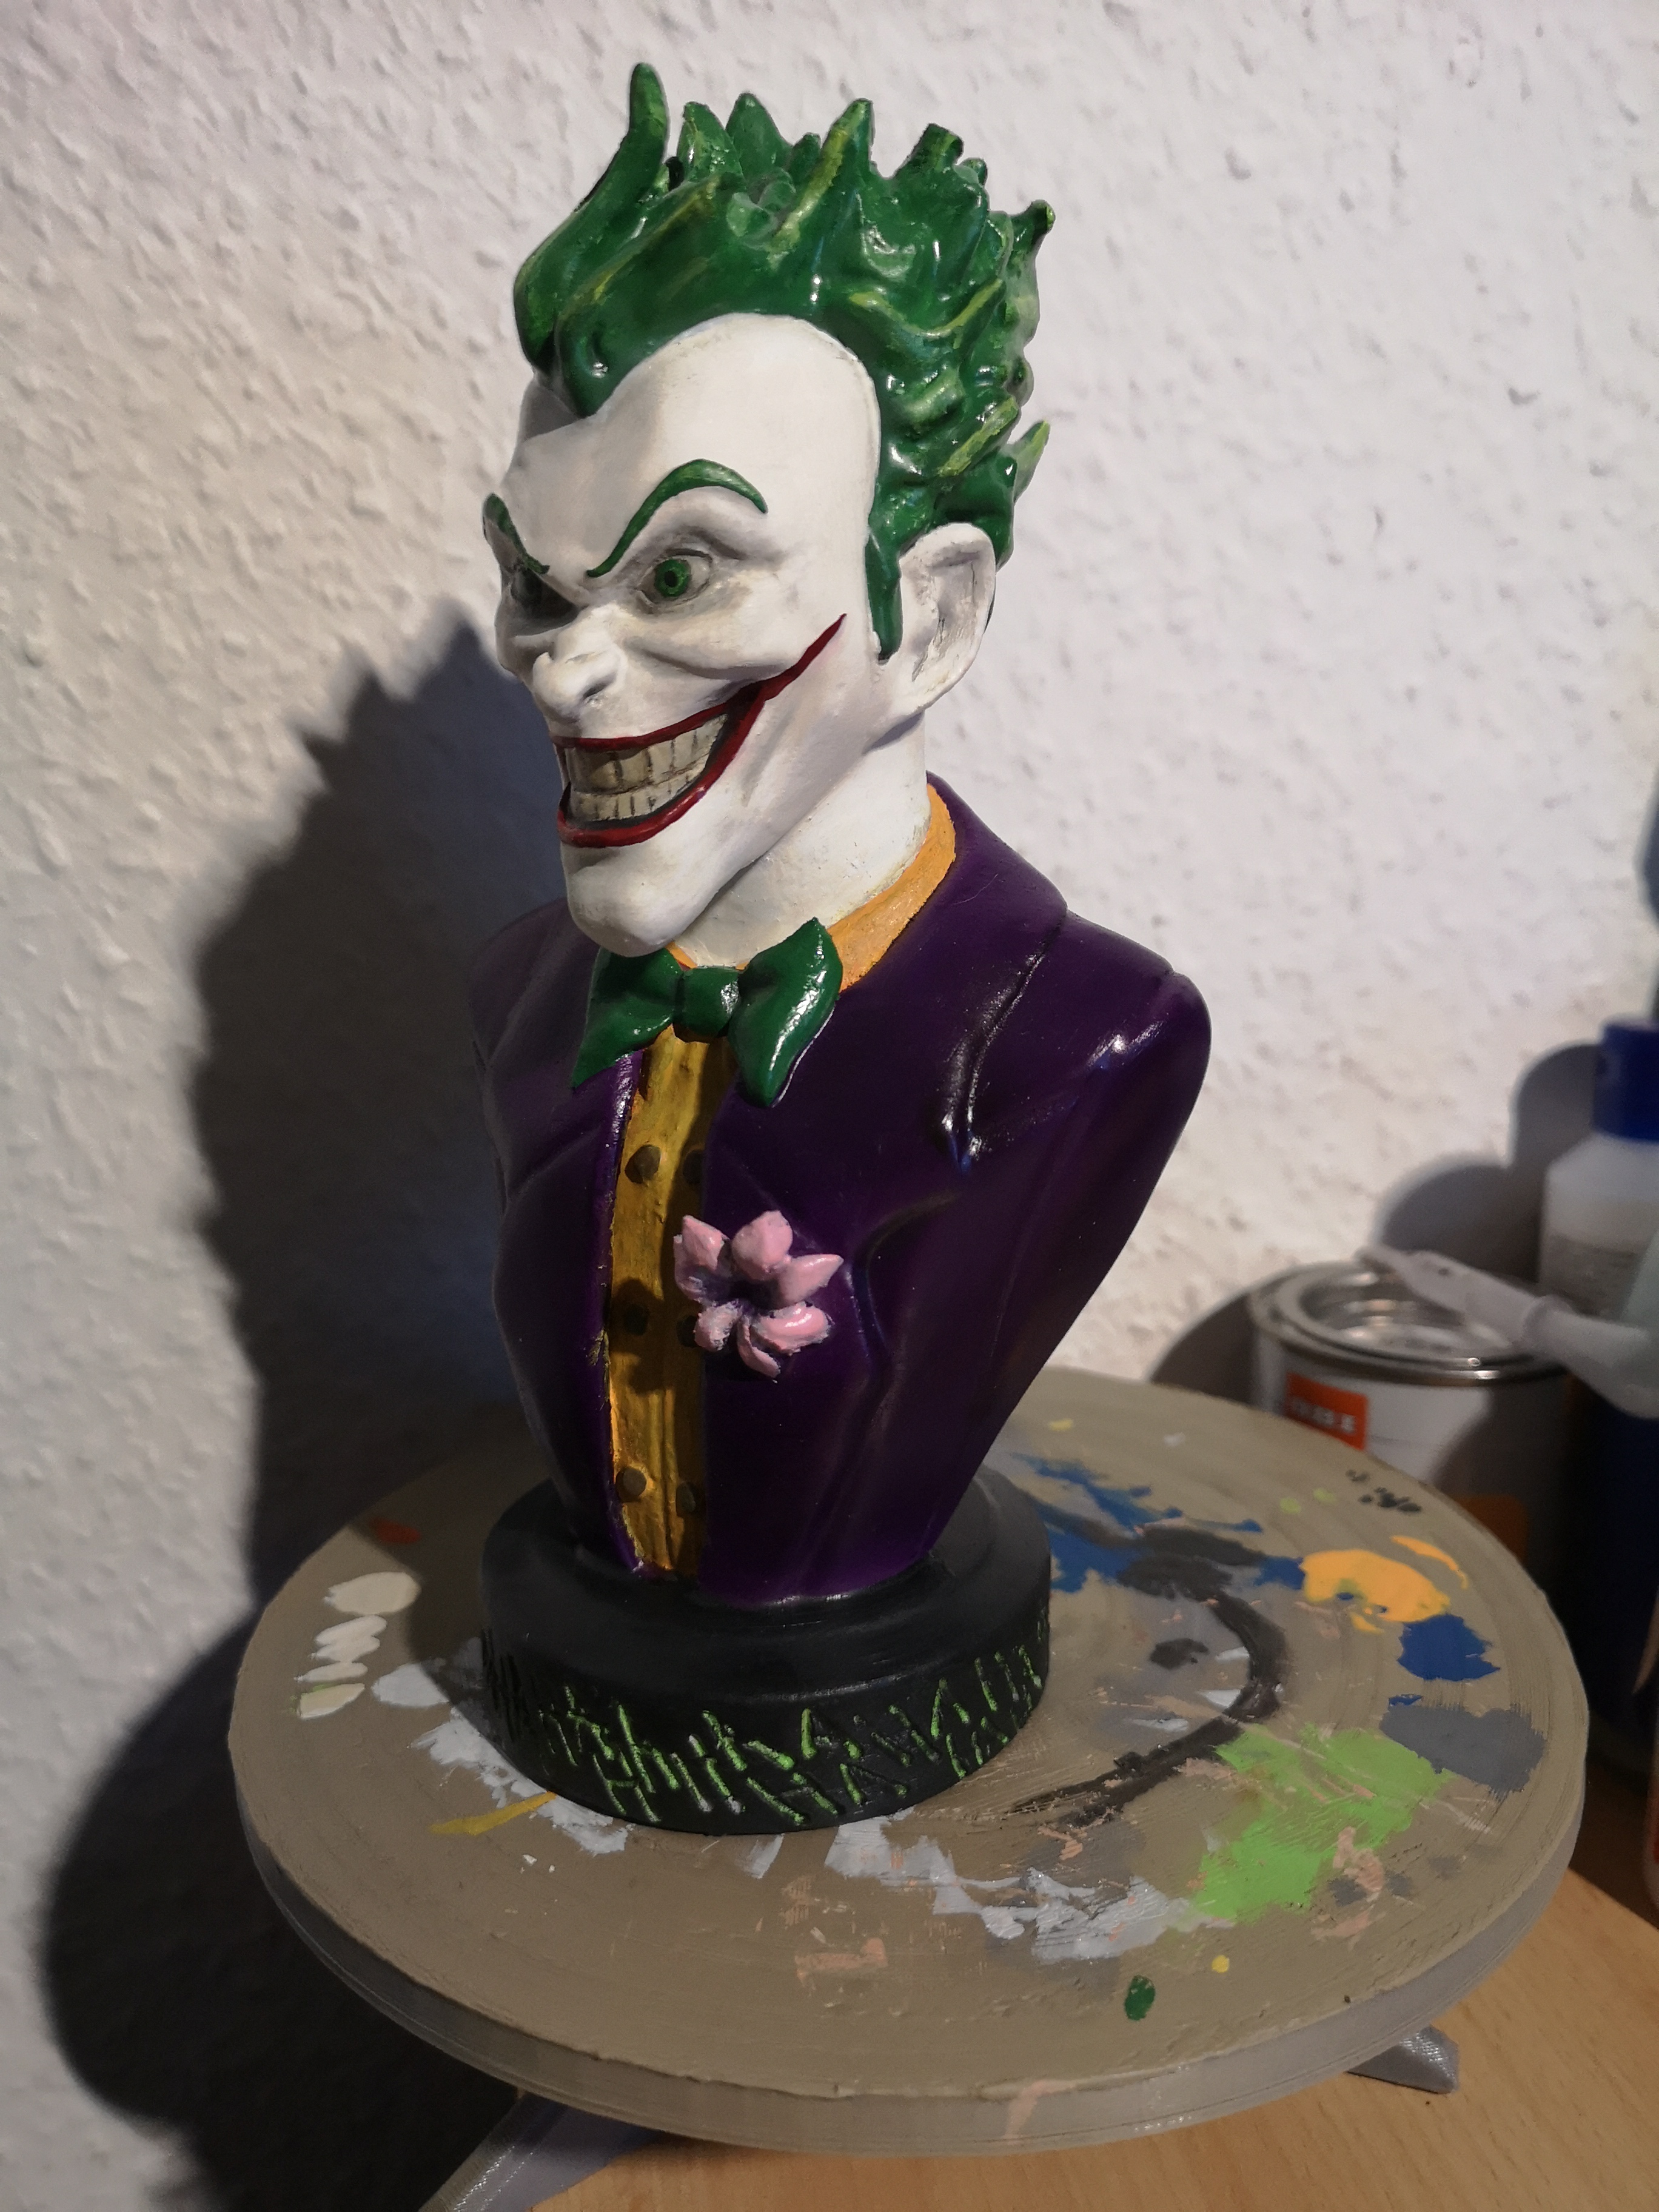
Printed at 0.2 mm layerhight 7 hours printing time Painted with Vallejo colour's and an airbrush
Very nice model, thank you!!
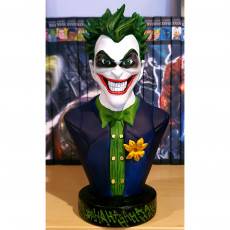
Printed multipart multicolor option. Love this model, thanks
Fantastic model. Really enjoyed putting this one together and painting it
Great model. Svaka cast.
Great work..
if u are good at something,never do it for free.
gracias amigo!!!
My joker!!
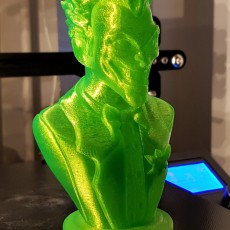
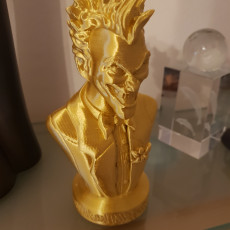
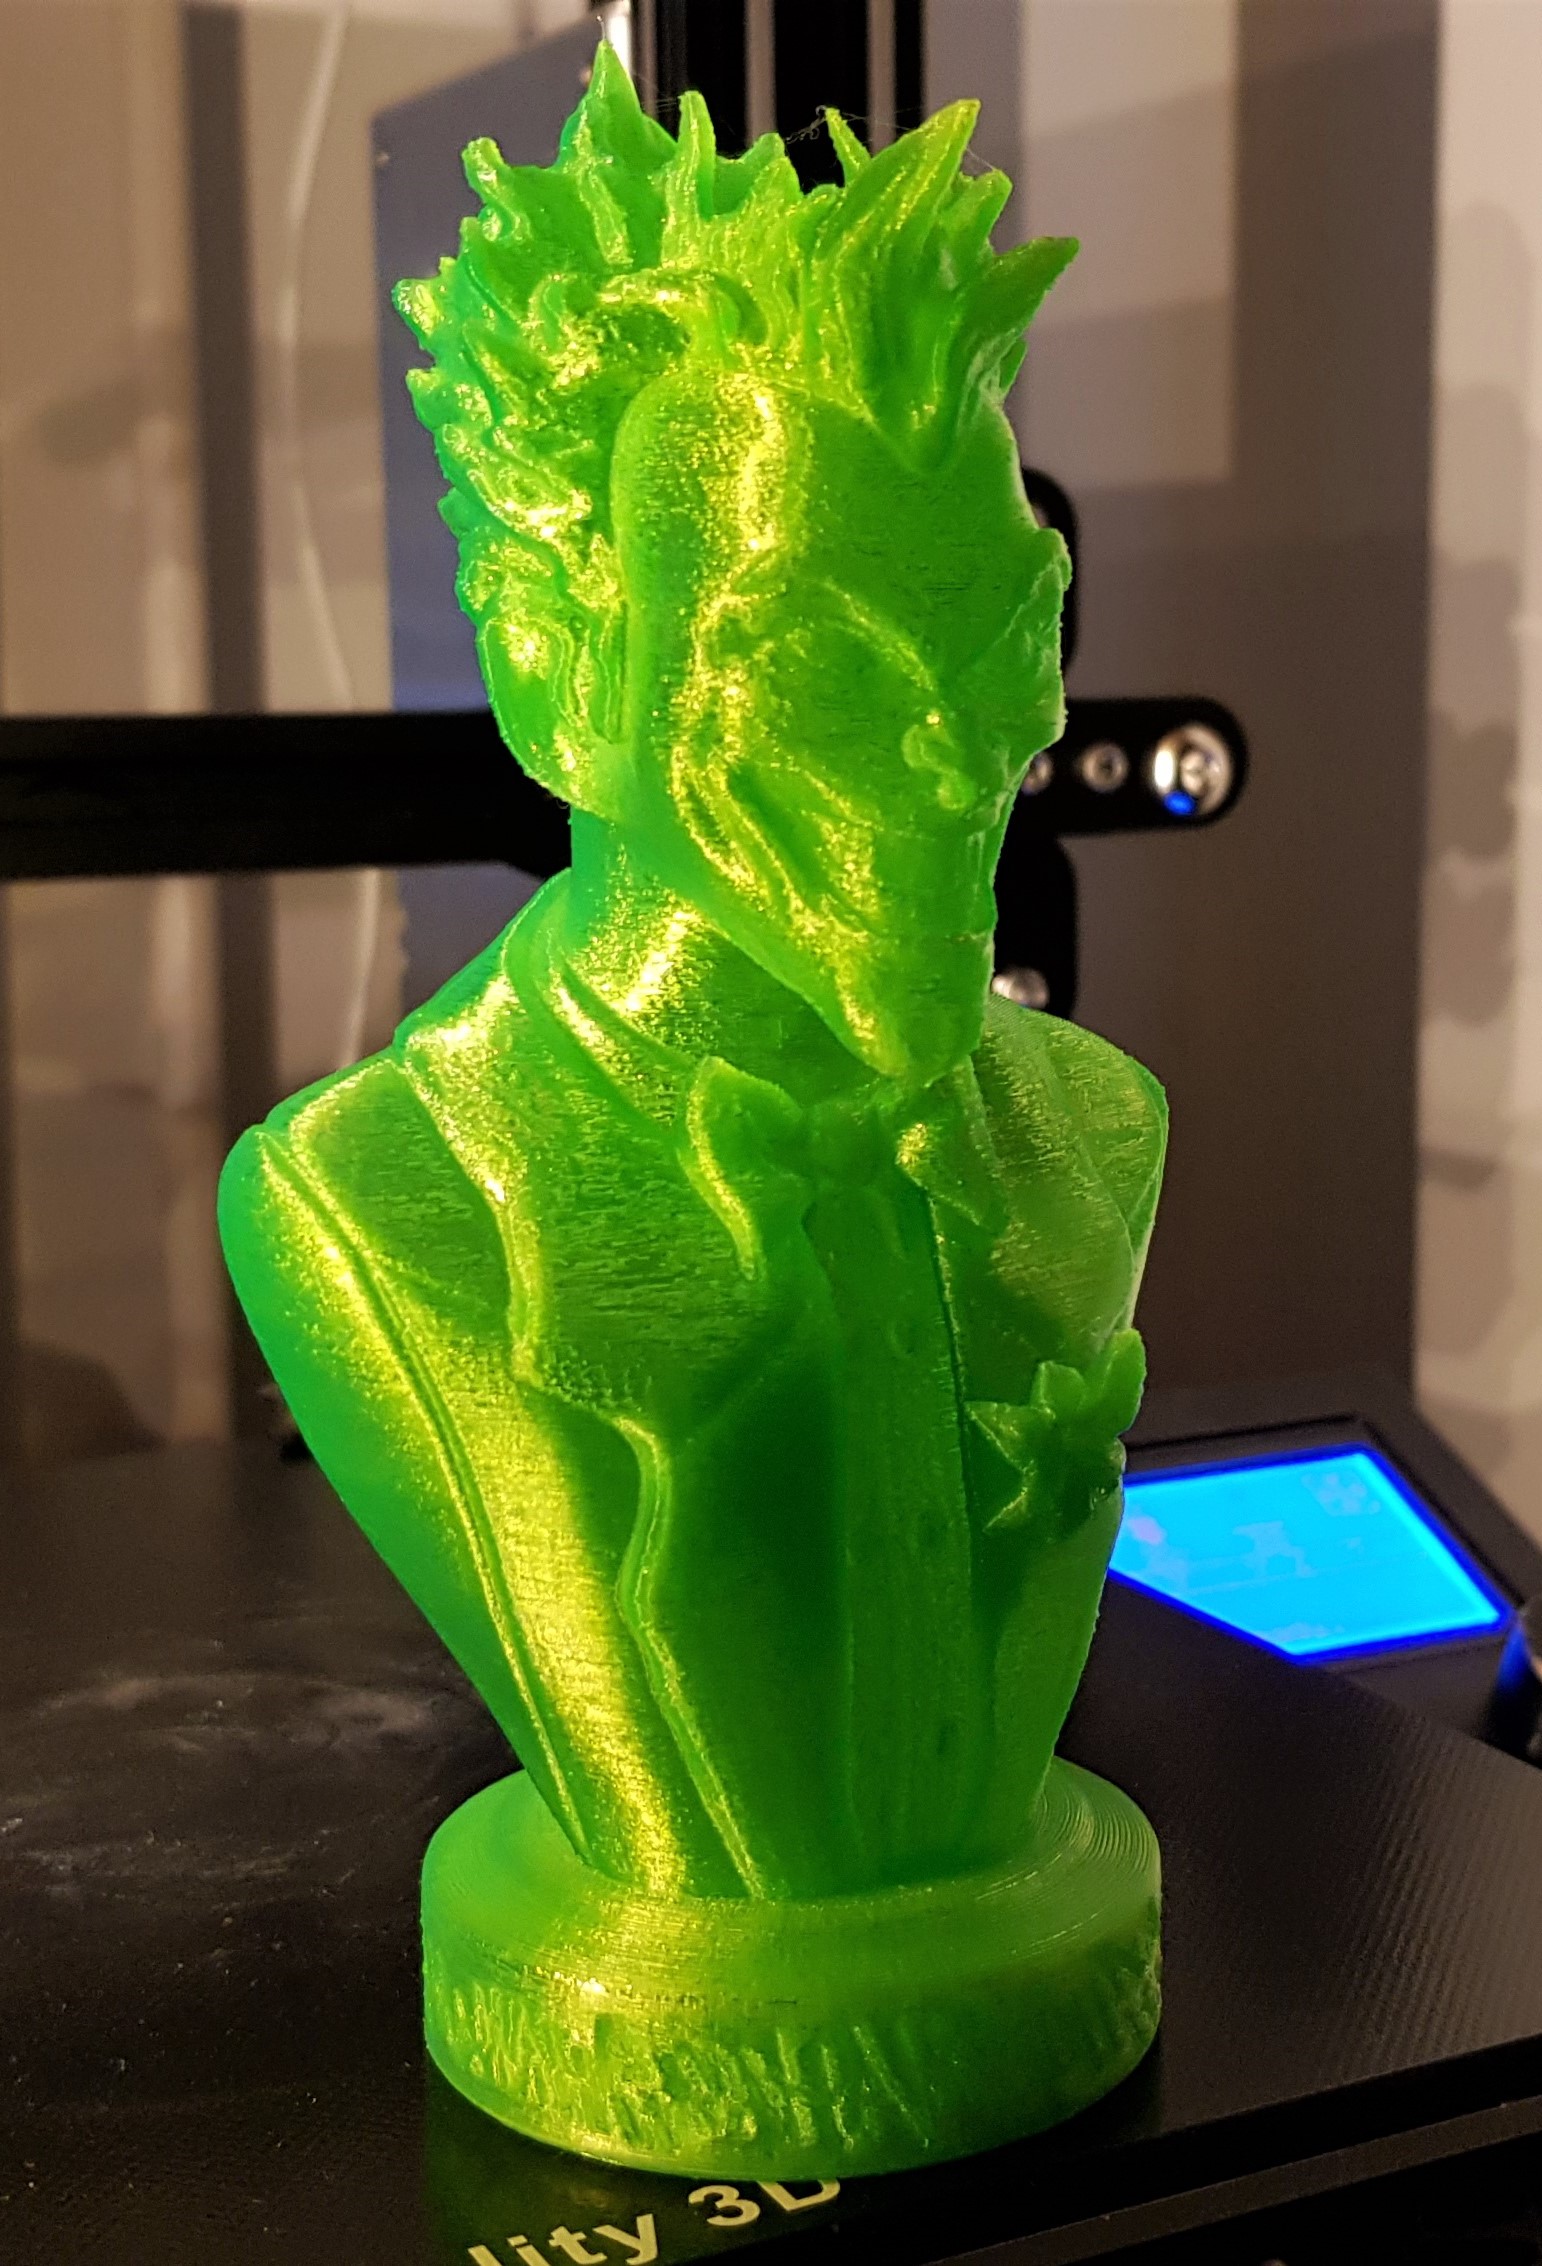
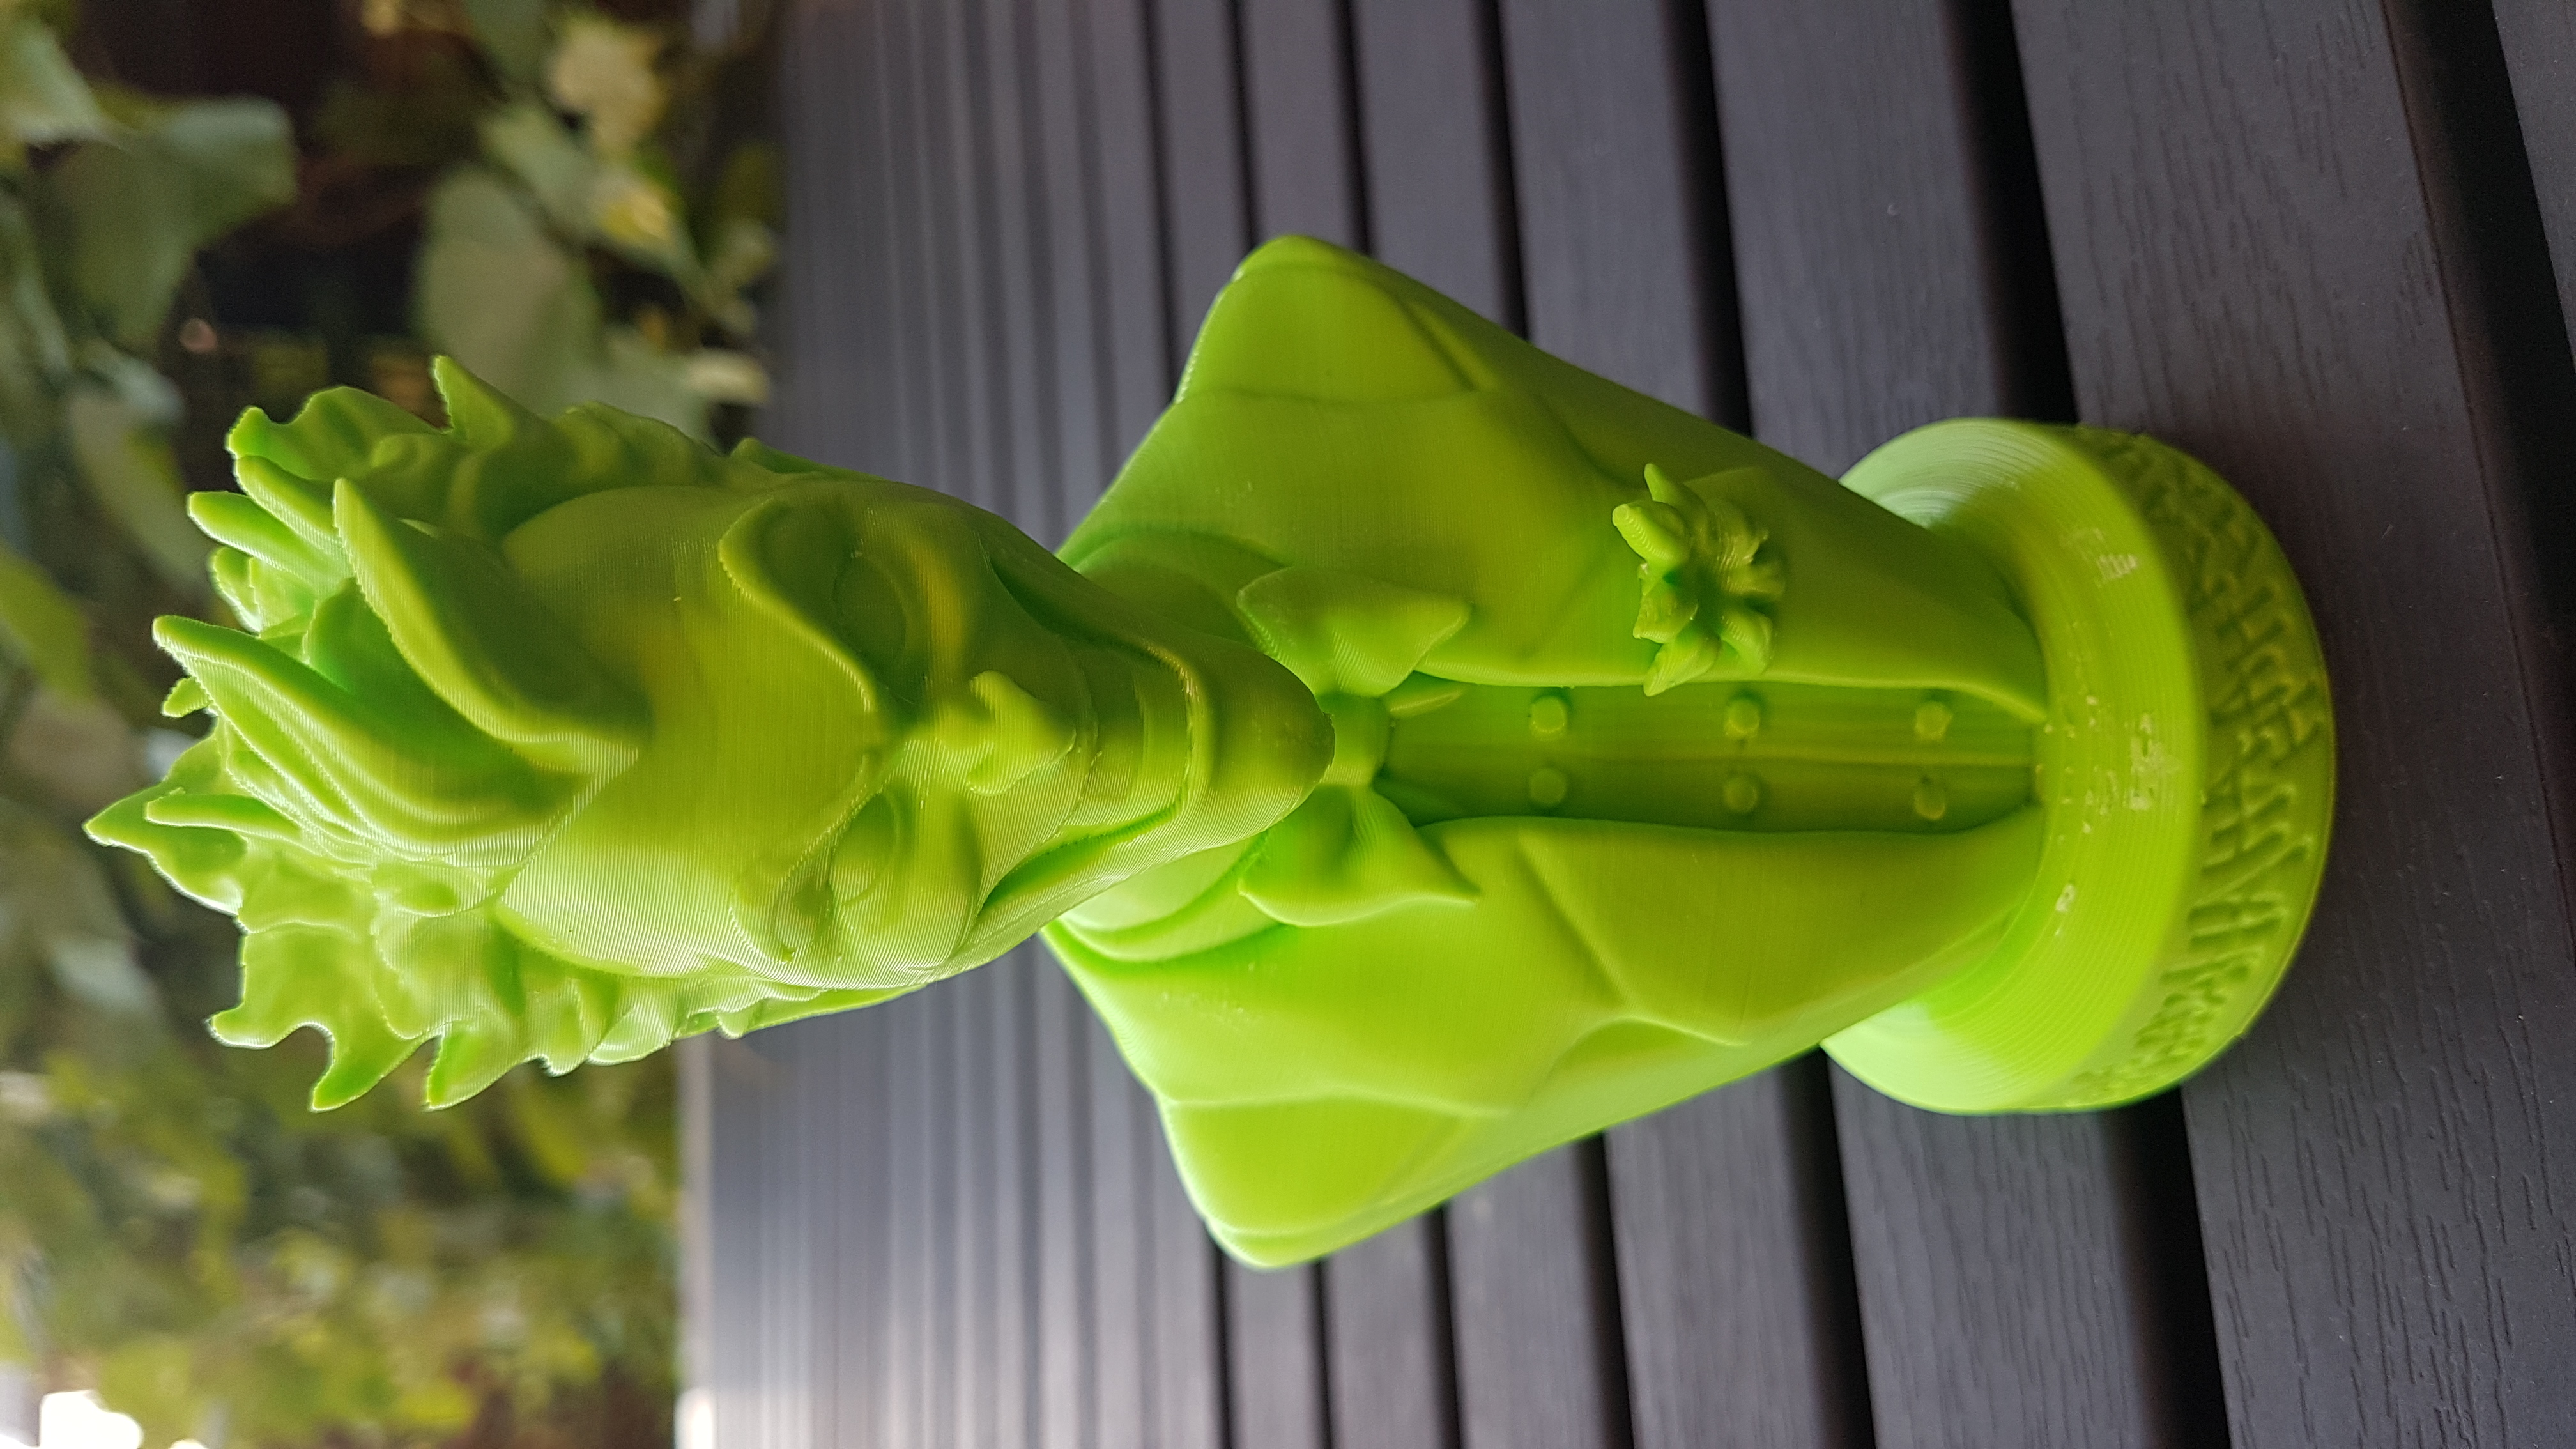
Spectrum Lime Green PLA
Merci beaucoup pour le STL :) :) :)
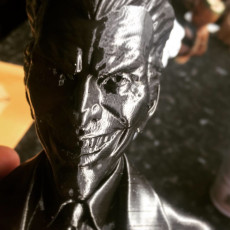
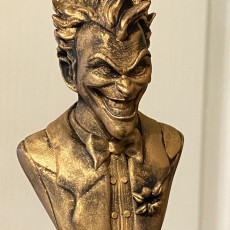
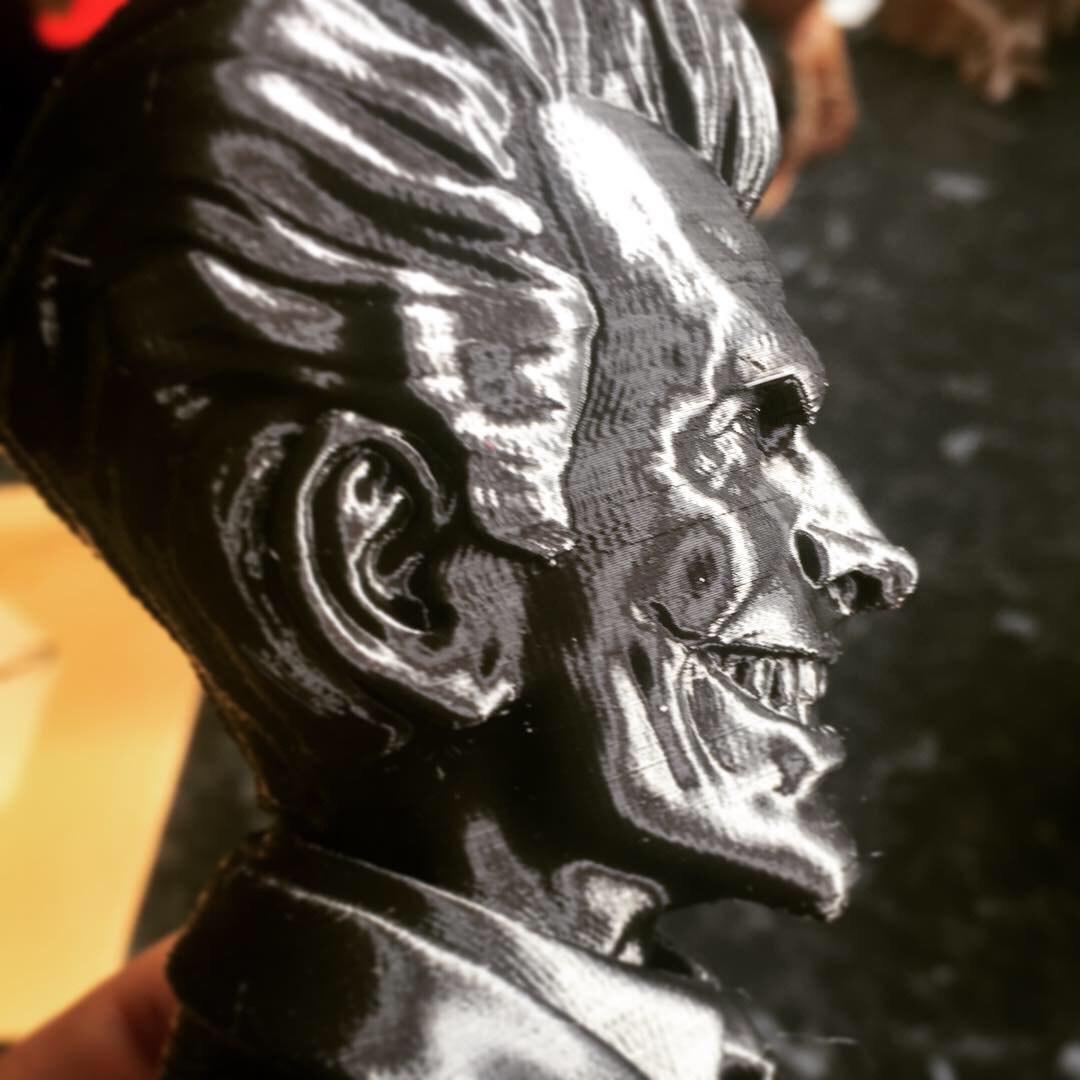
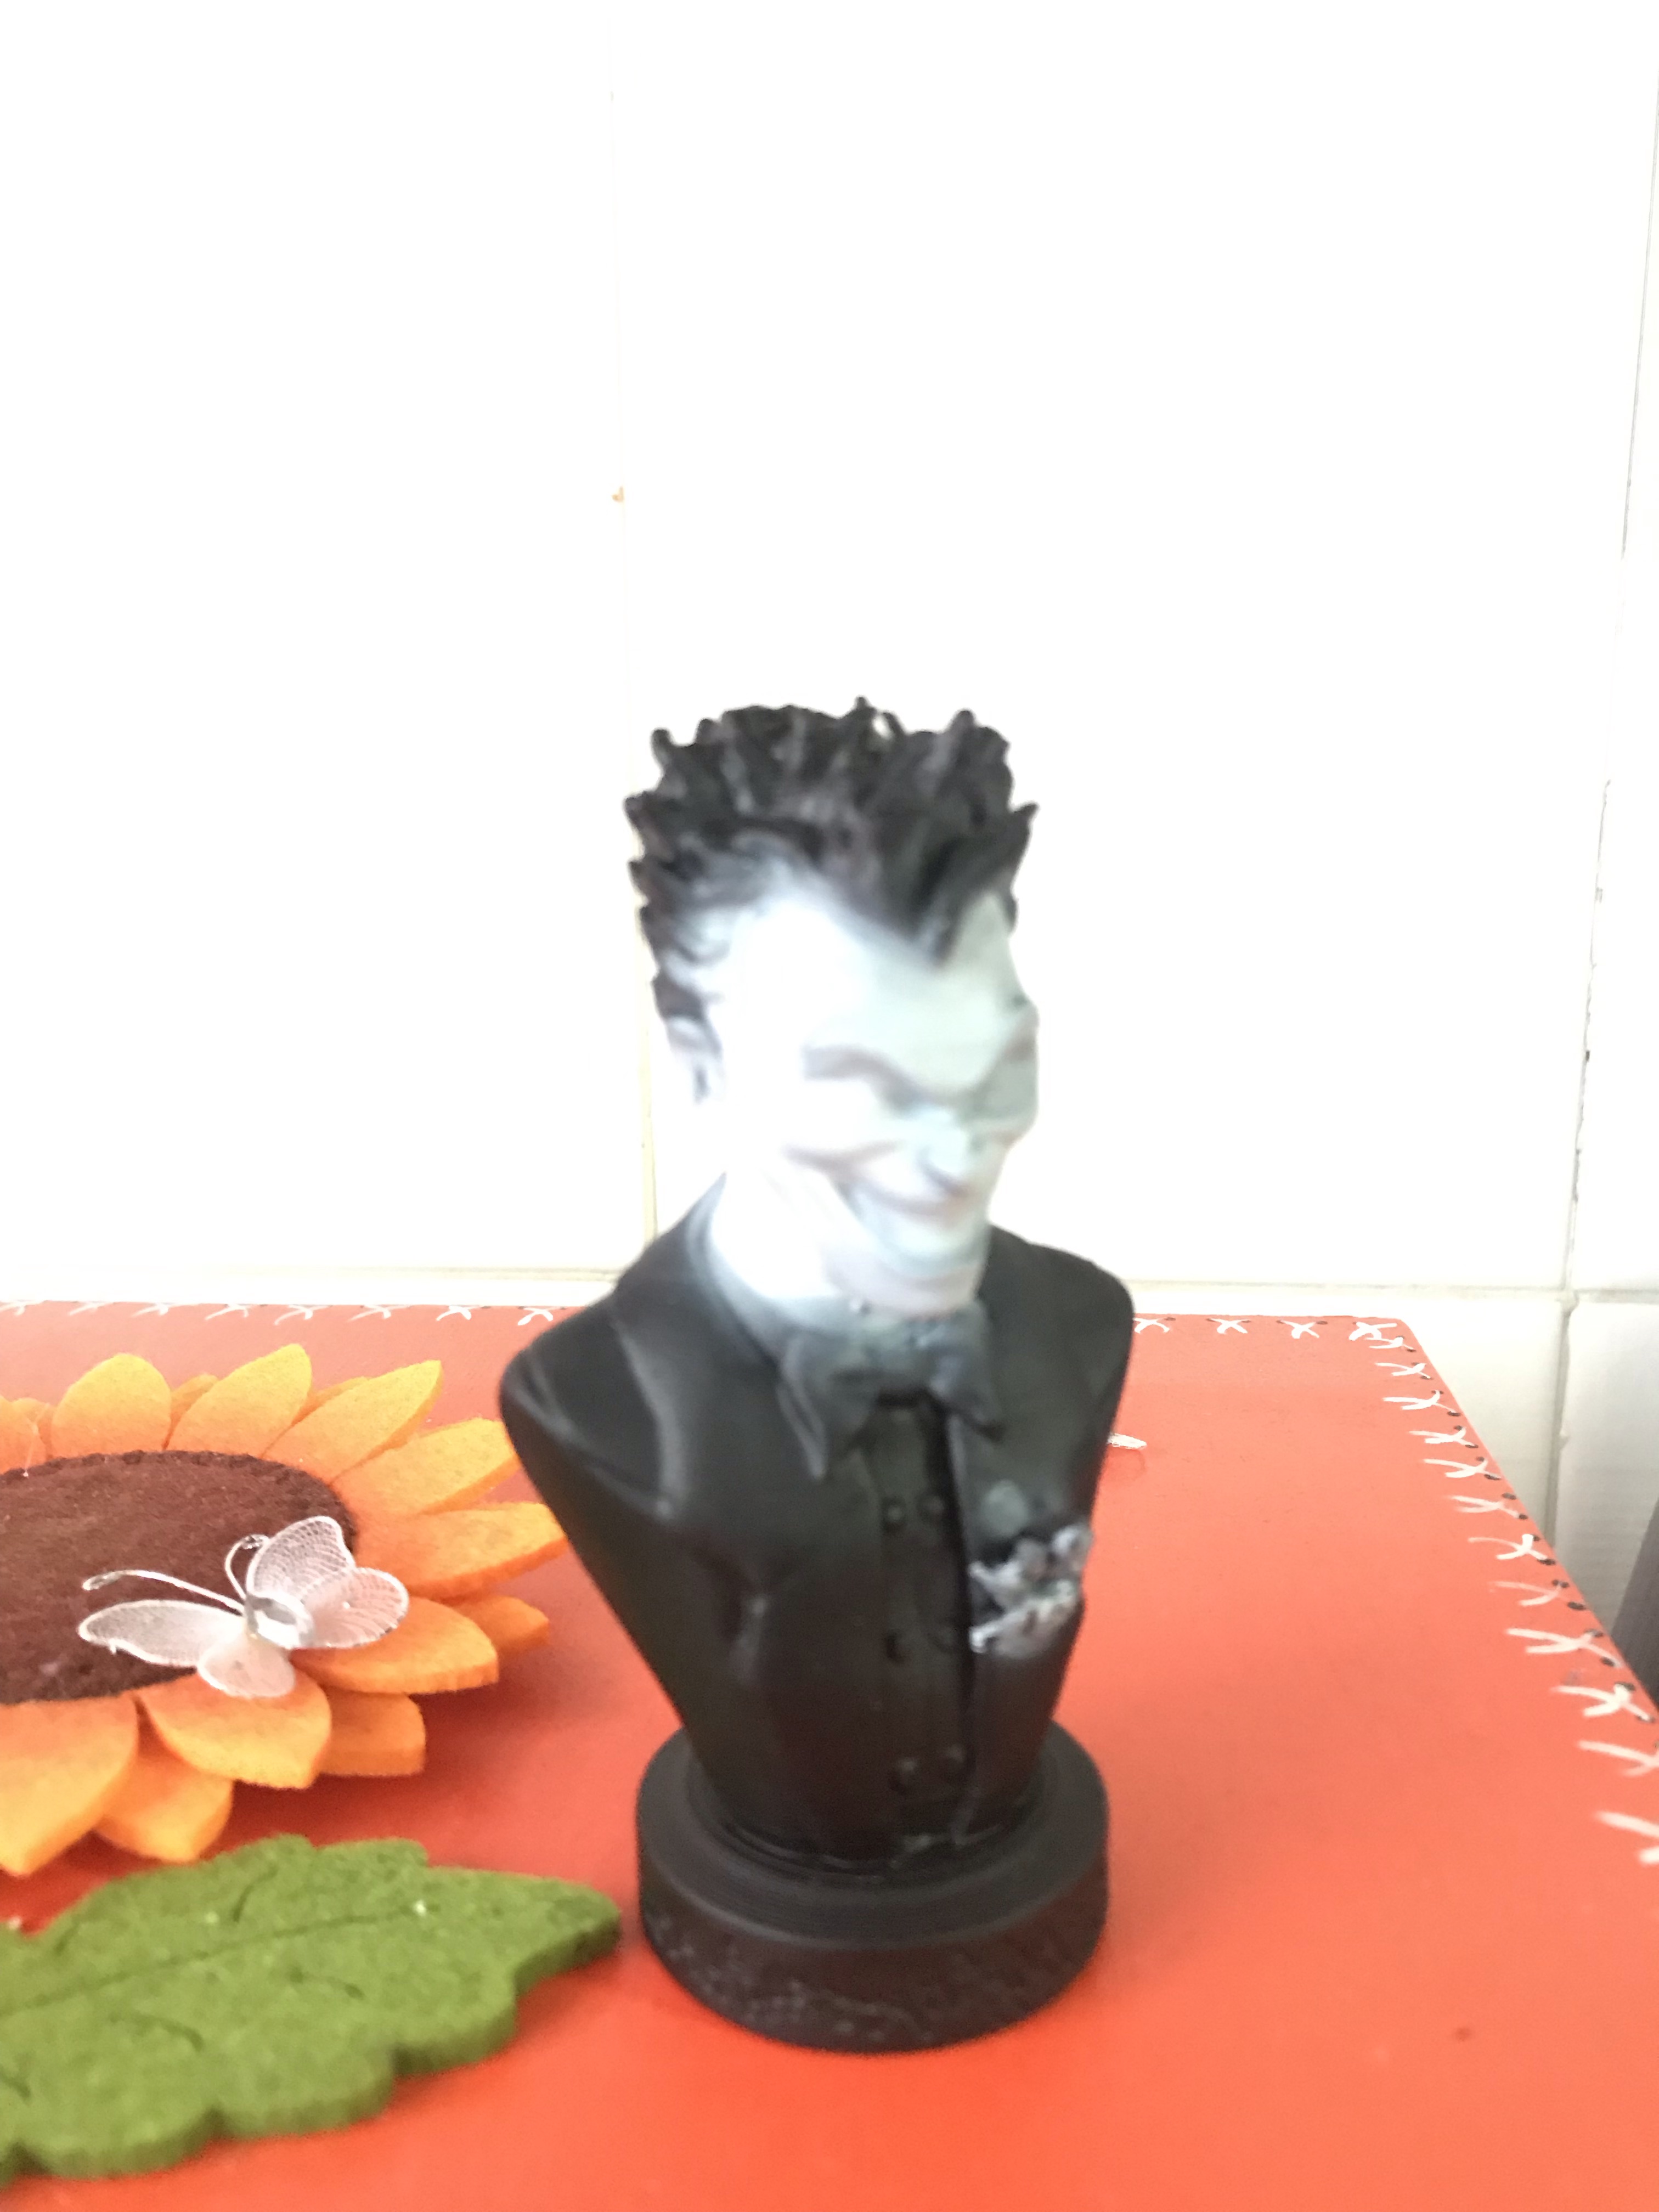
This guy makes some amazing STLs!!! Printed this in 3DJake black and it turned out great!!! Gave this away to the lady who does my tattoos - she loved it!! 0.15mm layers and around 120mm in height..
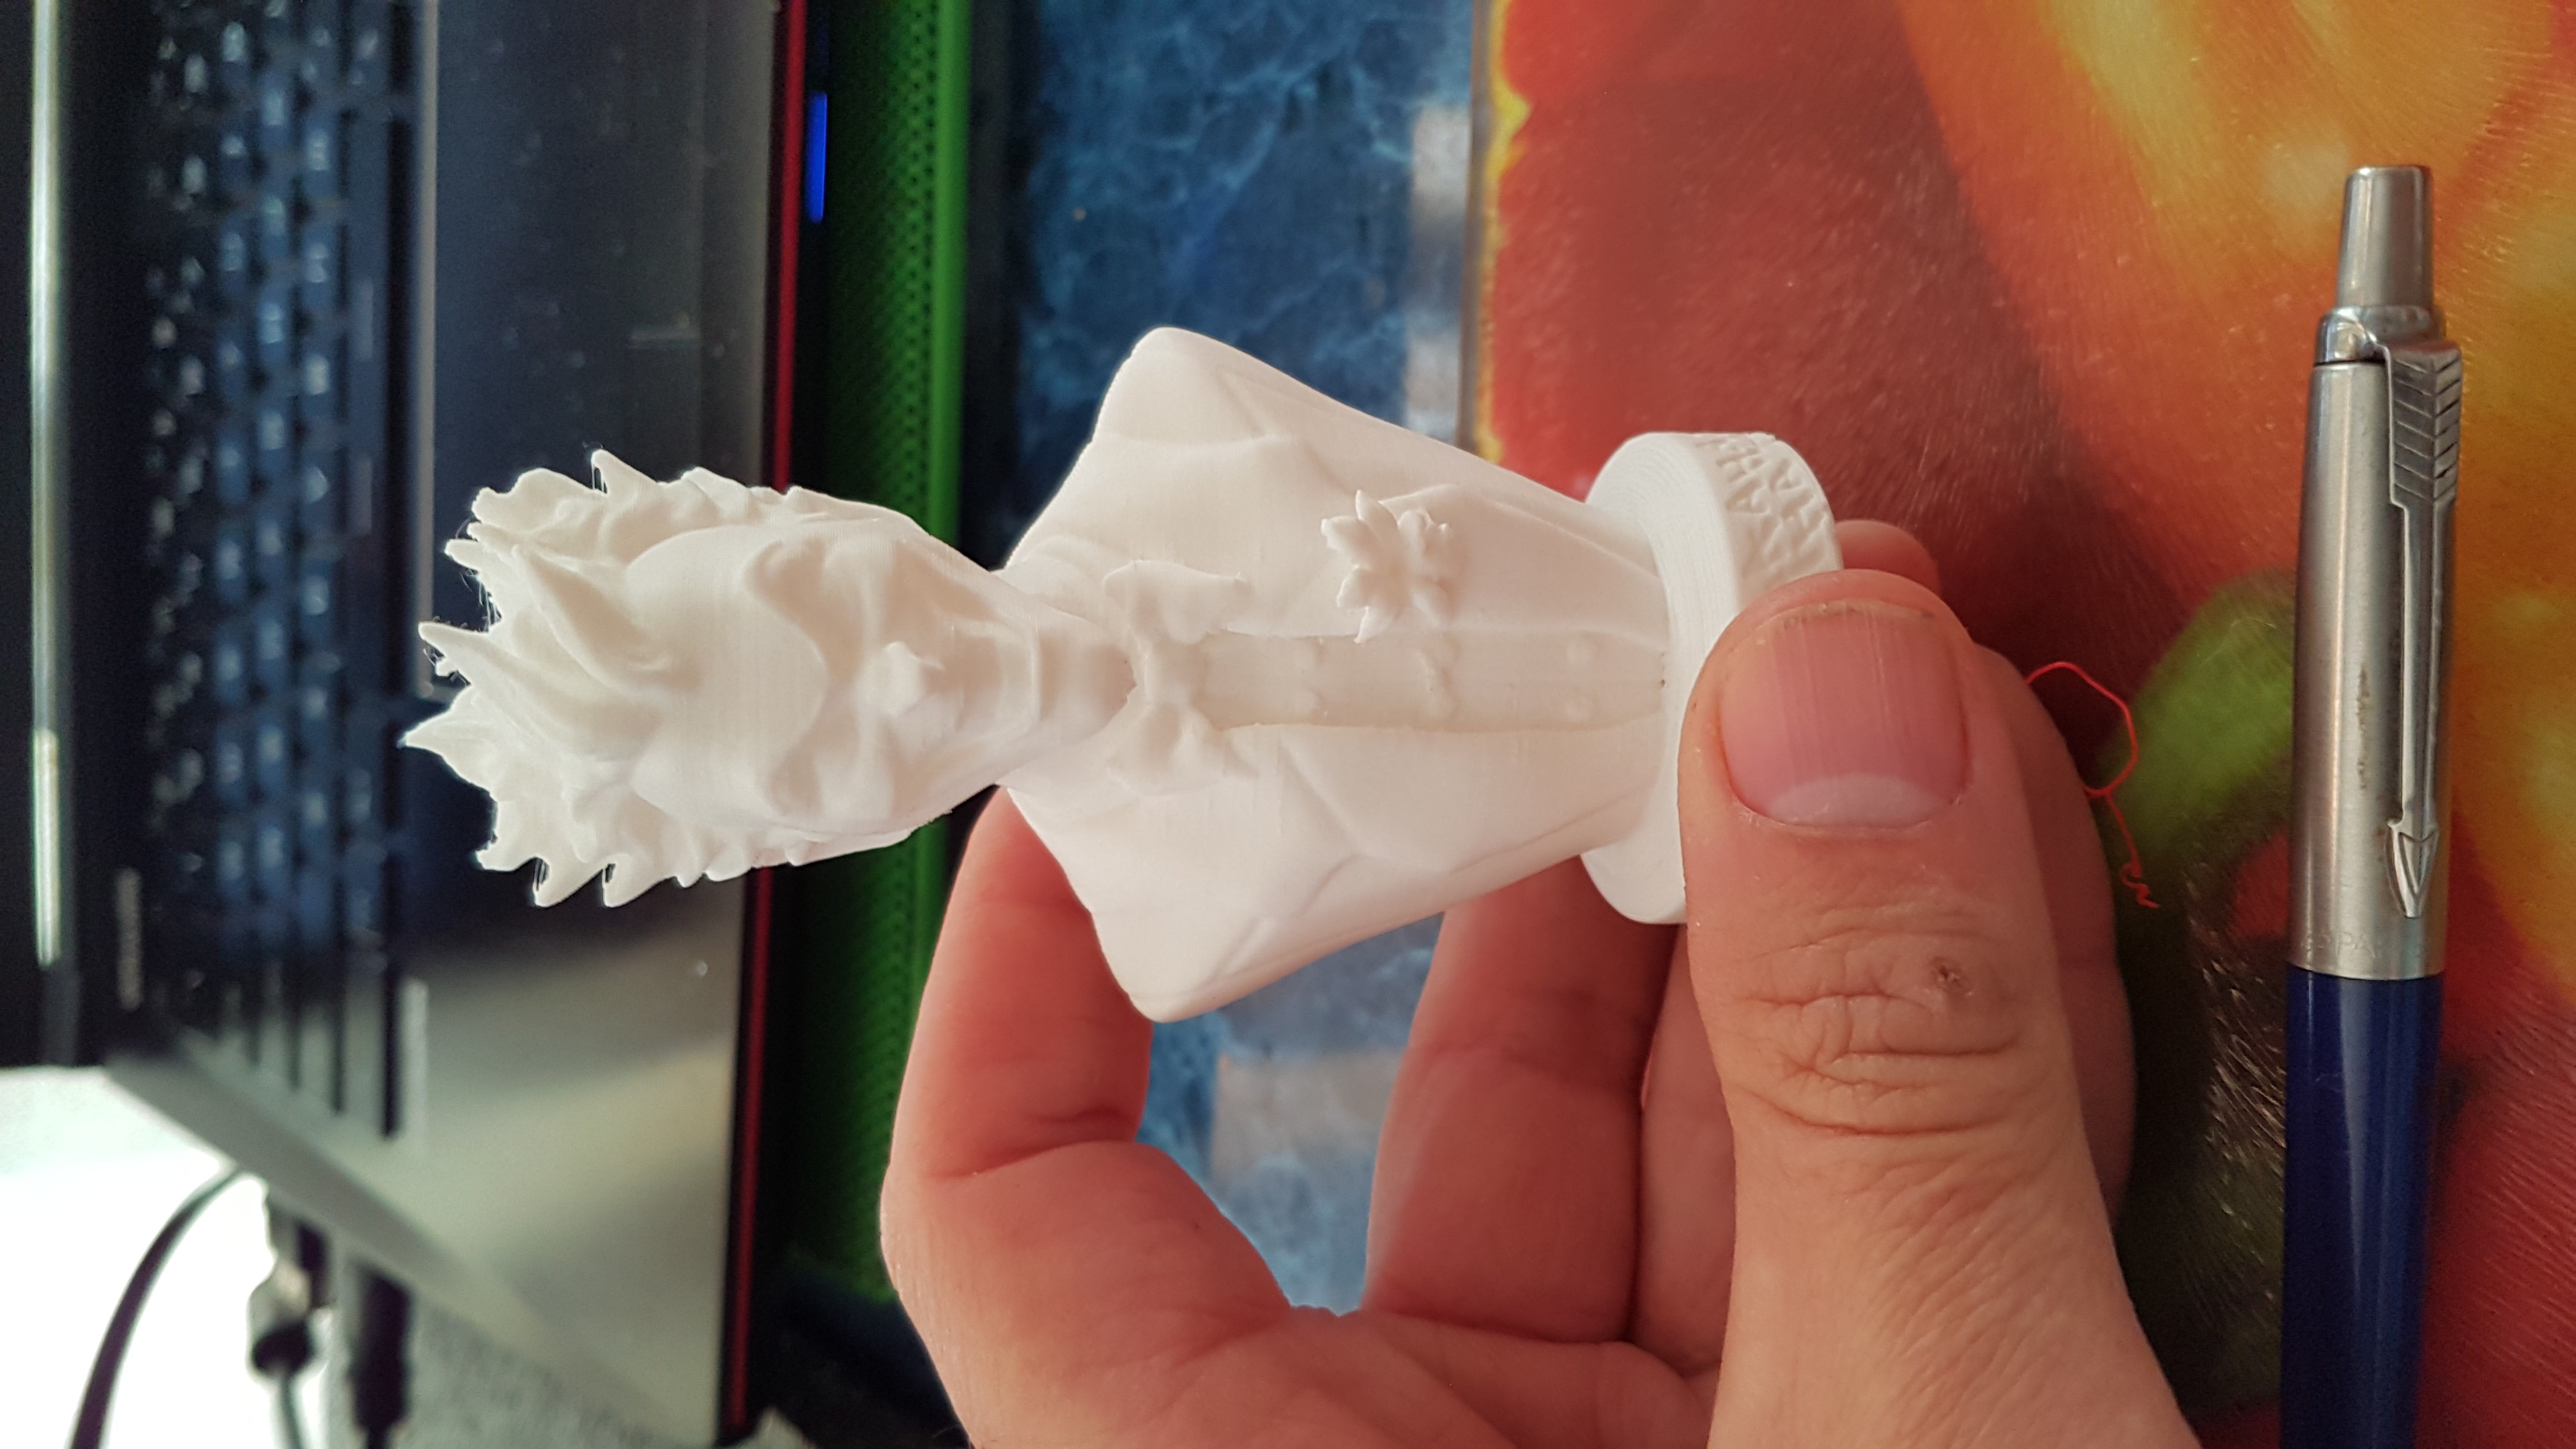
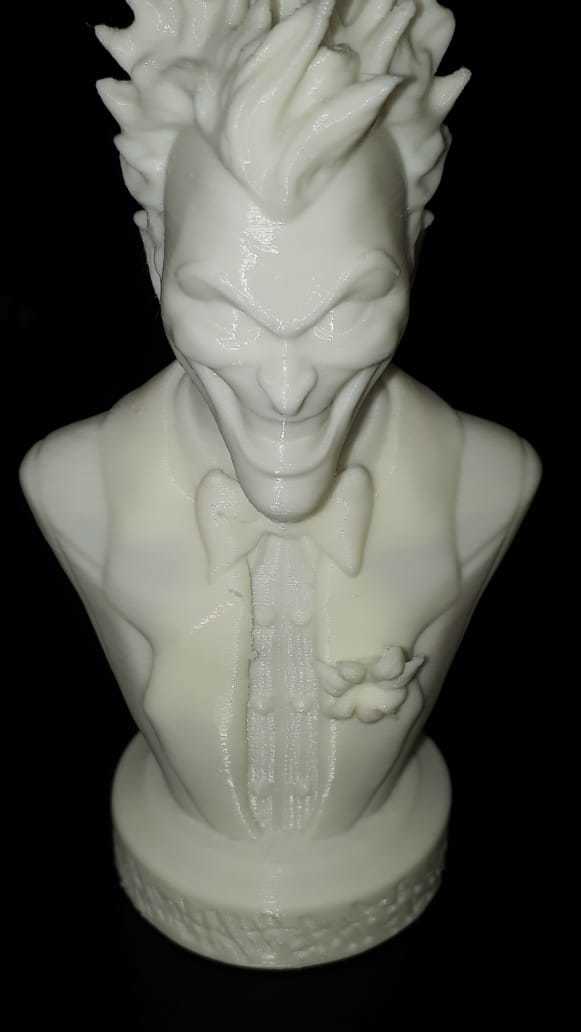
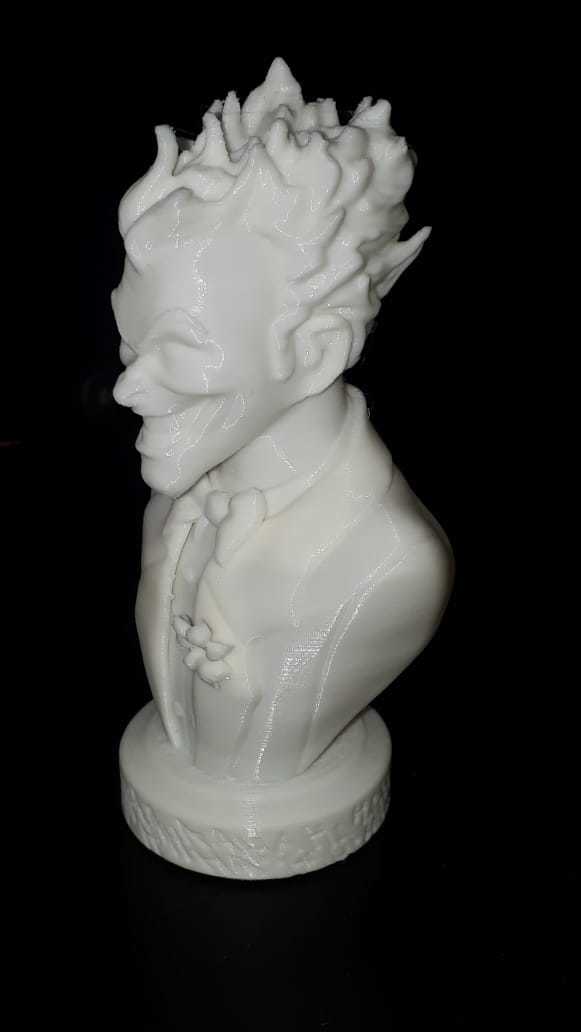
no paint
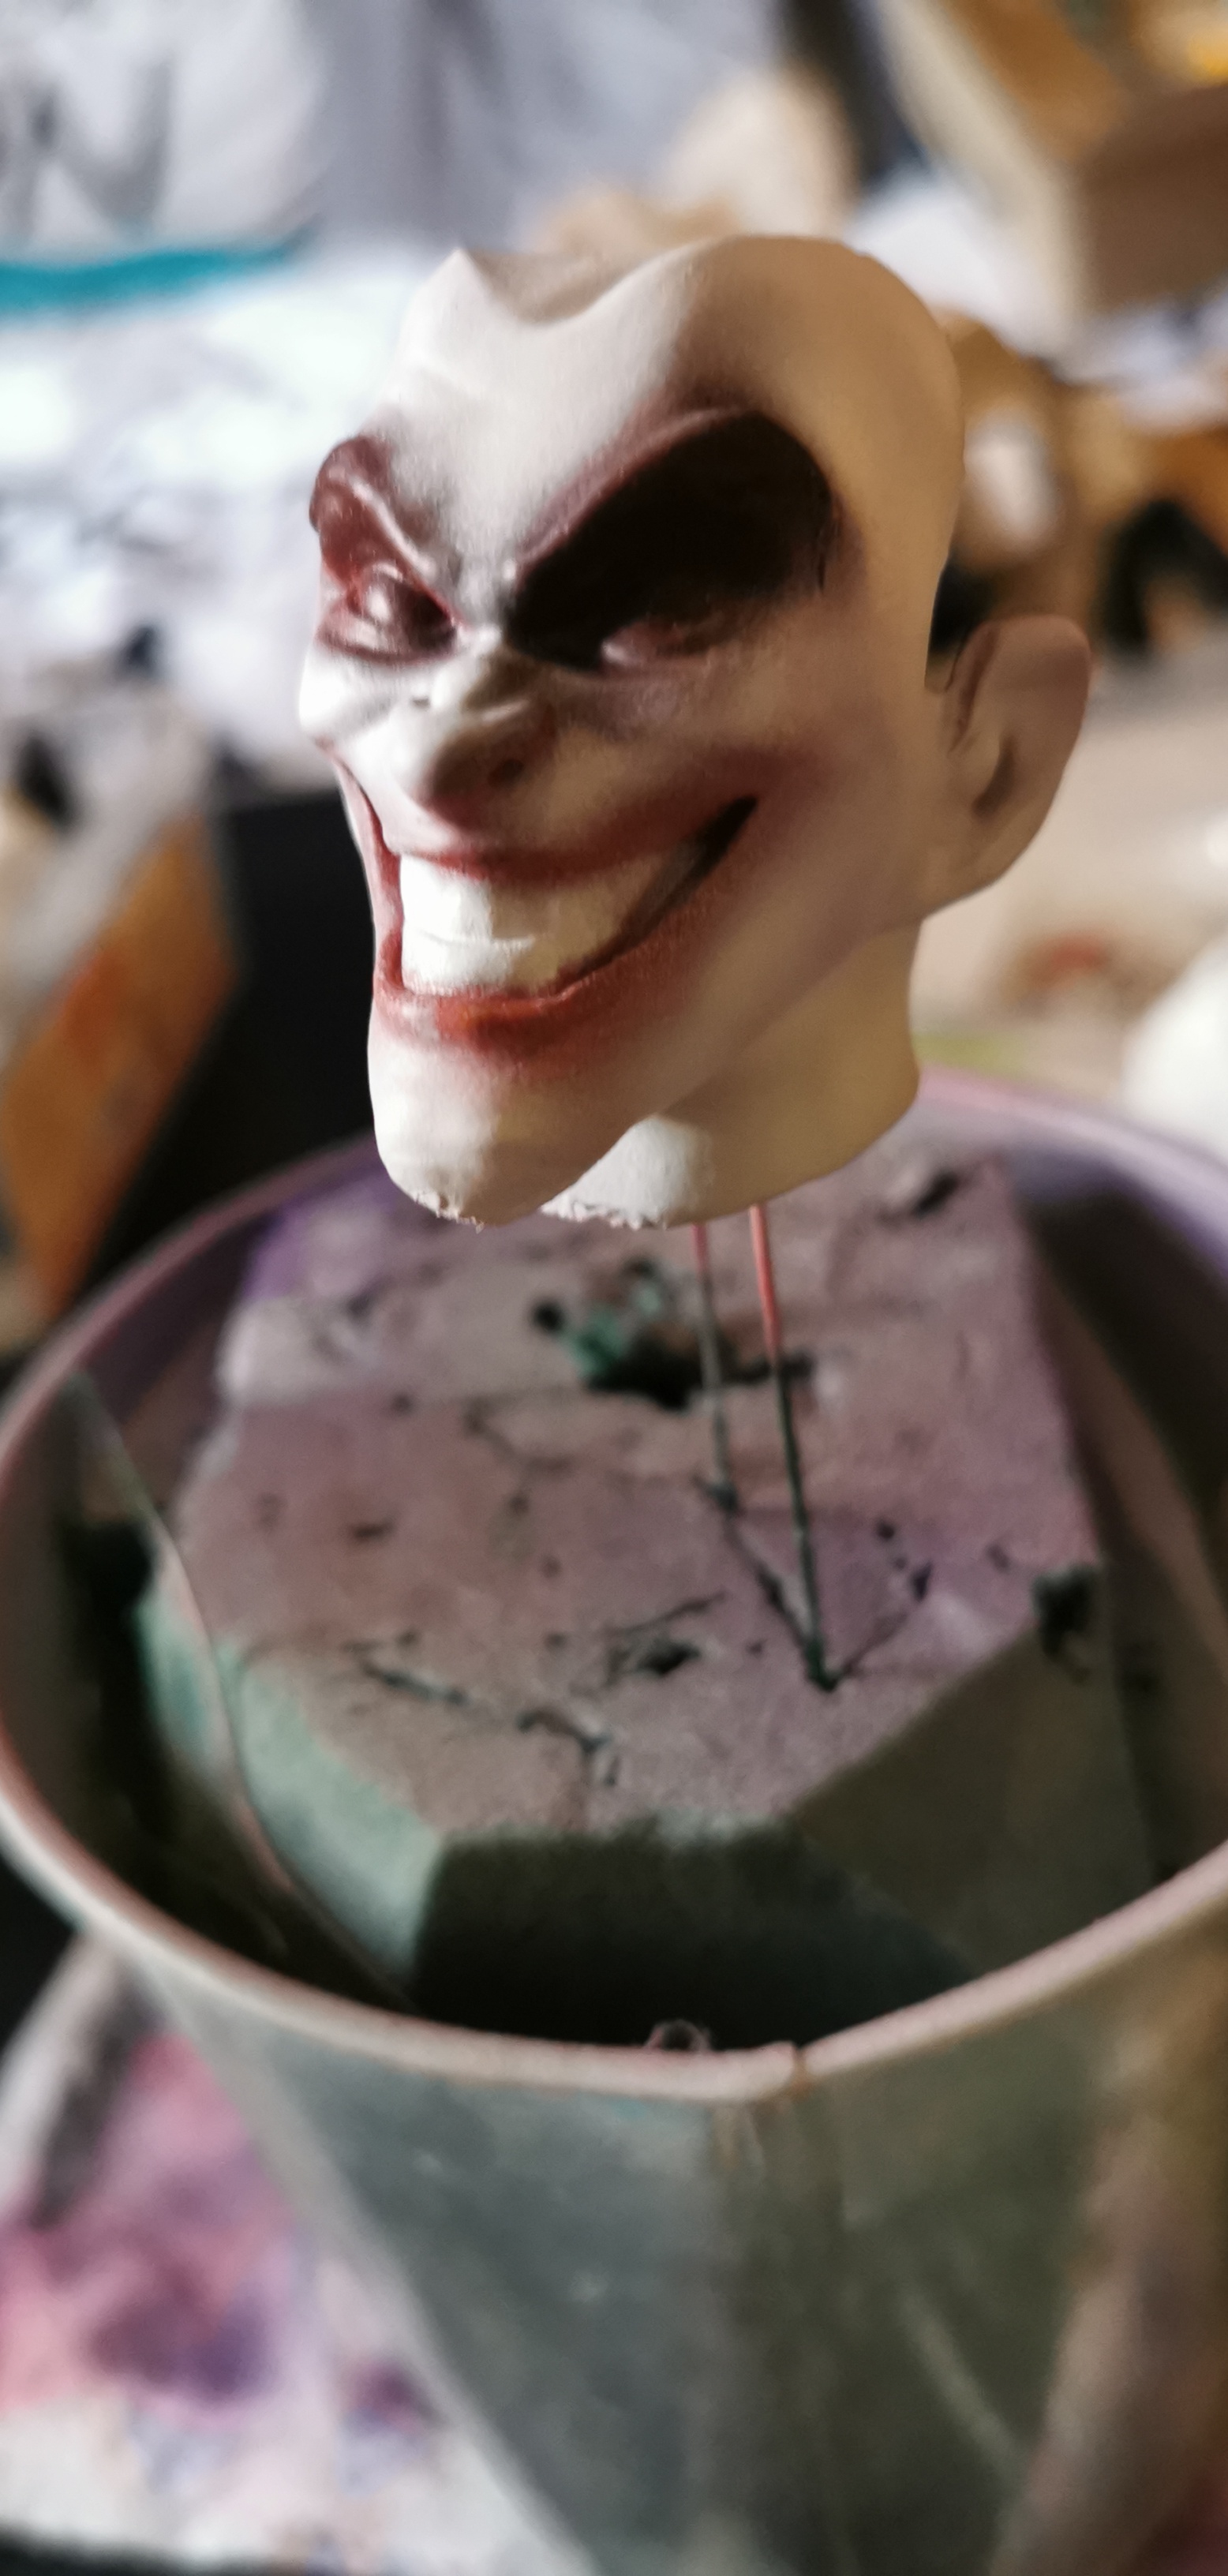
fantastic file mate thank you so mach!! 3d print resin phrozen 50mm print time 300 min* no paint second photo with primer.
Meu trabalho Insta: 3d.rise
My work guys, thanks for STL - Instagram -> @m_tessarin
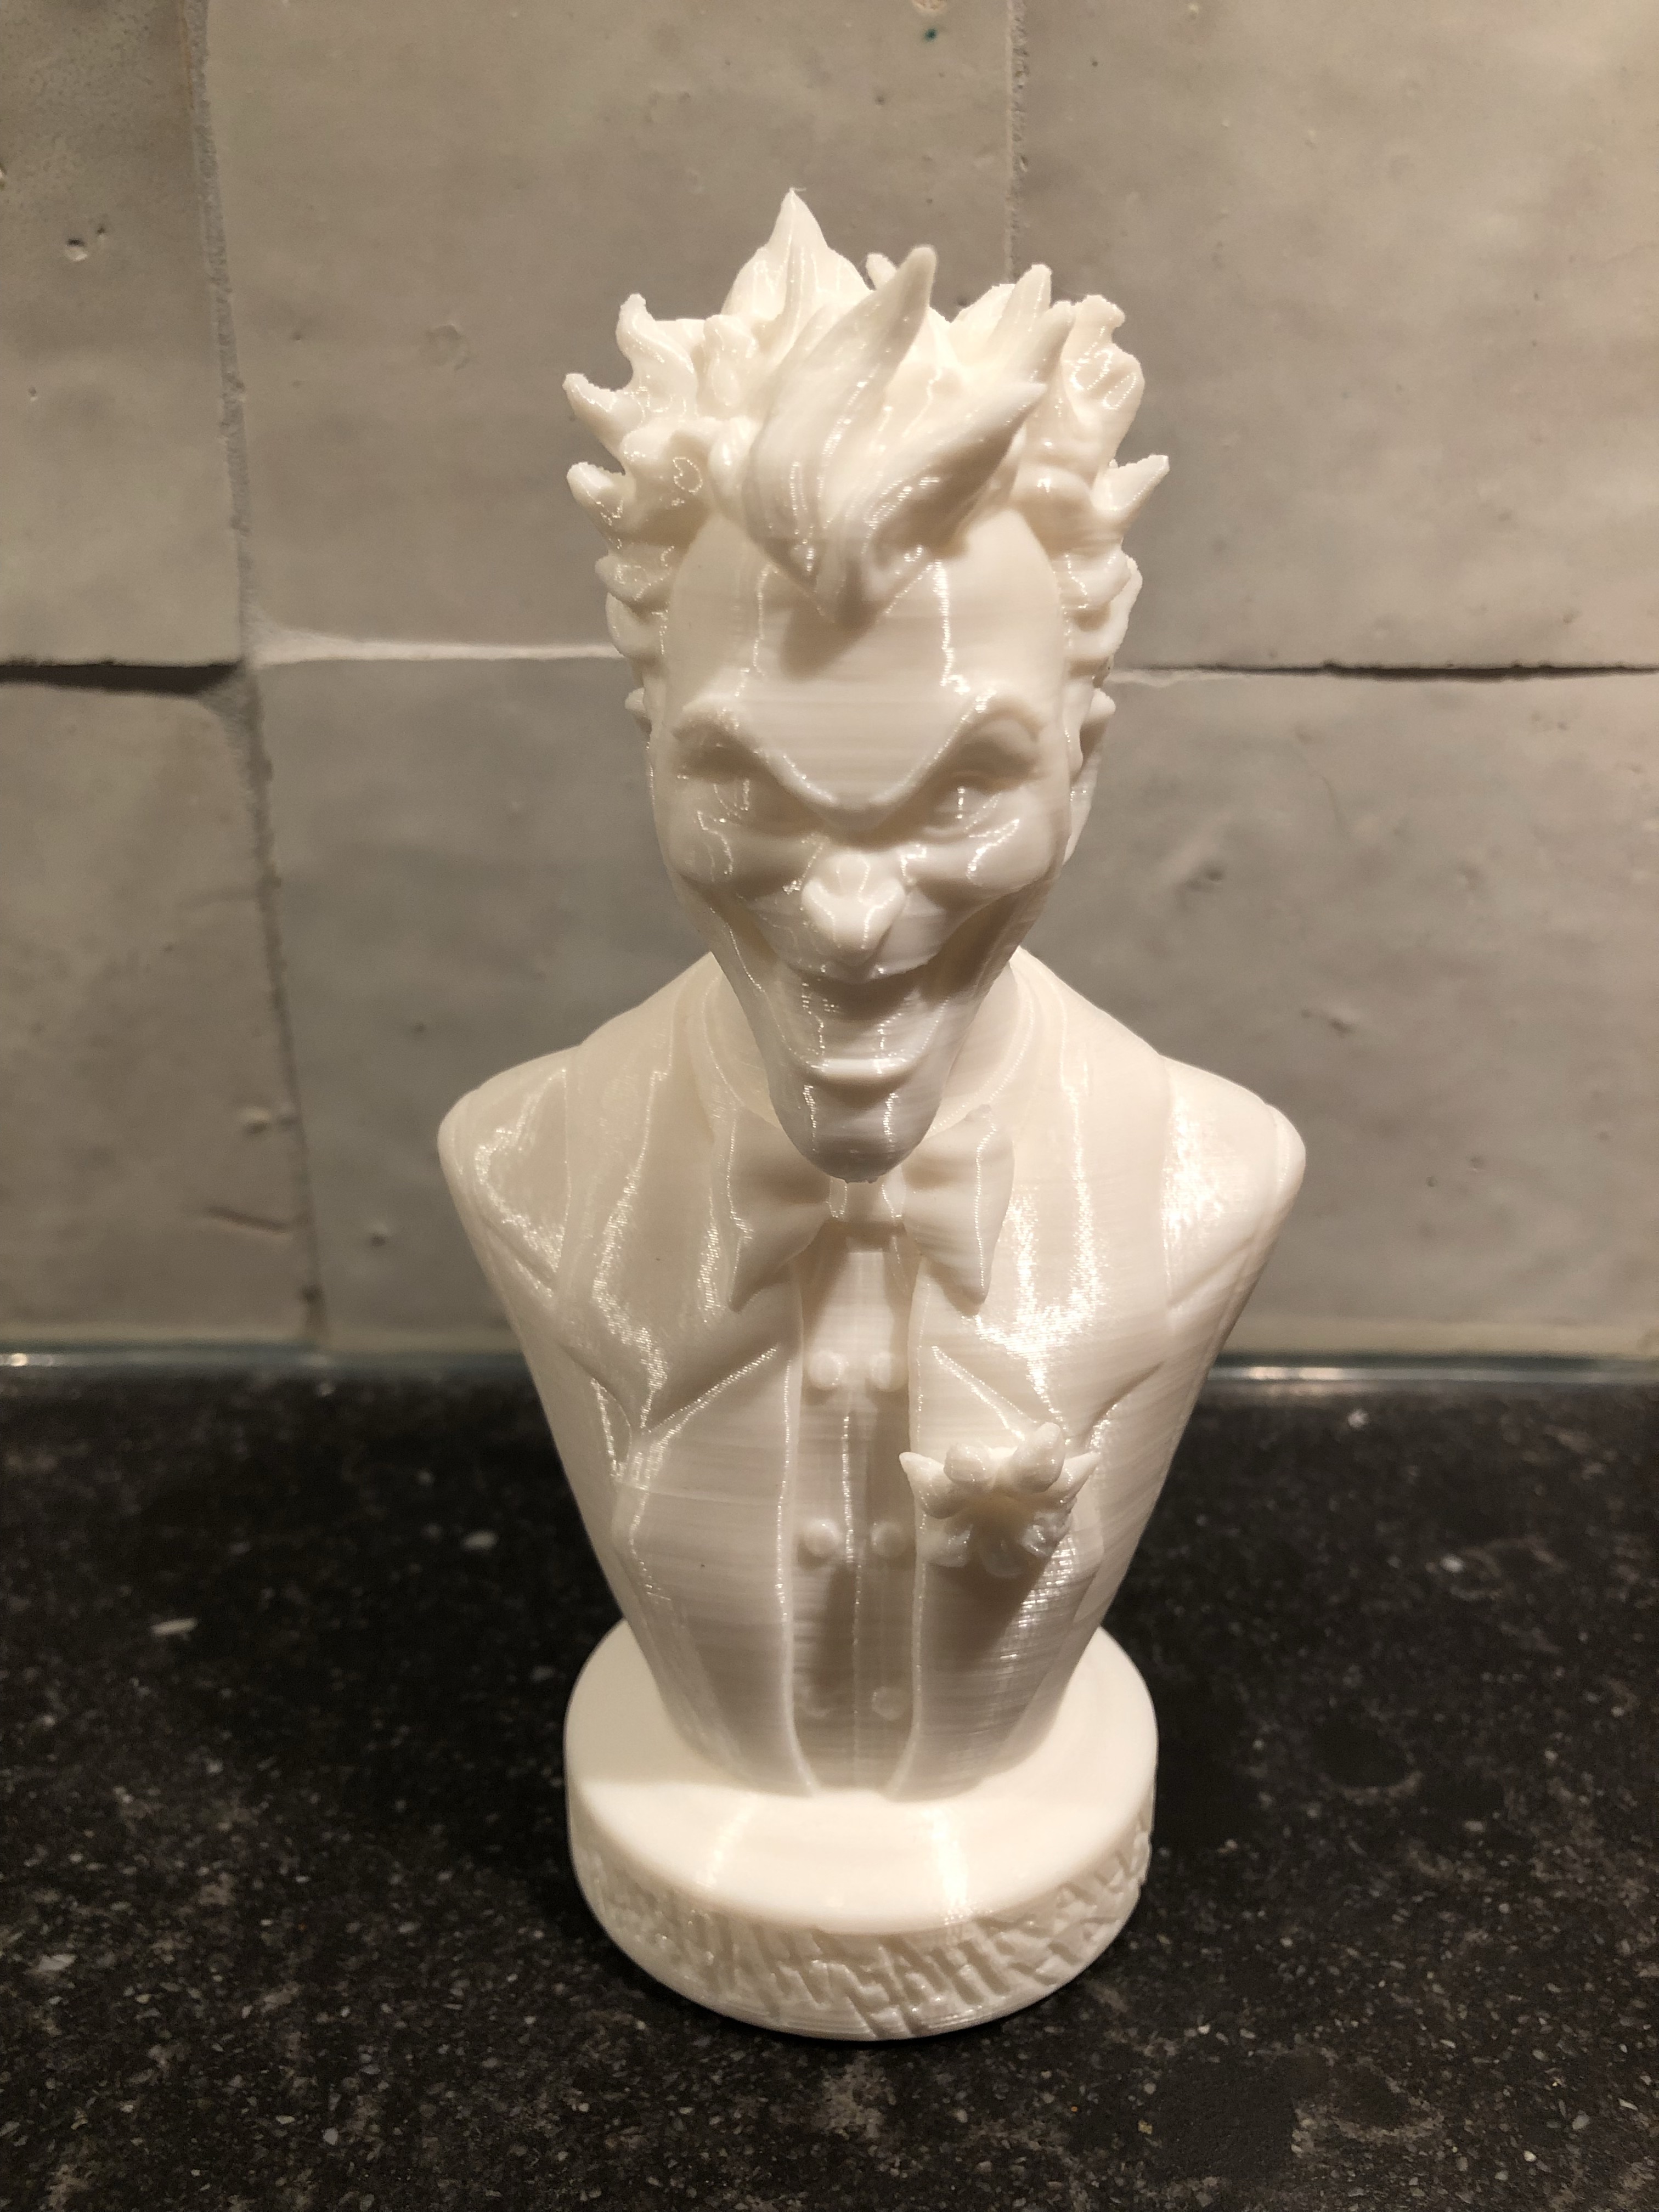
A very well designed model. I was only required to use support for the chin (directed from the chest to the chin). Thanks to the modeler.
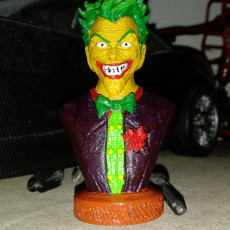
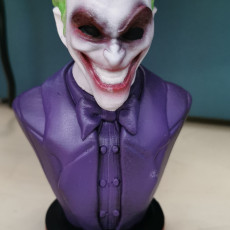
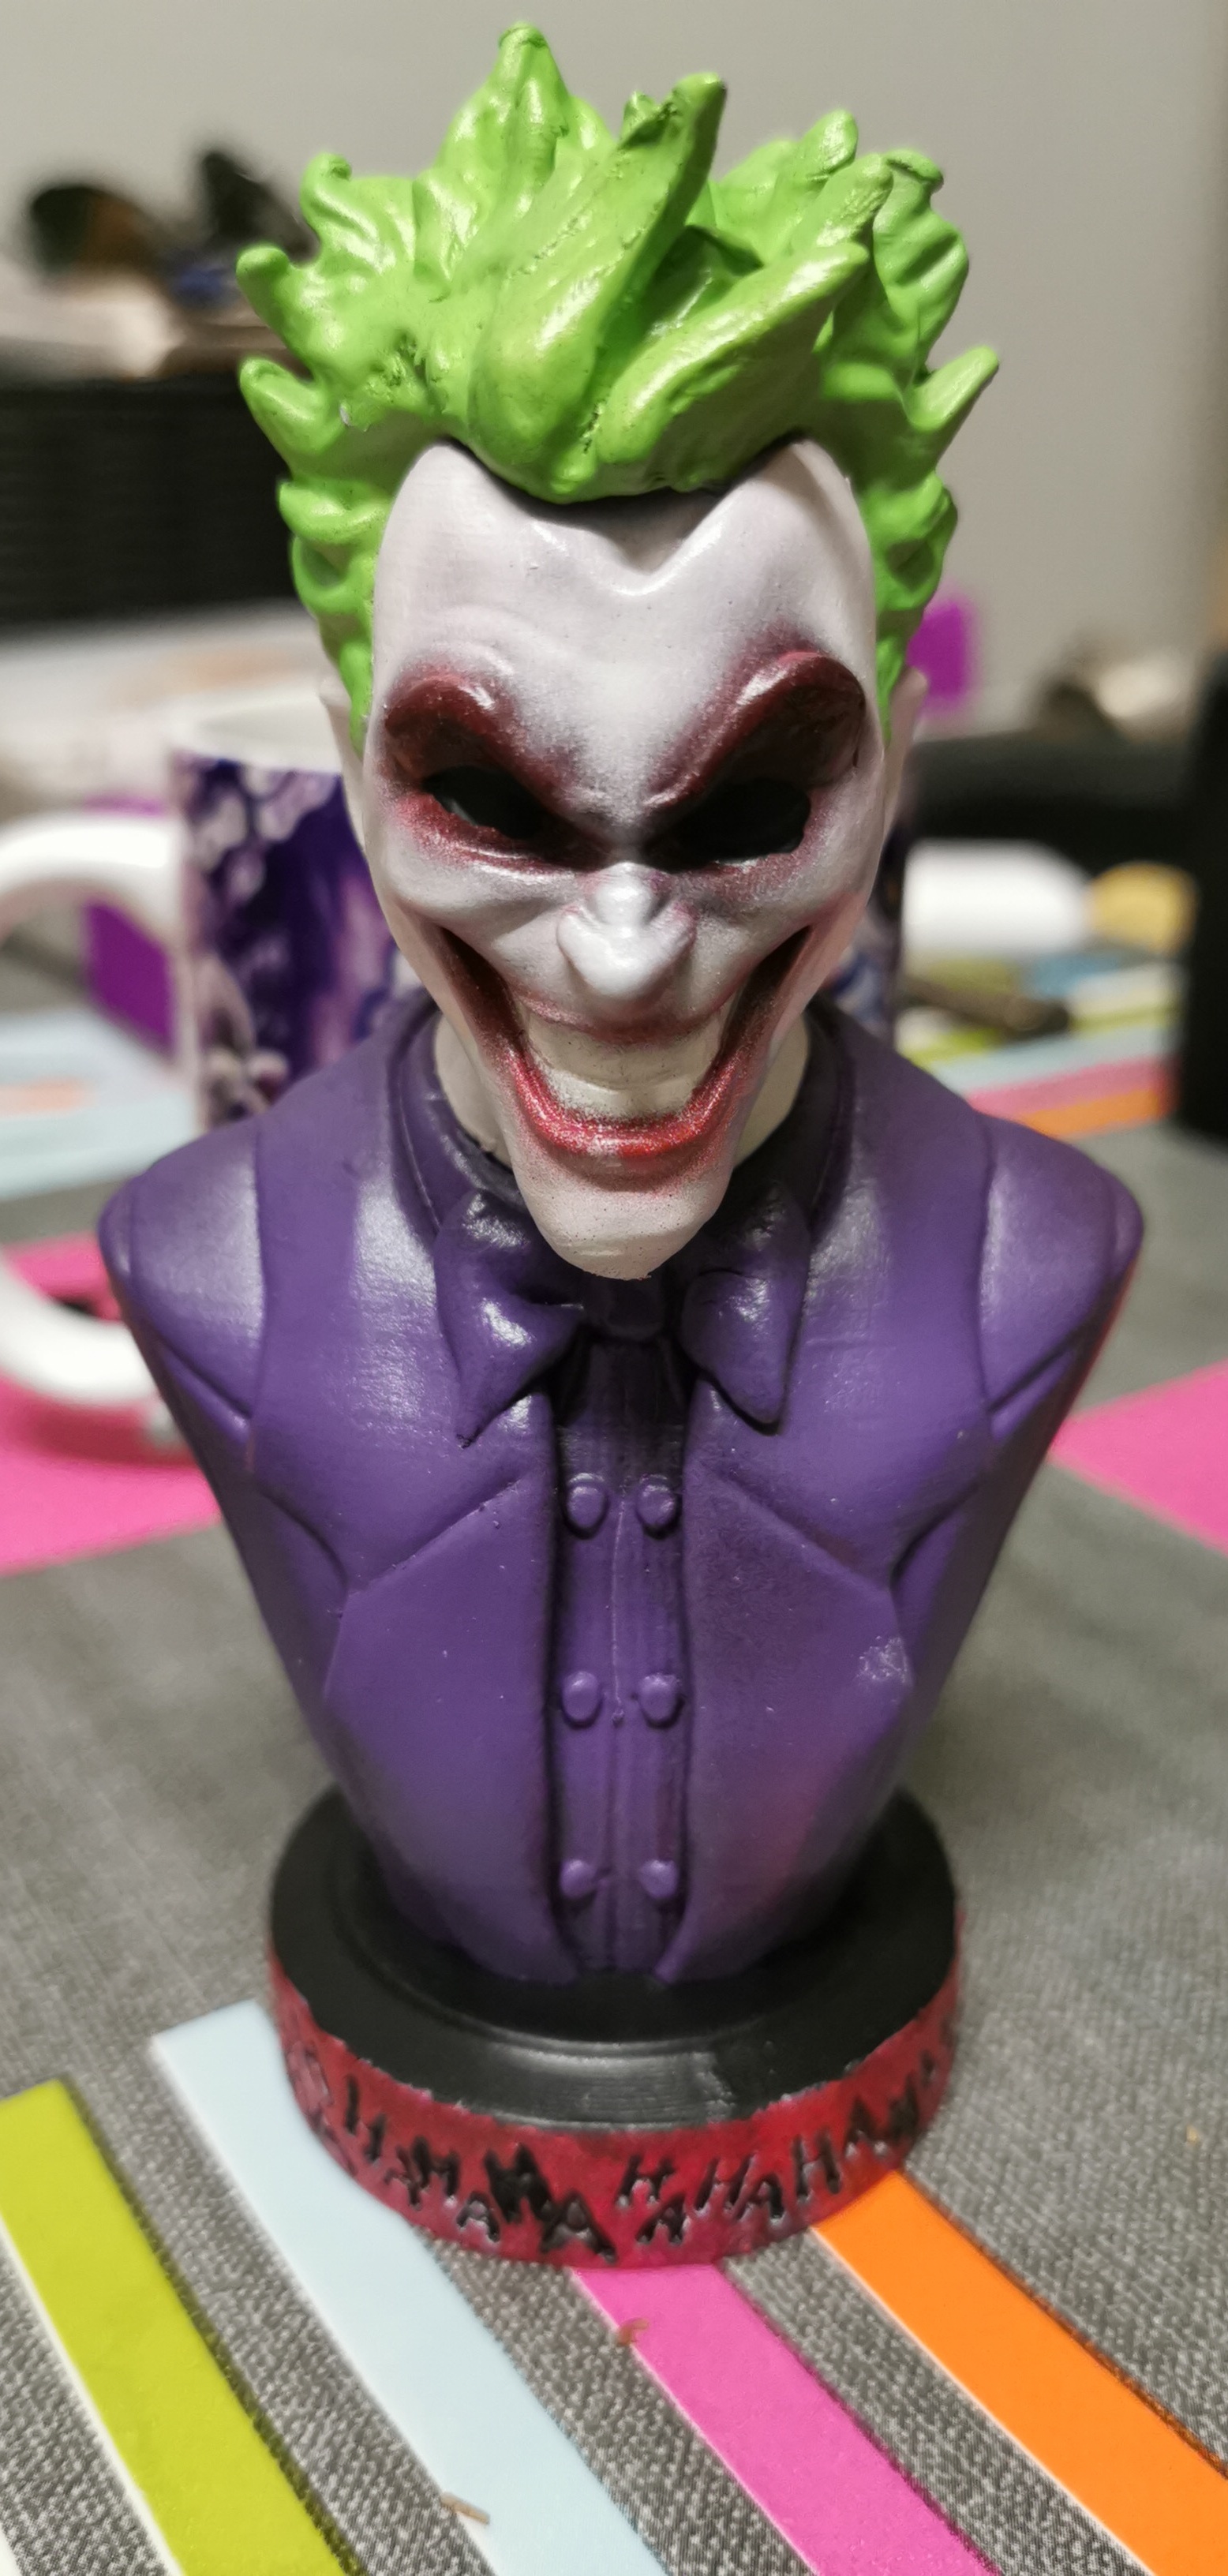
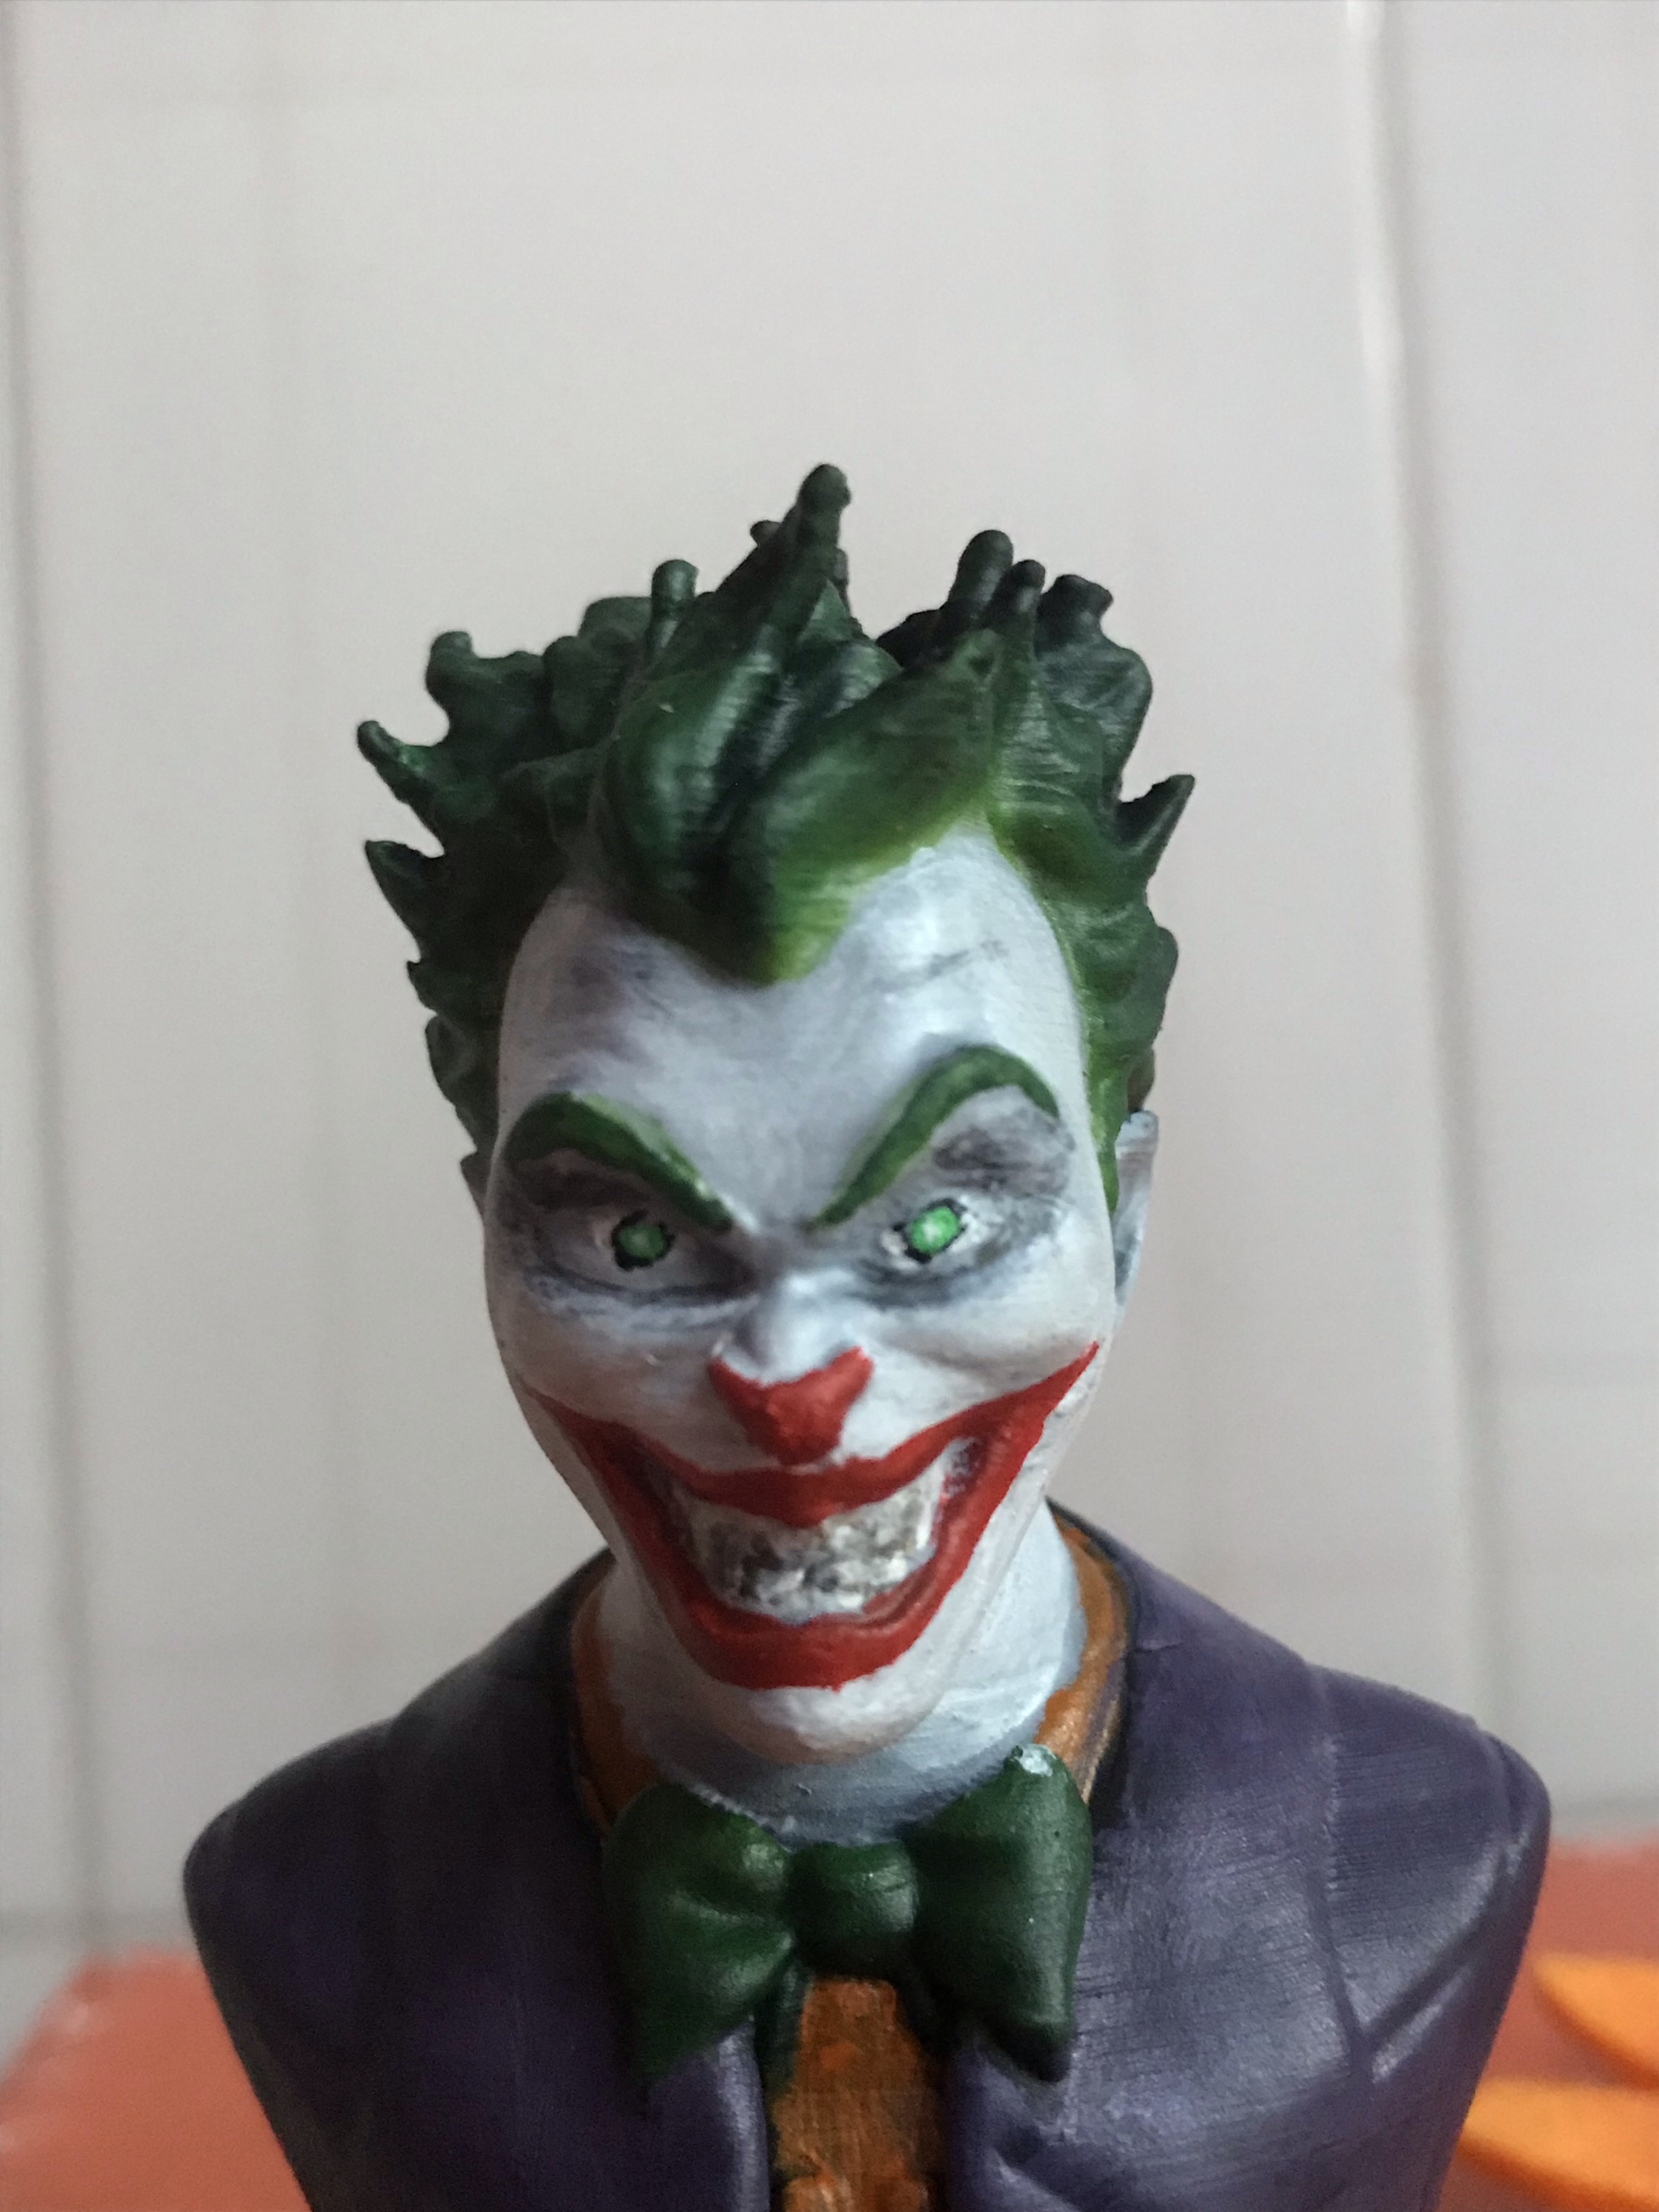
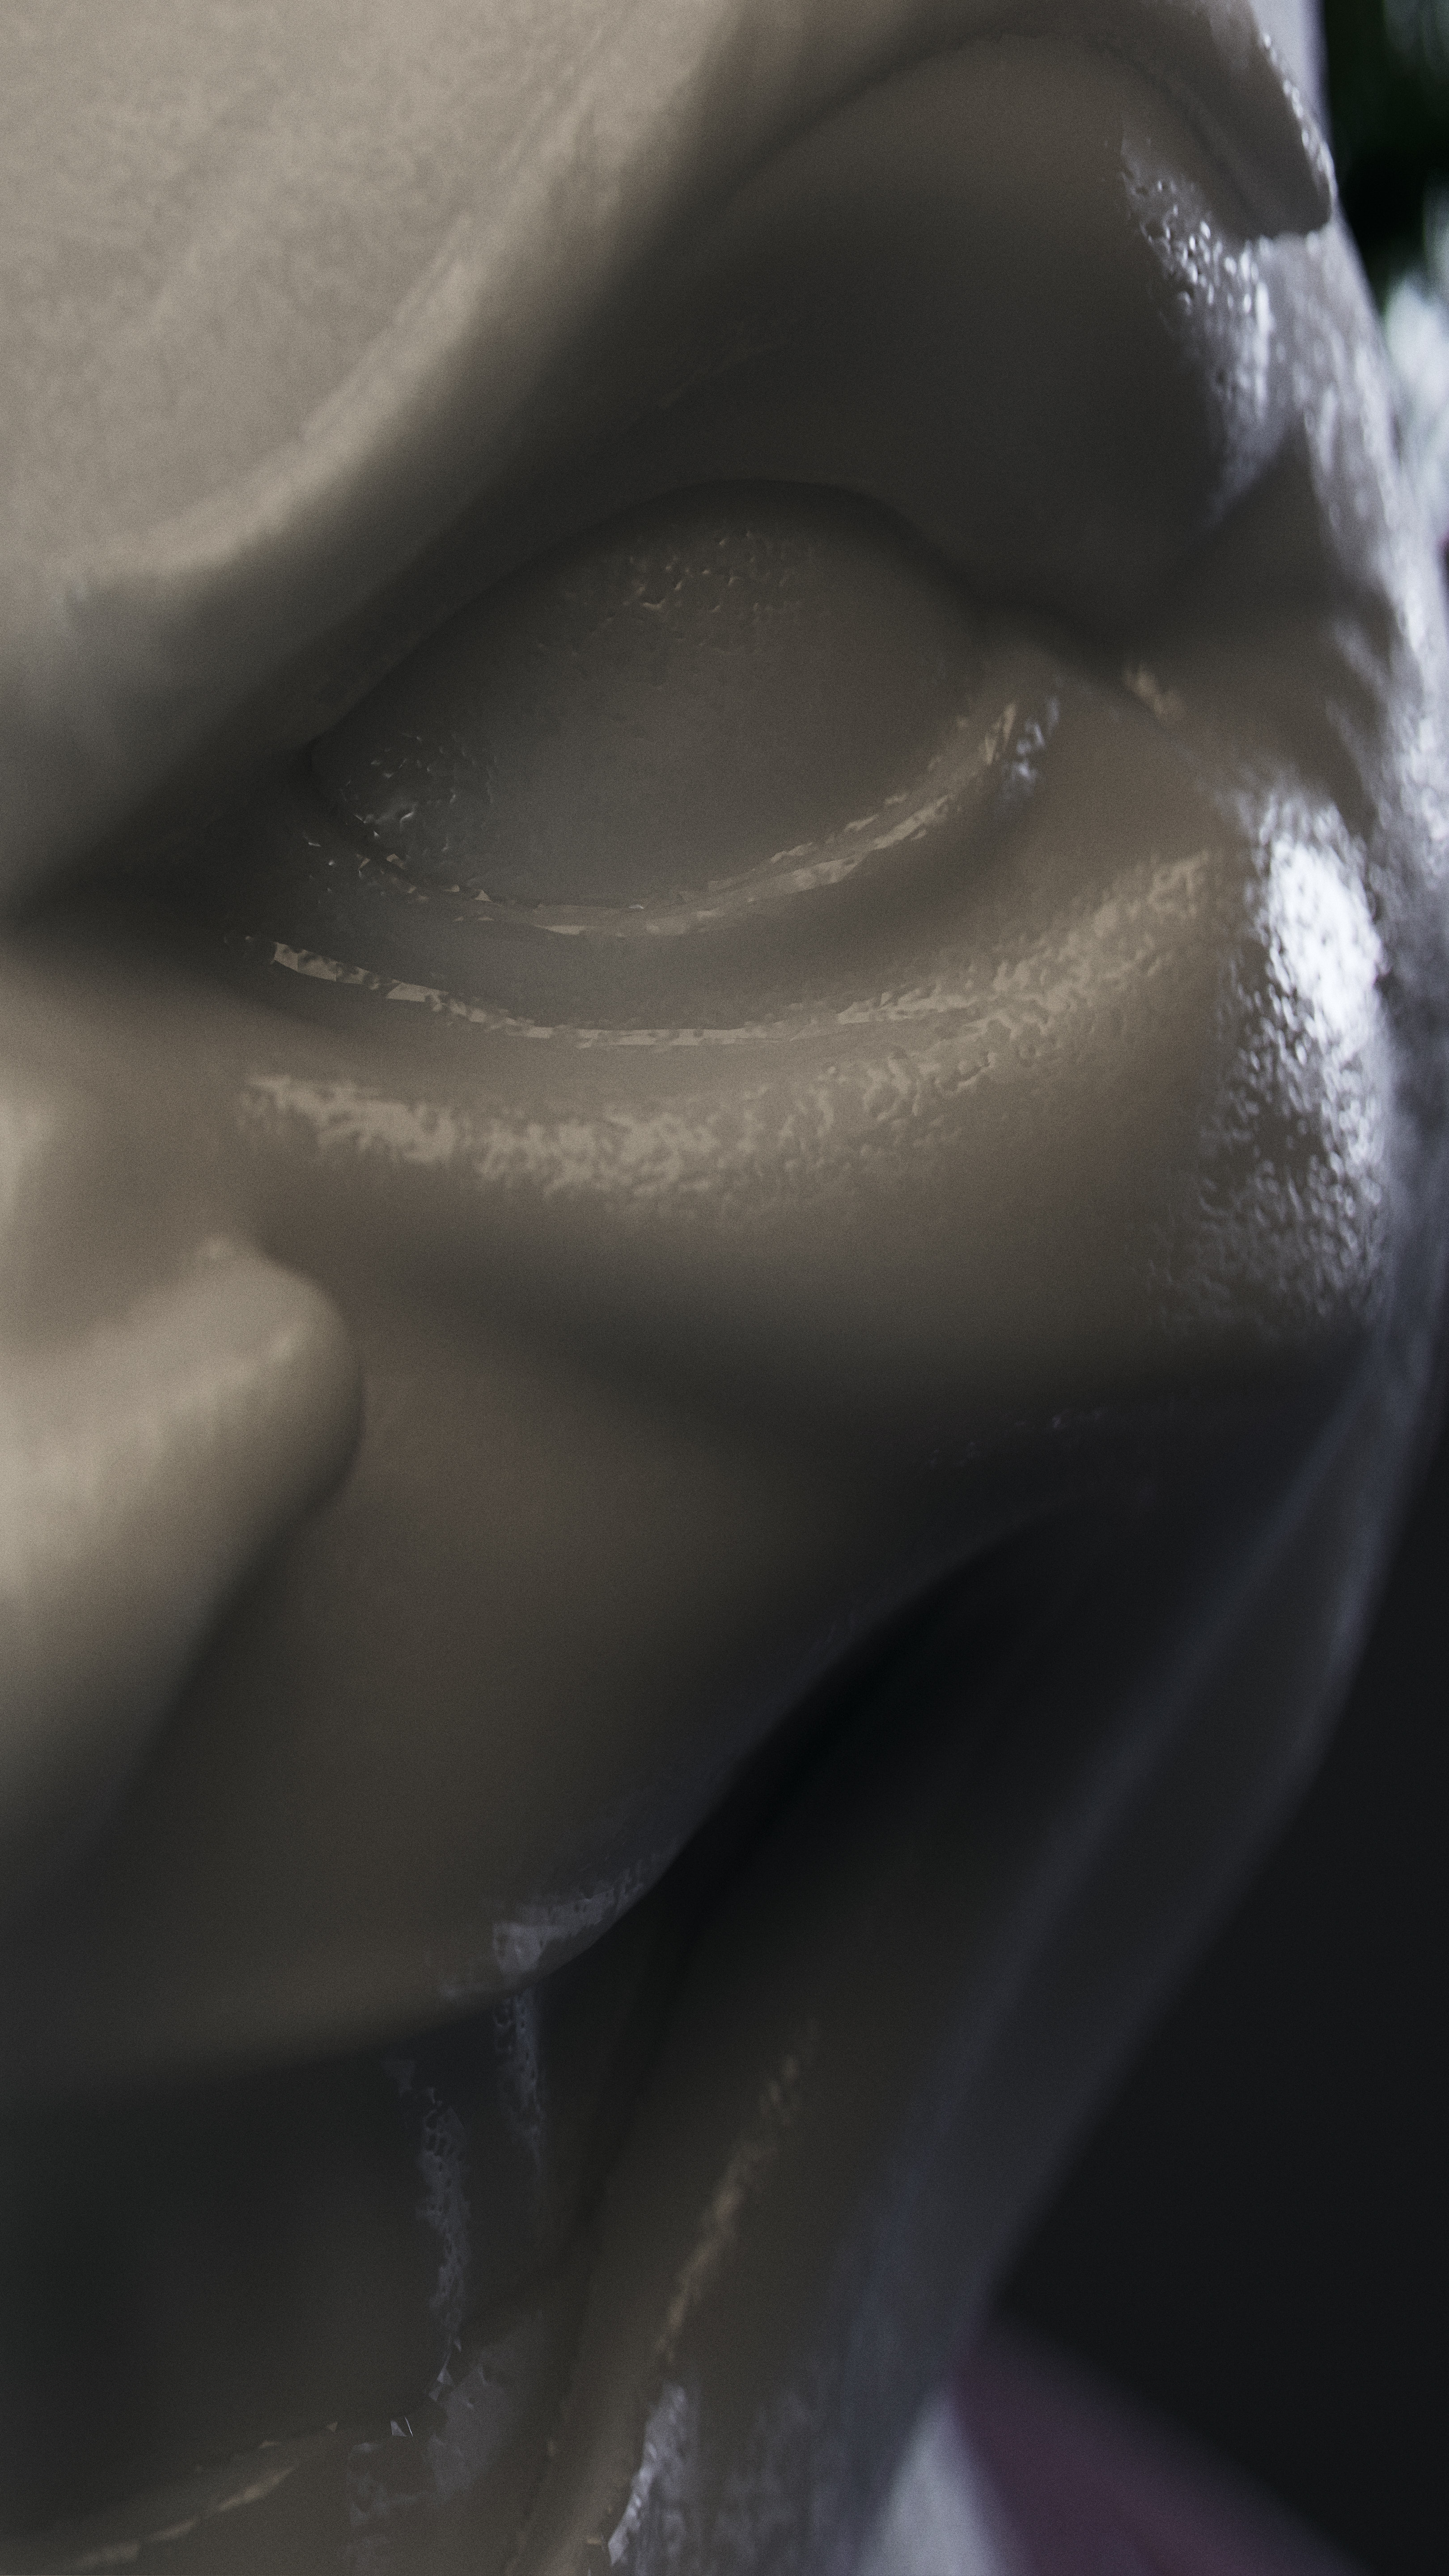
Made this for a Christmas present. It's amazing how much shading this figure brings it to life!
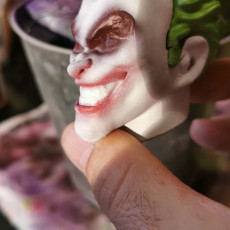
I love this print! The detail I was able to get was crazy.
Printed with almost no supports with Red resin and sized to 75mm tall. Painted with acrylics. 0.05mm layer height. Amazing sculpt.
Not my greatest of prints - worn nozzle.. But good painting practice ;)
Very good 3d model :) thxxx for the sharing !!!
.1 layer height
done in parts after trying to do the full one & it failing around the chin after the supports failed :(
Hi, this is my paintwork, thanks for the sharing
The Joker - Printed on my DIY V-Baby CoreXY Speed: 150mms Layer: 0,15 Accel: 2000 Jerk: 15 Filament: Prima Select + clas ohlson Natural for the face
The Joker - Printed on my DIY V-Baby CoreXY Speed: 150mms Layer: 0,15 Accel: 2000 Jerk: 15 Filament: Prima Select + clas ohlson Natural for the face
Thx
Nice model. thx
Looks awesome!
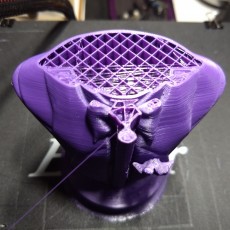
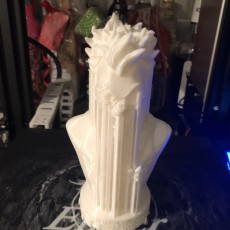
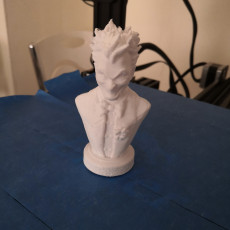
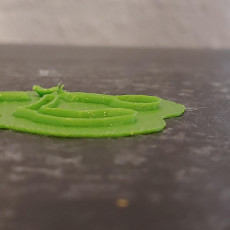
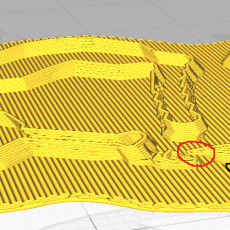
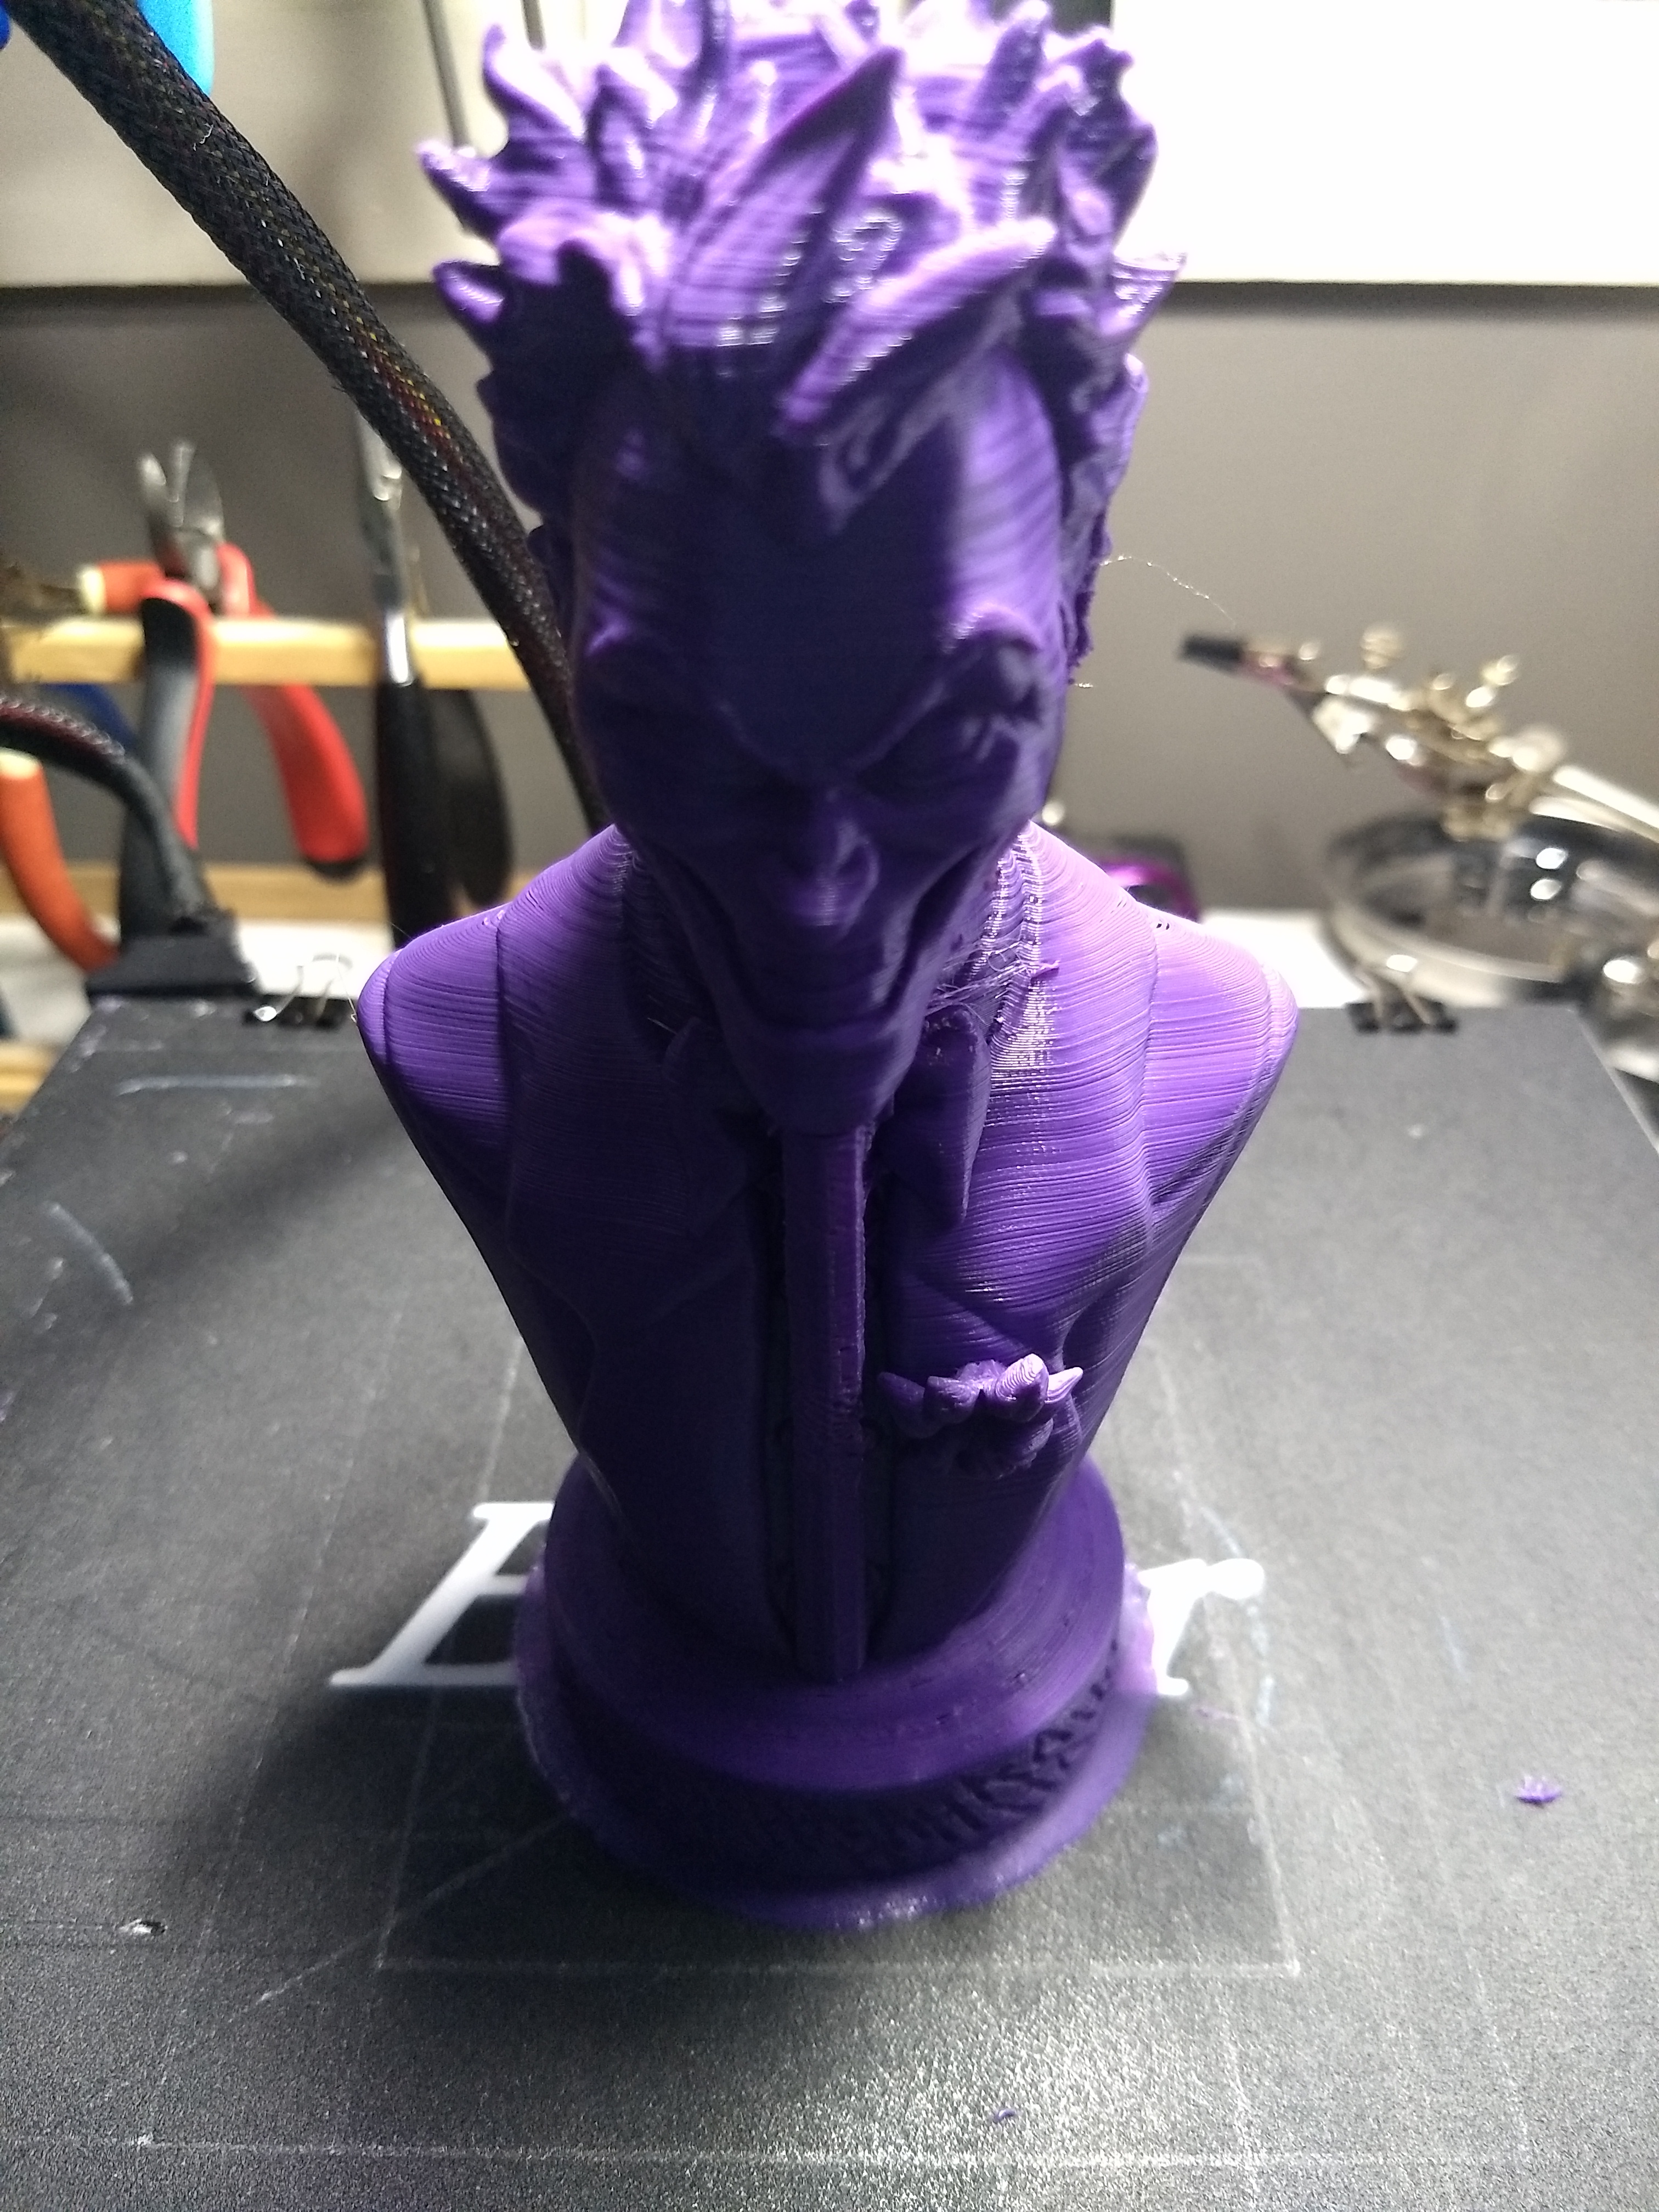
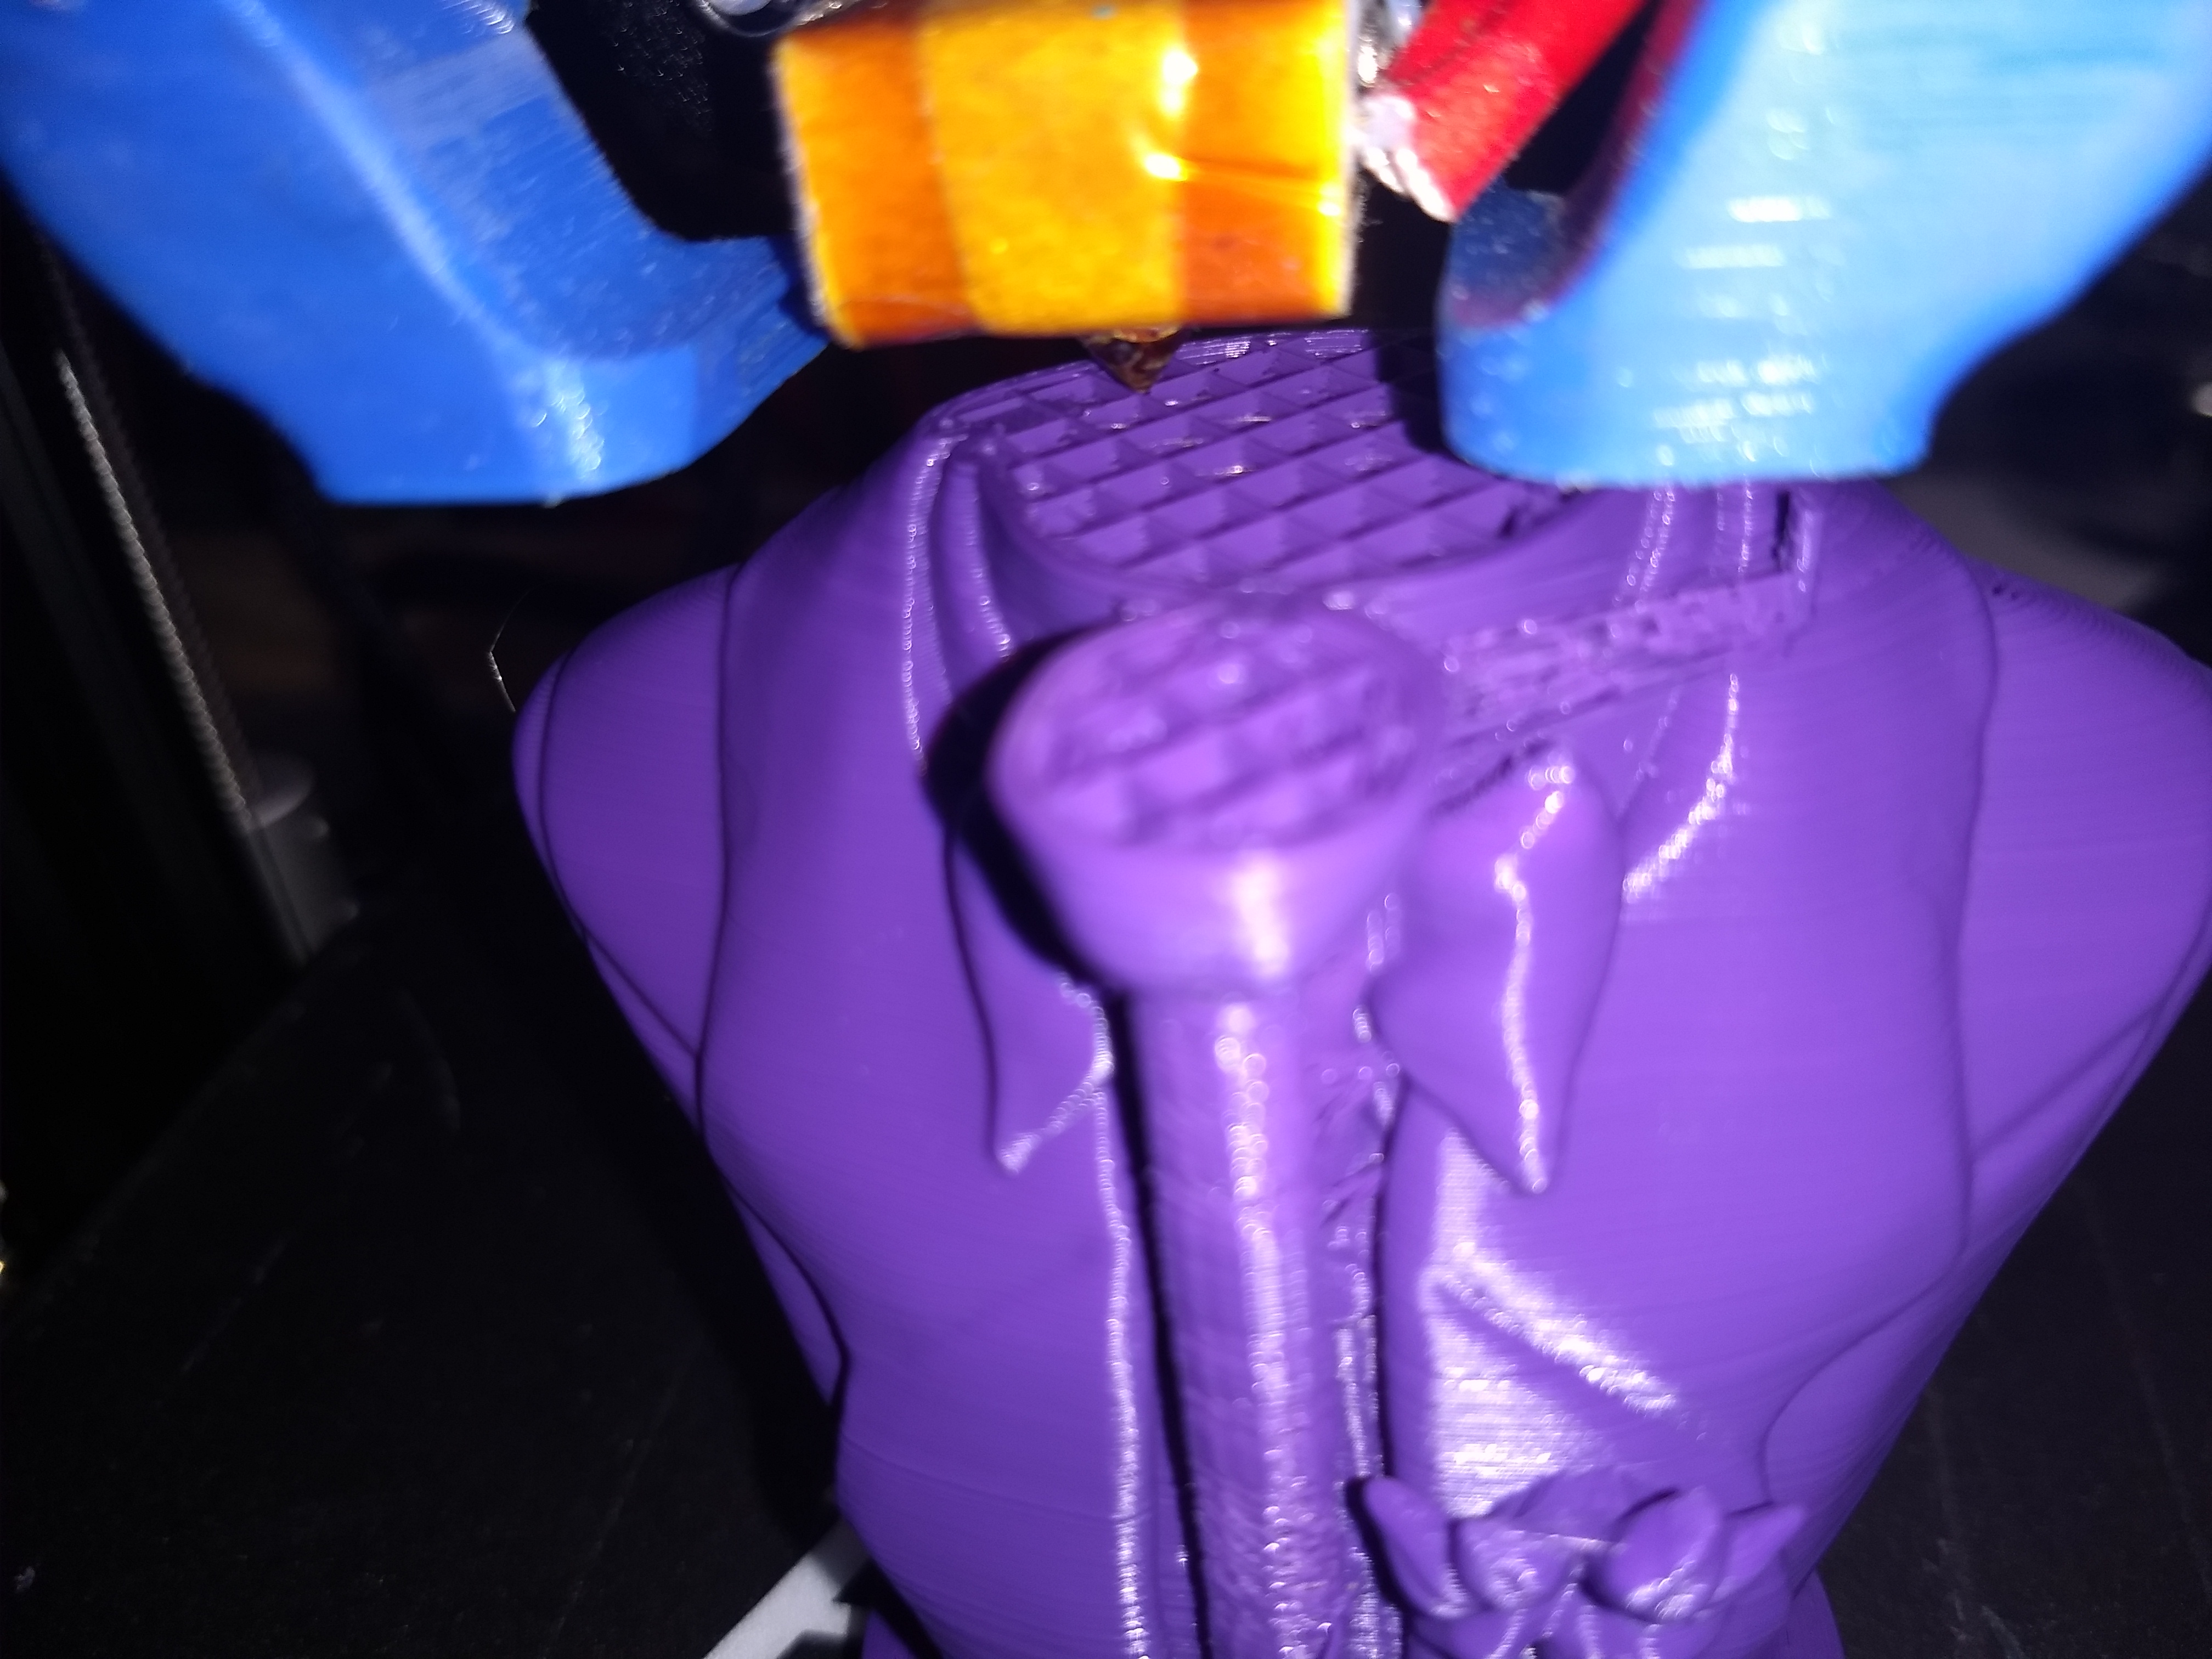
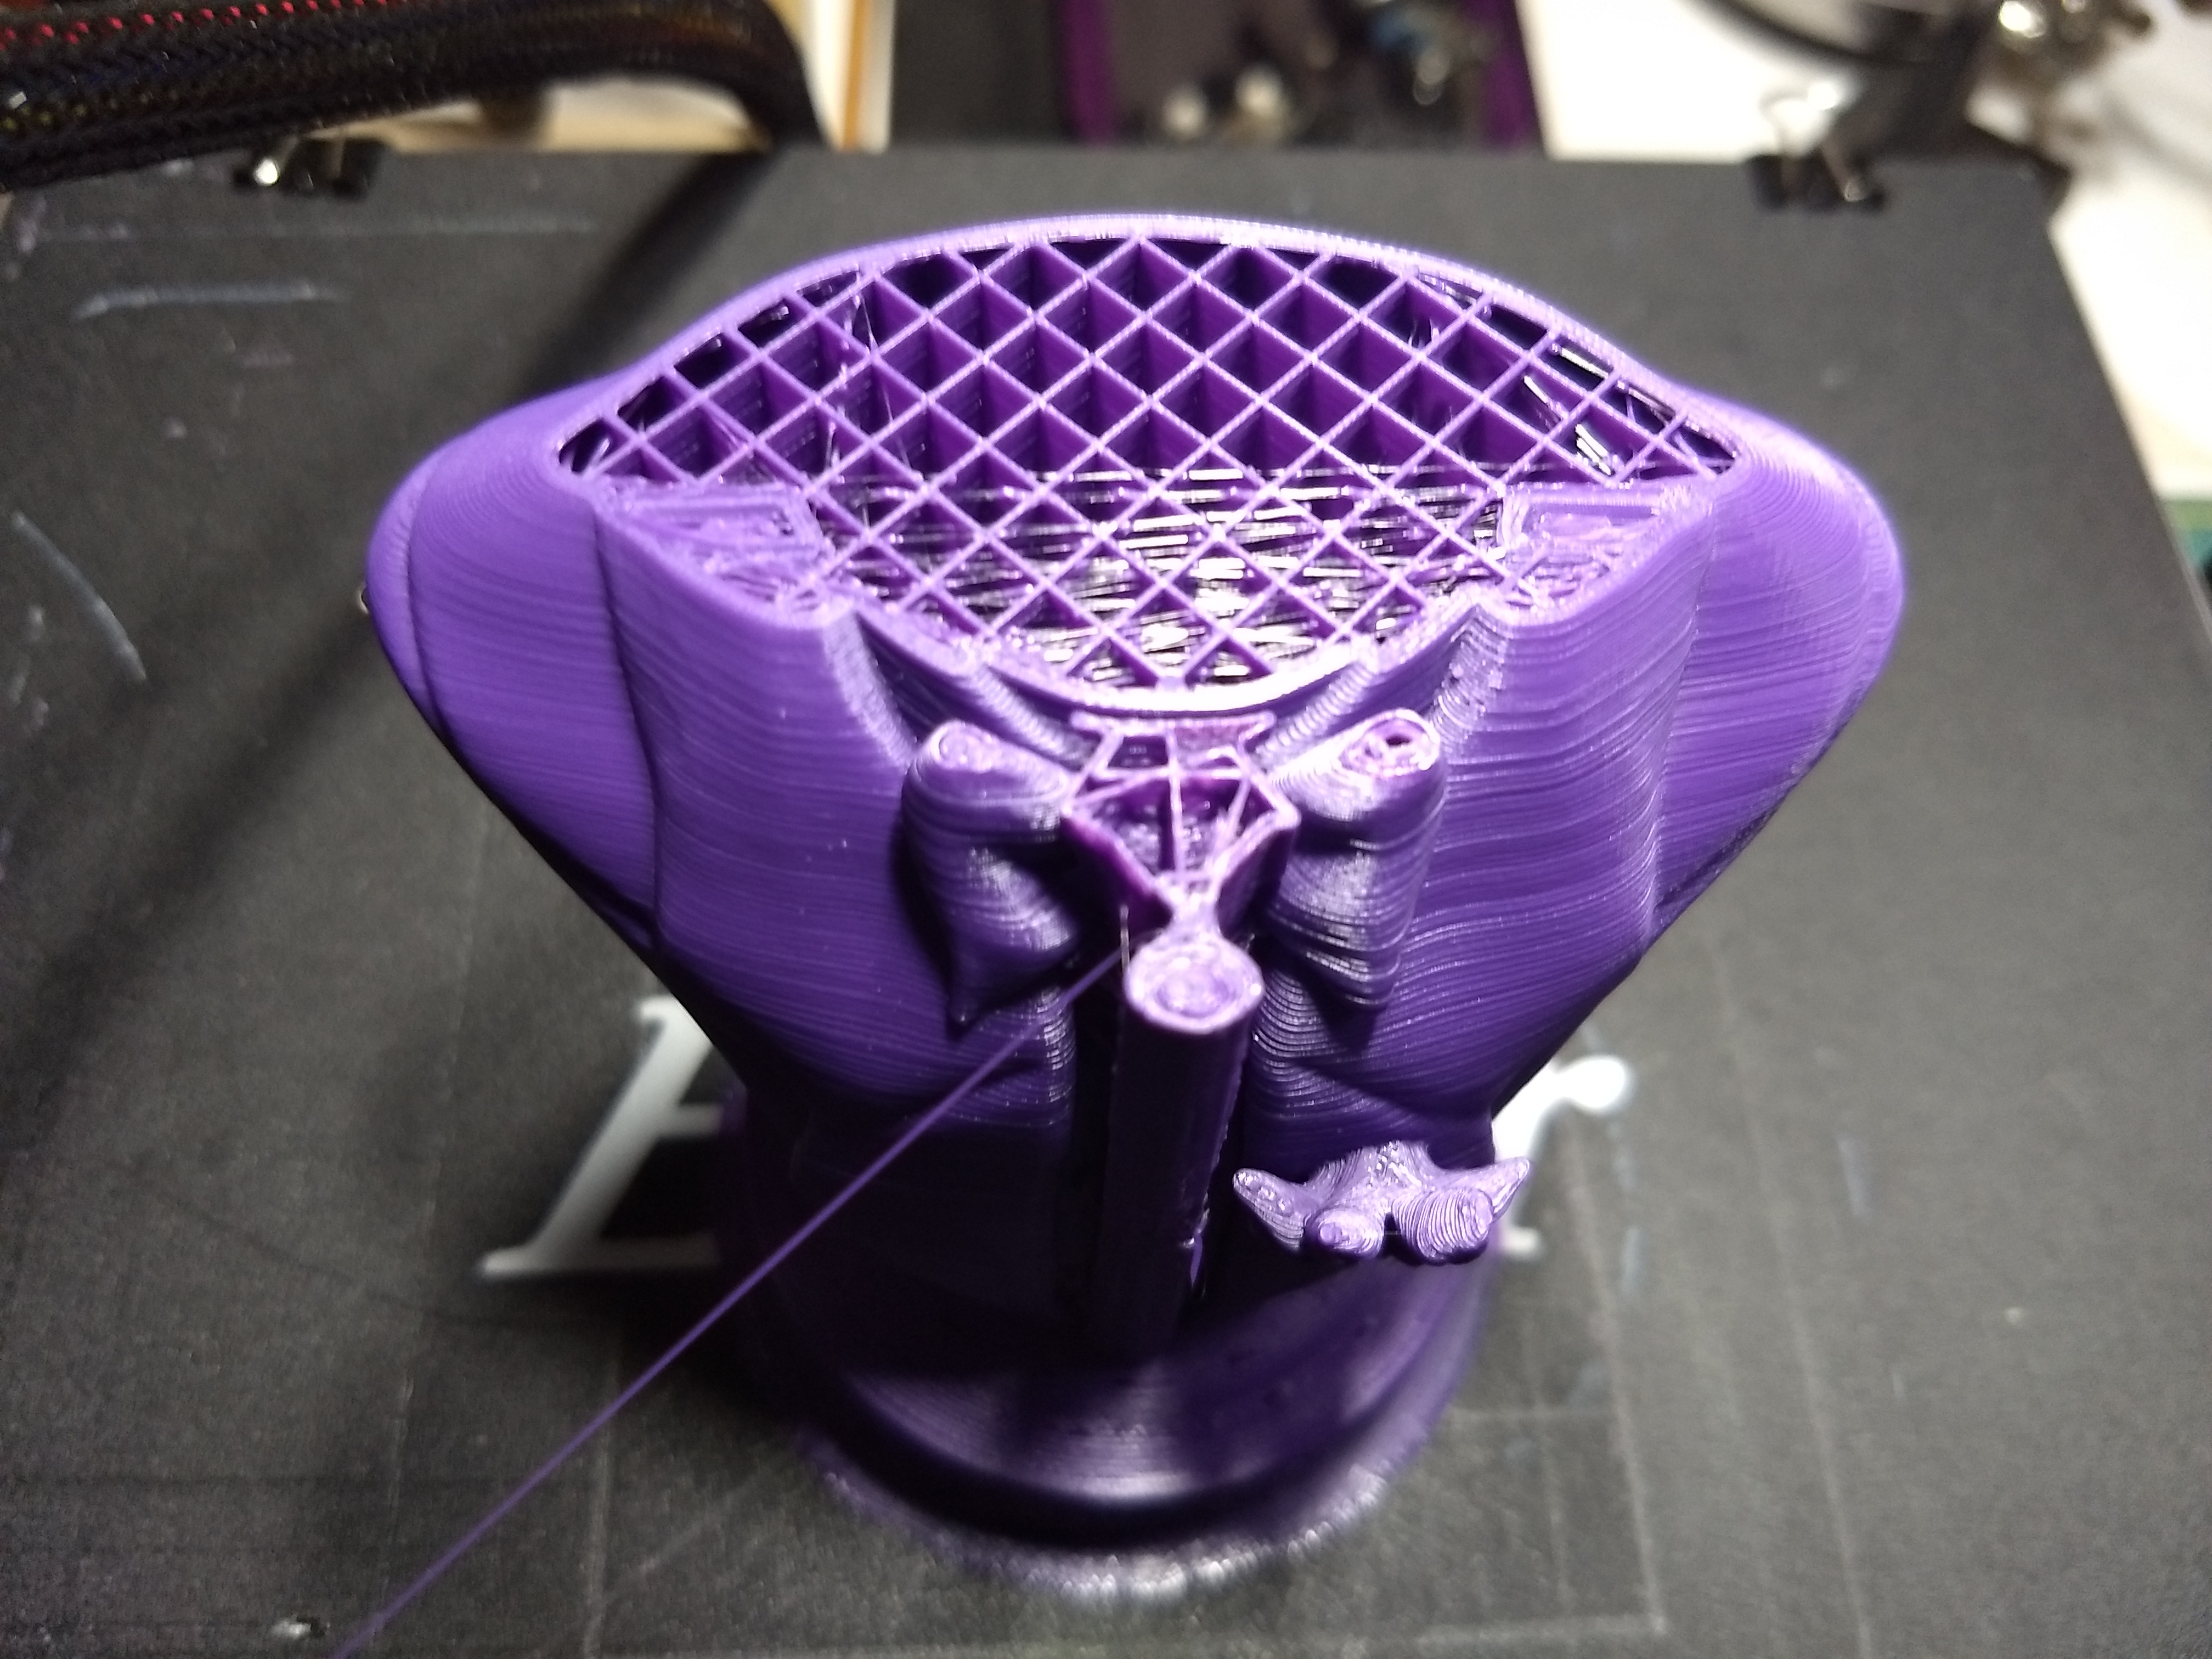
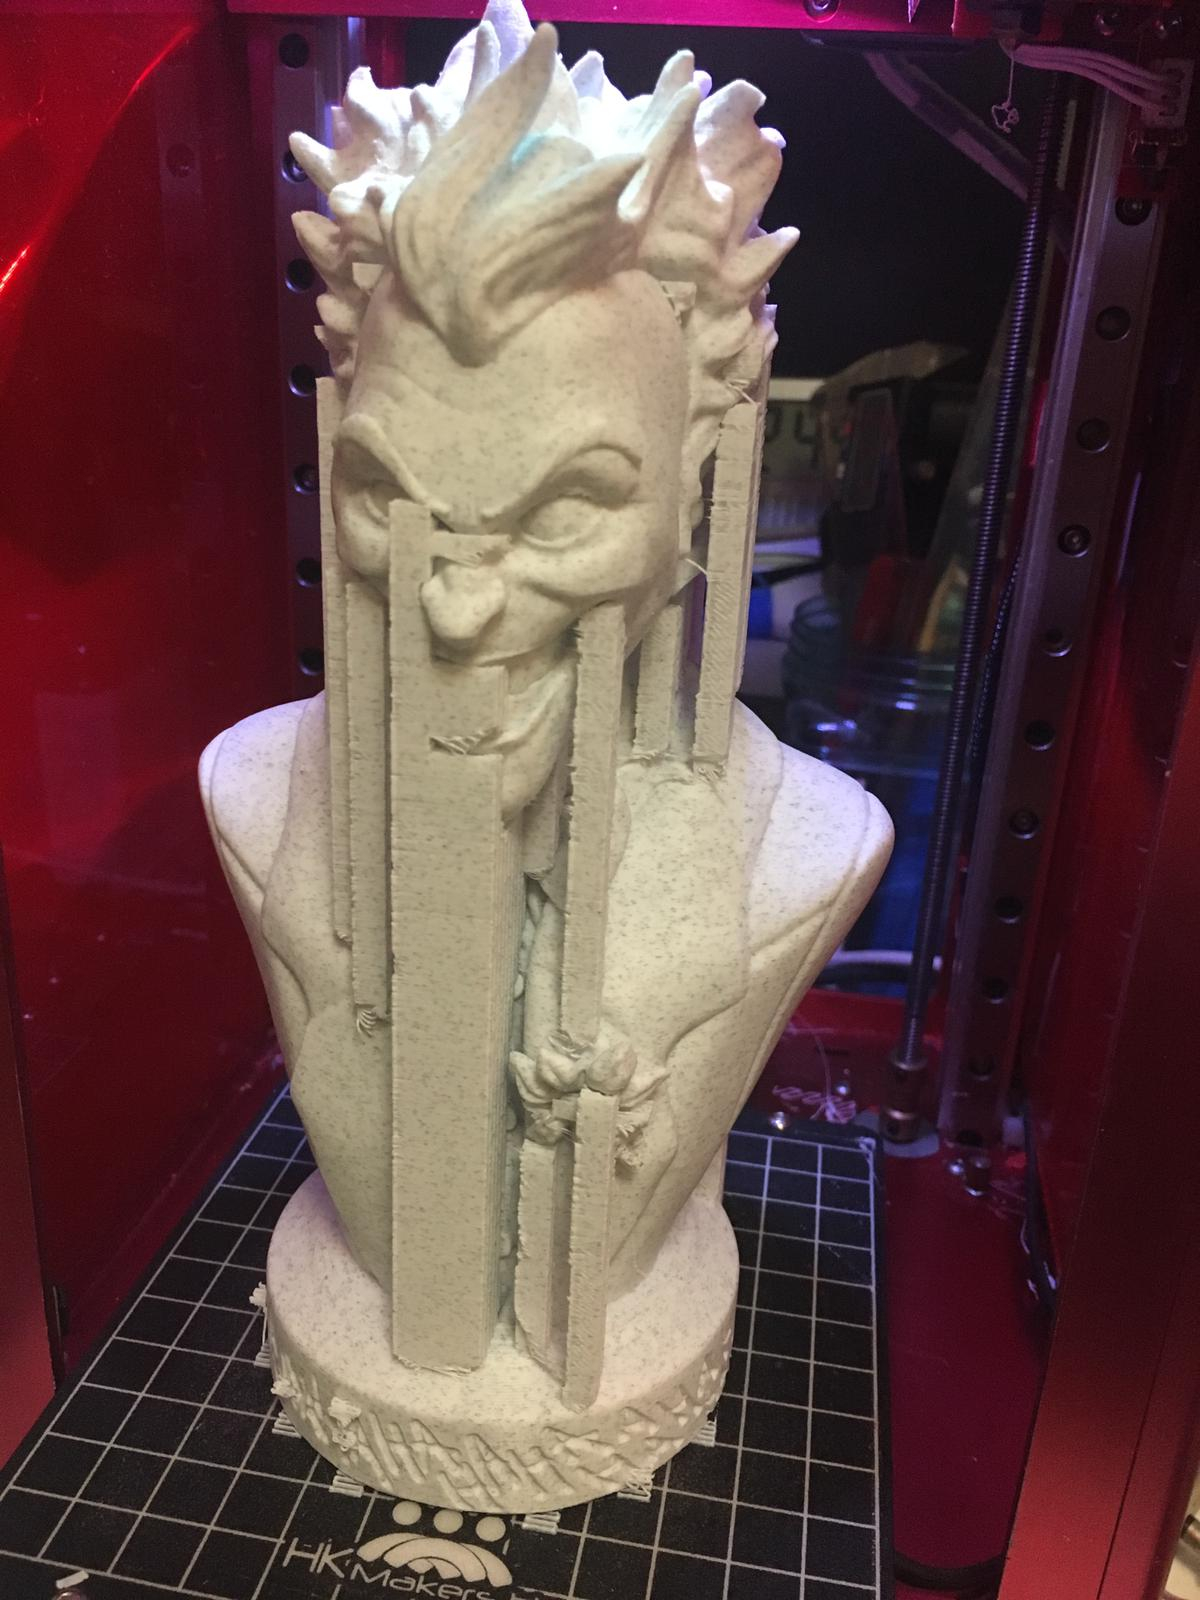
This is a great model, but I am having incredible difficulty finding the right print orientation and slicer settings to get the hair to work. Currently, once I get about 10 layers in, my Ender 3 is depositing too much material at each end of the lowest piece of hair. This causes the hotend to touch the print, eventually rocking it loose from the support and the print failing. All the tree supports printing at the same time do not have this issue, and I am unsure of what settings in the slicer should be reviewed and adjusted to get this last piece to print. What suggestions are out there I should try? You can see the print beginning to get higher deposits at each end in the first picture, and I circled those same locations in red in the other. This rocks the print more and more until it breaks free at the point I circled in black.
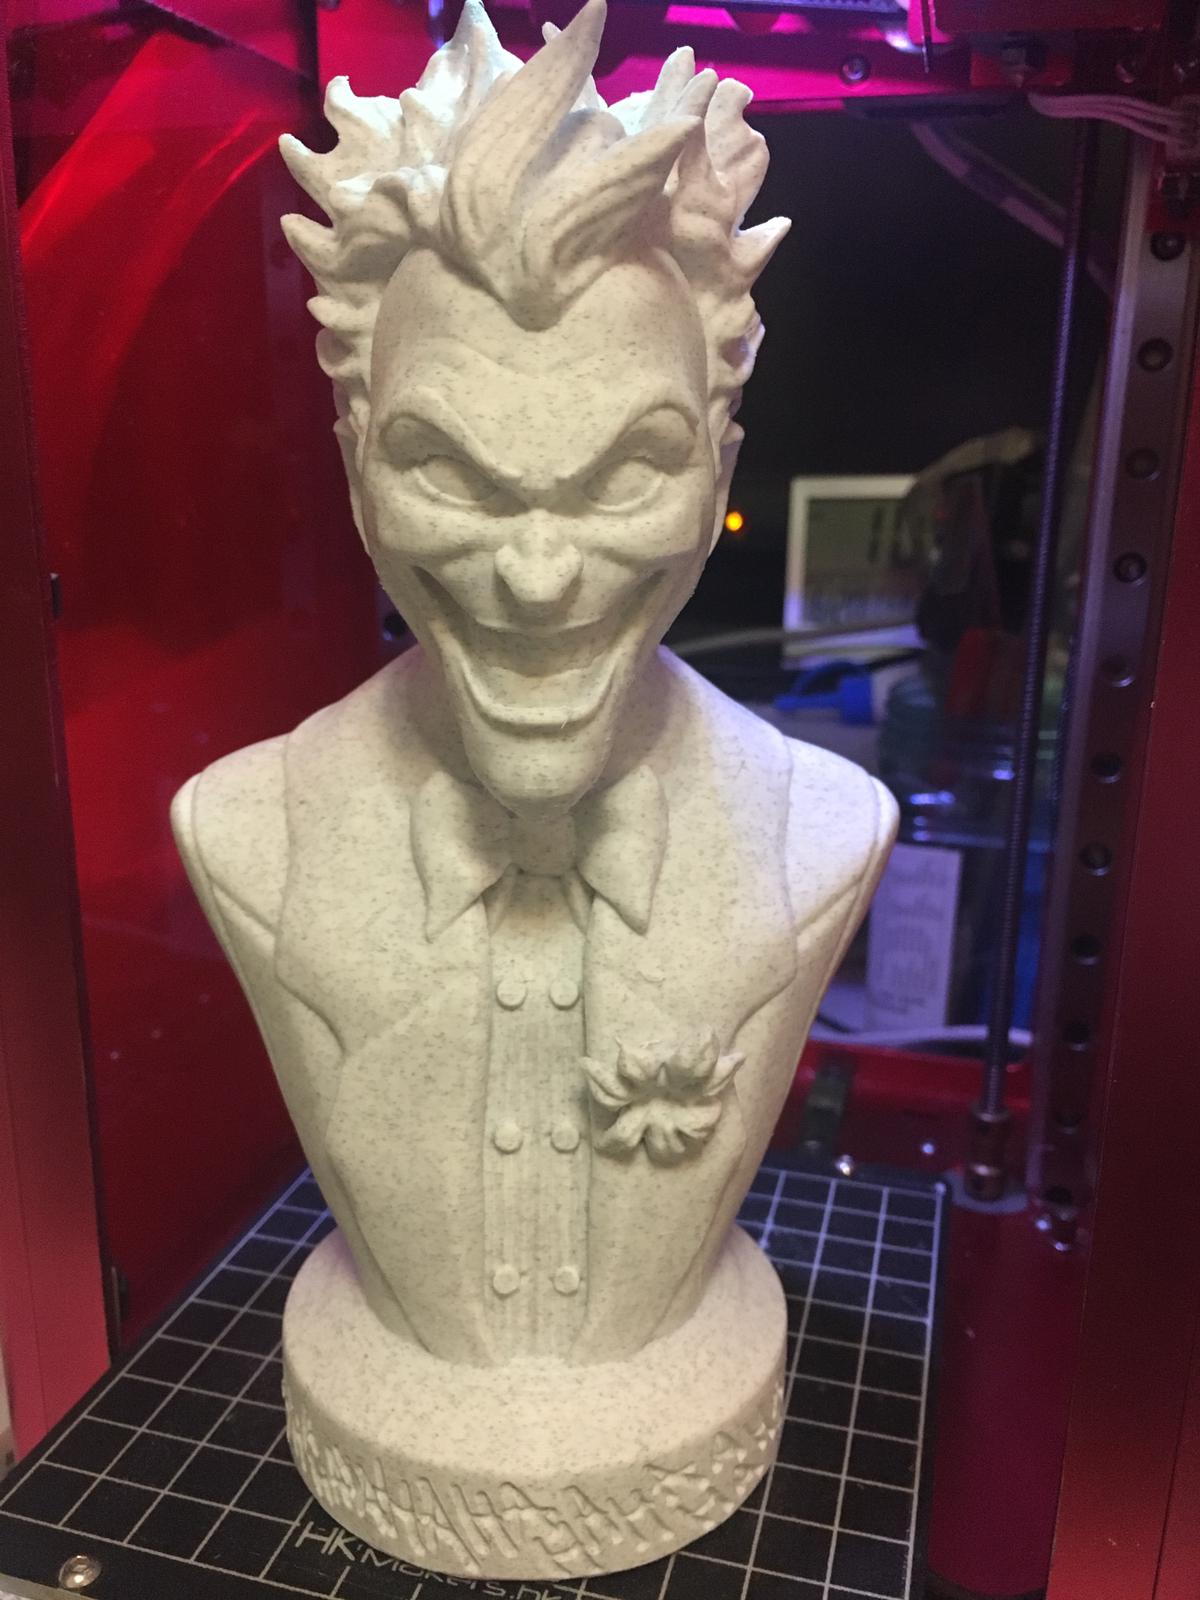
Thx for this model. Clean print and fun to paint.
Imprimindo com apenas o suporte do queixo
When I seen this creation I knew I had to make it for a friend of mine as a gift. To avoid failed prints, I tried to duplicate the print techniques the creator used in his print time lapse. It looked to me the only support material used was on his chin, thick outer walls were used to make overhangs easier/more reliable, and infill was rather thick with a grid setting. I tried to block all support from everywhere except his chin, .15 layers, 3 outer walls, 15% fill. All other settings were standard for my printer. I did have a problem getting all support material from generating with the block feature in Cura, but after slicing for hours and changing settings, I decided to run with it. I was able to get a good print in the first go. This is more to do with the design that my skills as it was intended to need support only from the chin, all other layers laid directly on the previous layer, perhaps with high overhang, but that's what the thick walls were for. I did get some support material failed extrusion on his left side that will need to be address in finishing, but otherwise, it looks great. All in all, a great design. Thanks for allowing me to enjoy printing this!