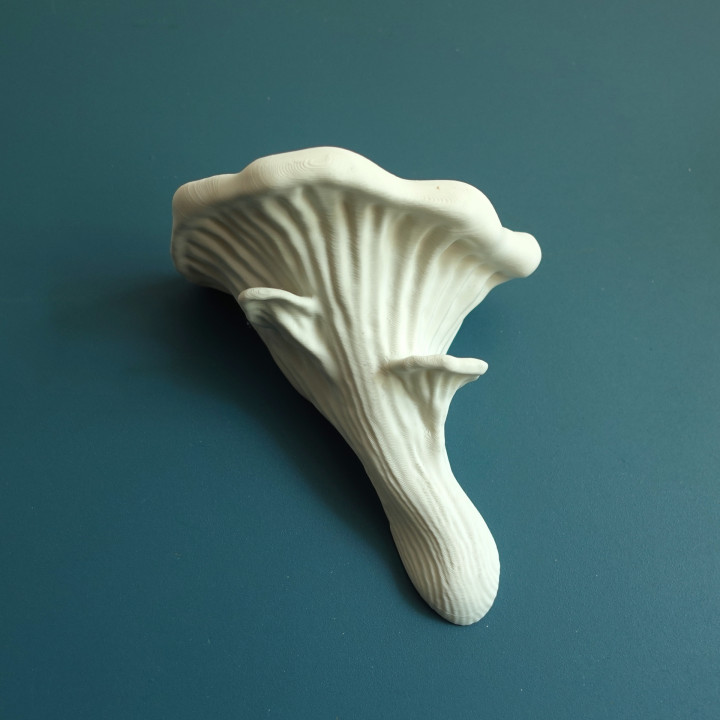
Wall shelf “Oyster fungus”

2,535
views
19
collections
0 comments

Loading comments...
$3.00 Wall shelf “Oyster fungus”
Published 2023-02-20T14:04:40+00:00
82
0
Add to Collection
Description
Would you like to support my work? :)
Check out my full catalogue with exclusives, early access and commercial licences.
An organic shelf that “grows” from your wall.
If you need a small shelf for anything you want to make visible every day (like your favorite Benchy or a small plant) this is the one for you.
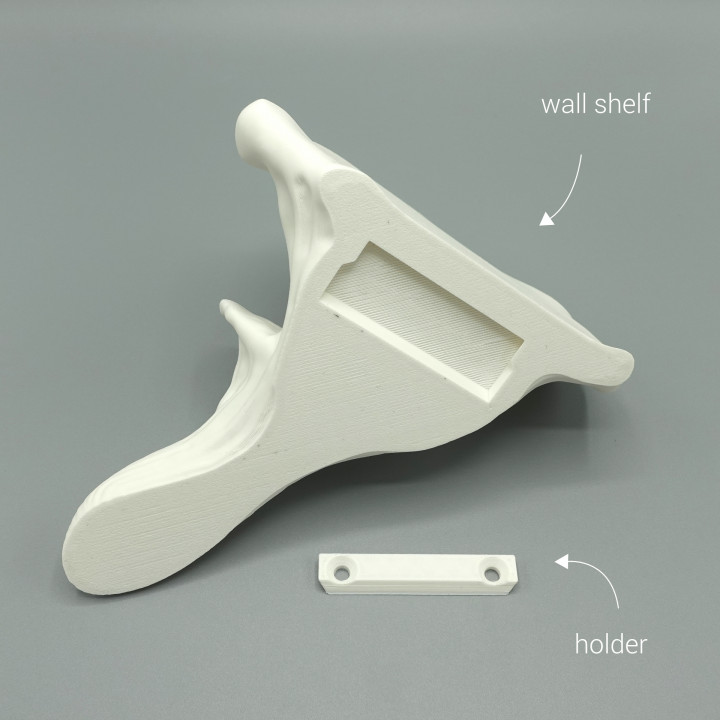
Versions
- Oysterfungus_shelf_default: The default size
- Oysterfungus _holder_default: the holder for the default size with a screw-hole diameter of 5.5mm
- Oysterfungus _shelf_small: A mini version (60% scale)
- Oysterfungus _holder_small: A holder for the mini version – simply scaling down the default version would make the holder unusable
- Oysterfungus _shelf_no_holder: The Shelf without the cut-out intended for scaling down below the mini version – must be mounted with glue or tape
- Oysterfungus _holder_for_upscaling: If you want a huge version, scale up the default shelf and use this holder – the only difference is the screw-hole size of 3mm that will be usable when scaled.
- Oysterfungus_shelf_magnet_internal: A version for making a fridge magnet with mid-printing insertion (40% scale)
- Oysterfungus_shelf_magnet_external: A version for making a fridge magnet (40% scale)
Instructions
- Print the shelf and holder
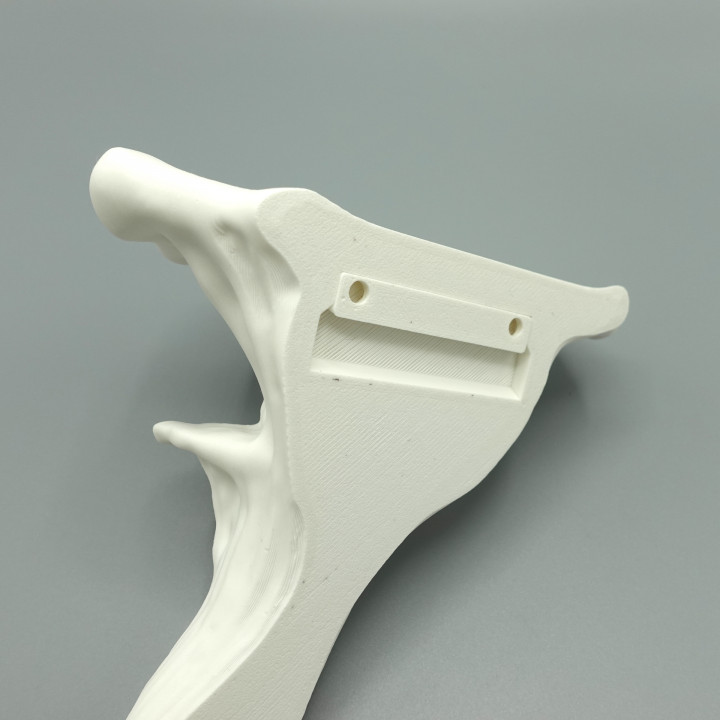
- You can either screw or glue it onto your wall. There are various glue or tape products for wall fixation out there. I used 3M Tape. Old fashioned screws and dowels are the most reliable fixation.
- Insert the shelf by moving it horizontally onto the holder until the holder is completely inside the cutout. Then proceed to move the shelf down and the holder locks in.
- Enjoy!
Instructions fridge magnet
Magnet required: a 20 x 2 mm neodymium magnet
Internal magnet
- The internal magnet shelf file has a cutout inside to place a magnet during the printing process. All mushroom wall shelf designs have the cutout at the same height – so you can print all of them at the same time.
- Use a copper nozzle for printing (nonmagnetic)
- Slice the file and check the layer height of the last layer before the bridging over the hollow cutout starts. With a 0.4mm nozzle it should be at layer 15. Implement a pause after that layer with your slicer.
- Start the print
- At the pause insert the magnet and continue printing. As always be careful with magnets and electronic parts!
External magnet
- Print the file
- Glue in the magnet after the printing process – the cut-out is sized to let the magnet stand out just a bit
Size default assembled: 100 mm x 155 mm x 160 mm
Printing Details
- Required build volume: 160mm x160mm x 120 mm
- Material usage: 130g
- Print time: 11h
- Material: PLA
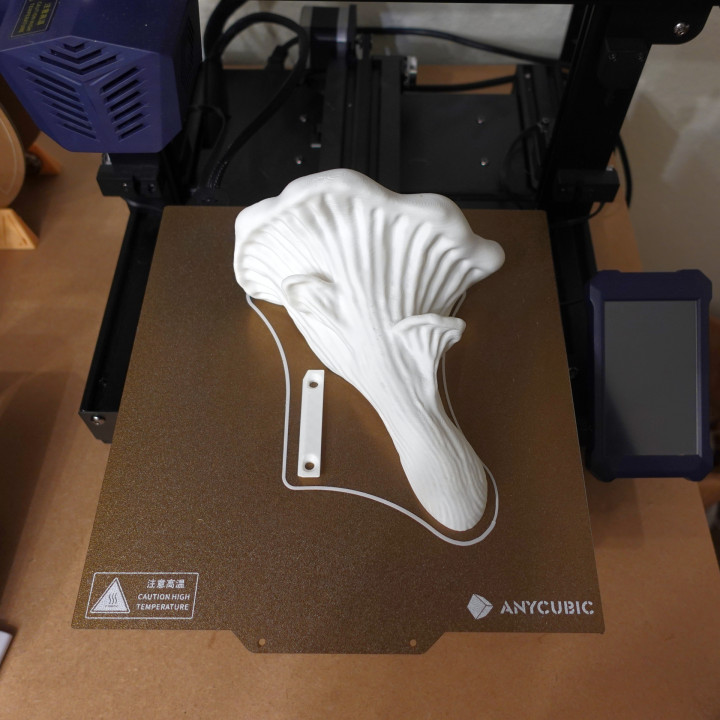
- Print direction: stls are rotated correctly, check images
- Support: none
- Nozzle size: 0,4 mm
- Line width: 0,4 mm
- Layer height 0,2 mm
- Outer walls: 3
- Infill: 15%
- Build plate adhesion type: none
- If you experience any problems, please feel free to contact me on twitter or Instagram
Technical Information
| Date published | 20/02/2023 |
| Price | $3.00 |
| Support Free | YES |
More Information
Object Parts